3 amazing Glowforge projects for your home! Learn how to make your own Glowforge projects with these SVG and PDF files or make your own!
Have you seen any of our room renovations or makeovers yet? If you have, then you probably already know that we do everything on a budget! We do as much as humanly possible ourselves, which includes making our Home Decor! We recently got a new laser cutter, called a Glowforge, and I wanted to try it out in our new ensuite space, so I made 3 amazing Glowforge projects to share with you all, including our first ever project with the passthrough!
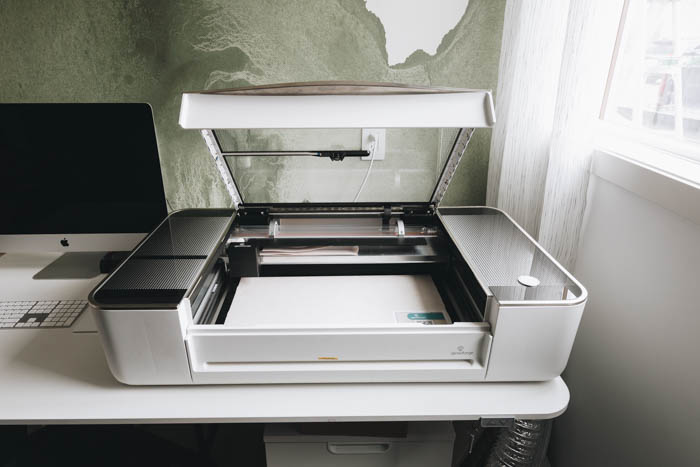
What is a Glowforge?
A Glowforge is a laser cutting machine. You can put materials into the machine, like leather or wood, and it carves out your product using laser energy. It has a powerful CO2 laser cutter that uses a focused beam of light, as fine as human hair, to cut and engrave a ton of difference materials with amazing accuracy and precision.
Even though they call it a laser printer, it is not a paper print, nor is it a “3D printer” which is another common question. Today I’m using it to cut leather and acrylic for some home decor Glowforge projects.
If you choose to get a Glowforge, you can use our referral link to get a huge discount off your order!
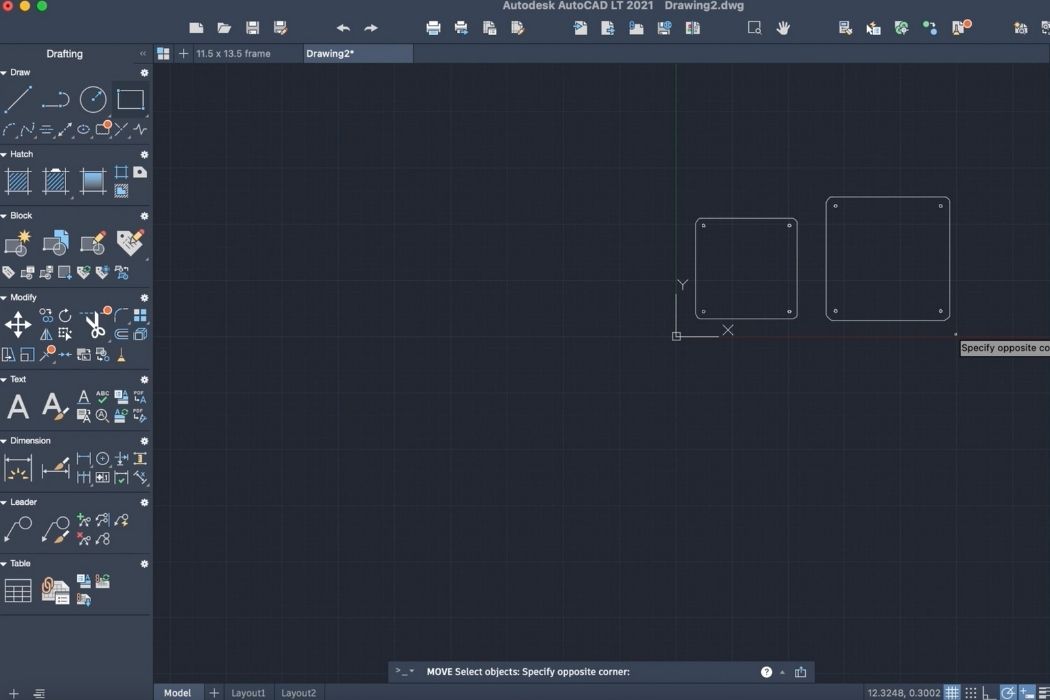
Creating Glowforge Designs in AutoCAD
We did all of our Glowforge designs in AutoCAD. Although you can use the Glowforge dashboard for some of your creations, we found that supplementing their software with something else gave us a lot more creative freedom.
We used AutoCAD because my husband is already very familiar with the software, but there are lots of other free and more affordable programs available to try, like Inkskape. If you want to take a look at AutoCAD, here’s a video that shares the basics of the program for beginners!
Basic Steps for Making Glowforge Projects
When making a project on your Glowforge, the steps are basically the same. The biggest difference is in whether you are using the passthrough or not. The passthrough is the slot that goes across the Glowforge Pro and allows you to make projects larger than 12″ x 20″ (which the Glowforge Plus and Basic models cut). The passthrough on the Pro allows you to cut 20″ x as long as you want!
Once you have your design ready, whether you purchased a file, or made your own, here are the basic steps to cutting out your design.
1. Upload Your File
Your first step is to go into the Glowforge dashboard and click “create” in the top left-hand corner. Then you can either use the dashboard to create a design, upload a file, or capture an image to cut from the camera of your Glowforge (e.g. a drawing that it scans).
For today, I’m using these three Glowforge PDF files :
2. Load Material
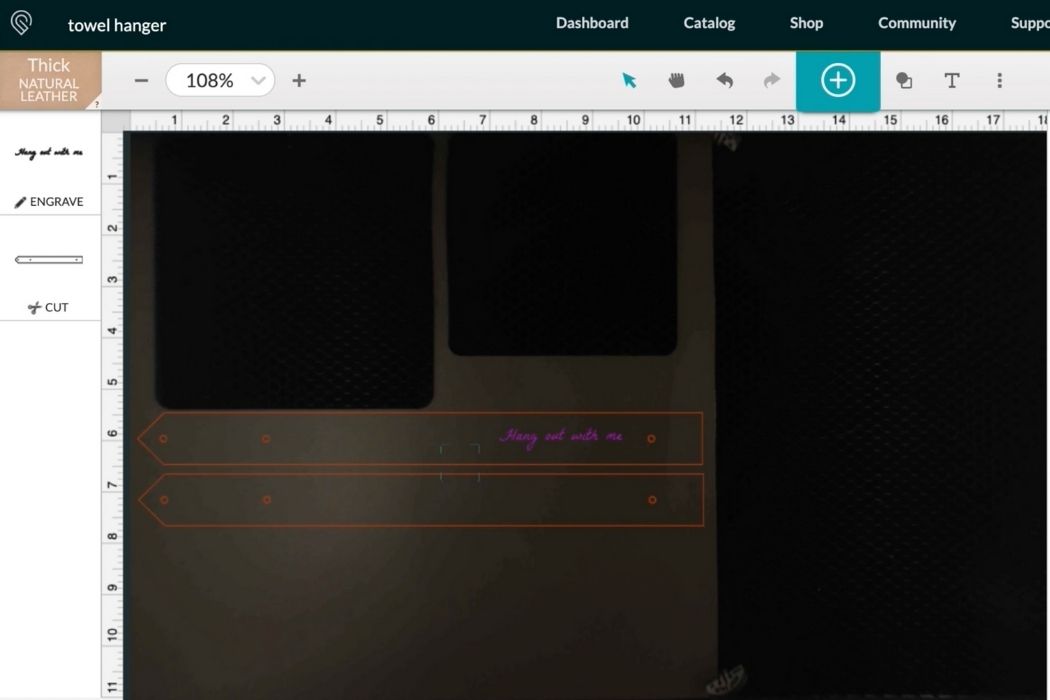
Once you have your design, you can position it onto the material that you are cutting. To do this, simply open the Glowforge door, and place you material on the tray. In the photo above, you can see that I’m using a piece of leather that already has some squares cut out from a previous project. You can position your new cuts to make as little wasted space as possible. The cuts are very accurate, so even if you get close to the edges of other projects, it will work!
If you already have a material loaded onto the tray of your Glowforge, simple select the three dots at the top, and “Refresh Image Bed” to get a new image of where the material is.
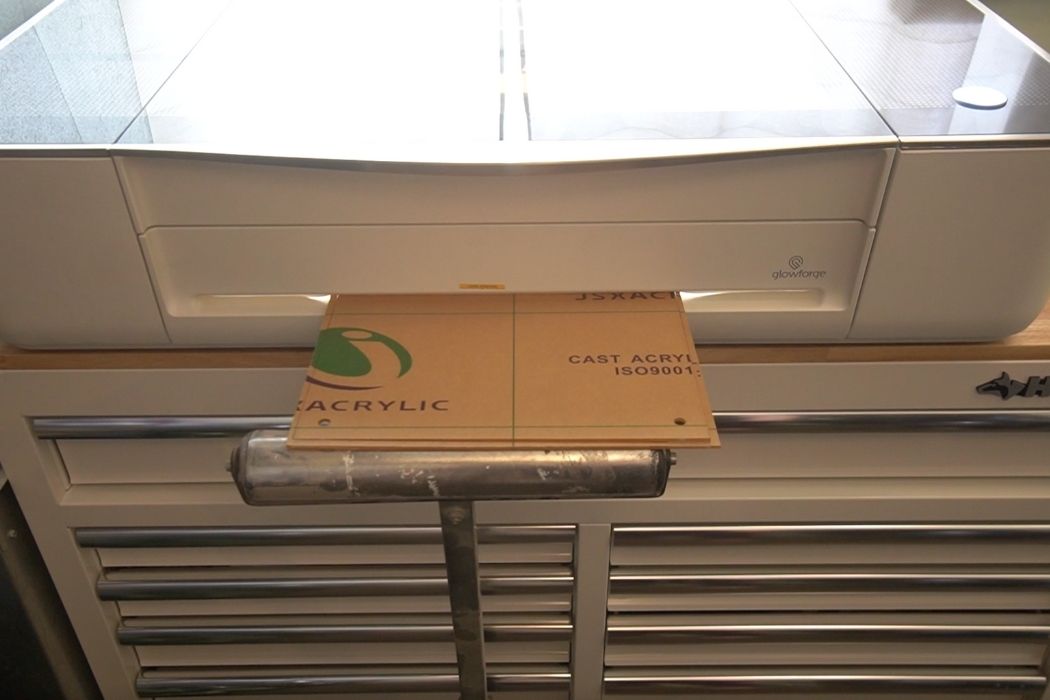
If you are cutting a large project and using the glowforge, you will have to open the passthrough at this point at well. Make sure your project is lined up at the front of the tray, and sticking out the back of the passthrough, as you will always slide the materials forward when you do multiple cuts.
3. Select Settings
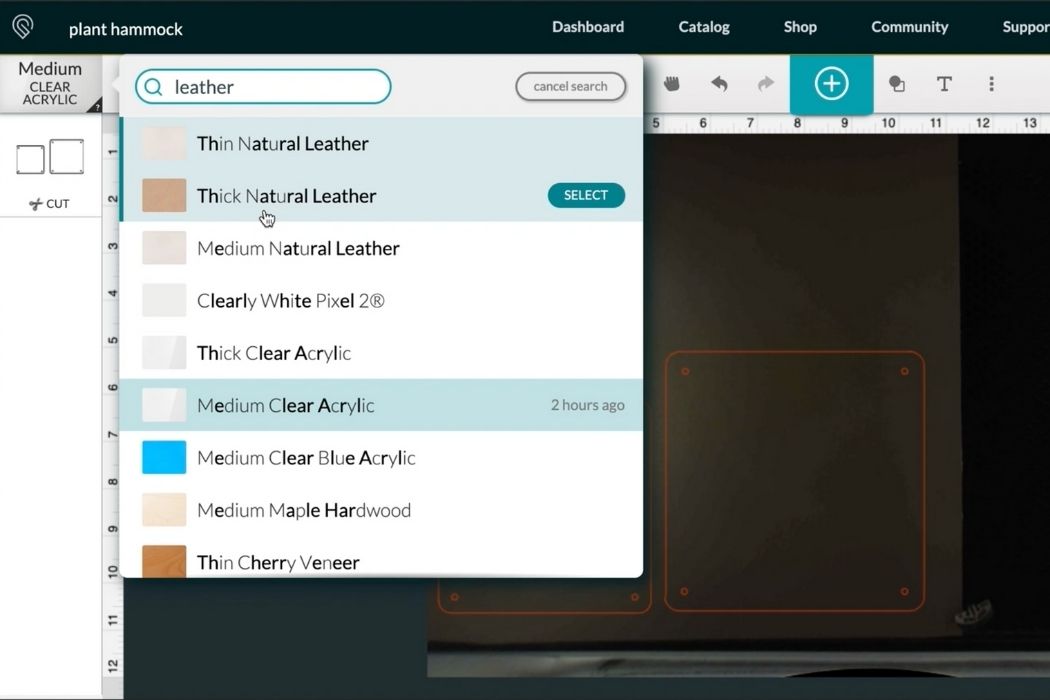
Next you need to select the appropriate material type (e.g. leather vs. acrylic.), including the correct thickness. You also need to make sure you have the correct setting for cutting or engraving selected.
If you are using a material that isn’t proofgrade (i.e. purchased from Glowforge), then you may need to adjust some of the other 8 manual settings, which include power, speed, number of passes, and more.
4. Hit Print on The Dashboard and the Glowforge
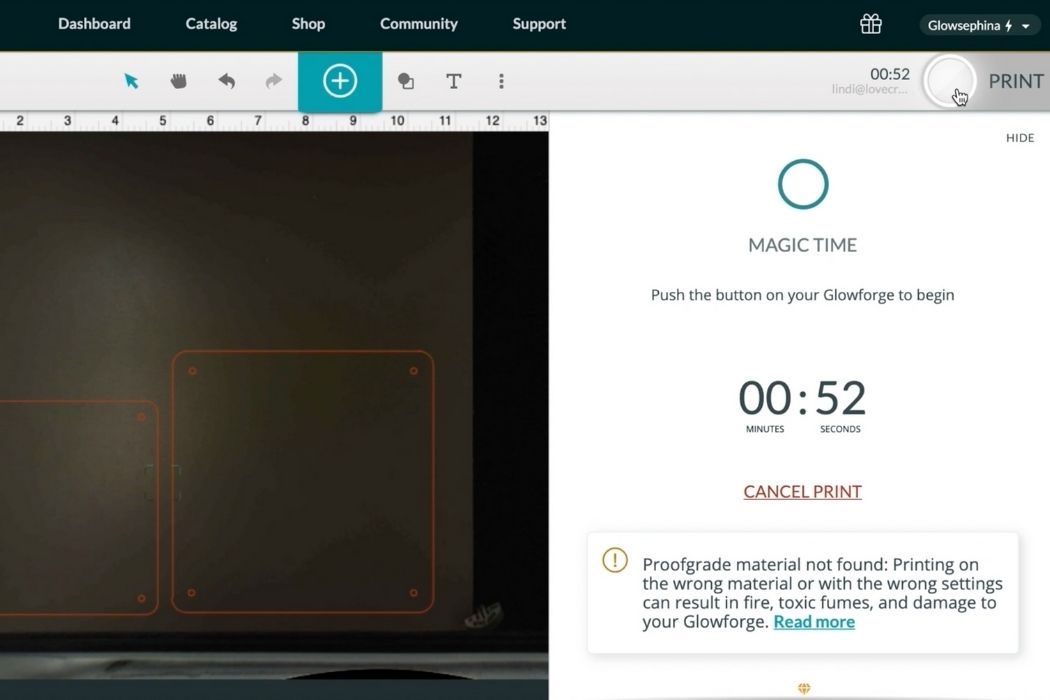
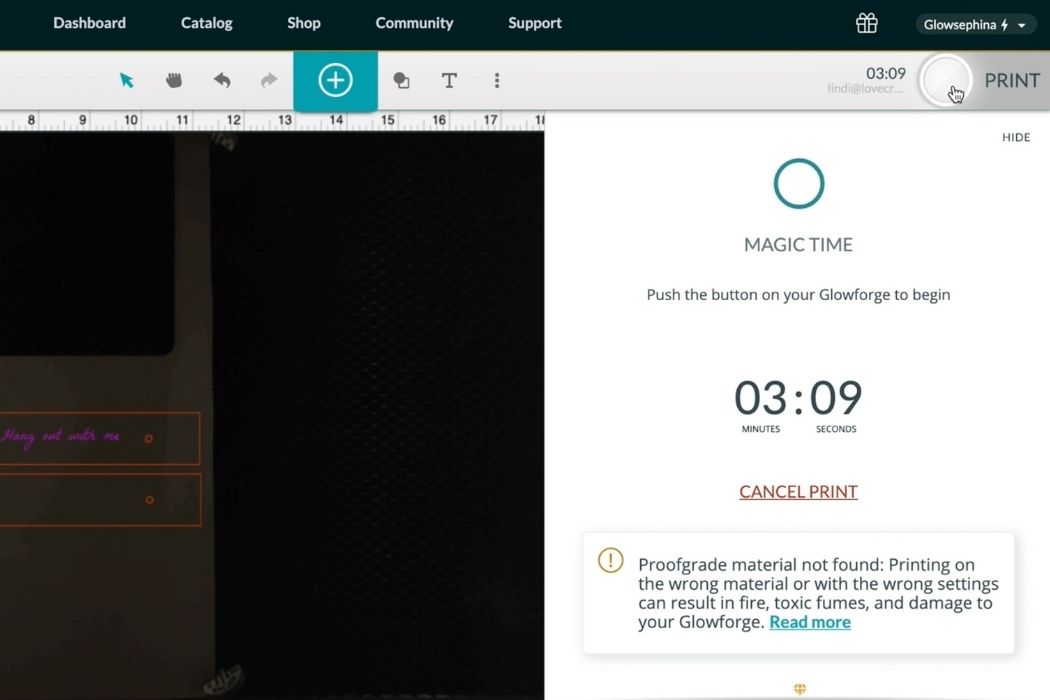
When your design is ready hit “print” on your Glowforge dashboard and the Glowforge will calculate the time it takes to print. Honestly, everything prints very quickly, but any engraving will take a little longer. Here are a couple of cut times with similar amounts of leather to cut, but the second takes an extra 2+ minutes to engrave a short phrase.
Once the time is calculated, hit the print button on the actual Glowforge machine.
5. Move Project Forward for Second Cut
This final step only applies if you are using the passthrough for a cut. Do not open the lid, but slide the project forward, by pushing from the back so that there are only a couple of inches of the cut piece still visible in the Glowforge cut tray.
Your dashboard will line up the second cut or you can line it up manually, and then hit print again to make your second cut. We did this step for the acrylic frame project you will see below!
Video Tutorial of How to Make Glowforge Projects
If you want to see all of the steps in action, here’s a quick video of the entire process.
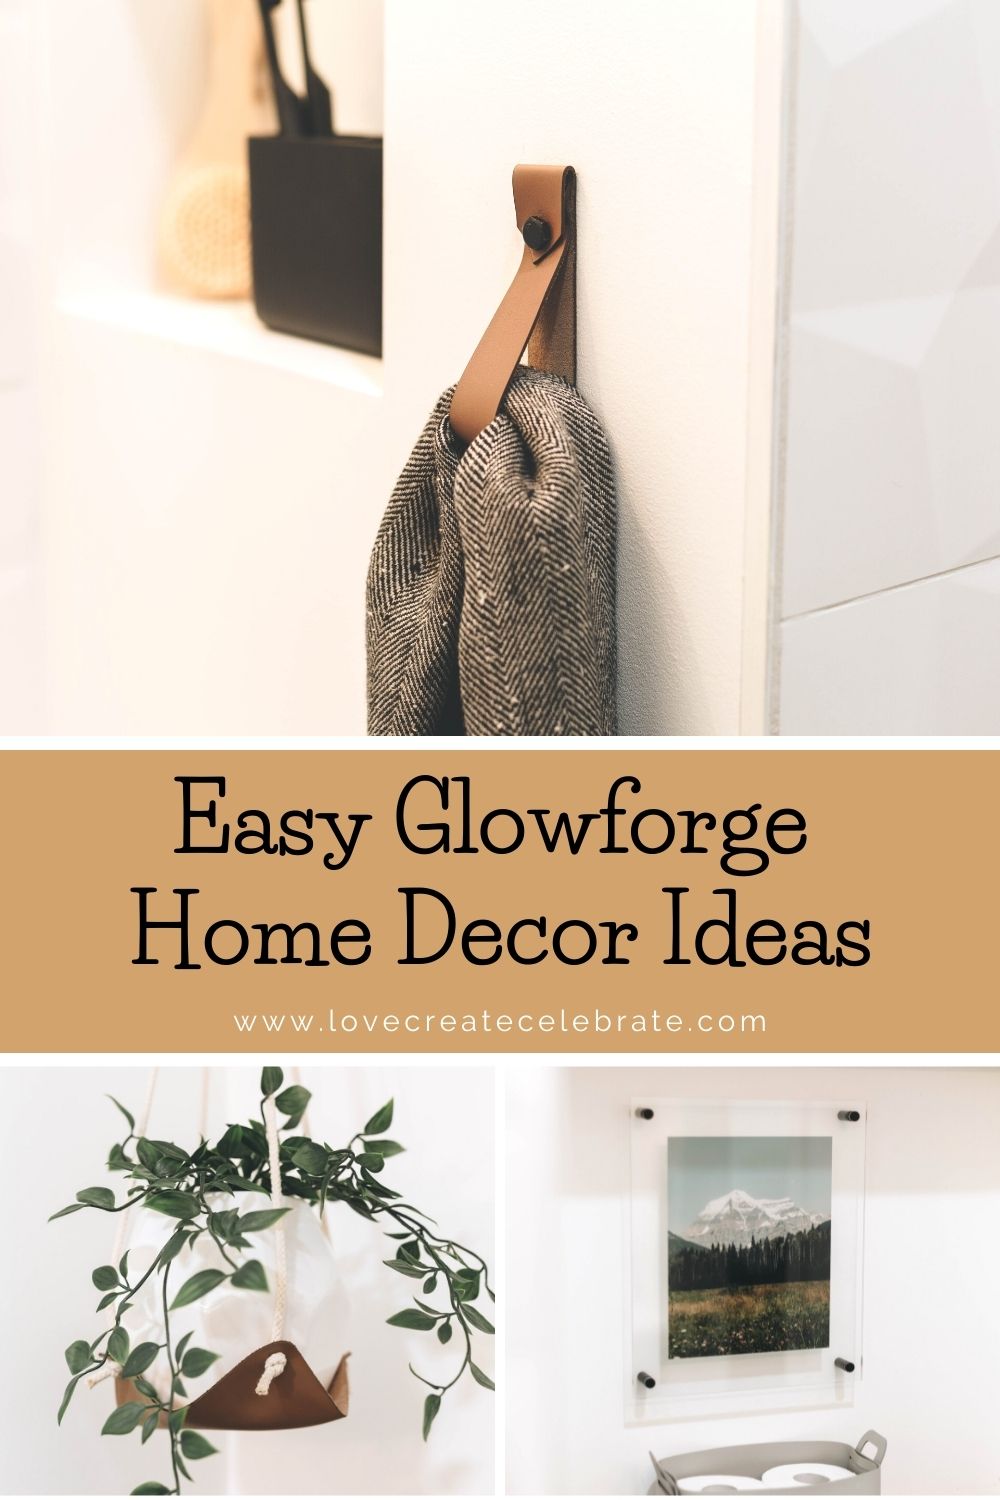
3 Beautiful Glowforge Home Decor Projects
Following the steps above, we made three beautiful home decor projects, and we LOVE all three of them! I have so many ideas for more great DIY and decor Glowforge projects and I can’t wait to share them all with you!
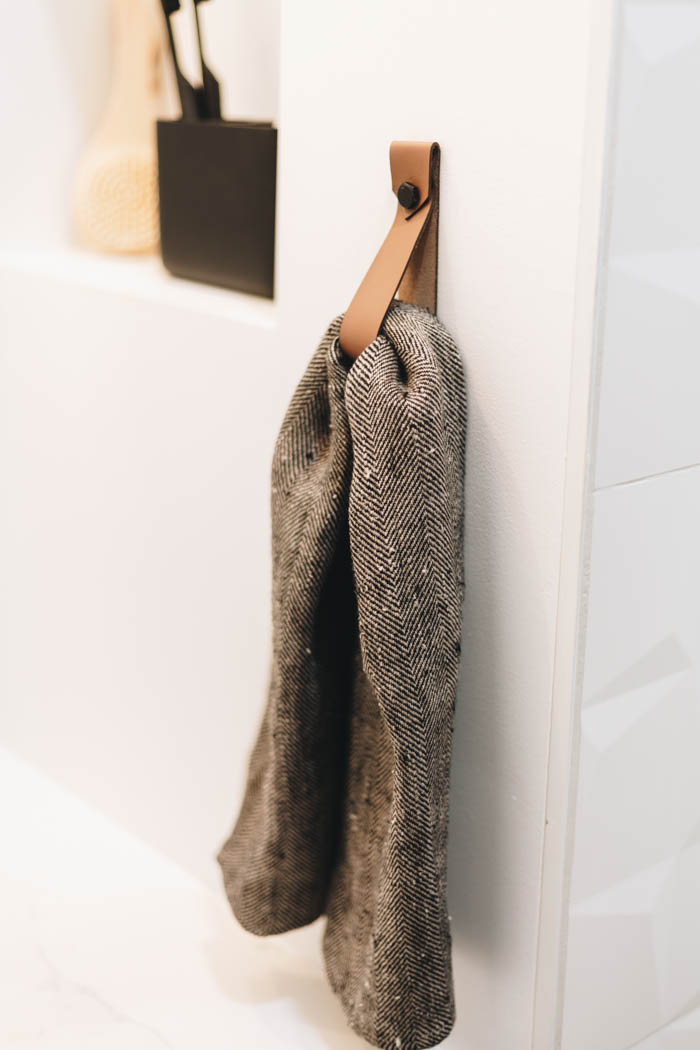
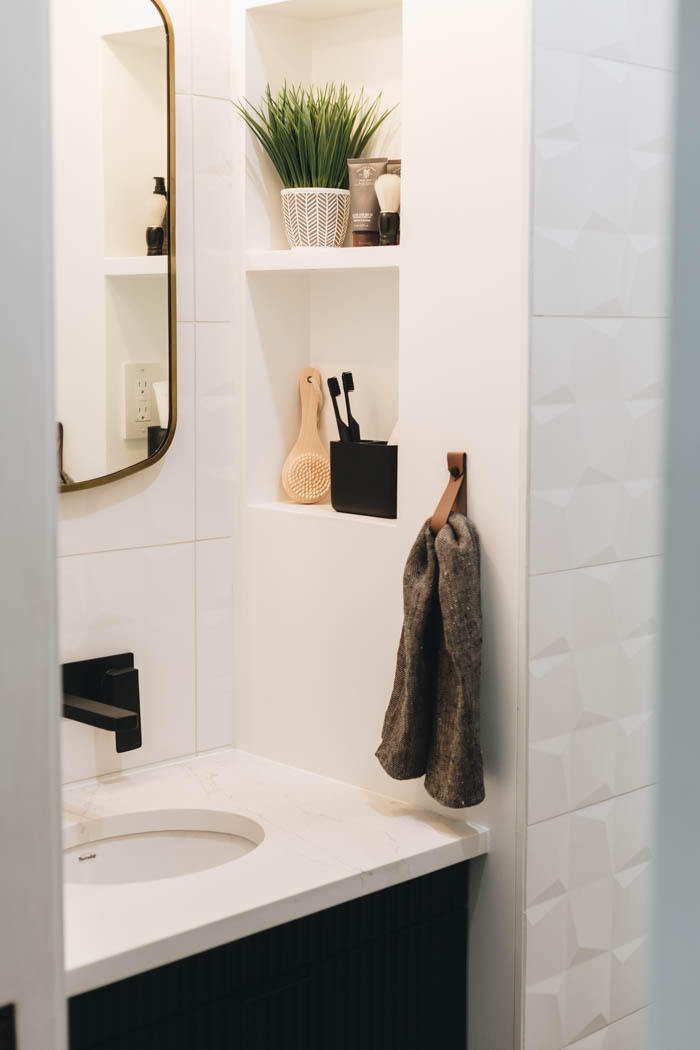
DIY Towel Hanger
I love this simple towel hanger for the bathroom or kitchen. I will likely put it on the wall when we renovate our trailer too! If you want to buy you’re own, they are available in the shop here!
DIY Plant Hammock
This project is so simple, and looks amazing in any space! I love it hanging in the bathroom, but I recently got a new black planter so I might try it hanging up in the kitchen or living room next too! If you want to buy your own, you can find these in the shop too!


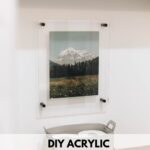
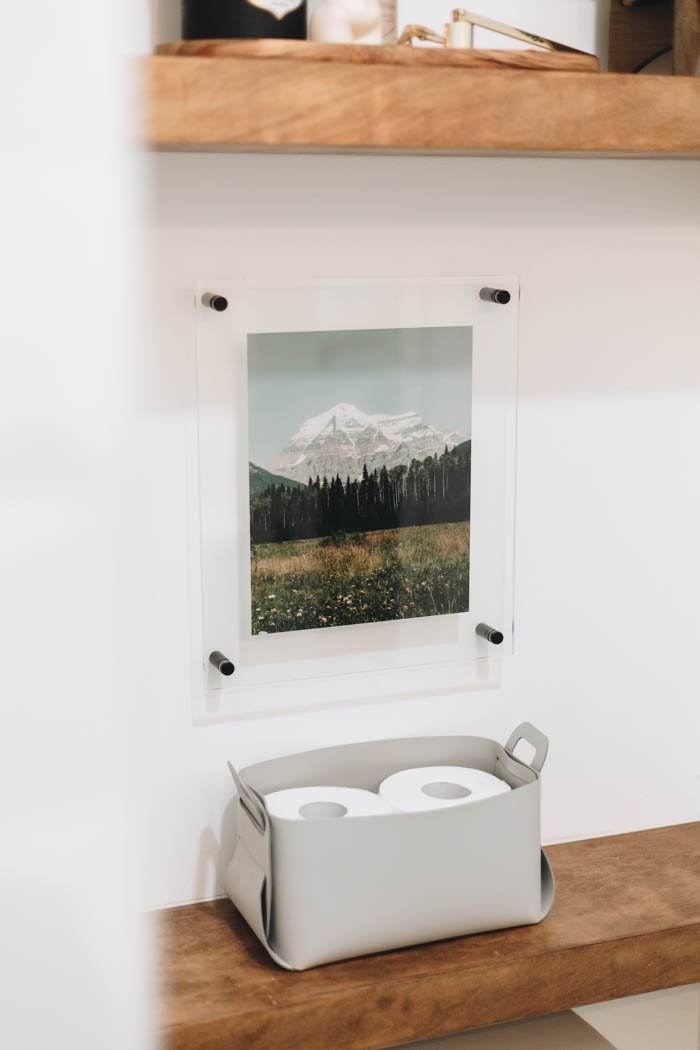
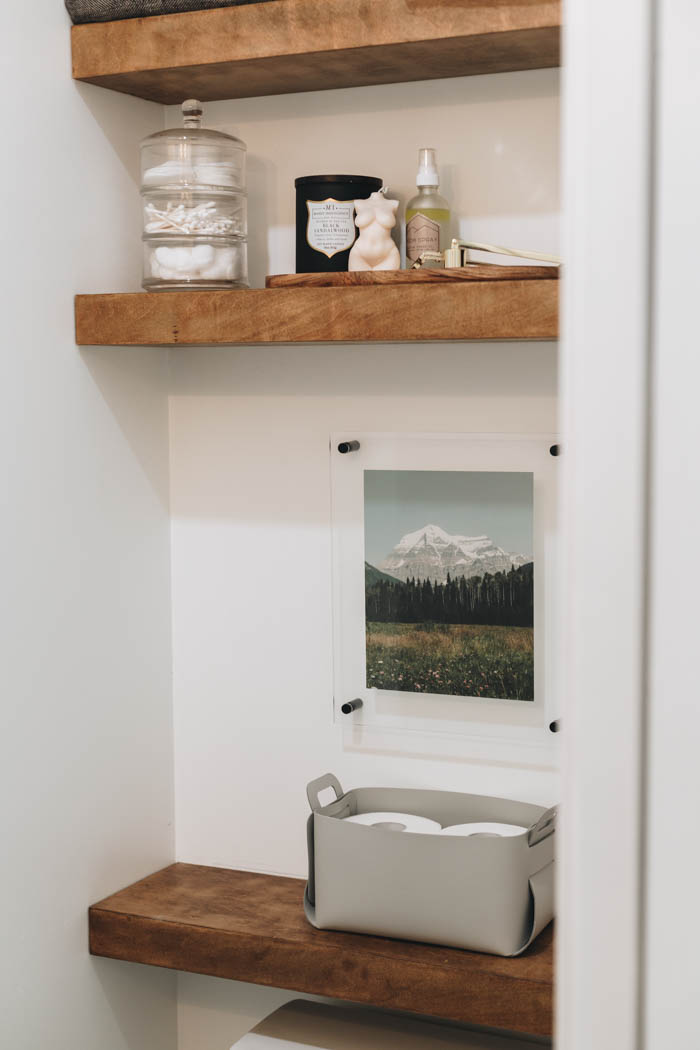
DIY Acrylic Frame
The final DIY decor piece we tried was with the passthrough, and was literally a dream come true to make! I’ve been wanting a frame like this one for SO LONG now! I’m thrilled that we finally have one, and it looks just as amazing as I had hoped!
How Can I Get a Glowforge?
You can get a Glowforge online and we have a discount for you! If you choose to get a Glowforge, you can use our referral link to get a huge discount off your order! The discounts for the machines are:
- $500 off if you buy a GLOWFORGE PRO using this link
- $250 off is you buy a GLOWFORGE PLUS using this link