7 easy steps for perfect Exterior Painting Preparation! If you are painting your exterior wood siding, this will give you a perfect result!
The time has come! We are FINALLY getting ready to paint the exterior of our barn-shaped home and I couldn’t be more excited! Our exterior is in desperate need of an update. Prepping and painting the entire exterior is a big job, but it’s so much cheaper than re-siding the entire home, so we’re going for it! Today we’re sharing all of our exterior painting preparation tips in seven quick steps.
*This post was sponsored by Wagner and may contain affiliate links. As always, opinions are 100% my own. For more information, please see my disclosure page.*
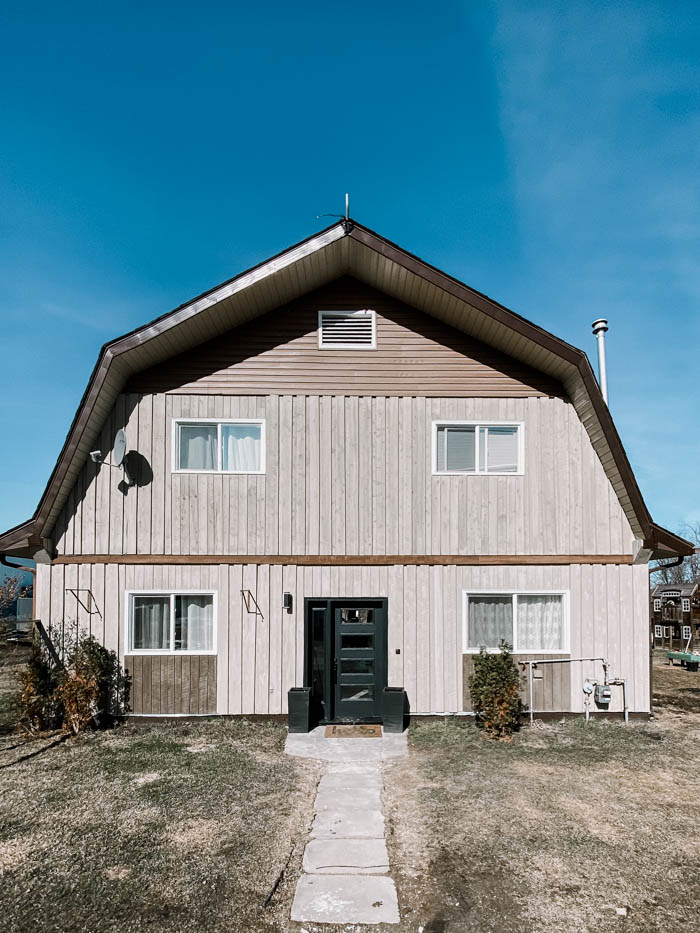
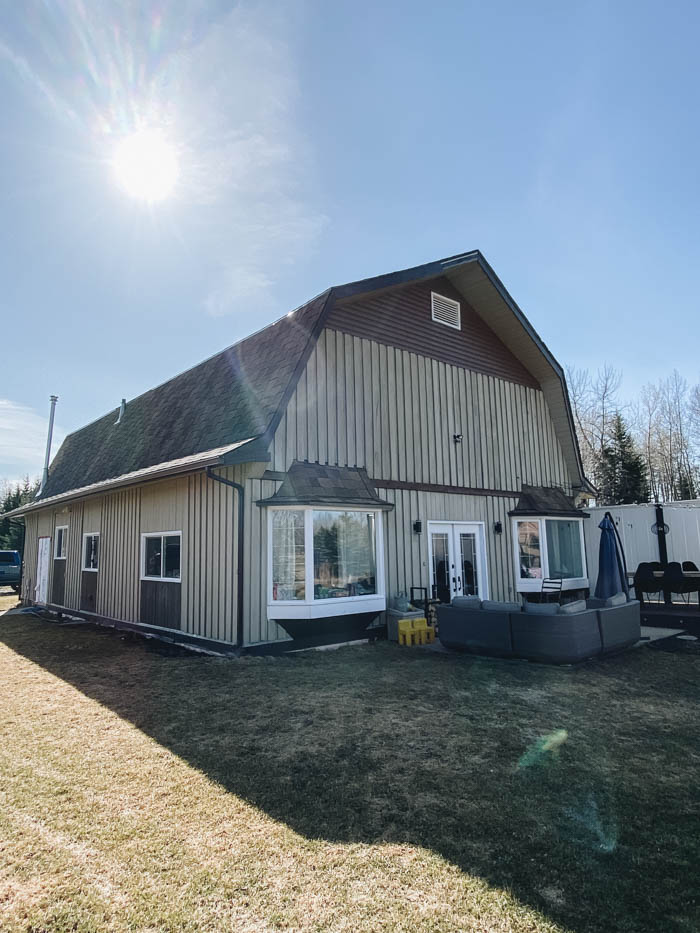
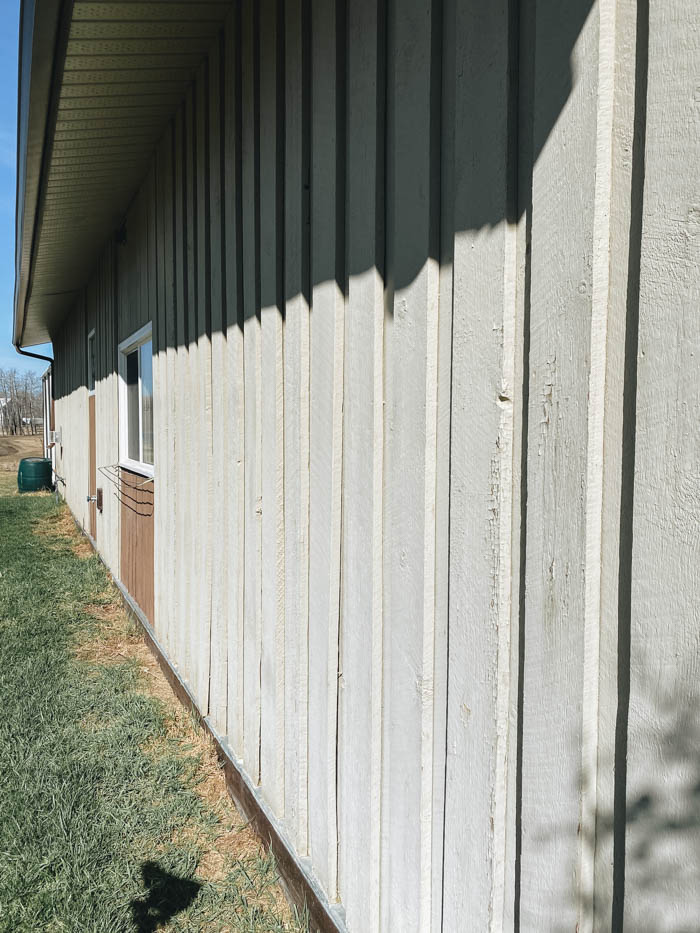
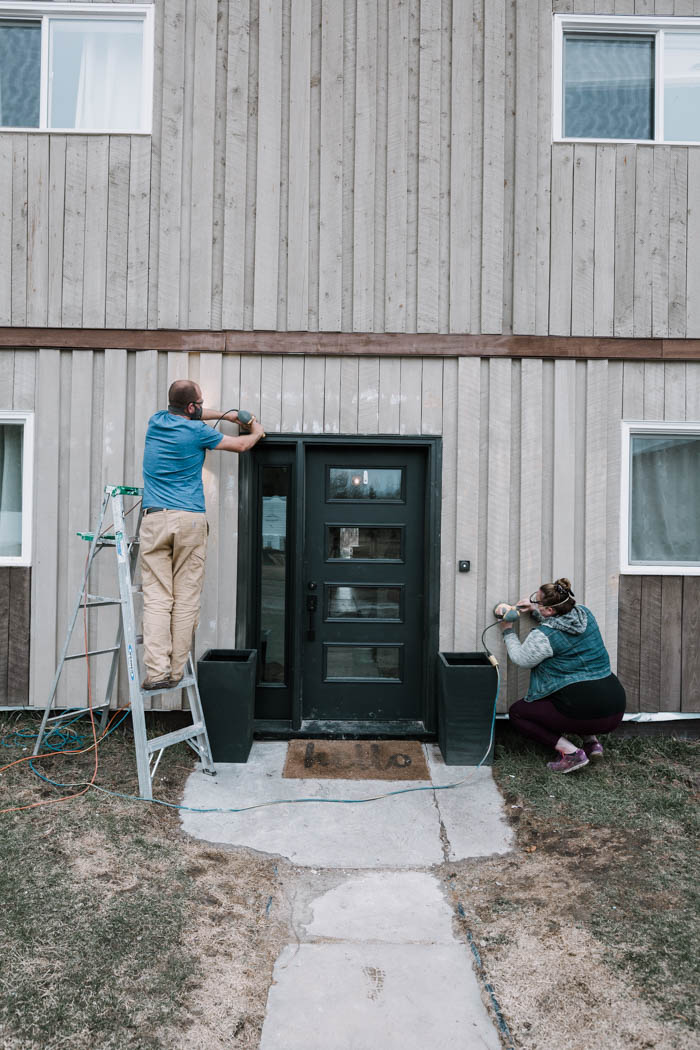
This is the exterior of our barn-shaped home. We have a lot of work to do if we want to fix up the exterior. Some of our plans include painting the siding, painting the trim, removing the dead greenery and building new garden beds, building a front porch structure, and replacing our back double doors.
It’s going to be a full three months of work, but we’re starting with all of our exterior painting preparation, which we did over the course of one week (not including the high siding, because we don’t have our scaffolding yet).
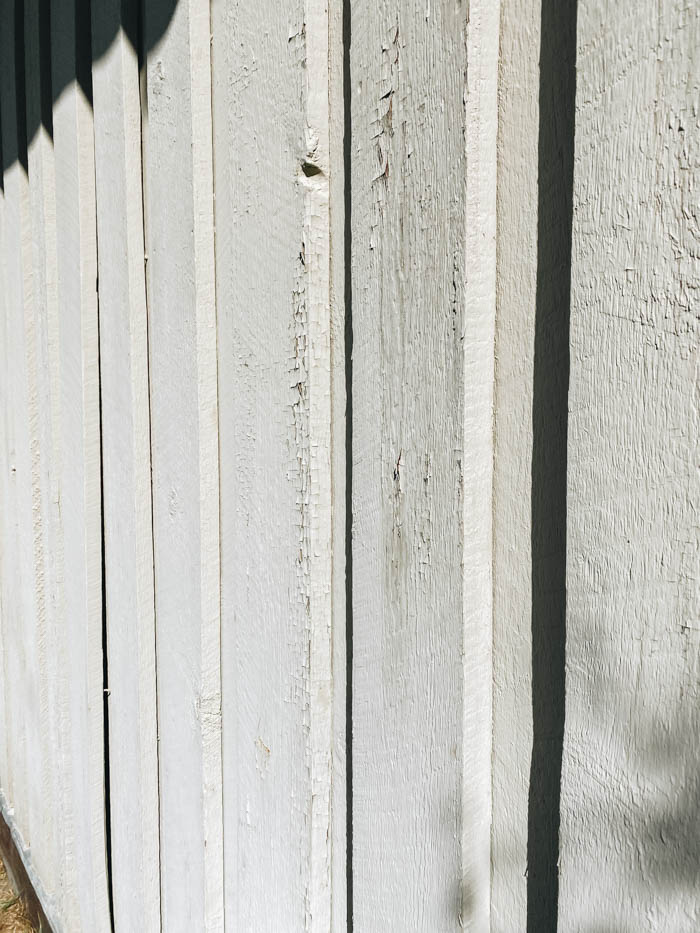
Here’s a closer photo of our siding on one side of our home. Our whole exterior is sided with this rough cut lumber, and some of the paint is chipping away. The worst damage was on sides that had the most wind and sun exposure.
How to Prep the Exterior for Paint
To see all of our preparations in action, make sure to watch the video below! We shared an entire tour of our exterior, our plans, and some of the specific things we had to do to start prepping our own space.
We also shared our TOP THREE paint options for the exterior! Watch the video and let us know what colour you think we should go with.
7 Steps to Prep Your Exterior for Painting
If you’re like me, and a step-by-step guide will get you through a tough process, then you’re in luck! We’ve broken the process into seven easy steps.
1. Do a Visual Check
The first step is to do a visual check around the house. You can look for paint damage, but the primary thing you are looking for are nails and/or screws that are sticking out, boards that are broken or coming off, and cracked or worn caulking.
If you find nails and screws, you can pound in any loose nails, or countersink any screws. If you find broken boards, remove or replace them. Caulking can be replaced now, or after you finish sanding, but must be done before you paint.
Finally, remove any unwanted hooks, brackets, or anything else that may need to come off before painting.
2. Check Your Paint Type
If you have a home built anytime between 1960-1990, you could have an exterior lead based paint, which can be extremely toxic if you create fumes or dust from those fumes. You can read more on lead-based paint here.
You can do tests for lead paint on your own at home with kits like this one. But if you find that your home does have lead paint, you should consider hiring an expert to do the paint removal to reduce all health and safety risks.
3. Sand the Paint
Sanding the whole wall is the most time-consuming part of any exterior painting preparation. We sanded everything down lightly, but focus on parts of the wood siding where the paint has bubbled, chipped, peeled or blistered. Sand anything down that feels rough to get the smoothest finish with your new paint.
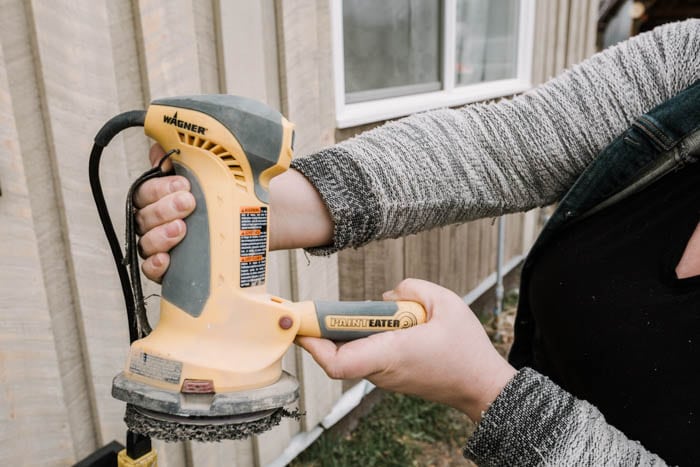
The easiest way to sand down everything was with our PaintEATER. The PaintEATER is a heavy duty sander with abrasive PaintEATer discs that allow you to easily take the paint of off the siding.
On sides where the siding was more damaged by the sun and wind, we went though 5-6 discs, but on sides without as much damage, we only went through 2 discs. The PaintEATER worked quickly and easily and made sanding the siding much faster!
Sanding smooth allows the primer to bond better. You don’t have to remove all of the paint, you just need to remove enough to get a smooth, feathered edge so that the new paint coatings will look smooth
If you’re planning on doing any sanding in the future, the PaintEATER is on sale now on Amazon make sure to use the code “10PAINTEATER”! Make sure to check it out while you can catch the deal. Definitely worth it for the time it saved us!
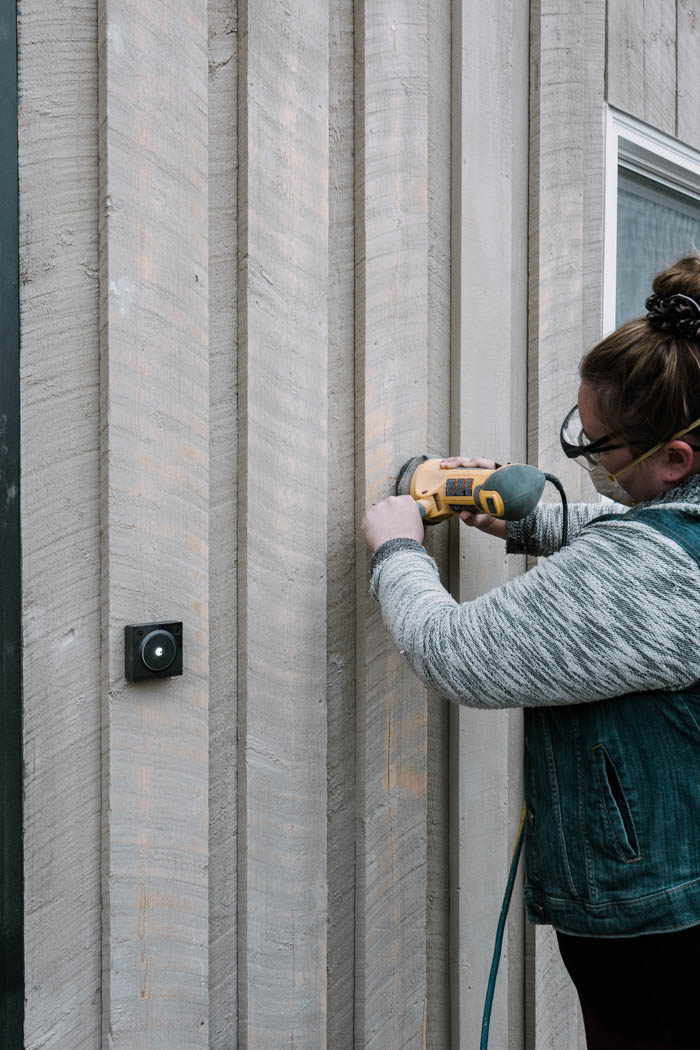
If you are sanding at home, chipping paint will go flying and you definitely want to make sure you have the right protective equipment. That includes good dust masks, safety glasses, ear protection for some people, and gloves.

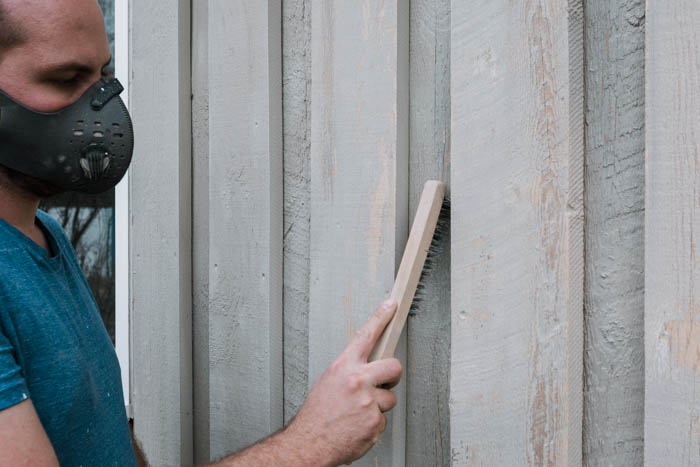
4. Get the Hard to Reach Parts
Inevitably when you are sanding there will be parts that the PaintEATER can’t reach. It could be between boards, or in corners, so you will need some other tools to help get into those hard to reach places.
The tools we used for that are a paint scrapper and a wire brush. They easily removed the chipping paint, and helped leave a smooth finish in those spots.
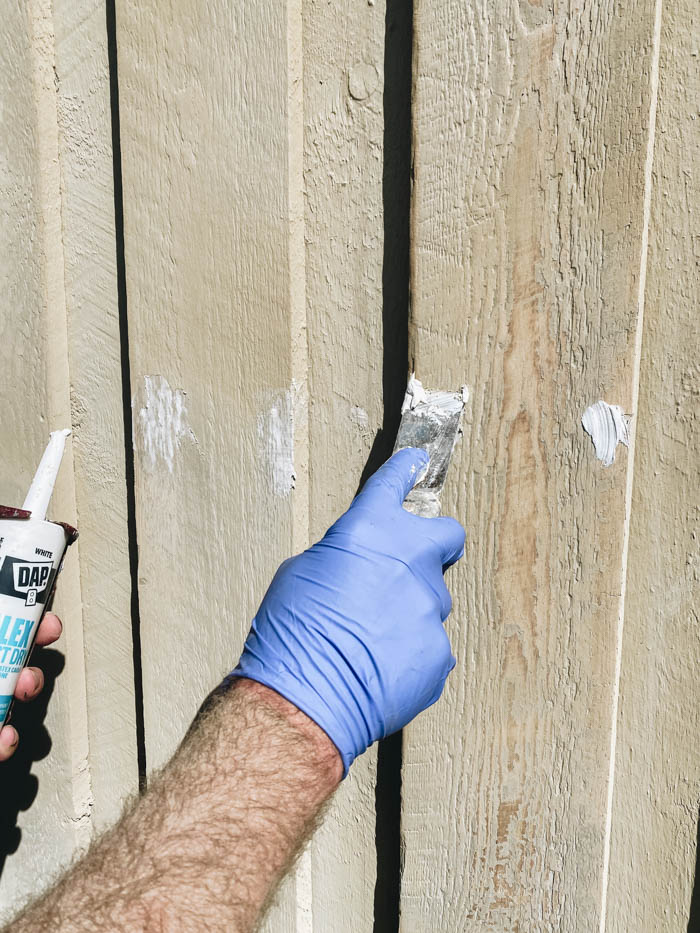
5. Make Sure the Wood is Sealed
Your wood siding must be sealed well before you add a new coat of paint. You can use wood filler, or exterior caulking and a putty knife to fill any nail or screw holes that pre-existed, or maybe ones that you created putting boards back in. Also, any cracks or knots, etc. in the wood may need to be filled. Any putty you add does need to be sanded down after to ensure a smooth paint finish.
You can also take this time to replace any caulking that was warn away or needed replacing around windows, etc. before you paint the siding.
6. Pressure Wash
After you have finished sanding the house, you may want to pressure wash everything to remove any dust and debris that you may have created with the sanding. Some people will pressure wash ahead of time too, which would remove some of the chipping paint, but you will still need to sand to get a nice smooth, feathered finish.
7. Temporarily Prime
If there is going to be a waiting period between when you sanded everything down and when you prime or paint the whole house, you may want to prime any big patches of wood that were exposed, to protect them from the elements.
In our case, we need to wait until we can get scaffolding to sand the top of our siding, and there may be a period of time between our sanding on the bottom and our painting, so we definitely needed to prime a couple of patches while we wait to prime the whole house.
How Long Does it Take to Prep for Painting the Exterior?
We did all of our exterior painting preparation in one week, other than the really high parts. In total it took us about 8 hours, to sand and scrap everything.
When we do the top portion, we will also have to set-up scaffolding and move scaffolding around, which will add at least 4 hours if I had to guess.

Exterior Painting Preparation
7 easy steps for perfect Exterior Painting Preparation! If you are painting your exterior wood siding, this will give you a perfect result!
Materials
- Wood Siding
- Exterior caulking
- Wood Filler
Tools
- PaintEATER
- PaintEATER discs
- Putty Knife
- Paint Scrapper
- Wire Brush (optional)
- Safety Glasses
- Dust Mask
- Gloves
Instructions
- Do a visual check for exposed nails & screws, or loose boards.
- Check your current paint. Get it tested if there are concerns it could be lead paint.
- Sand down wood siding with your PaintEATER.
- Scrap any hard to reach areas with a paint scrapper or wire brush (e.g. corners).
- Make sure wood is all sealed properly with wood filler or exterior caulking.
- Pressure wash the siding after to remove any dust & debris after sanding.
- Temporarily prime any exposed wood to protect it if there will be a time gap between when you scrapped and sanded, and when you plan to paint.
Recommended Products
As an Amazon Associate and member of other affiliate programs, I earn from qualifying purchases.


We are planning to use a paint sprayer for our entire exterior paint job, and we will share all of the details on that soon! If you’re interested in learning how to use an interior paint sprayer, here’s everything you need to know!