
Make this easy DIY stocking ornament! Beautiful modern wooden ornaments that you can cut out on your own, or use the Cricut Maker for!

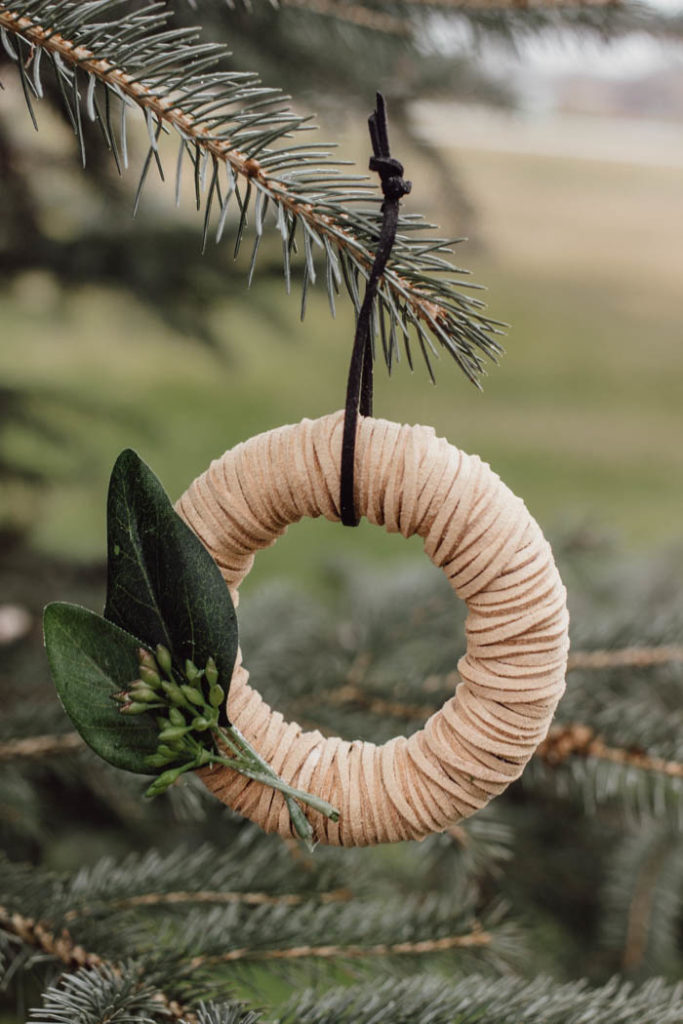
There are two things that I make every. single. year. At least once. A wreath, and an ornament. I already finished the wreath, and now I’m trying my hand at a new holiday ornament. I think trees should be filled with ornaments of different sizes, and shapes, and textures. This year I wanted to add a little more wood into my ornament collection, and decided to make an easy DIY stocking ornament! Also, there are a TON of other amazing DIYers sharing ornaments at the bottom of the post that you should definitely check out!
*This post may contain affiliate links. When you buy a product through one of our links, we get a commission at no cost to you! Thank you for supporting our blog so that we can continue to bring you posts like these. For more information, please see our disclosure page.*
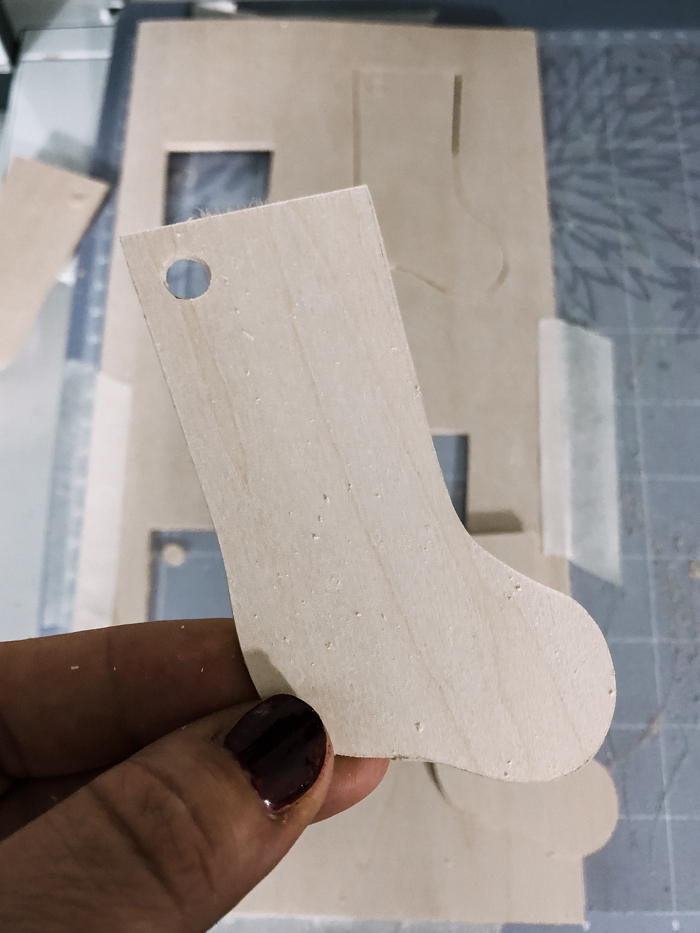
The hardest part about this DIY is cutting the actual wood. One option is to draw, or trace a design onto your wood, and use a scroll saw to cut the design out. Make sure you also drill a tiny hole in the top corner of the stocking to string a cord through!
Another option would be to use a Cricut Maker! If you’ve never heard of a Cricut Maker, it’s a small machine that cuts designs out of tones of different materials, from cardstock and vinyl, to thick leather and wood. When it comes to wood, think of it as a tiny CNC.
I’ll show you exactly how to use the Cricut to cut your designs, since that’s what I did.
Materials Needed to Make Wooden Stocking Ornaments
- Cricut Maker
- Cricut Knife Blade
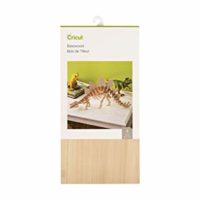
- Basswood Boards
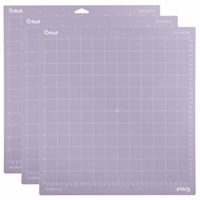
- Strong Grip Cricut Mat
- Fleece or soft white material
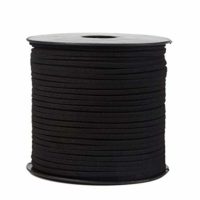
- Leather Cording
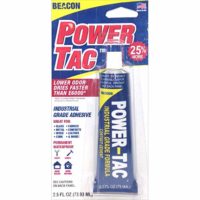
- Power Tac Glue
You can get the Cricut Design Space File HERE.
How to Make Your Stocking Ornaments

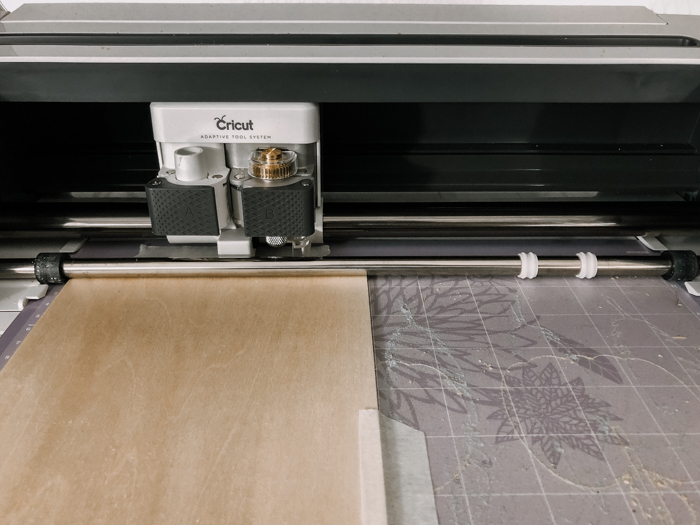
If you are using a Cricut Maker, the first step is to insert the knife blade. That is the only blade that can cut wood easily.
The next step is to move all of the “stars” out of the way. Those are the white circles on the silver bar above. Then tape your wood down with masking tape on a strong grip mat.
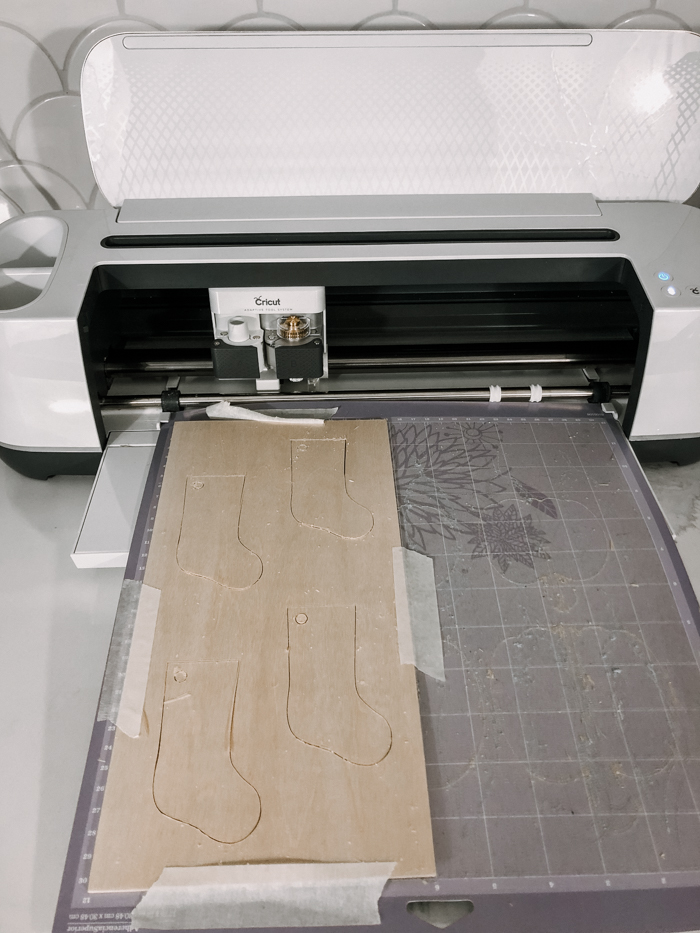
Once you hit the “go” button, your design will cut out. It does 14 slow and steady passes before it cuts the wood so it can take a while, but it’s worth it!
Just make sure your wood is taped and secured to the mat (because if it’s not it could shift mid-project!), and go do whatever you like until it’s all cut out!
My design space file has four of these stockings, but you can cut more or less if desired.
The next step is to take your leather cording and string it through the hole you cut, and then tie a knot.
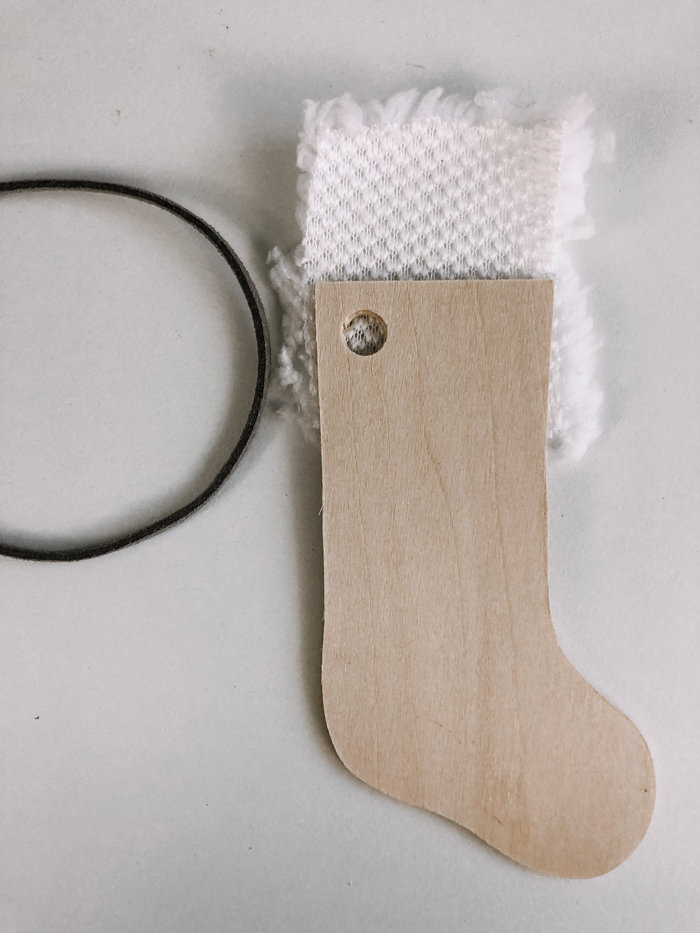
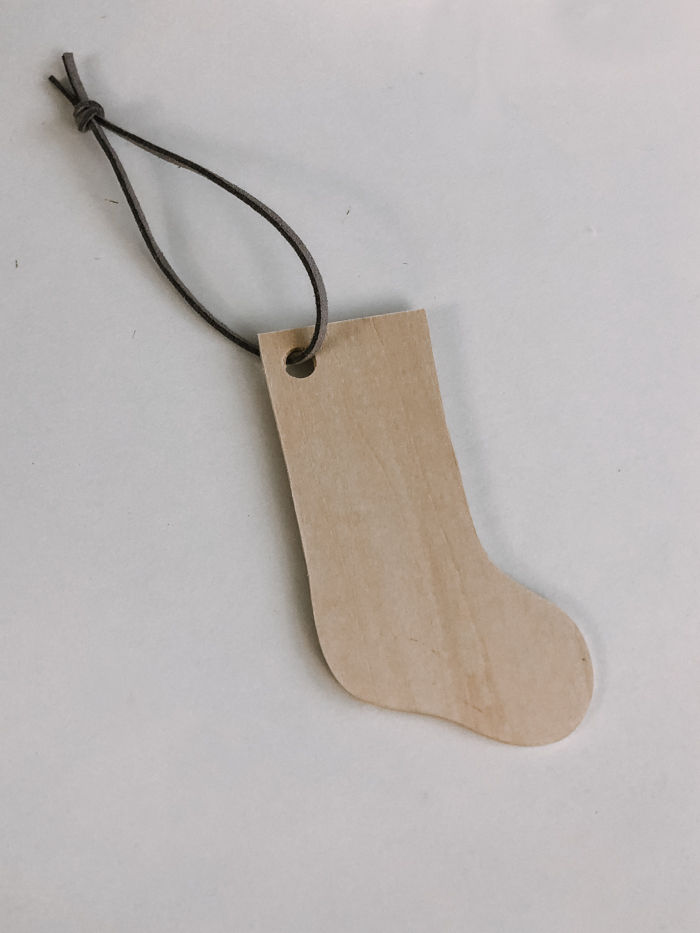
Cut a piece of fluffy fleece, or another soft fabric, that you can wrap around the top of the stocking.

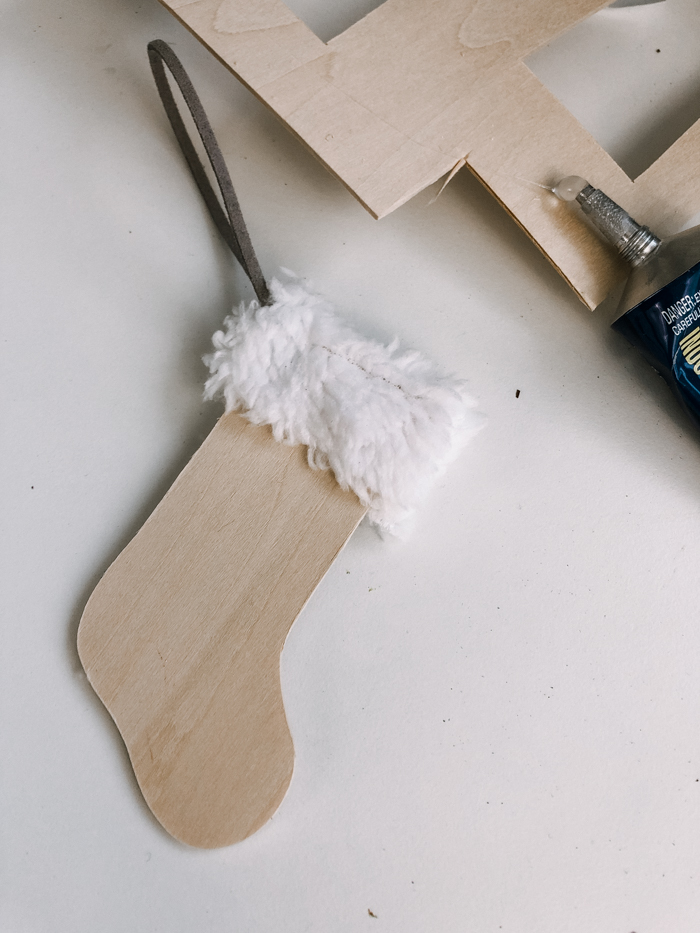
When you’re ready, hide the knot from the cording behind the fleece, and then glue everything in place.
I used Power Tac Glue, because it’s strong, dries quickly, doesn’t smell, and won’t burn your fingers! lol.
Video of Cutting Wood on the Cricut Maker
If you’d like to cut wood on the Cricut Maker, here’s a quick video from another wooden ornament I made to show you how easy it is!
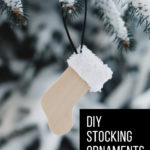
The finished DIY Stocking Ornament
I love these guys! I made a couple with grey cording, and a couple with black cording, but you could really use any ribbon or material you want!
I may still add a couple of hanging pom poms, but I’m pretty happy with these cute little stockings!

I also love how easy these would be to personalize! Add a single letter sticker for each family member, or a name along the side, or the words “baby’s 1st Christmas” – the options are endless!


I hope you liked them!

DIY Stocking Ornaments
Make this easy DIY stocking ornament! Beautiful modern wooden ornaments that you can cut out on your own, or use the Cricut Maker for!
Materials
- Basswood
- Fleece Fabric
- Leather Cording
Tools
- Cricut Maker (or Scroll Saw)
- Knife Blade
Instructions
- Open the stocking design in the Cricut Design Space, (or create your own), and hit the "make it" button to cut the design. If you do not have a Cricut, you could also draw the design by hand, or trace one, and cut it using a scroll saw, and then a small drill bit to cut the hole.
- Prep our Cricut Maker to cut the design by moving the stars over the the far right hand side, and inserting the Cricut Knife blade.
- Cut out the design (which could take up to an hour, as the knife blade does 14 passes).
- Remove the wooden stockings and tie a piece of leather cording to them.
- Cut a piece of fleece to fit over the top of the ornament, and hide your leather cording knot inside. Glue the fleece onto the top of the stocking using Pawer Tac glue.
Recommended Products
As an Amazon Associate and member of other affiliate programs, I earn from qualifying purchases.


 Welcome to the second week of the Seasonal Simplicity Christmas Series! Today a group of my blogging friends and I are sharing our DIY Christmas Ornament projects to help inspire you to get crafty for the upcoming holiday season. Click on the links below each image to be taken directly to the different posts!

DIY Christmas Light Tree Ornaments at The Happy Housie Handmade Ornaments from Free Printables at The Handmade Home DIY Dollar Store Christmas Tree Ornament at Craftberry Bush DIY Twig Christmas Tree Ornament at The Turquoise Home
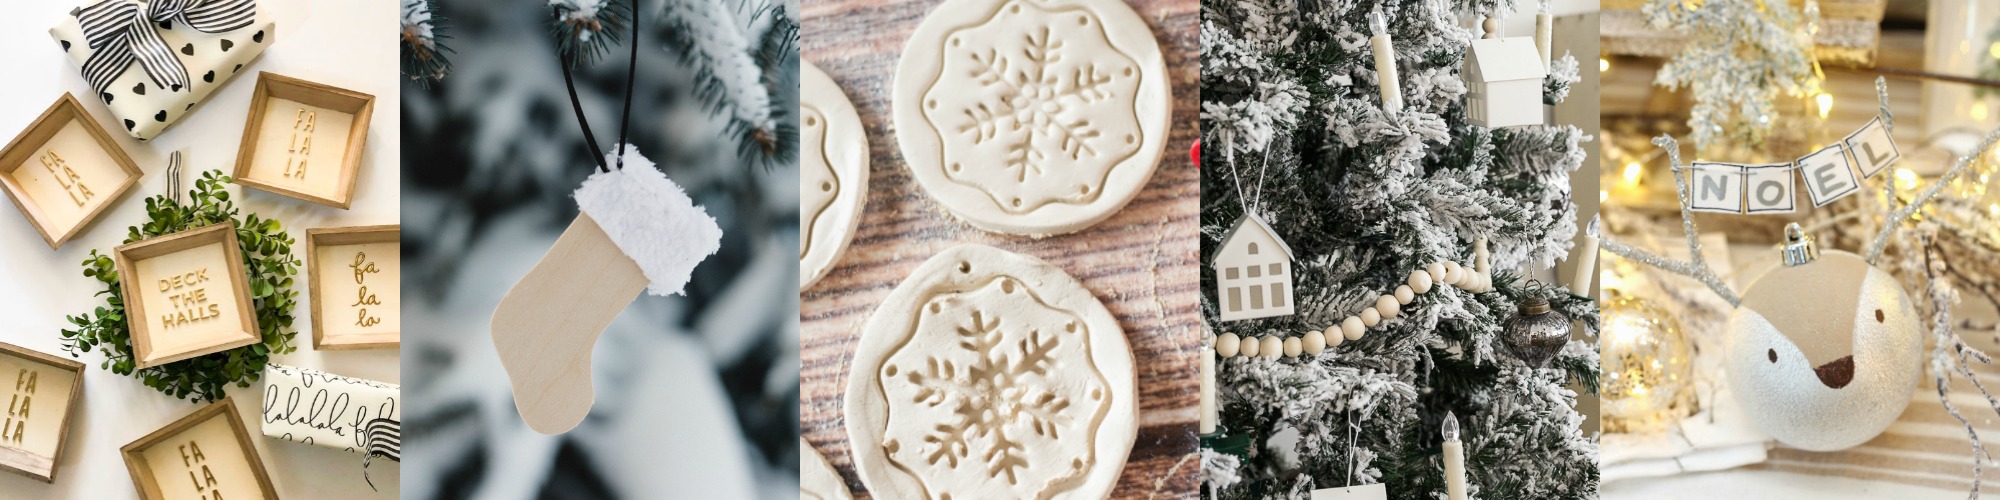
Farmhouse Christmas Sign Ornaments at Tatertots and Jello DIY Stocking Ornament at Love Create Celebrate DIY Kid Friendly Christmas Ornaments at Jenna Kate at Home DIY Wood Bead Christmas Garland at So Much Better With Age Reindeer Handmade Christmas Ornament Clean & Scentsible

DIY Christmas Ornament at My 100 Year Old Home Easy Christmas Ornament DIY at Happy Happy Nester Frosted Pear Tree Ornaments at Sincerely, Marie Designs Elegant Embroidery Hoop Ornaments at All Things With Purpose Homemade Christmas Ornament at Seeking Lavender Lane

Easy Wood Bead Christmas Ornaments at Cherished Bliss DIY Hand Painted Floral Christmas Ornaments at The DIY Mommy DIY Black and White Ornaments at Taryn Whiteaker DIY Reindeer Vintage Car Christmas Ornament at Cassie Bustamante Photo Block Christmas Ornament at Amber Tysl

Melted Crayon Ornaments at Modern Glam Wine Cork Mushroom Christmas Ornaments at Life is a Party Cinnamon Stick and Orange Slice Ornaments at A Pretty Life Easy DIY Reversible Christmas Ornaments at She Gave it a Go DIY Mason Jar Snow Globe Ornament at Lolly Jane
If you liked this, you may love these DIY ornaments too!

DIY Christmas Ornament - MY 100 YEAR OLD HOME
Thursday 16th of April 2020
[…] Christmas Sign Ornaments at Tatertots and Jello DIY Stocking Ornament at Love Create Celebrate DIY Kid Friendly Christmas Ornaments at Jenna Kate at Home DIY Wood Bead Christmas Garland at So […]
Mushroom Christmas Ornament - Life is a Party
Thursday 13th of February 2020
[…] Christmas Sign Ornaments at Tatertots and Jello Stocking Ornament at Love Create Celebrate DIY Kid Friendly Christmas Ornaments at Jenna Kate at Home Wood Bead Christmas Garland at So Much […]
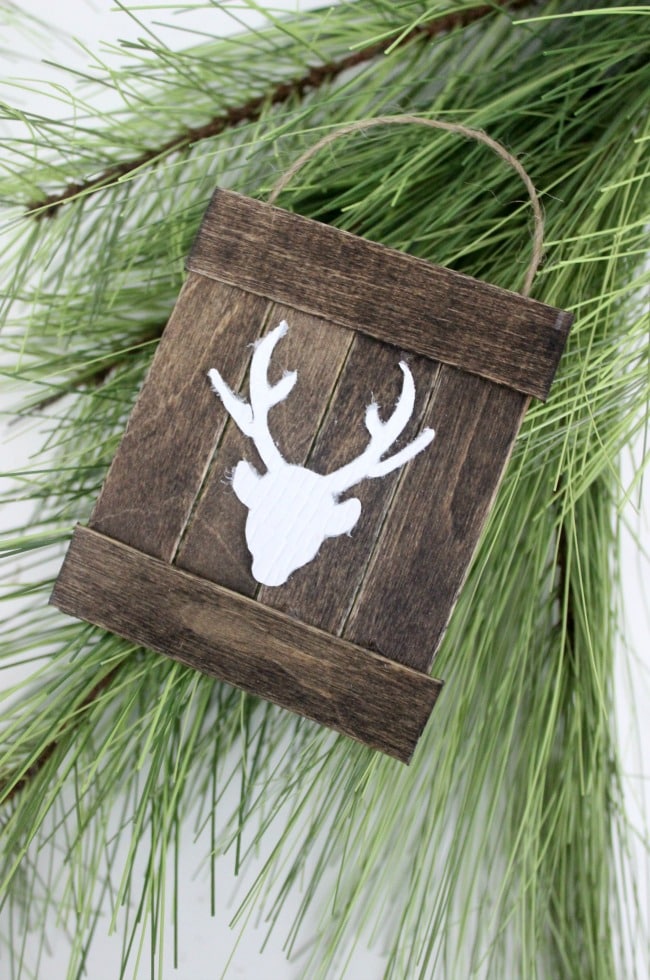
Reindeer Handmade Christmas Ornaments - Clean and Scentsible
Sunday 24th of November 2019
[…] Christmas Sign Ornaments at Tatertots and Jello DIY Stocking Ornament at Love Create Celebrate Kid Friendly Christmas Ornaments at Jenna Kate at Home DIY Wood Bead Christmas Garland at So Much […]
Sarah @ The DIY Mommy
Friday 15th of November 2019
Too cute! I love a good cricut project.
Krista
Wednesday 13th of November 2019
I love that they could be personalized for each family member! So adorable. Thanks for sharing on the blog hop.