
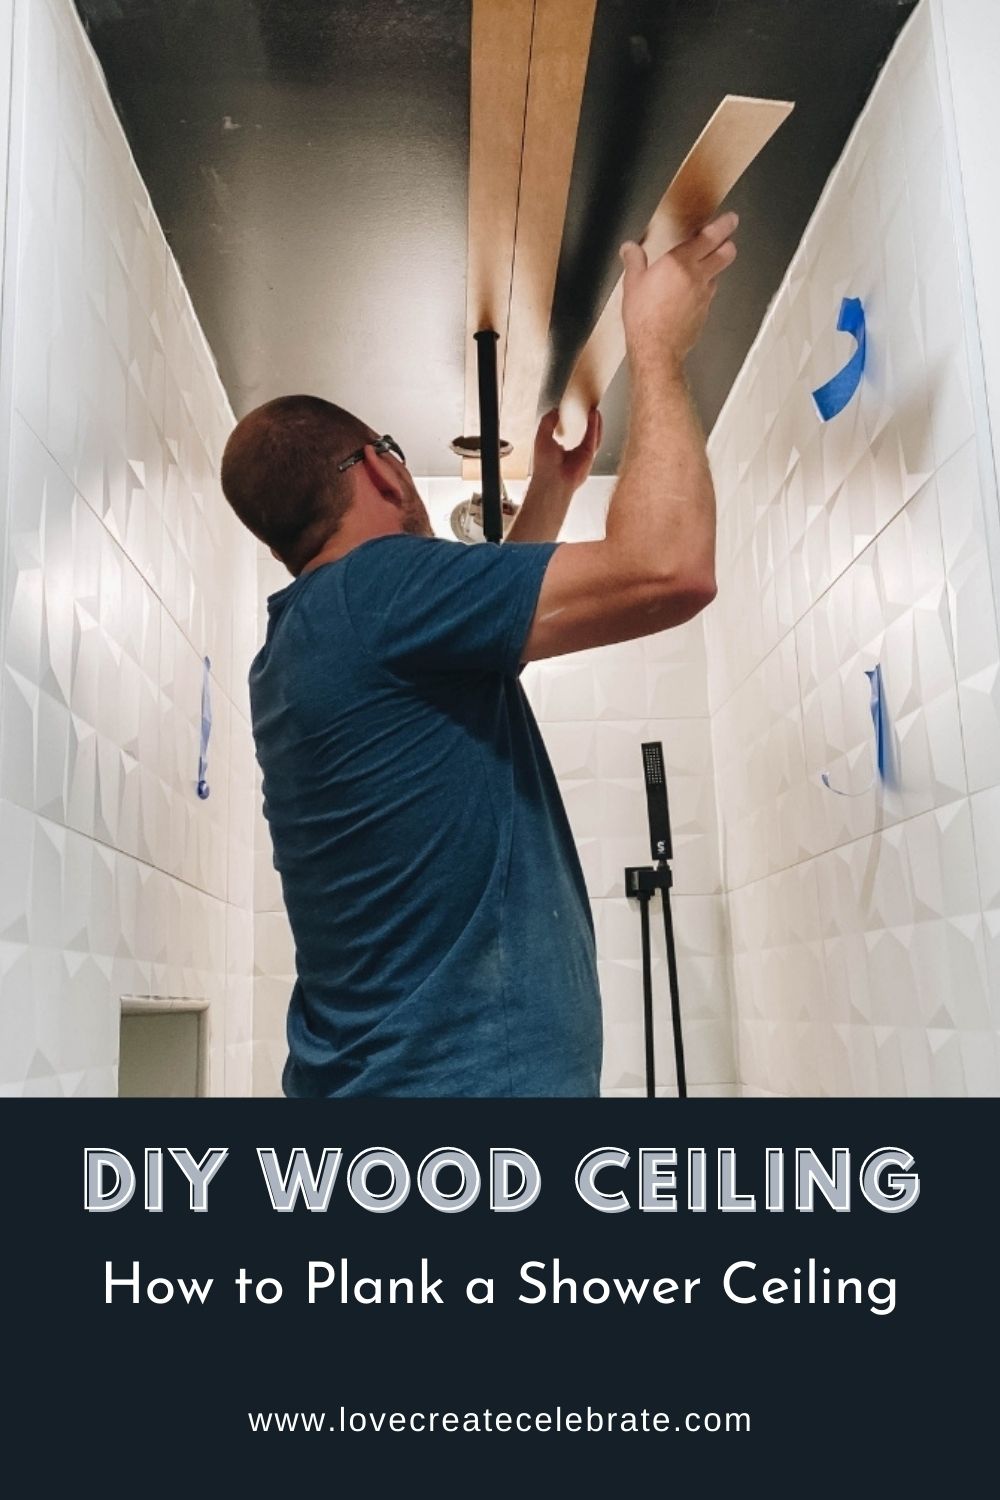
Install a DIY Wood Ceiling in your shower or home. See how to install it, what type of wood to use, and how to make sure it’s waterproof.
When I told my husband I wanted to add a wood ceiling to our shower, I may have seen an eye roll or two, lol. Adding wood to any space is a great way to add texture and warmth, as well as vertical or horizontal lines to lead the eye around the room. But adding wood to the bathroom presents it’s own challenges! Including what wood to use safely, and how to waterproof it to protect it from mold and mildew. We’ll go through all this and more as we share how we did our DIY Wood Ceiling in our shower.
Wood Shower Design Inspiration
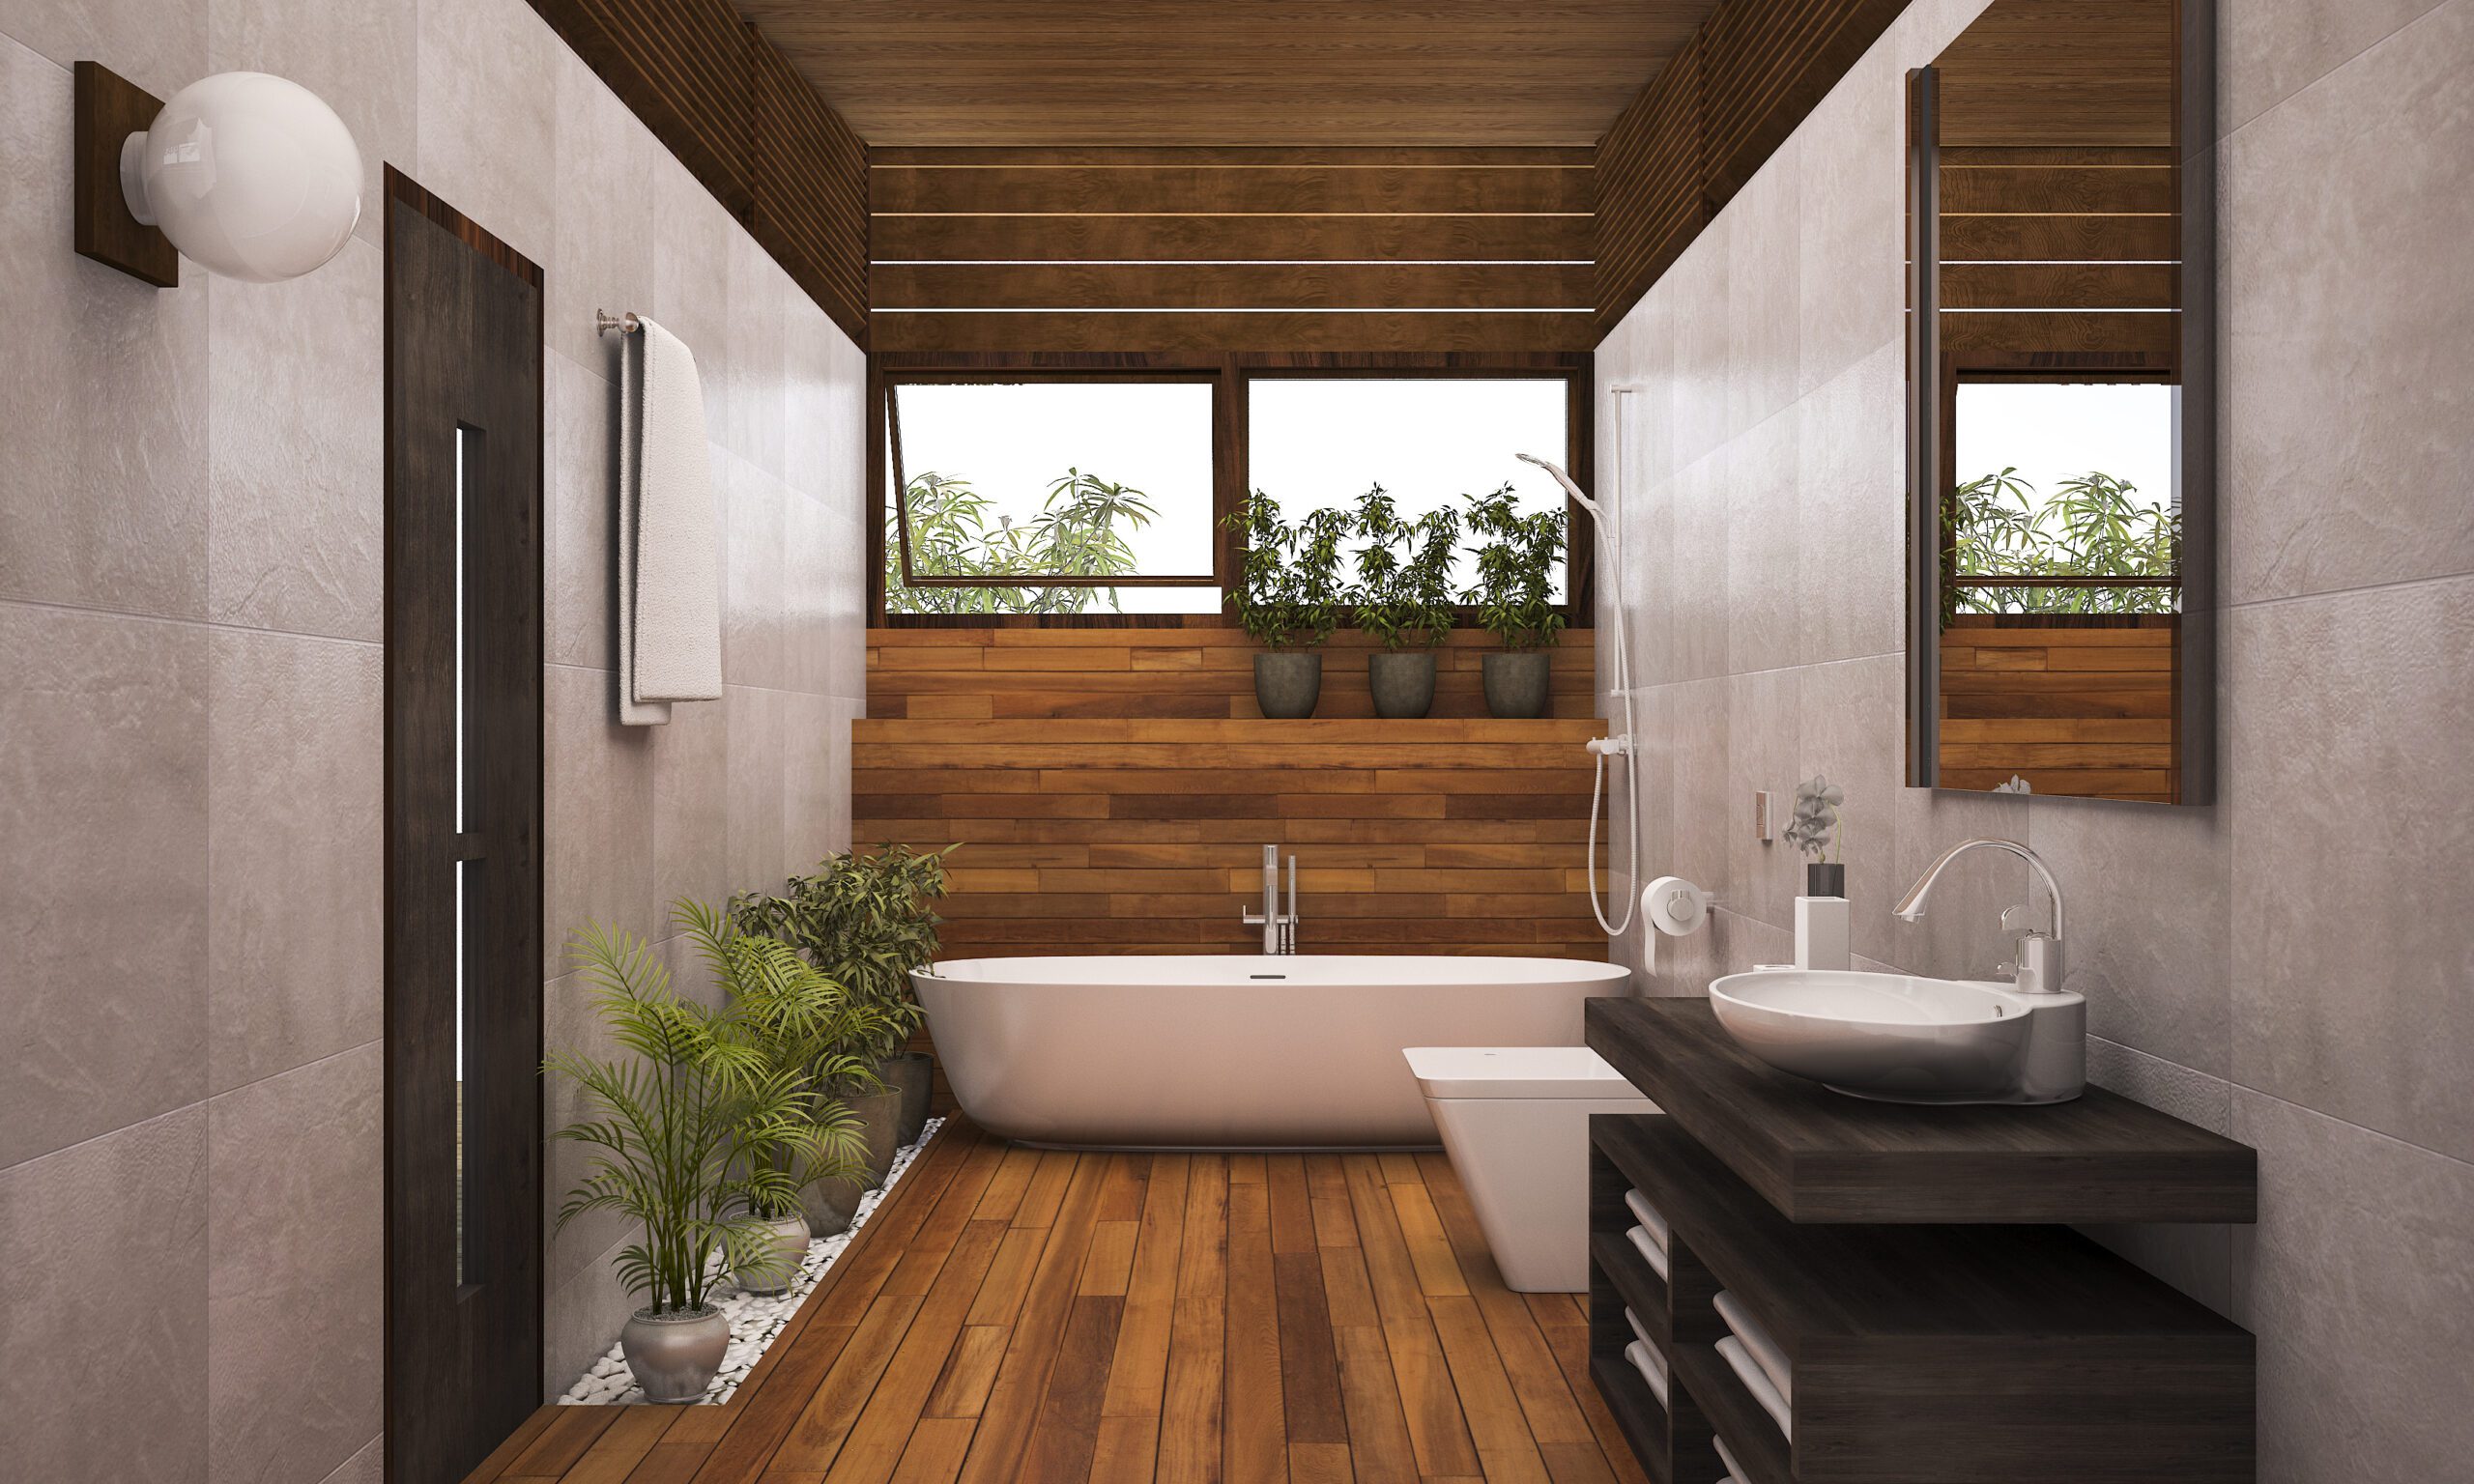
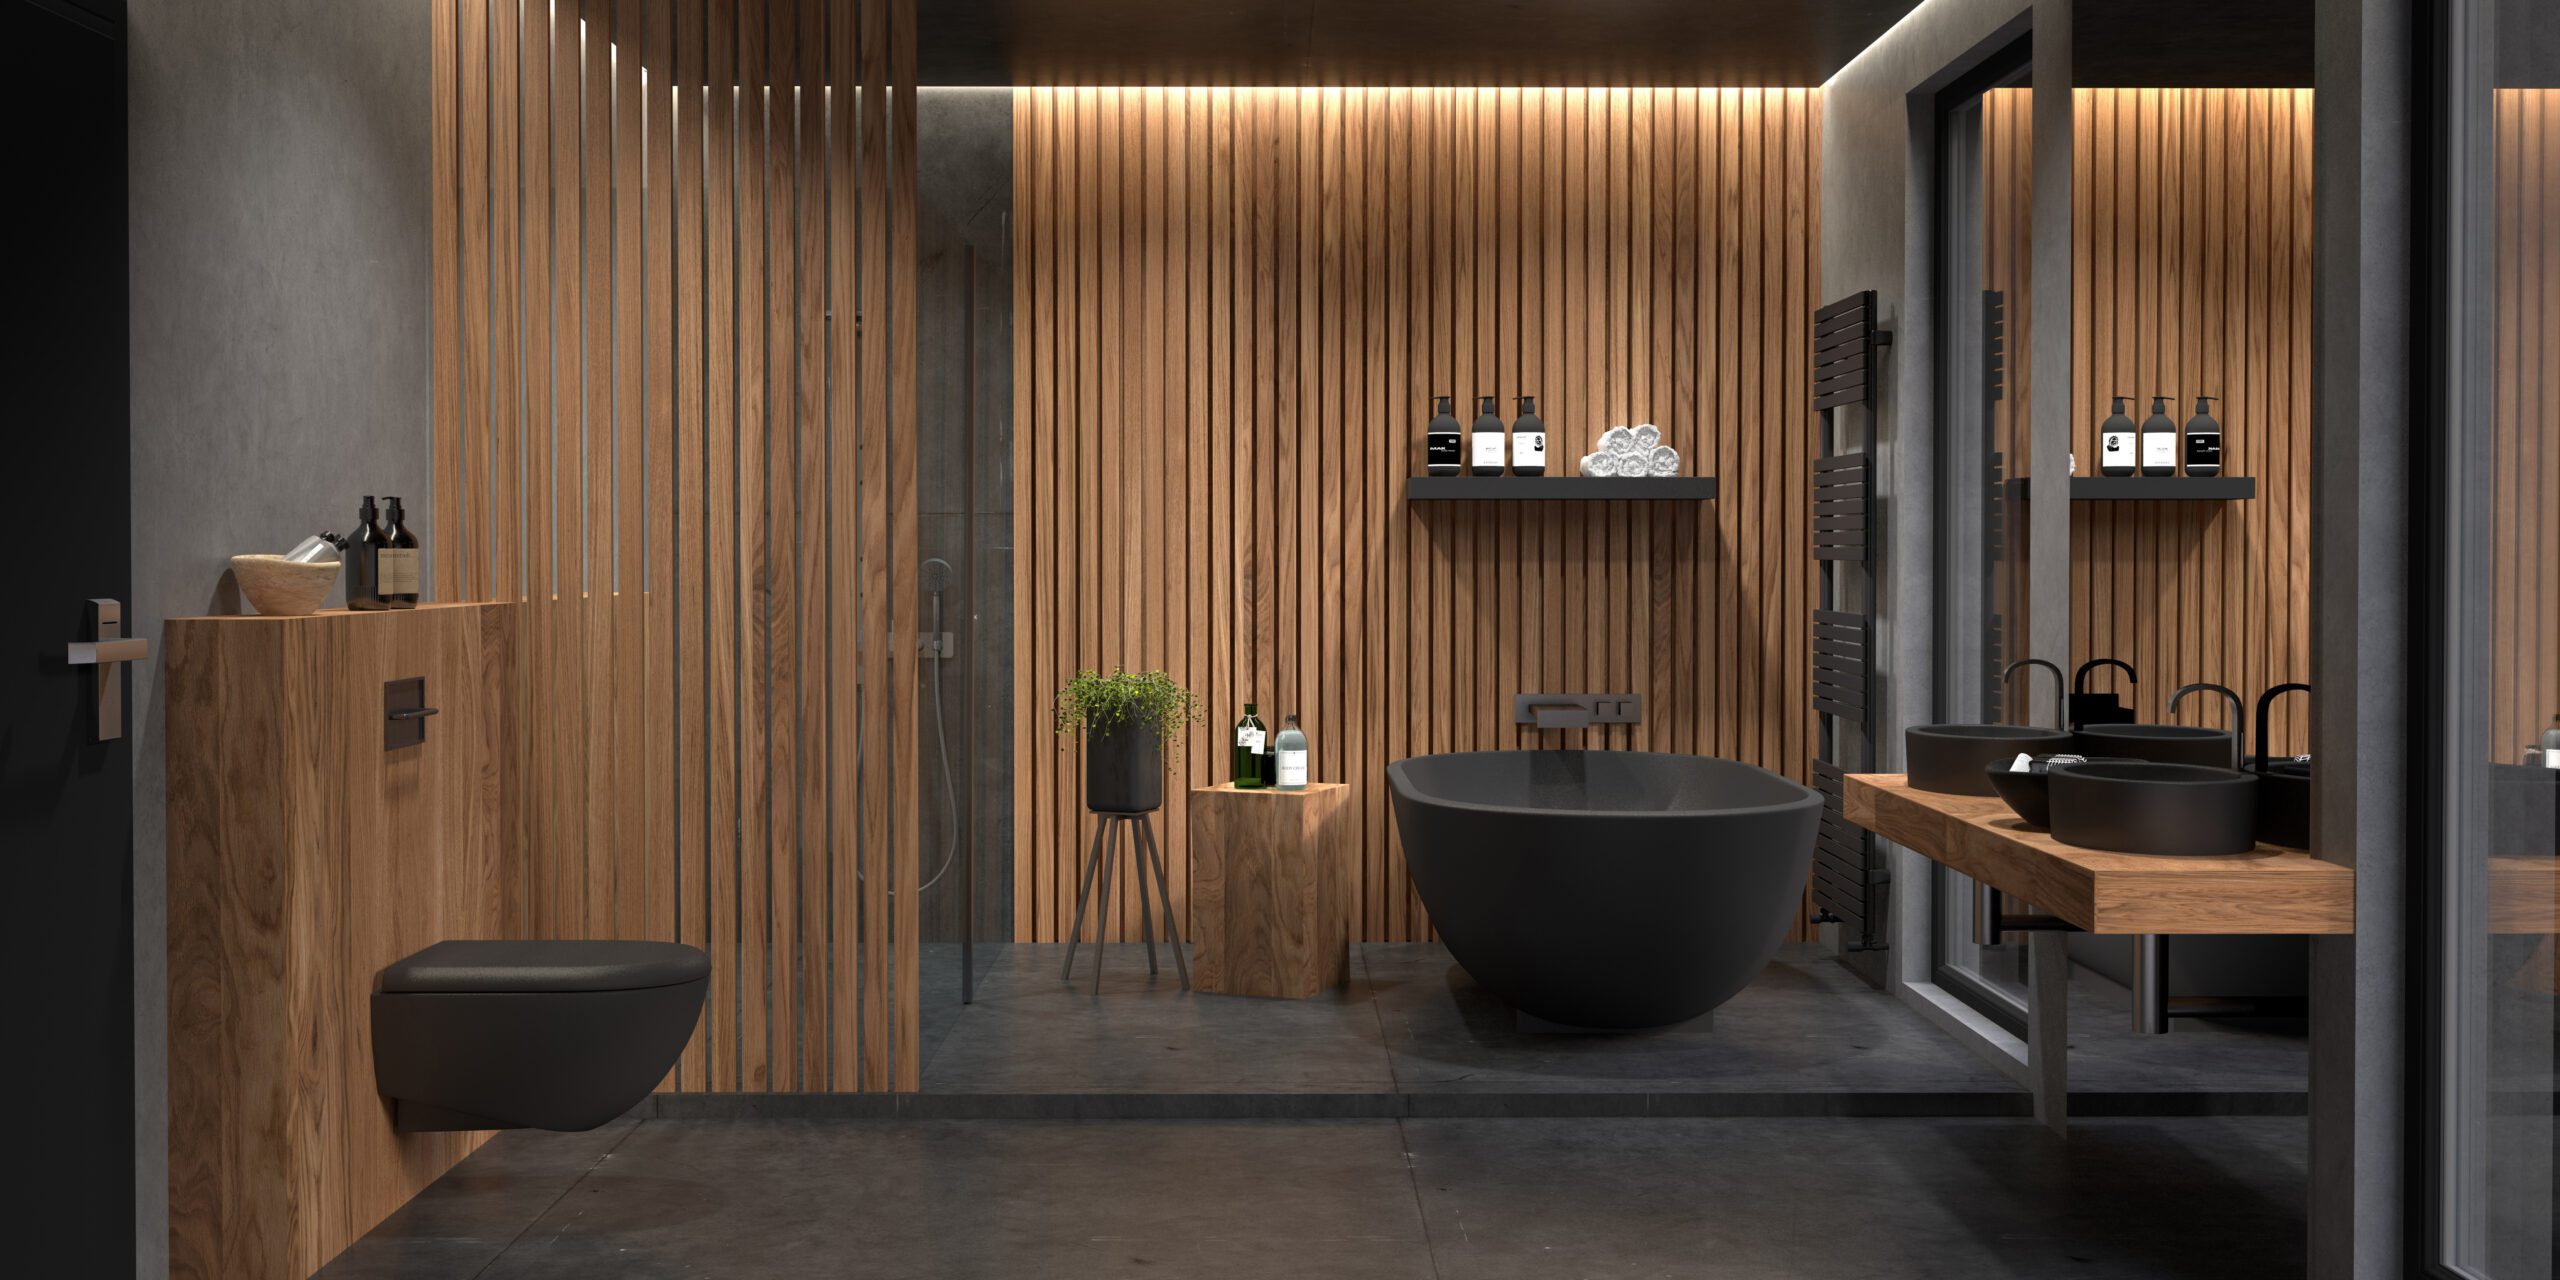
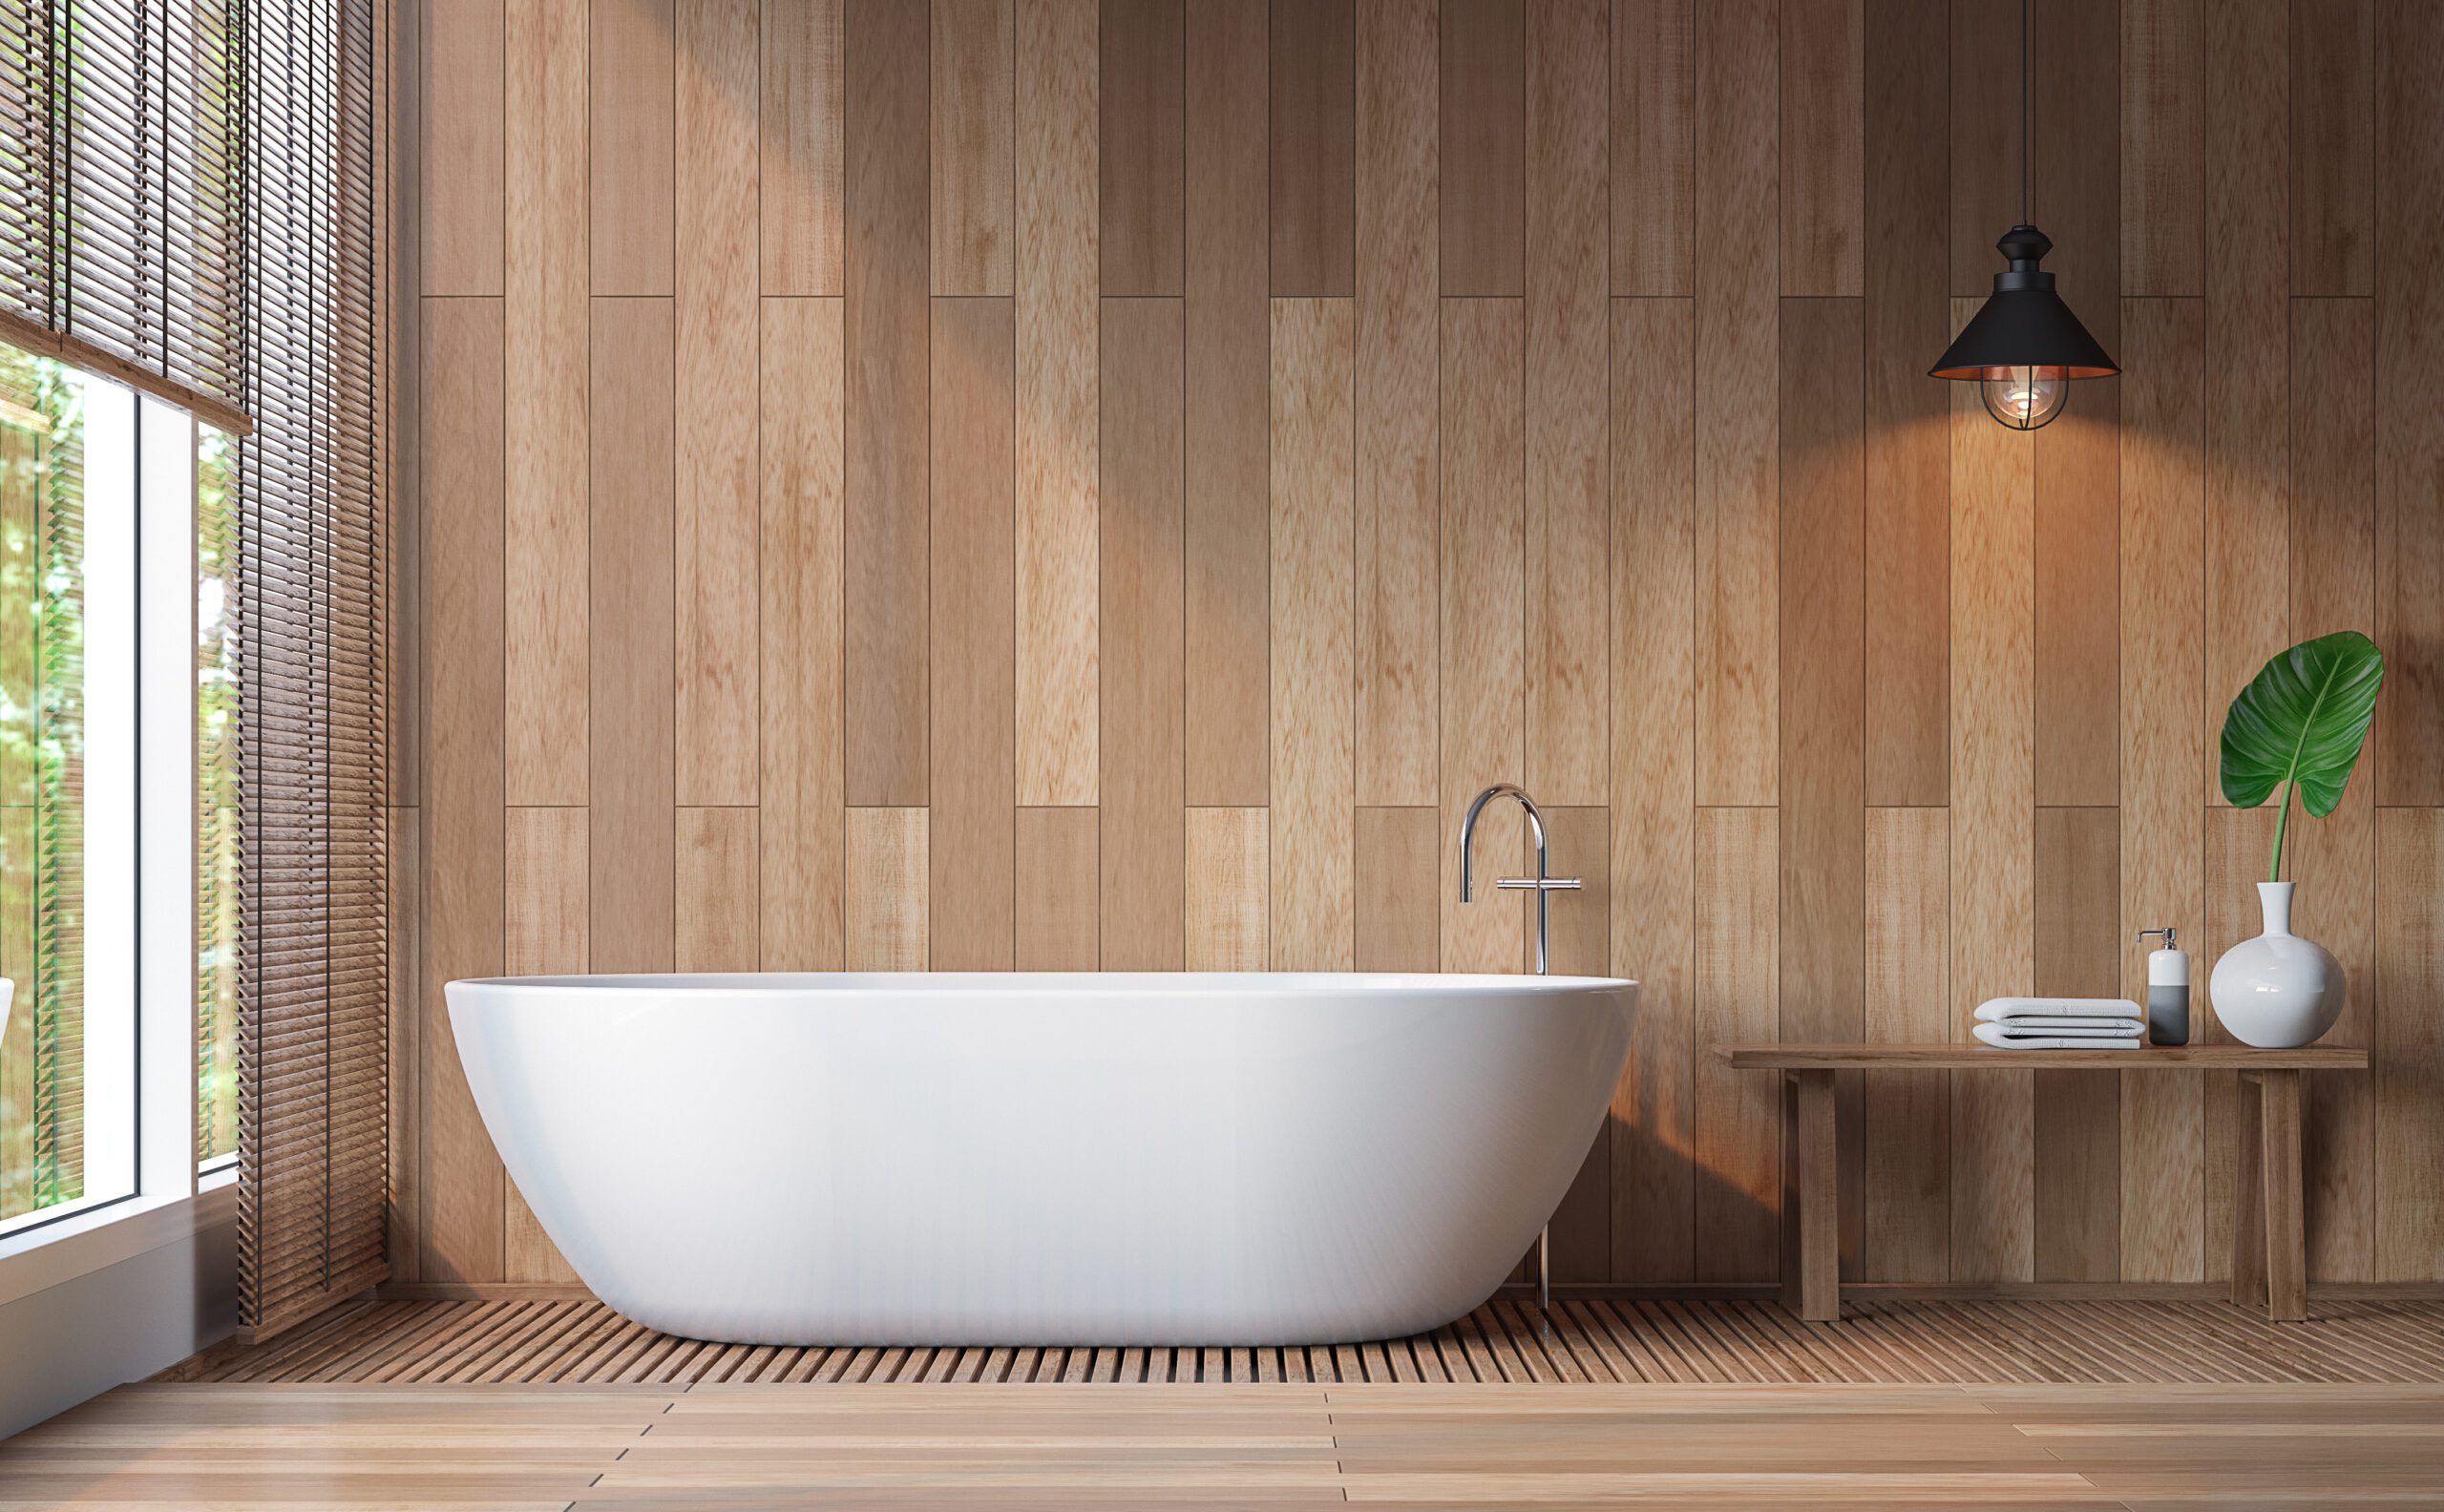
When I was looking for inspiration for this bathroom design, I came across a couple of photos that had wooden slats on the ceiling. I fell in love with that idea! In this space that was going to have a ton of white tile, I knew the DIY wood ceiling would add a lot of warmth, help elongate the shower, and make our small ensuite look bigger.
Can wood be used in the shower?
Now that you know design-wise why we wanted to put wood in the shower, there can be some hesitation about using wood in a shower or wet space, but here are some of the reasons weren’t worried that it would work.
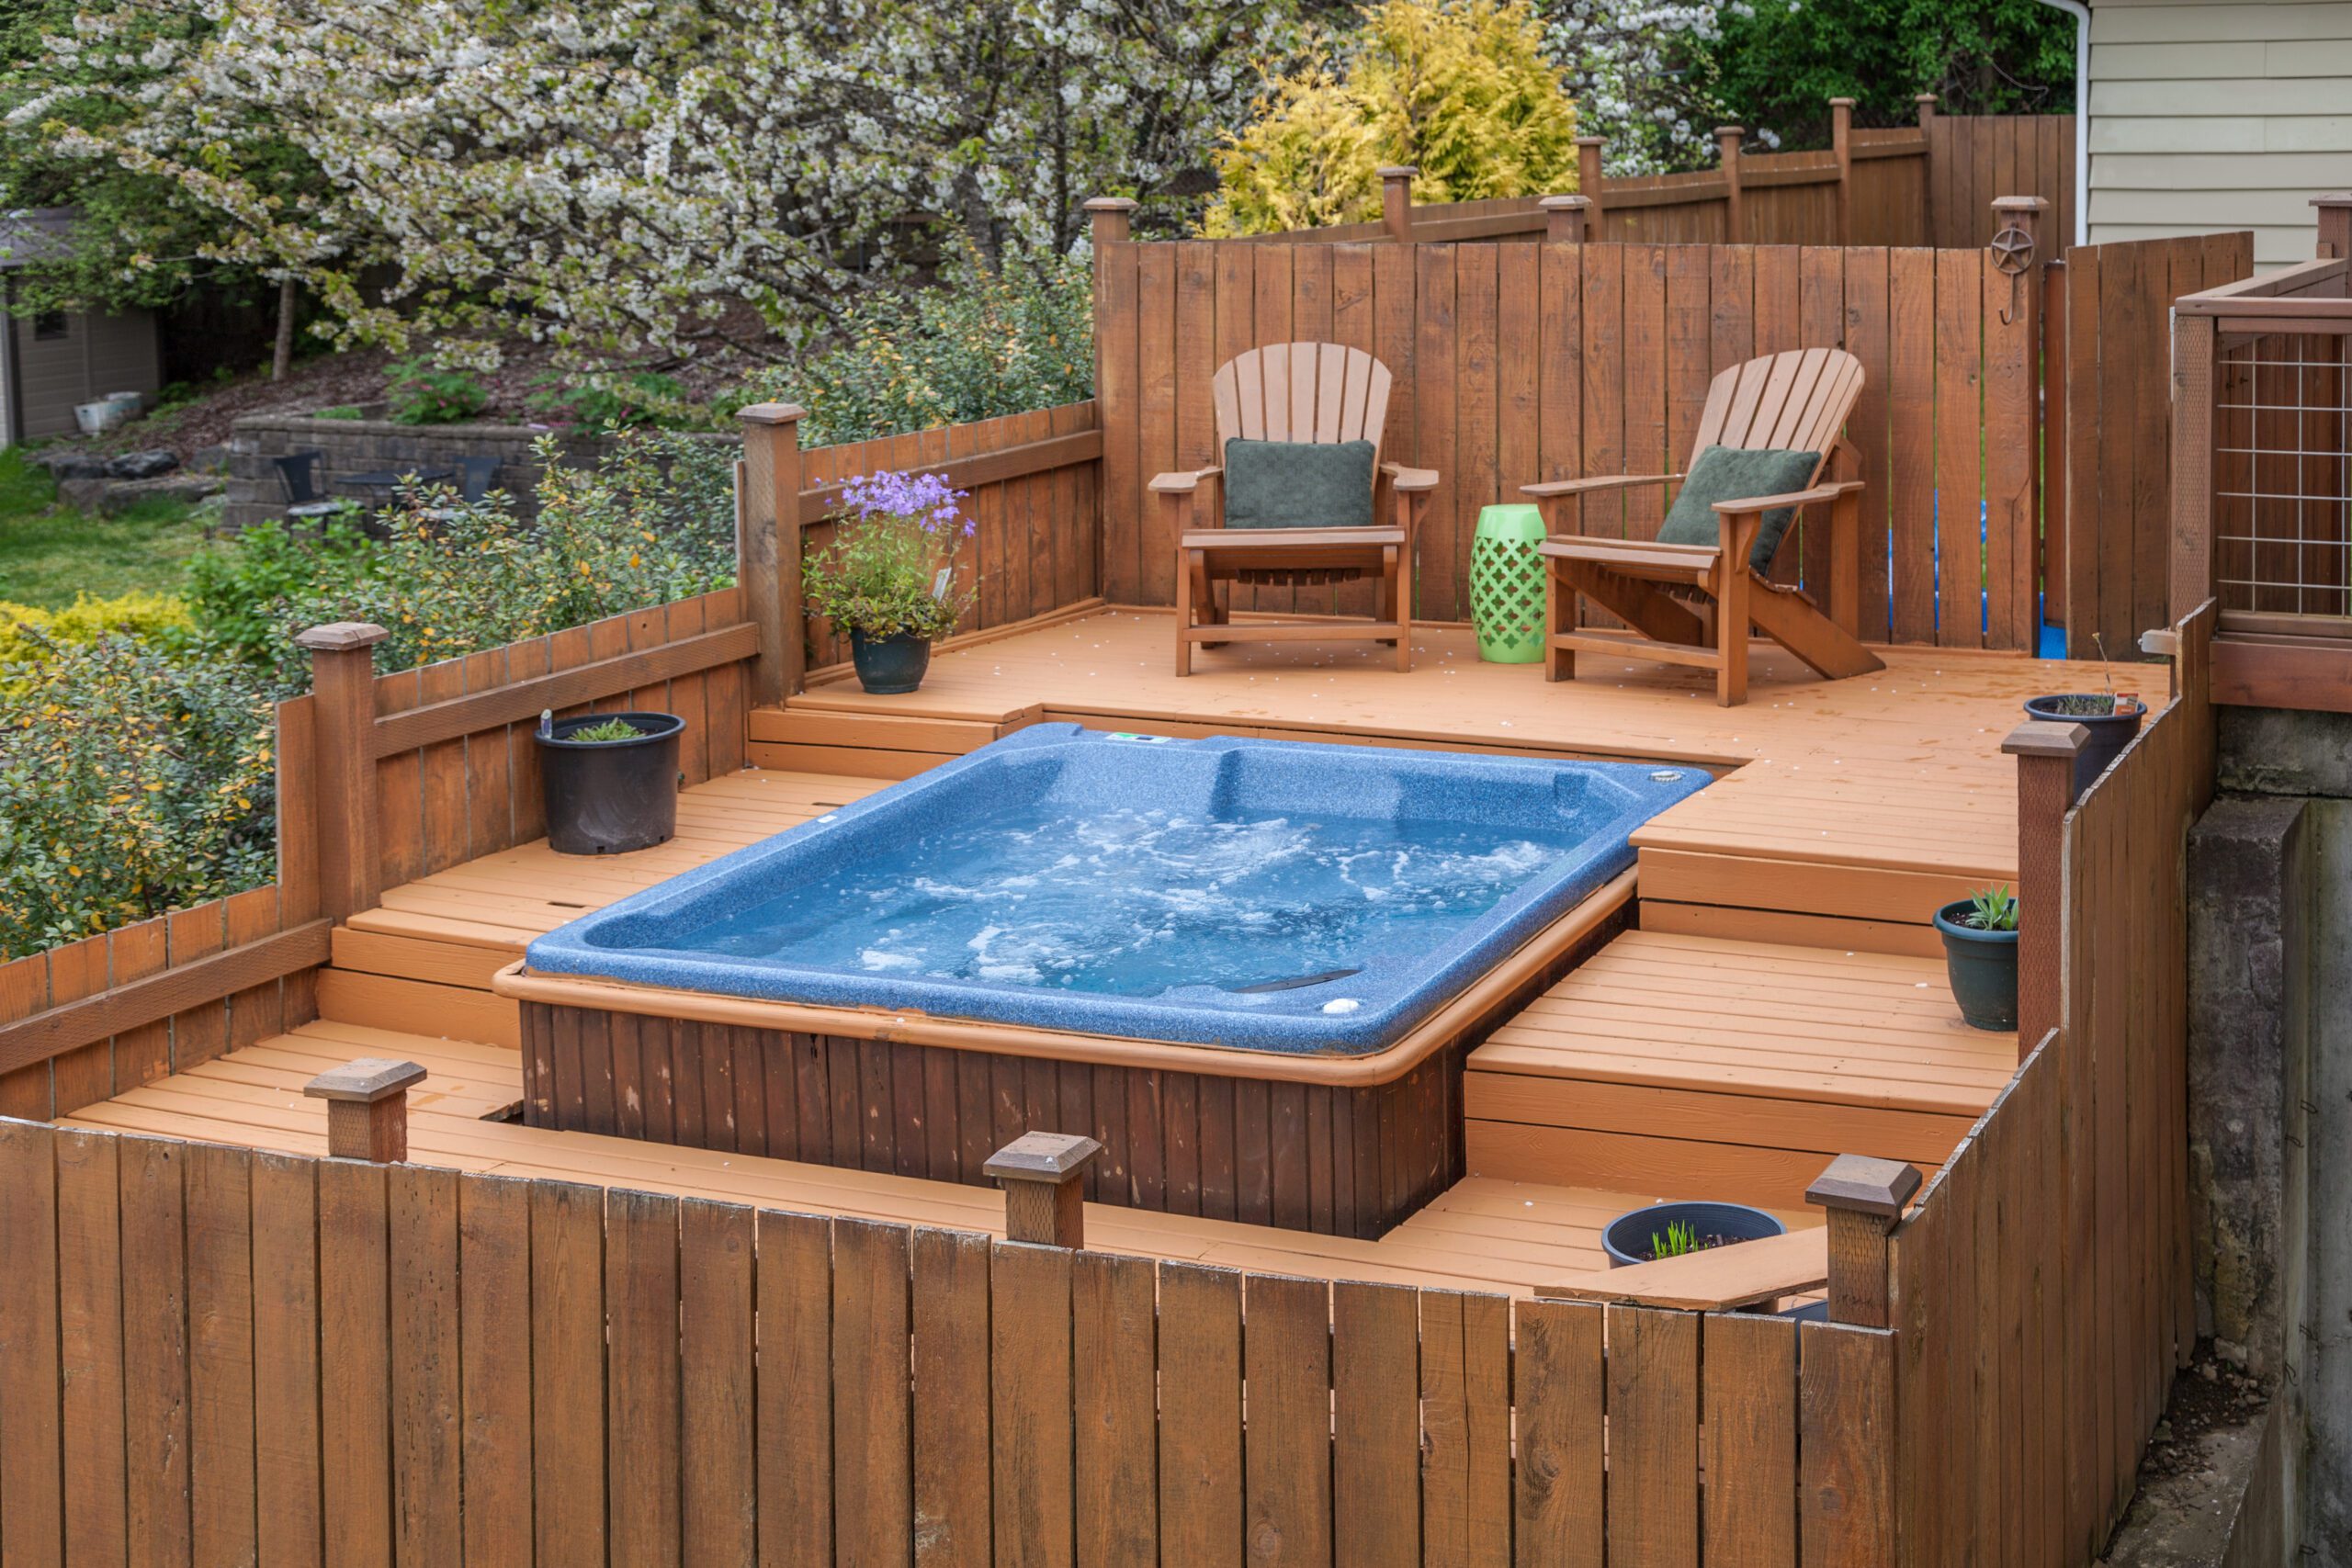
The first reason is that there is is a long history of having wood near water. It’s outdoors and on boats. It can exist outside in the moisture successfully. We have also seen loads of bathrooms with wood in them that have stood the test of time.
So, even though we know there are a lot of questions about moisture and humidity in bathrooms, we’ve definitely seen it done before and knew it could be done, if protected properly.
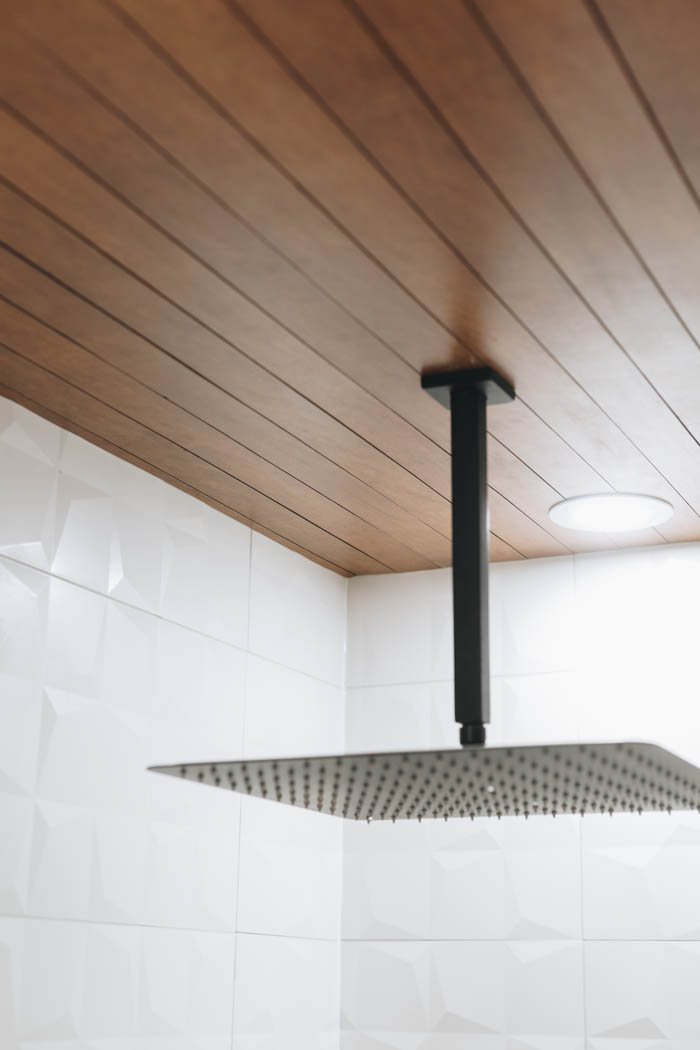
Another reason we knew it would be okay is that this bathroom has really high ceilings. The shower ceiling sits at eight and a half feet and that gives us a lot of space to work with.
Our raincan comes down eighteen inches from the ceiling and that gives us a lot of space for moisture and splashing to dissipate before reaching it. We don’t really see the ceiling getting very wet. We knew we had a good amount of space and that it would help this DIY wood ceiling be successful.
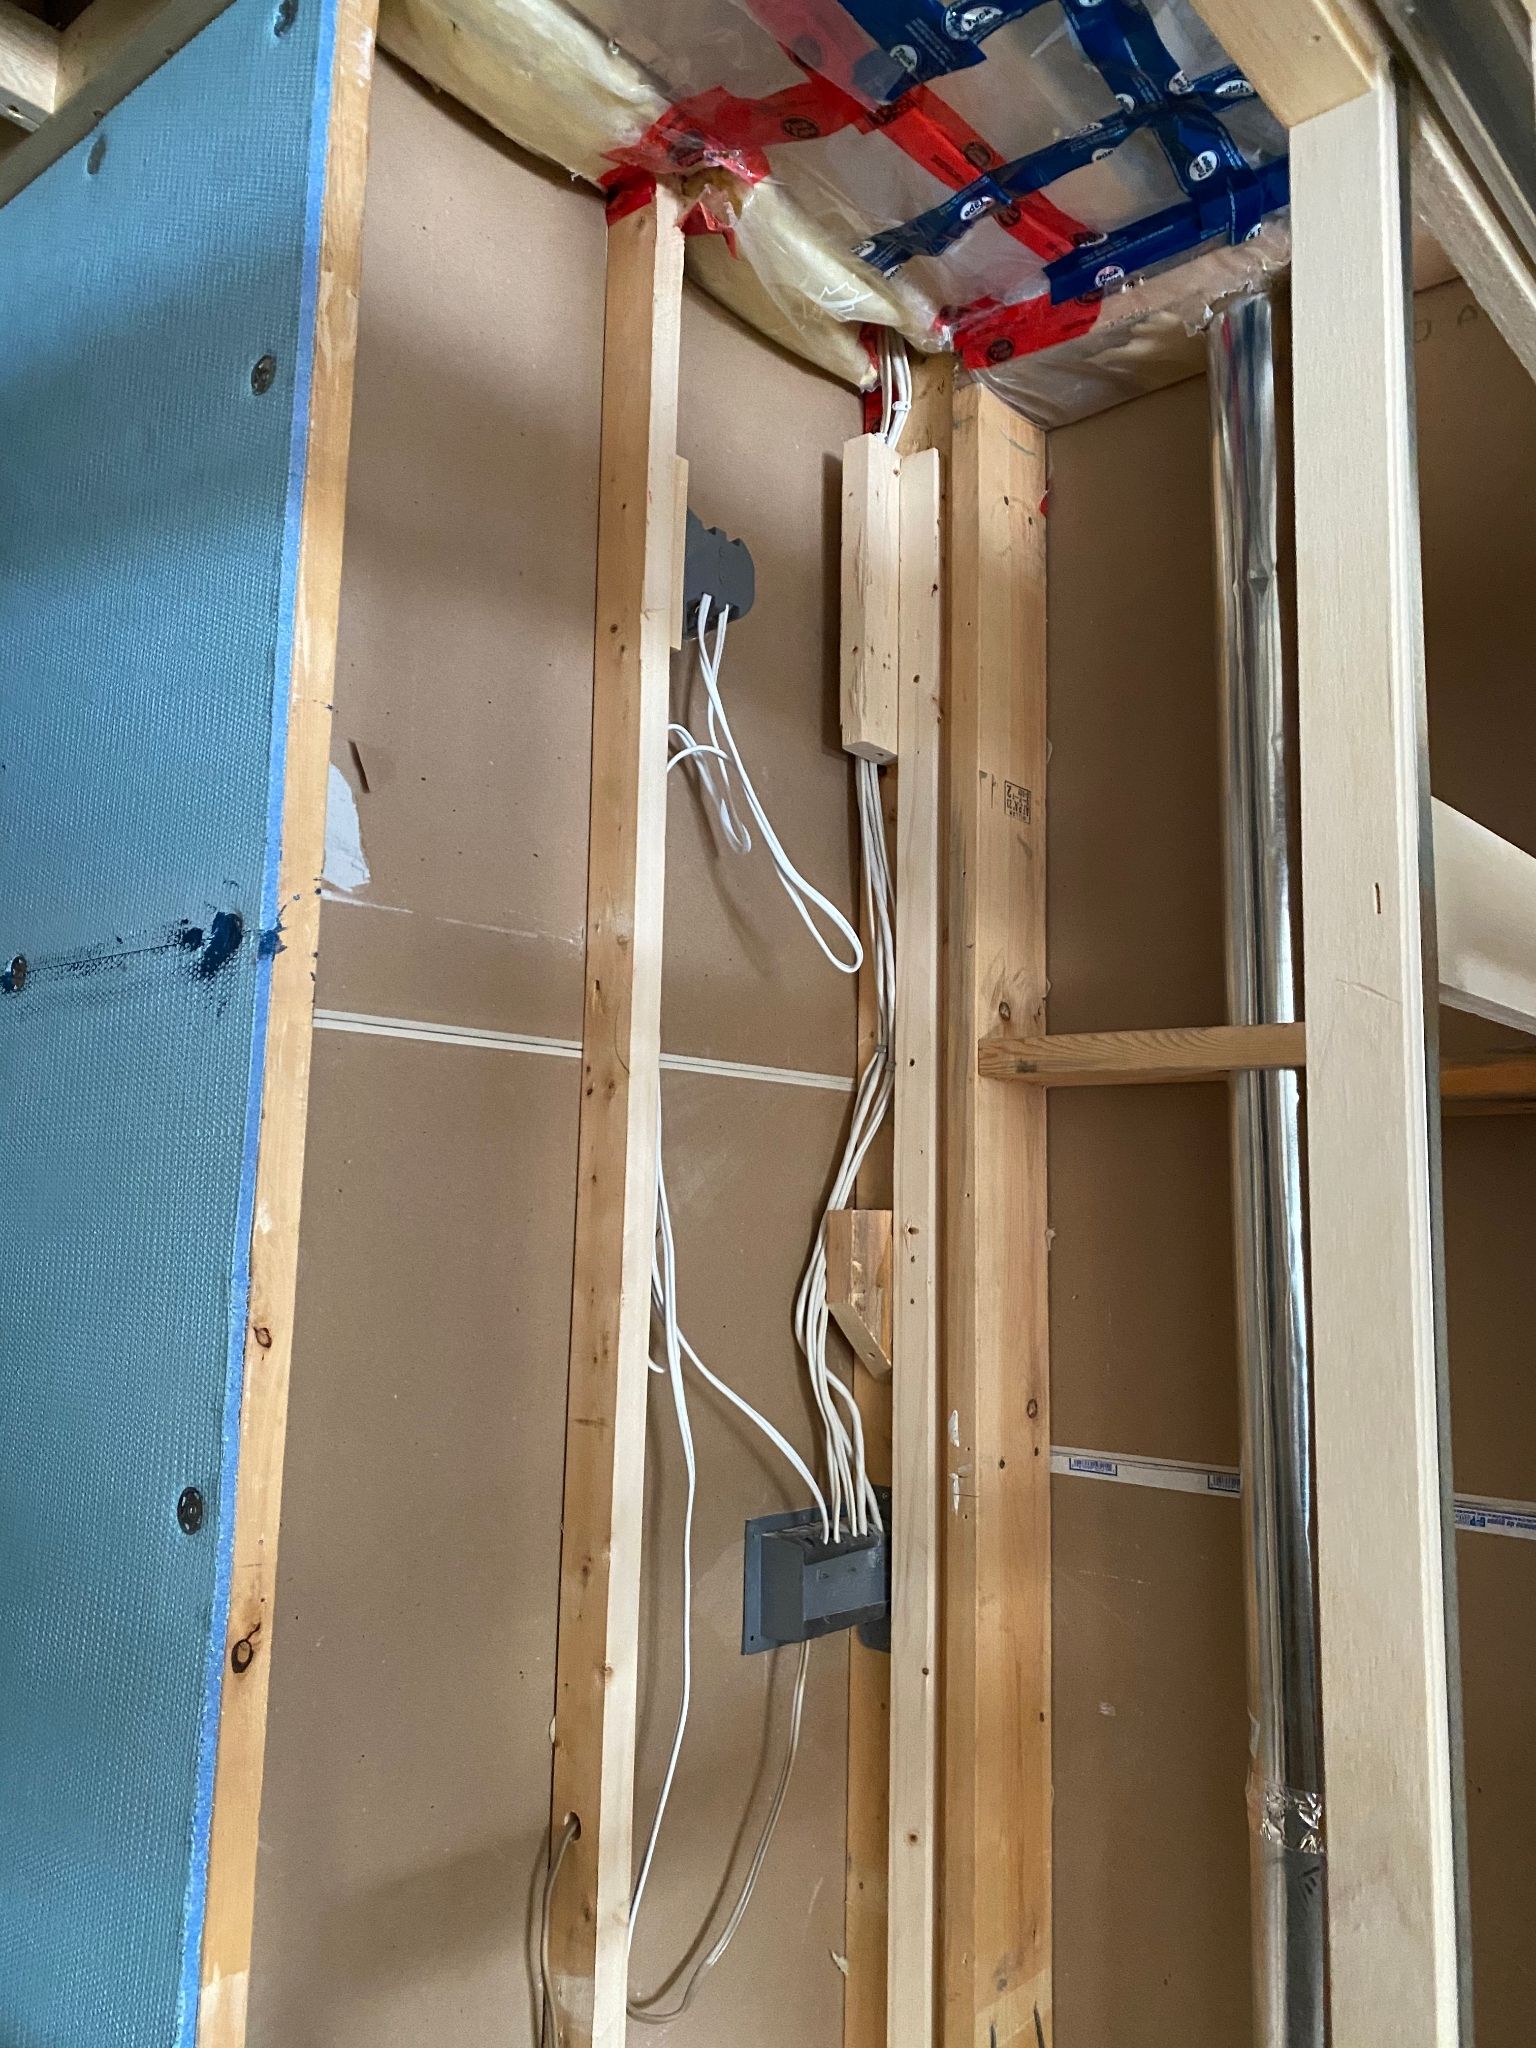
We also have really good ventilation in this bathroom. We ran a four-inch duct and installed a high CFM fan. It can actually de-fog the mirror while we’re in the shower. Now that the bathroom is done, we can tell you for sure that when you get out of the shower there is hardly any moisture on anything.
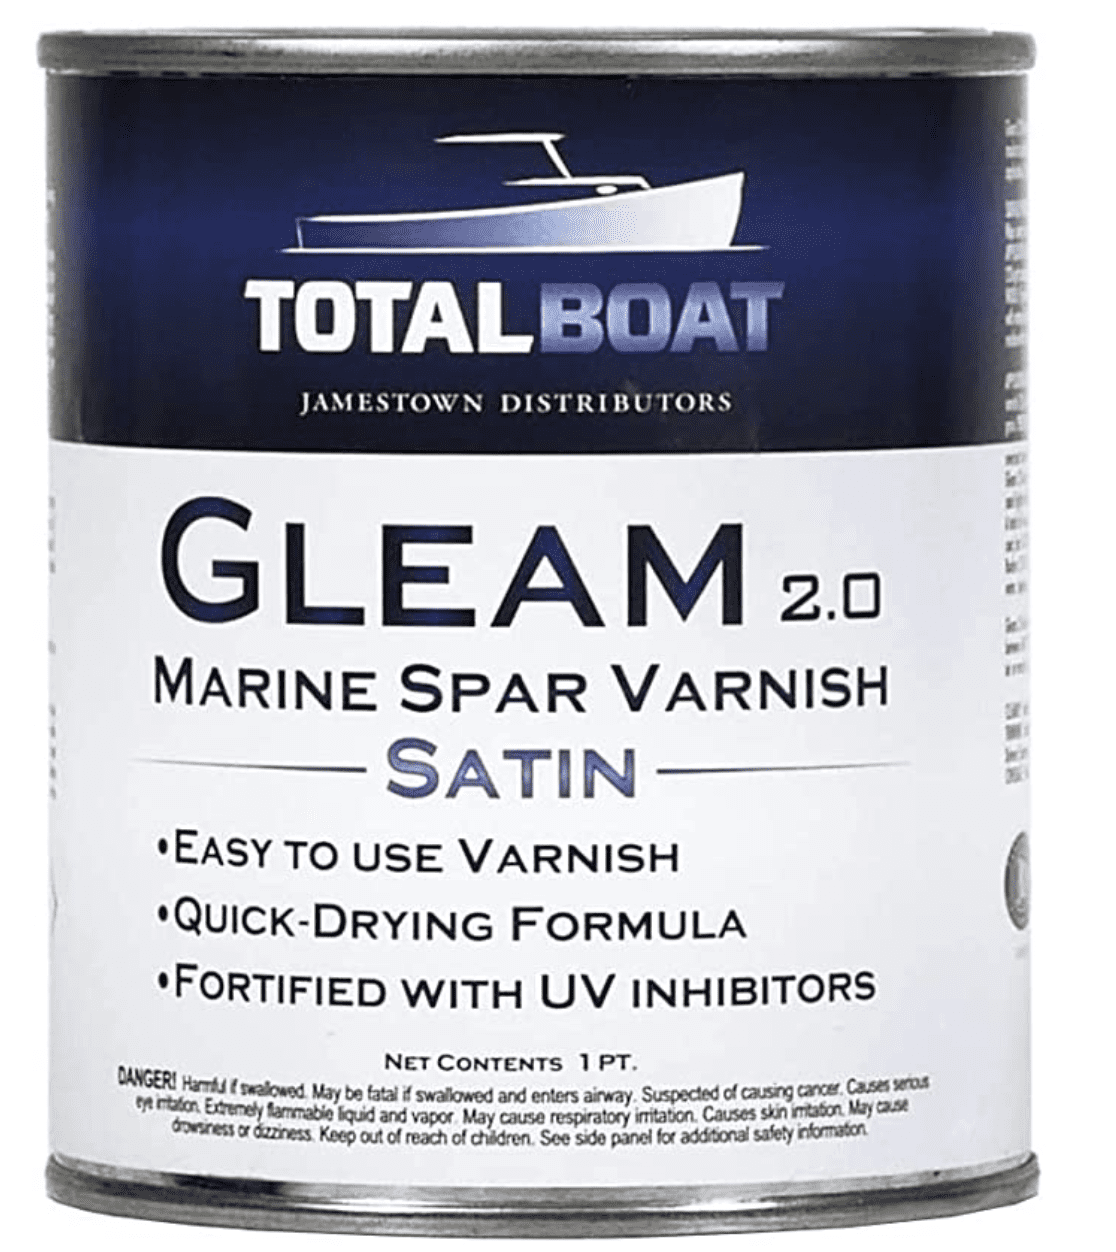
There are also lots of really good, heavy-duty varnishes. Specifically, there are marine ones and ones for outdoor use. Technology in regards to DIY home materials has come a long way. This isn’t your grandpa and grandma’s bathroom from the ’50s, ’60s, or ’70s. There are really good paints and varnishes that allow you to do things today that you wouldn’t have done 20 or 30 years ago.
The other thing we knew we could do to help the whole scenario was to use a good, high-quality paint above the wood to help as a moisture block.
What wood is best for the shower?
Teak is a good choice to use in a shower. It’s often used on boats and can hold up to water and moisture.
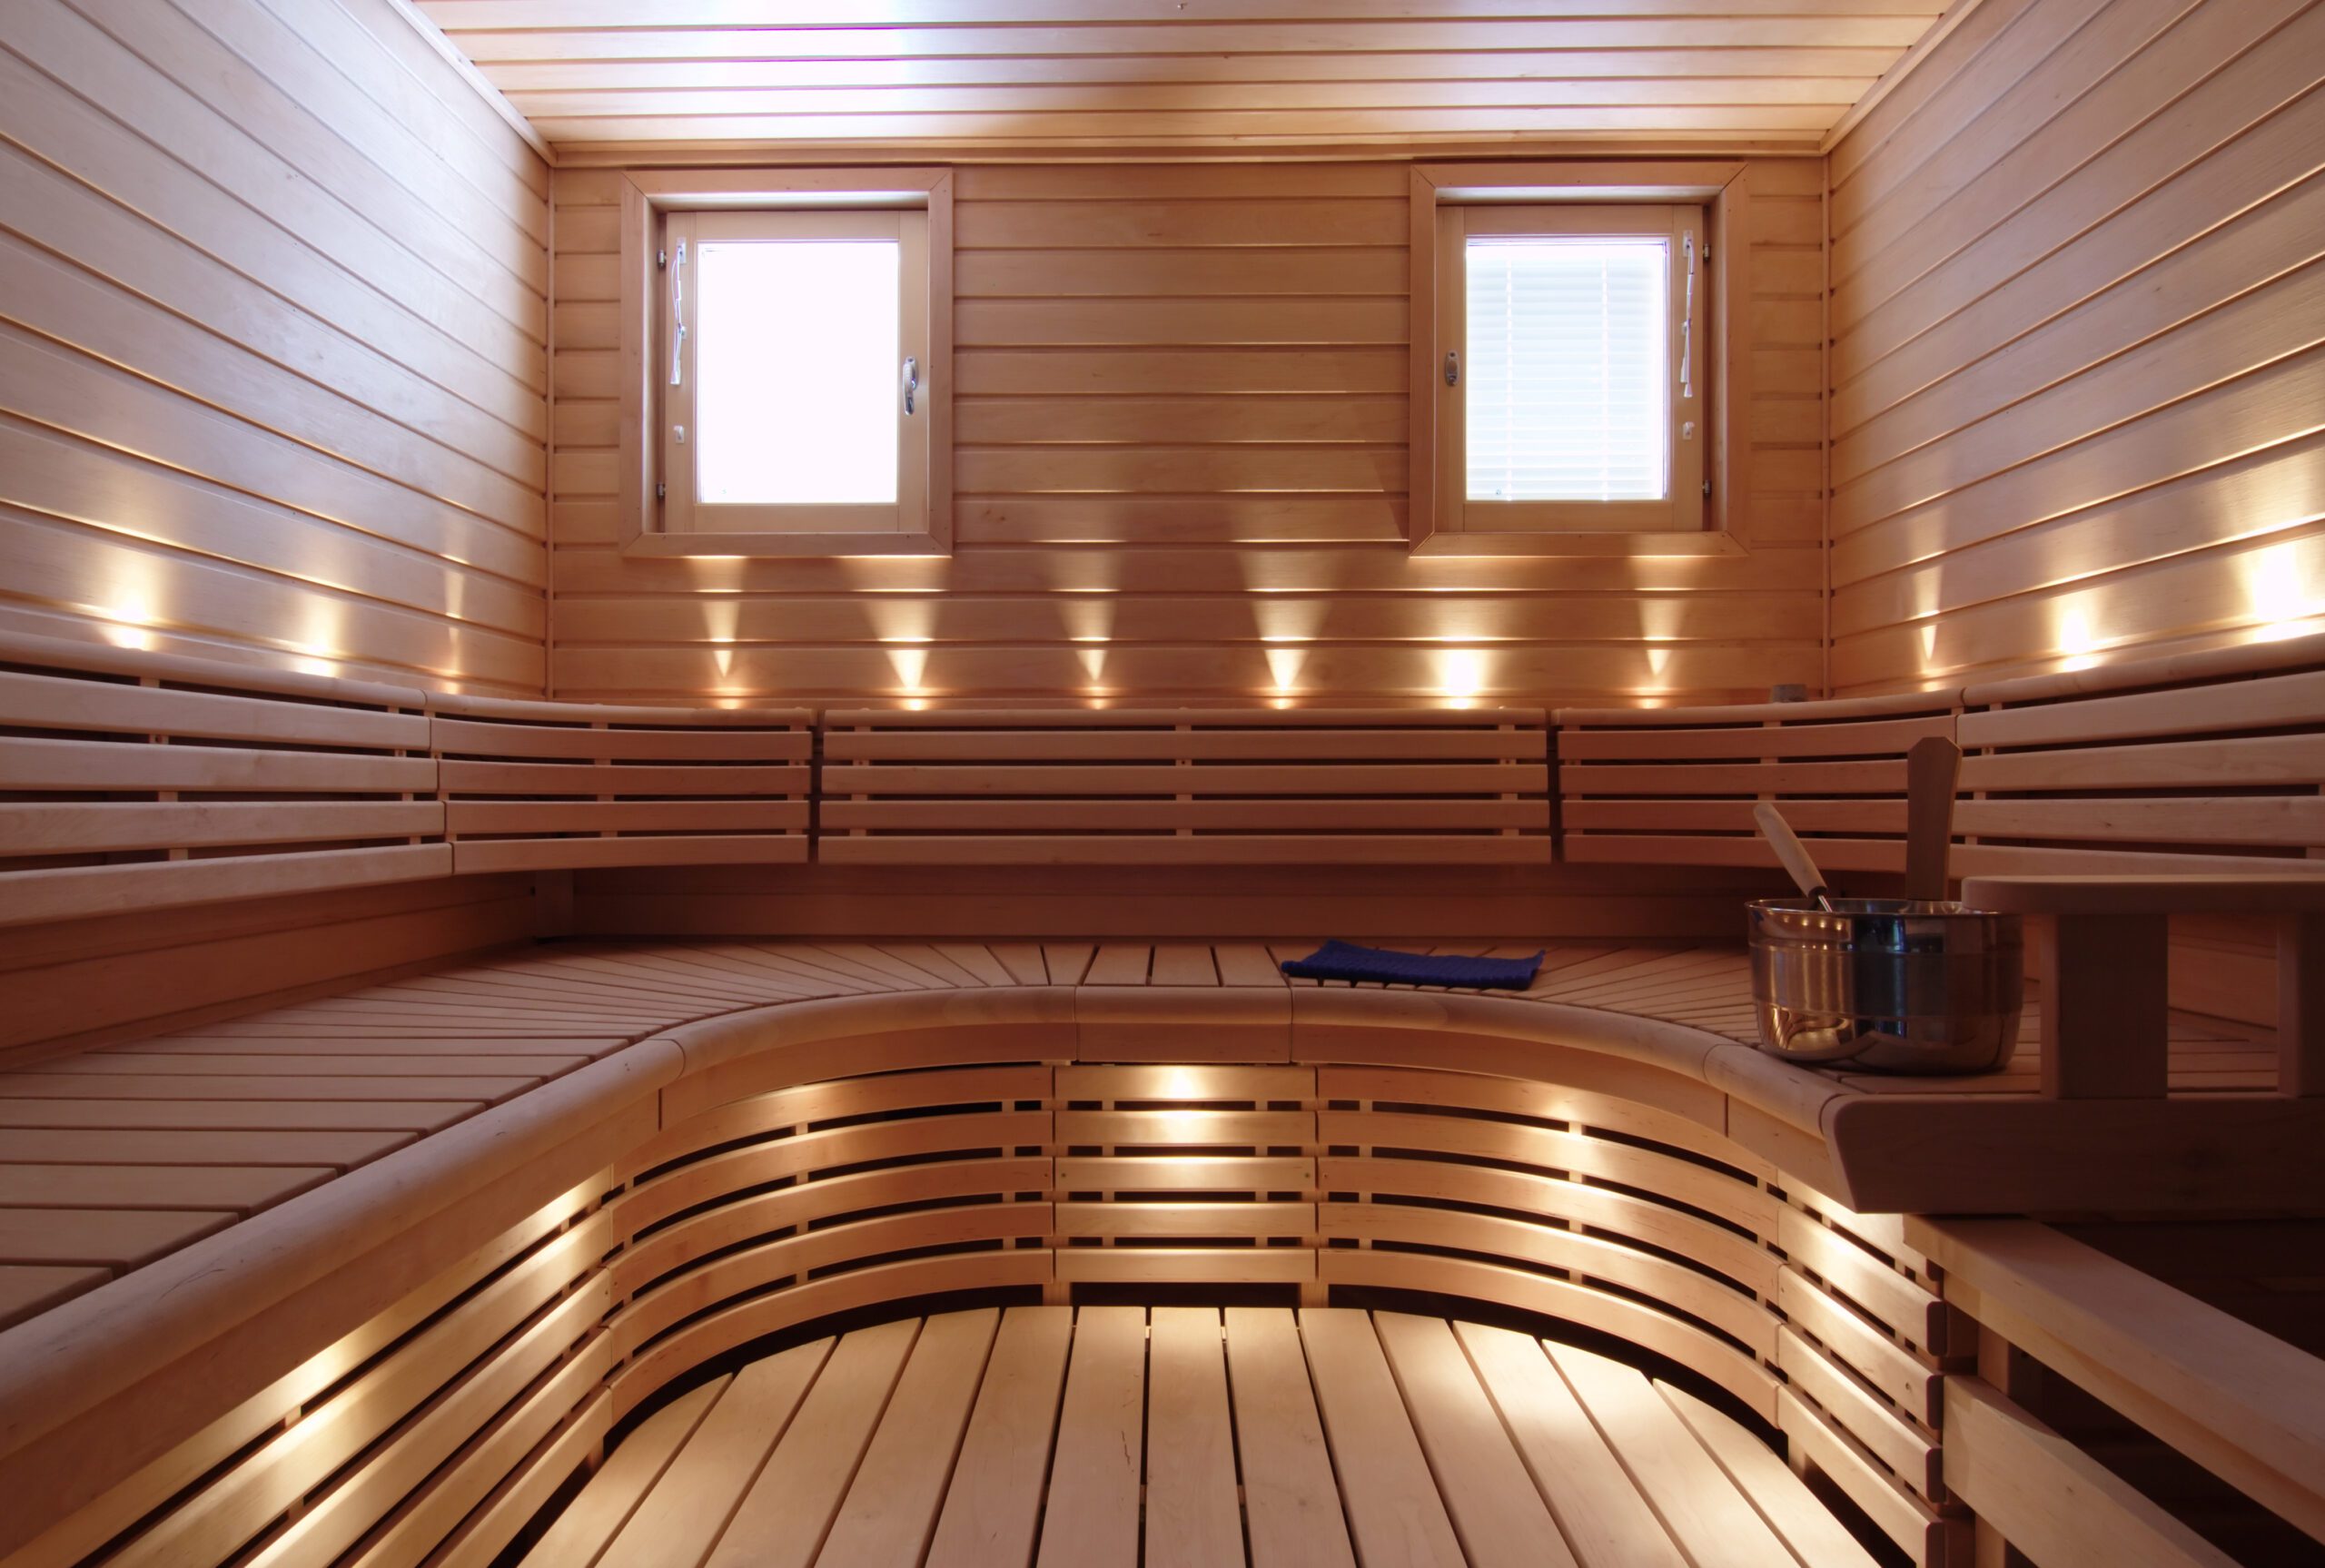
Cedar is another good option. It’s used outdoors for decks and furniture and stands up well to rain and moisture. It’s also used in saunas and we know there’s a lot of humidity in a sauna.
The problem for us was that teak is expensive and cedar just doesn’t have the look we were wanting (too red in tone). We chose to do our shower ceiling with 1/4 inch maple plywood. The reason we went with maple plywood for our DIY wood ceiling is that it matches the other wood tones in the room, including the floating shelves that we made.
If you want to play it safe in your bathroom, use teak or cedar. We’ll show you how we did ours using maple plywood.
How do you waterproof a wood shower?
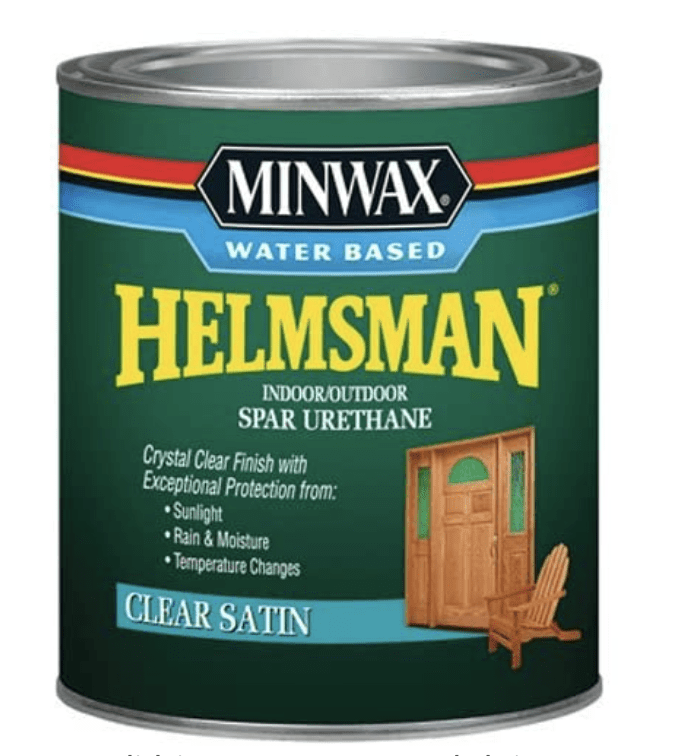
We painted the ceiling with outdoor paint to add an extra layer of protection before installing the DIY wood ceiling. After staining the wood slats, we applied multiple coats of Helmsman urethane. We were going to use a tough marine varnish, the type they use on boats, but we couldn’t find it here, so we used the Minwax Spar Urethane. instead, with has great rain and moisture protection.
How to Install a DIY Wood Ceiling in the Shower
Supplies
- 1/4 inch maple plywood
- Minwax Spar Urethane
- Table saw
- Cordless Nail Gun
- Paint/Stain Sprayer
- Flagstone Stain
- Tuscany Stain
Step-by-step-tutorial
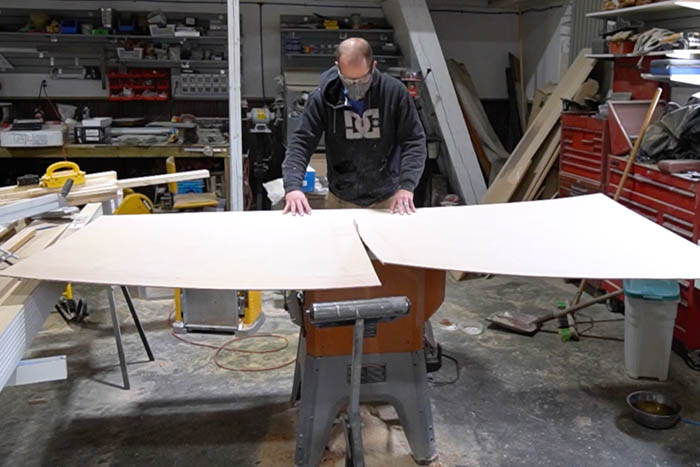
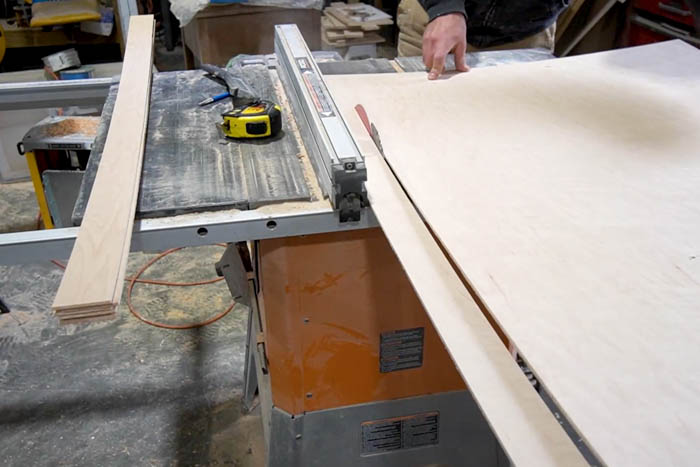
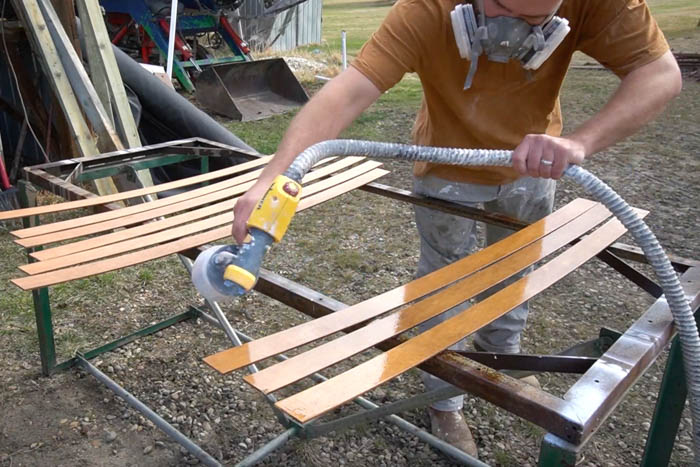
Once we had a plan in place, we got to work cutting the maple plywood into 2 inch thick strips on the table saw.
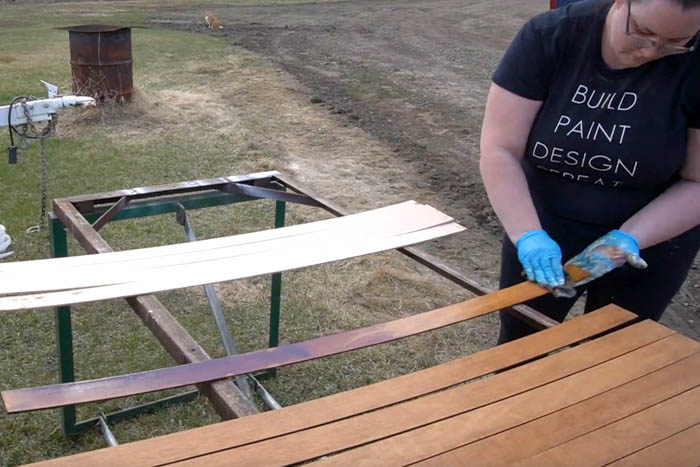
We tested a bunch of different stain options because we were really trying to get the right tone and color for the space. In the end, we ended up doing putting one layer of Briarsmoke and one layer of Tuscany. We mixed two different stains, but it gave us the look that we wanted with just a little hint of that reddish color. Once we knew the stains we wanted, we got to work staining all of the boards for the ceiling.
Waterproofing Wood Slats for DIY Wood Ceiling
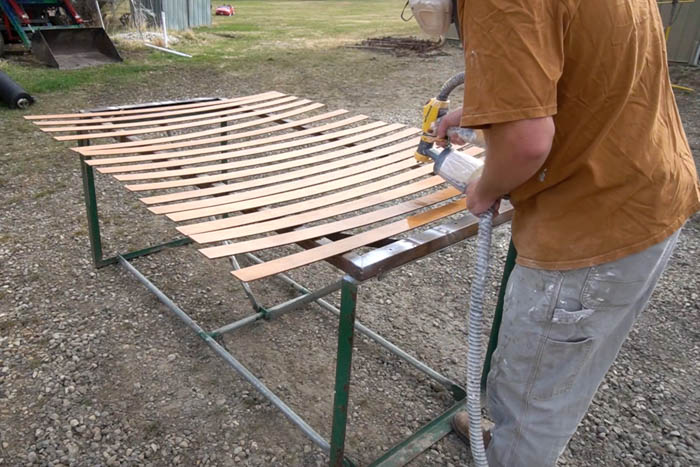
The next step is probably the most important of this process. It’s making sure that the boards are really well varnished and protected.
We did multiple coats of urethane, paying special attention to all of the edges of the wood where it’s more porous to make sure that everything was really well-protected.
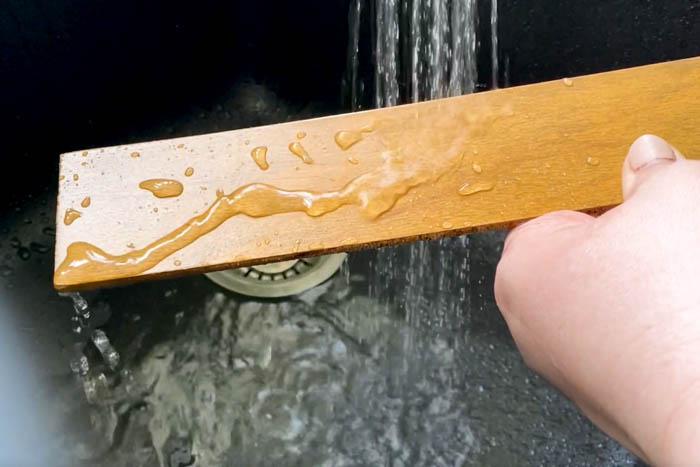
I also tested the wood under tap water with direct water running on the front and the sides just to make sure that it was going to really be moisture resistant.
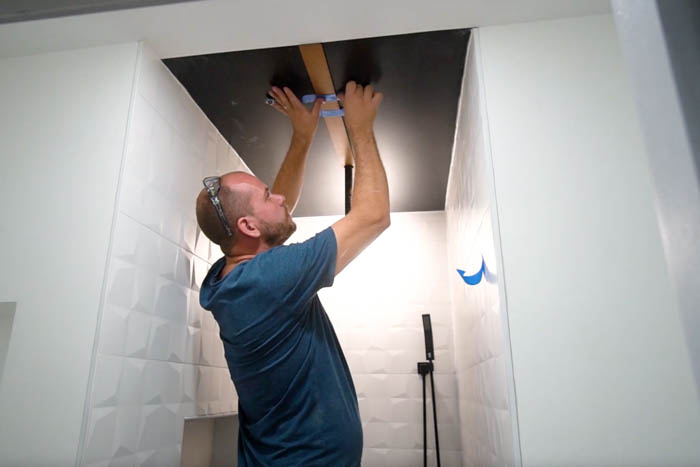
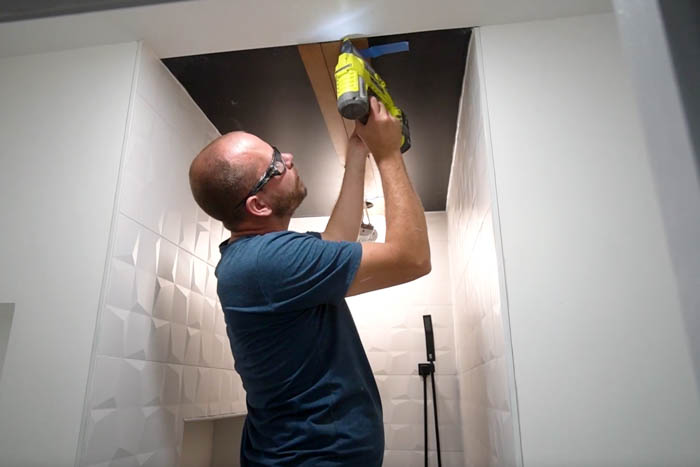
Before we installed the boards on the ceiling, we used black exterior paint to paint that surface. We did this because we didn’t want you to see any white through the slats and we wanted the ceiling to also be really well protected from any moisture or water.
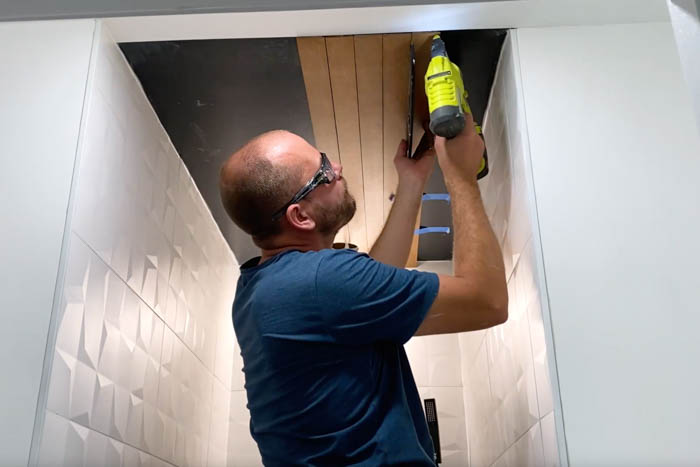
We started our installation with the center board so that it would line up perfectly with the showerhead on the ceiling. Using adhesive and a pin nailer, we went from the center out to each side.
When you use the pin nailer, it will leave little tiny holes in your wood. You can use a wax crayon that’s similar to the color of your stain to just fill in any of those holes. We actually found in the past that just using our kids’ crayons was the quickest and easiest way to do it, but for this ceiling, we didn’t even bother filling the holes because they are so small and unnoticable.
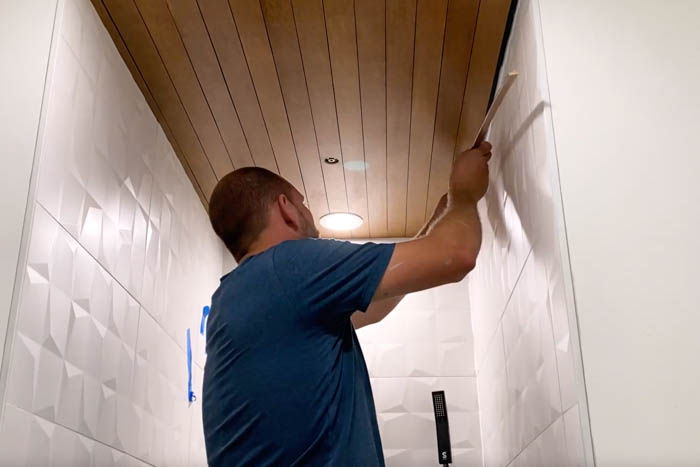
We used a paint edger between the boards, which was about 1/16 of an inch thick and that helped us create a consistent gap across the ceiling.


Also, if you do make any cuts to your boards, make sure to seal them properly afterward, again. For your final boards on each edge, you might have to do a custom cut. Just make sure to take multiple measurements so that you get a good fit on each side.
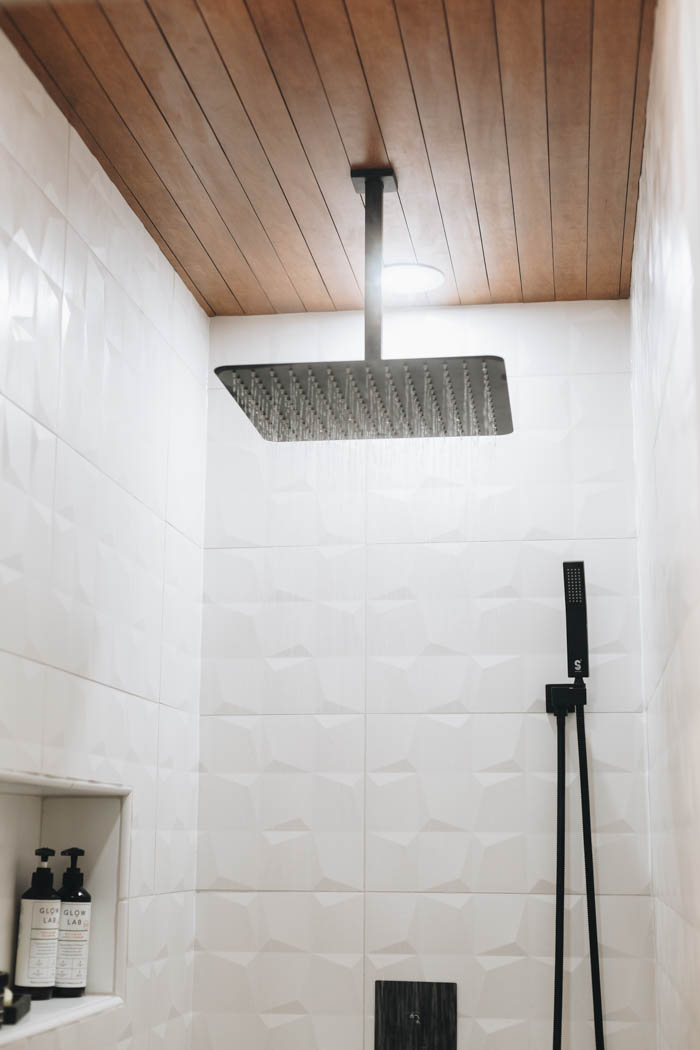
Our Finished DIY Wood Ceiling
Here’s what our wood shower ceiling looks like and we are beyond happy with this design.
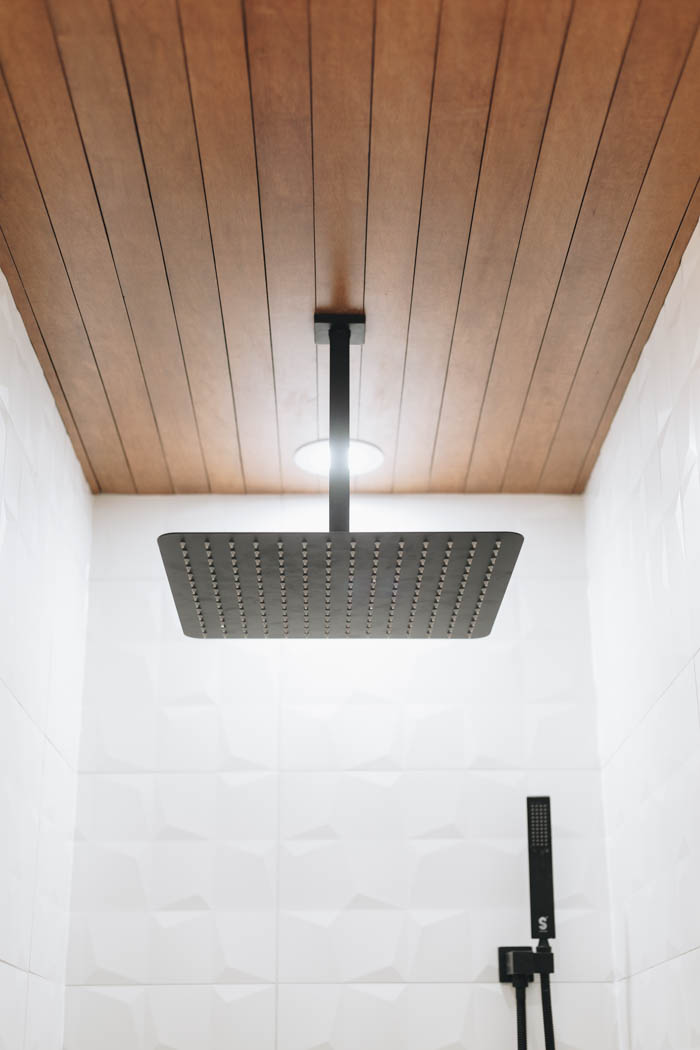
We’ve been using the shower for a few months already and we haven’t had any issues. The ceiling still looks brand new and it looks amazing.
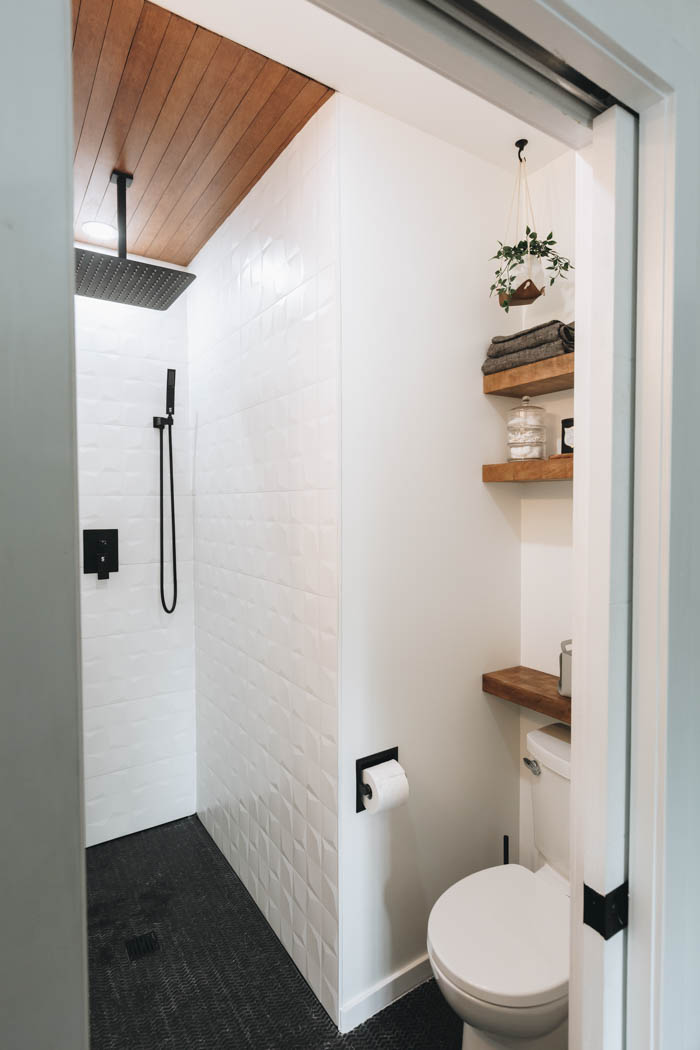
I love that the DIY wood ceiling matches the shelves above the toilet and even the leather plant hanger. The wood tone really adds warmth to this mostly white space.
DIY Wood Ceiling Video Tutorial
If you’re doing a wood ceiling project, watch how we put up our DIY wood ceiling in the video below.

Holly
Thursday 10th of August 2023
Gorgeous!! I have to ask - how has it held up??
I have same issue - too much white and want to warm it up. Didn’t realize teak turns gray & cedar isn’t the right color either. (Super helpful post - thank you!!)
Lindi
Wednesday 13th of September 2023
So far so good! I would definitely do it again! Looks amazing :)
Neha @ Love Food Recipes
Monday 31st of January 2022
Amazing! This looks so aesthetic. Love the designs! Thank you for the post;)