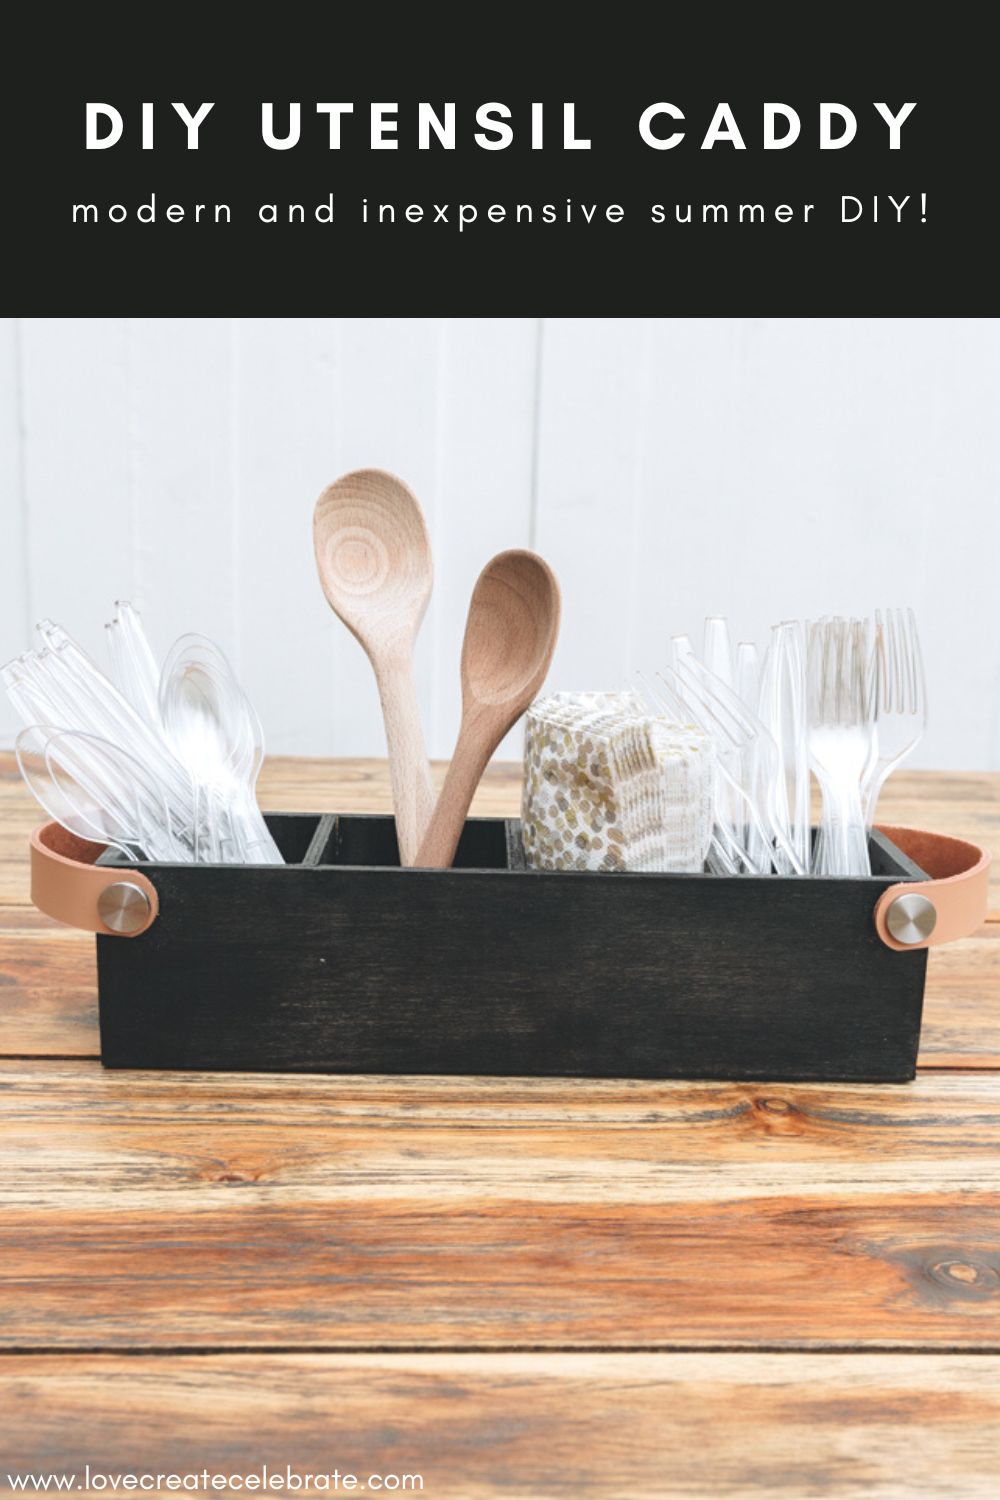
Easy modern DIY Utensil Caddy! Try this simple summer DIY for your outdoor space without spending a ton of money!
When the weather gets warmer and the skies get clearer, there’s nothing I love more than entertaining! I needed a quick and easy way to store all of those outdoor entertaining utensils and bring them in and out of the house quickly, which gave me the idea for this easy DIY utensil caddy!
*This post may contain affiliate links. When you buy a product through one of our links, we get a commission at no cost to you! Thank you for supporting our blog so that we can continue to bring you posts like these. For more information, please see our disclosure page.*
DIY Utensil Caddy
This project is one of a series of modern summer outdoor DIYs that I did using dollar store supplies. I can’t pass up on any wooden products from the dollar store, and I had an amazing idea for this product when I found it!
Materials Needed
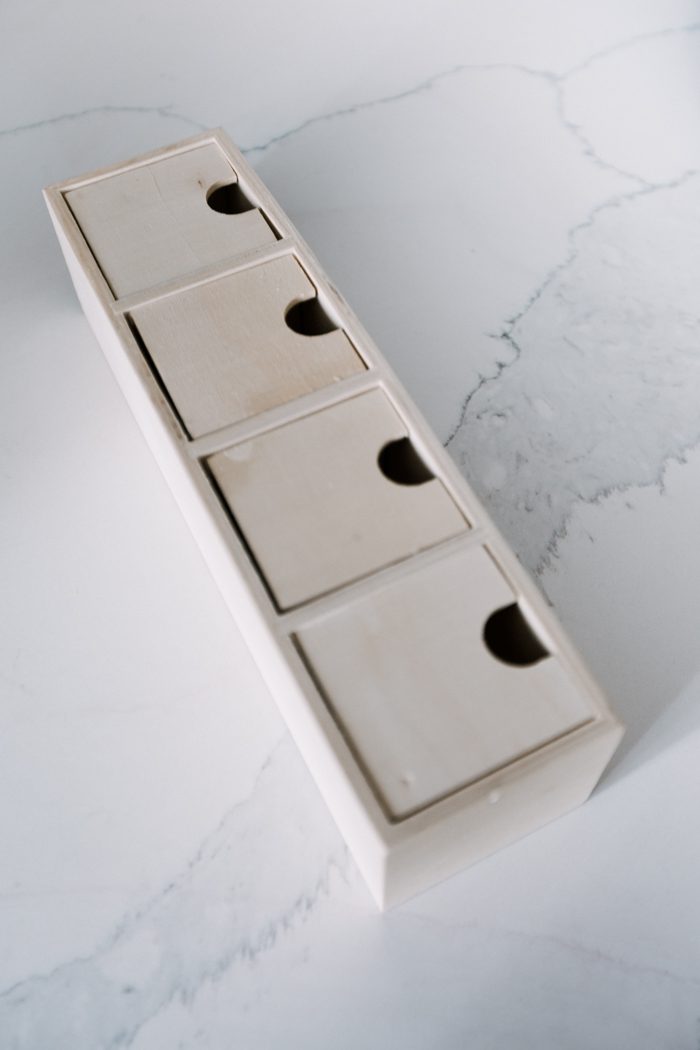
- Dollar store small wooden organizational box
- Ebony black gel stain
- Polycrylic
- Leather Ikea handles
- Sander
- Varnish brush
- Drill
Step-by-step Tutorial for your DIY Utensil Caddy
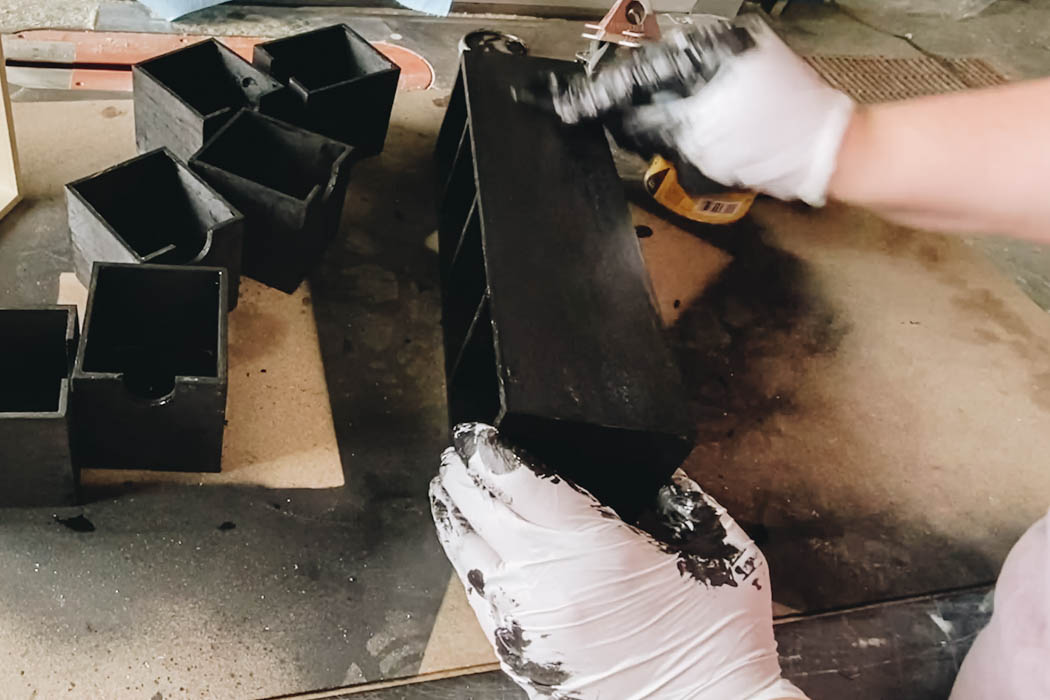
This summer DIY involves making a utensil caddy out of a repurposed wooden organization piece from the dollar store. There were little boxes inside but I removed those to use in another outdoor project – a hanging herb garden!
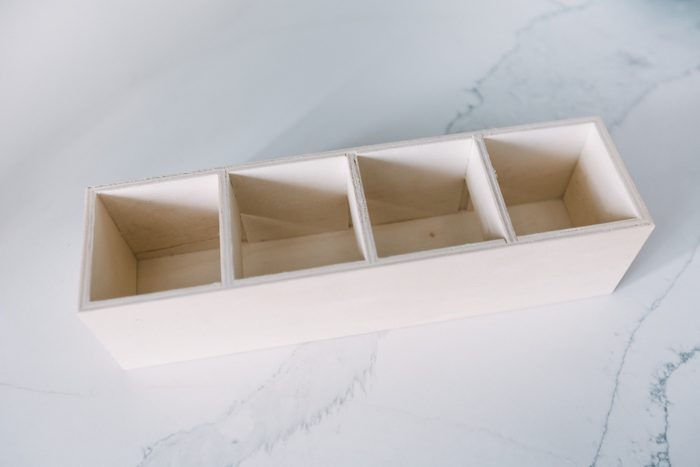
The first step is to sand down all the edges so that there’s no rough spots anywhere, and then we want to stain the insides and outsides of the wood with this ebony black gel stain. You can use any stain you want, I just love black decor.
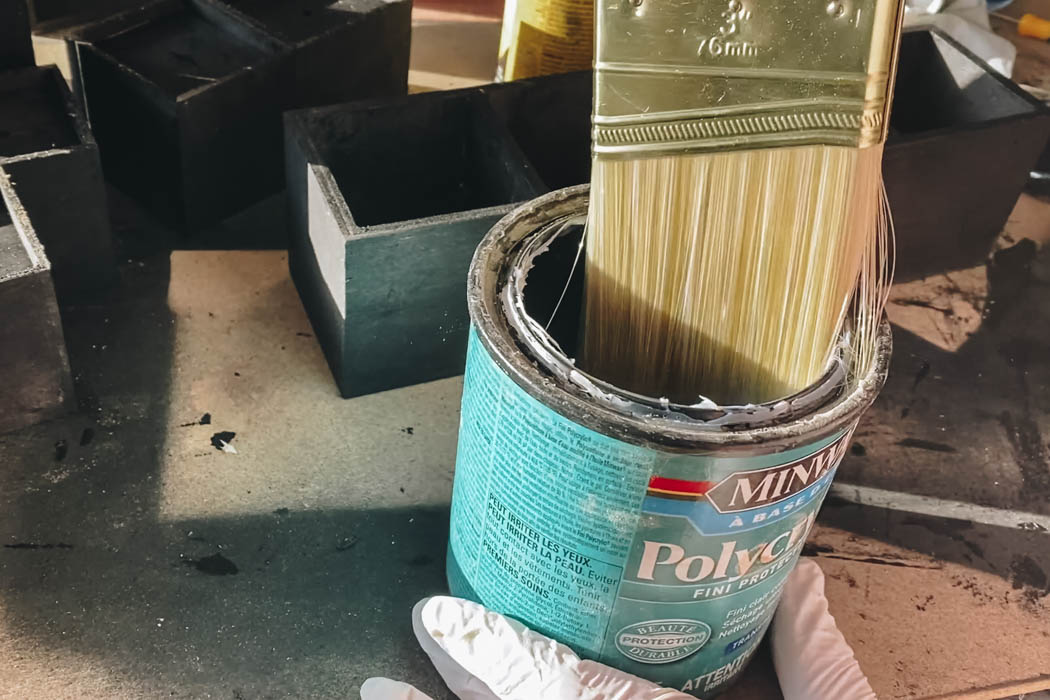
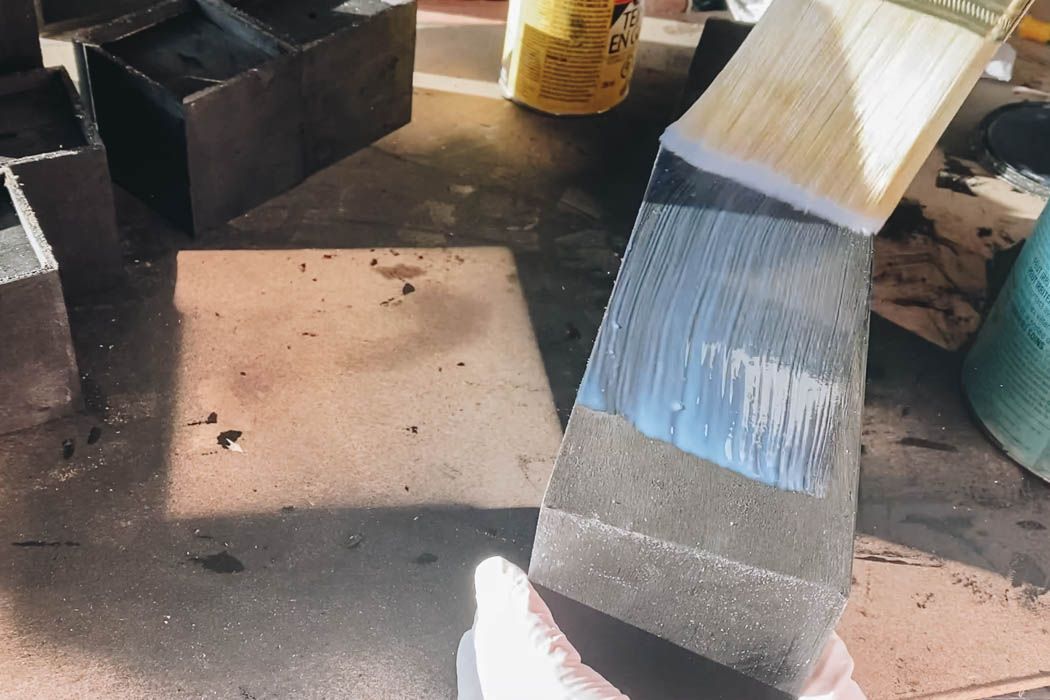
Once the stain is dry, take some time to varnish the piece since it will be sitting outside and we want to protect it from the elements. We used a clear matte finish Polycrylic.
Usually a polycrylic needs a couple of coats. You can let the first coat sit for about an hour or so before you put a second or third coat on. Allow 24 hours to dry after your last coat of polycrylic before you start using the piece.
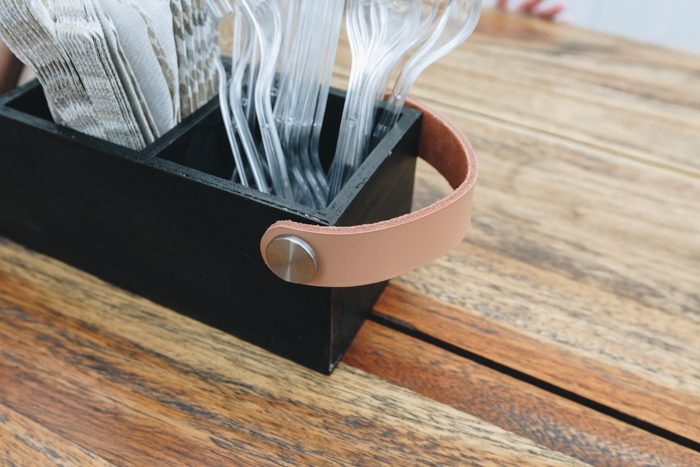
To finish off this utensil holder project, we can create a nice utensil caddy by installing handles. You can use these Östernäs Ikea handles.
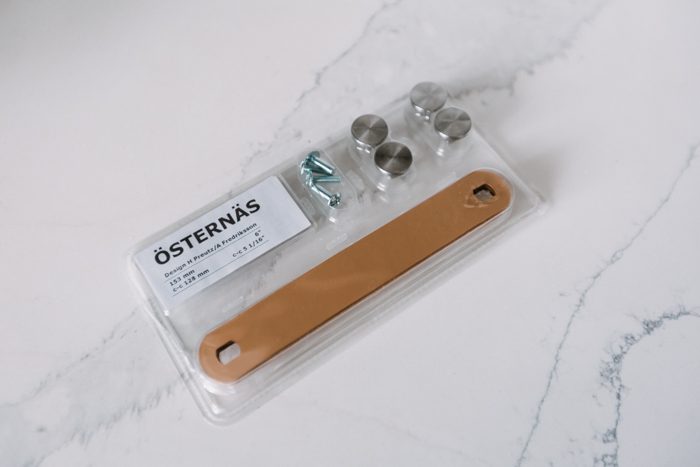
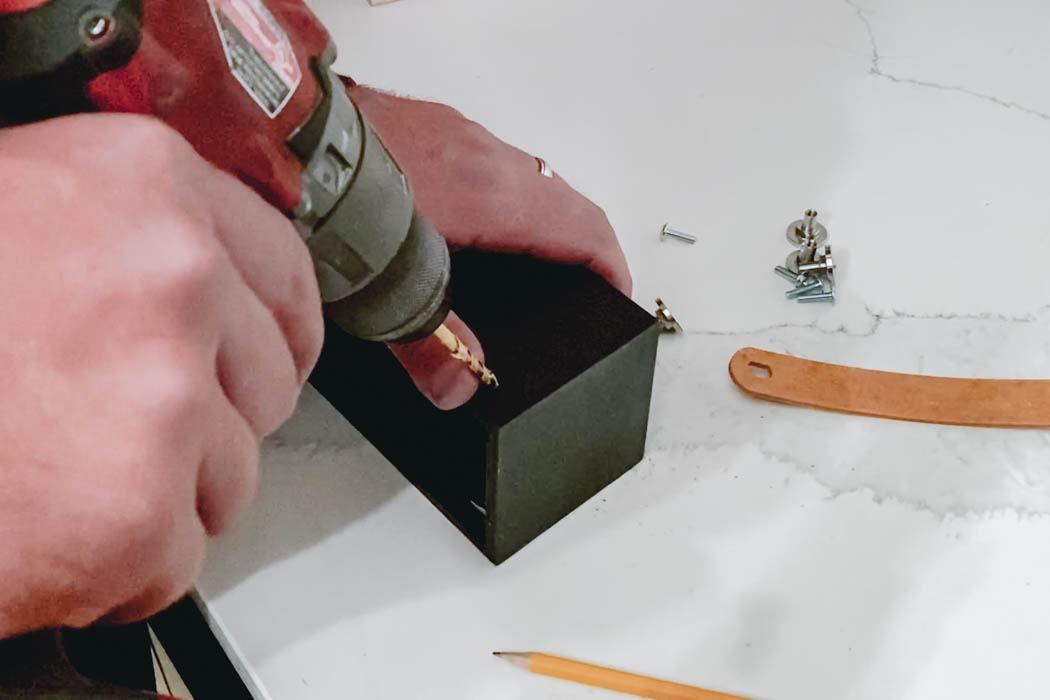
The handles already come with everything you need to attach them, except the drill. Drill small holes on either side of the caddy for one handle, and repeat on the opposite end for the other leather handle.
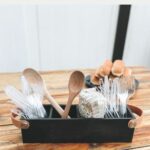
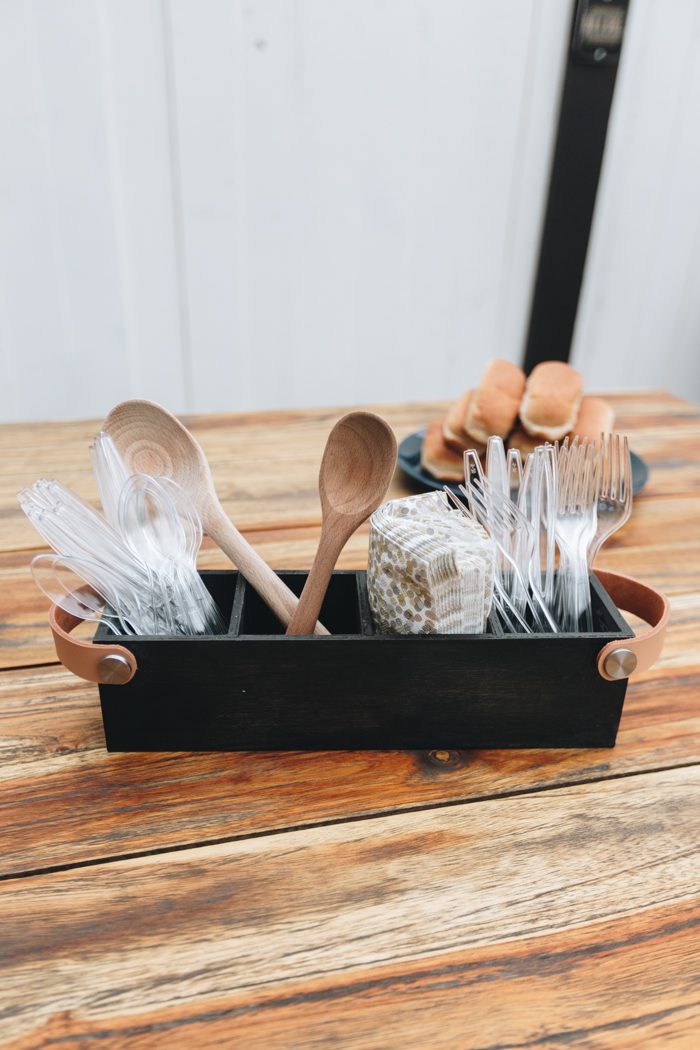
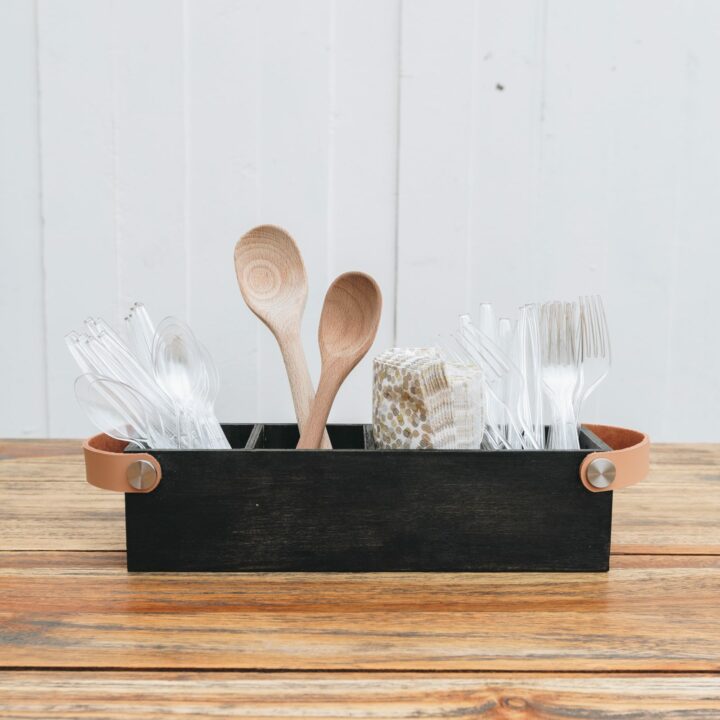
Here’s how our utensil holder turned out.
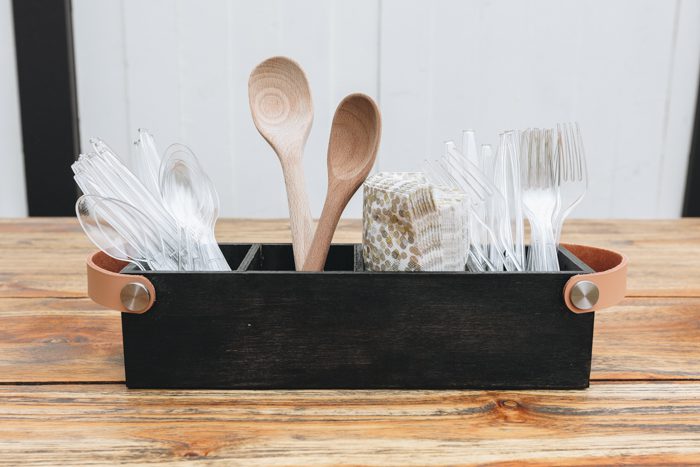
I absolutely love it, it’s really modern and it was only a few dollars to make. I’m really happy with how it all came together. It’s a lovely and practical piece!
More Outdoor Summer Decor DIYs
This utensil caddy project was one of a series of modern summer decor DIYs for your outdoor space that you can do without spending a ton of money. Click on the video below to see how the other summer projects turned out!
Don’t forget to subscribe to our YouTube channel for more great summer decor DIYs!
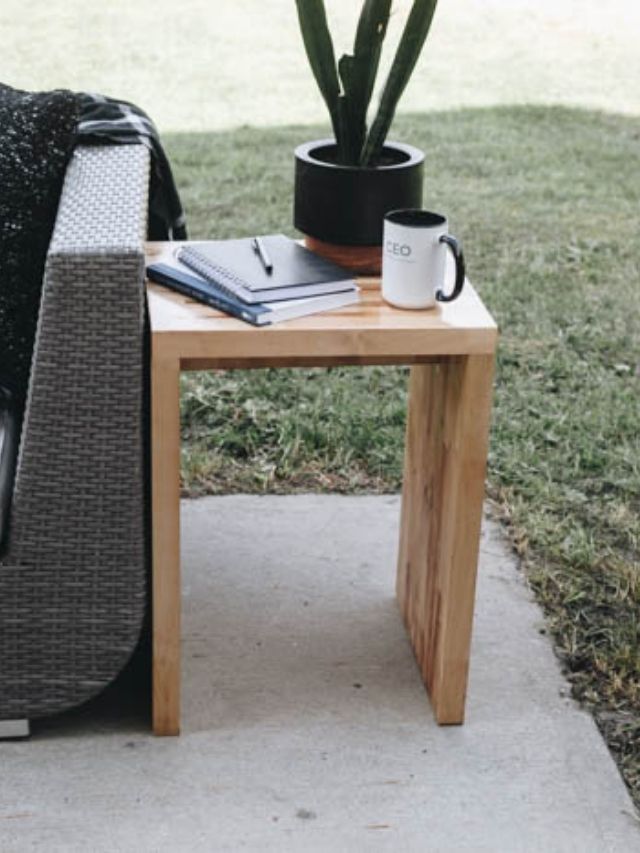
If you’re looking for more inspiration for summer projects, check out this beautiful DIY Outdoor Wood Side Table!
DIY Utensil Caddy
Easy modern DIY Utensil Caddy! Try this simple summer DIY for your outdoor space without spending a ton of money!
Materials
- Dollar store small wooden organization box
- Ebony black gel Stain
- Polycrylic clear matte finish
Tools
- Sander
- Varnish brush
- Drill
Instructions
- Sand down edges of wooden box piece
- Stain inside and outside
- Varnish using Polycrylic - 2 coats, let dry 24 hours after last coat
- Drill holes for handles
- Install handles