
Learn how to build your own DIY Tabletop Easel in this tutorial. Free build plans to make your own easy artist easel.
Last Christmas we started making gifts for our children for Christmas. Last year we made a Car Garage for our youngest’s die-cast cars, a Dress-Up Wardrobe for our middle child, and a Lego storage bin/bench that slid under her custom made Modern Lego Table! It was a huge hit with our kids and we wanted to repeat the handmade gifts again this year. This blog post is going to go over the DIY Tabletop Easel we did for our oldest daughter.
*This post was sponsored by Wagner and may contain affiliate links. When you buy a product through one of our links, we get a commission at no cost to you! Thank you for supporting our blog so that we can continue to bring you posts like these. For more information, please see our disclosure page.*
How to Build a DIY Tabletop Easel
Planning our easel design
Our oldest daughter loves to craft, draw, and paint so we thought a desk top art easel would be a great choice. We wanted something that was compact enough for her to move around the house, but also big enough to carry/hold some art supplies. When coming up with the design we wanted some adjustably for the angle at which the DIY Art Easel would hold your work up and a ledge for paper and/or note pad to sit on.
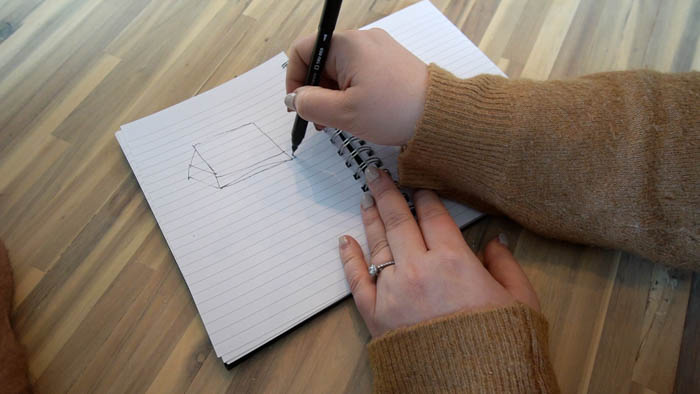
We decided on an overall size of 14″ tall x 17″ wide x 2-3/4″ high to allow for typical sheets of paper and drawing books to fit on the tabletop easel, and have ample storage inside.
Tools
- Wagner Flexio 3500 Sprayer (for stain and polycrylic finish)
- Table Saw
- Mitre Saw
- Orbital Sander
- Clamps
- Chisel
- Drill & Impact
- Drill bits
- Drying Stands
Materials
In regards to materials we had some left over solid maple from a previous project, so I decided to use it for our DIY Tabletop Easel (because who doesn’t like maple right?). The maple material I was using was about 1/2″ thick. Depending on the material available to you could substitute 3/4″ material (like a pine select board from hardwares stores) and adjust measurements/dimensions accordingly or plane the material down.
- 1/2-in x 16-in x 5-ft of Maple (Approx.)
- 2 x 1″ Narrow Hinge
- 2 x Latch
- 1 x T-hinge
- Wood Glue
- painters tape
- Sanding Discs (60/120/220)
- Natural Min-wax Stain
- Polycrylic Protective Wood Finish
Free Build Plans for an Art Easel
We knew there would be some people wanted to build an art easel, so we drew up some plans with all of the tools, measurements, and hardware you need.
Plans are free to our e-mail subscribers. Enter your e-mail below to download the free build plans.
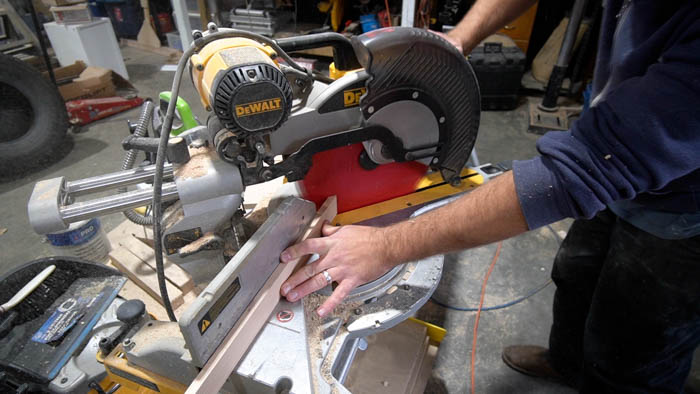
Cutting
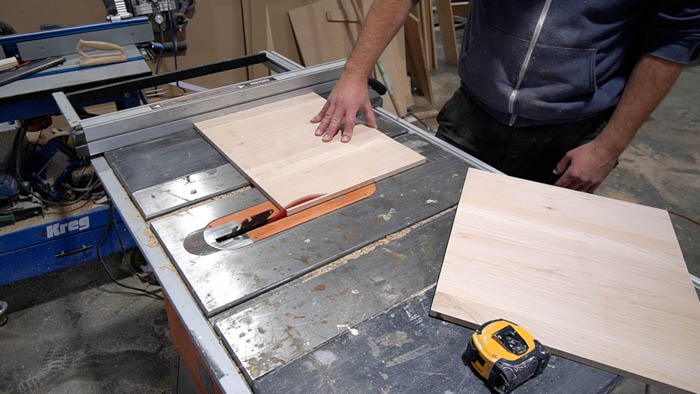
First step was to cut the materials to size, Check out the build plans for all the exact dimensions. I used our table saw and mitre saw to complete all the cuts.
Once all the pieces were cut I gave everything a light sand using 120 grit sand paper and our orbital sander.
Assembly
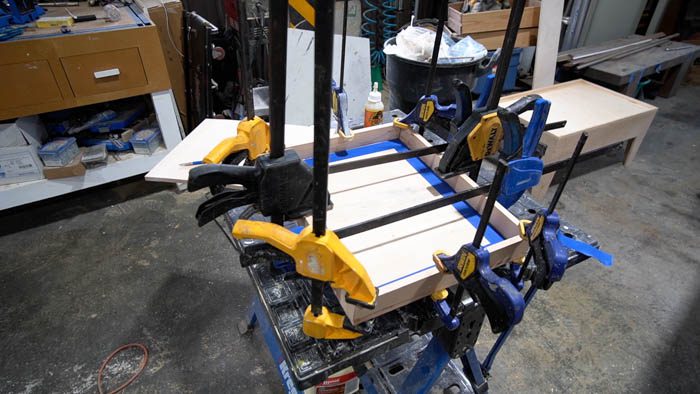
Next step is to take the base and glued the 4 perimeter boards along the edges. I used painters tape to protect the base board from excess glue and clamps to hold them in place.

Once the glue set I removed any excess glue away with a chisel and removed the tape. I sanded the outside flush/smooth with 60 grit. Be really carefully as this grit of sand paper removes material REALLY fast. Once I got all the edges flush I moved up to a 120 than 240 grit sand paper to get a nice smooth finish on the wood.
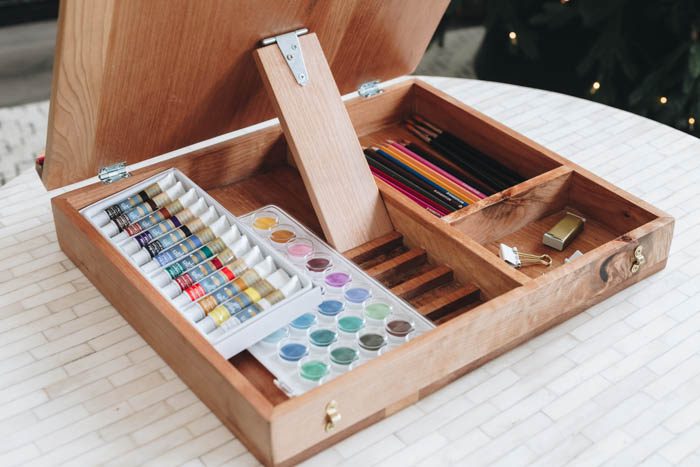
Next I used some of my scrap wood to make a stand to hold the top of our DIY Tabletop Easel up. I glued a small piece of wood to hold the stand at various positions to change the angle of the top board.
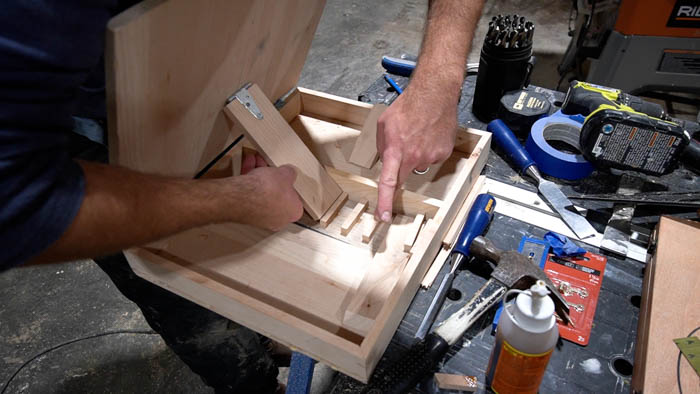
I also made a tray on the left side of the box to hold pencils, paint brushes and misc art supplies.
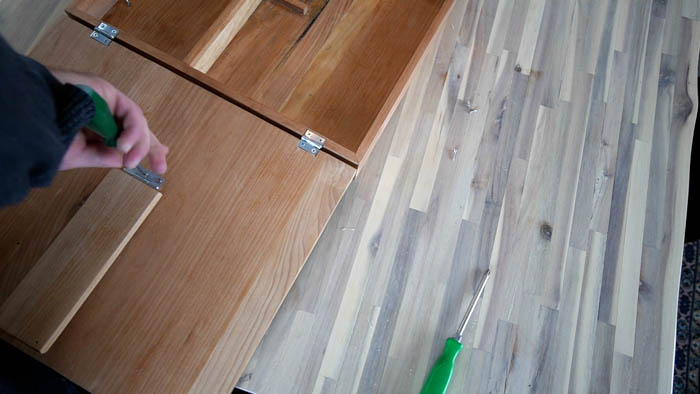
Adding Hardware
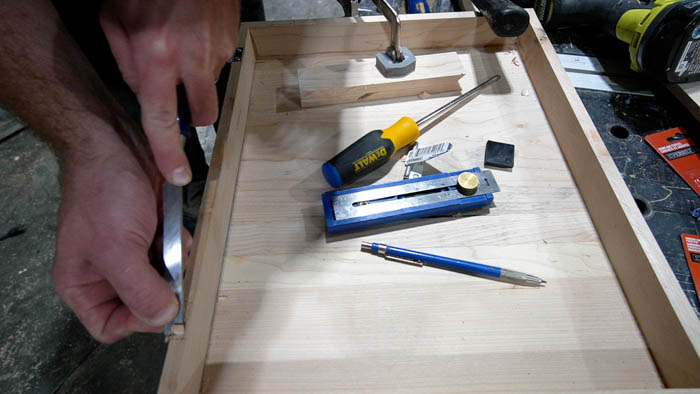
I added two narrow hinges to allow the lid to open and close. I marked out their locations and used a chisel to remove enough material to allow them to sit flush when the lid was closed. When I installed the hardware I pre-drilled all the holes to prevent the wood from splitting when in
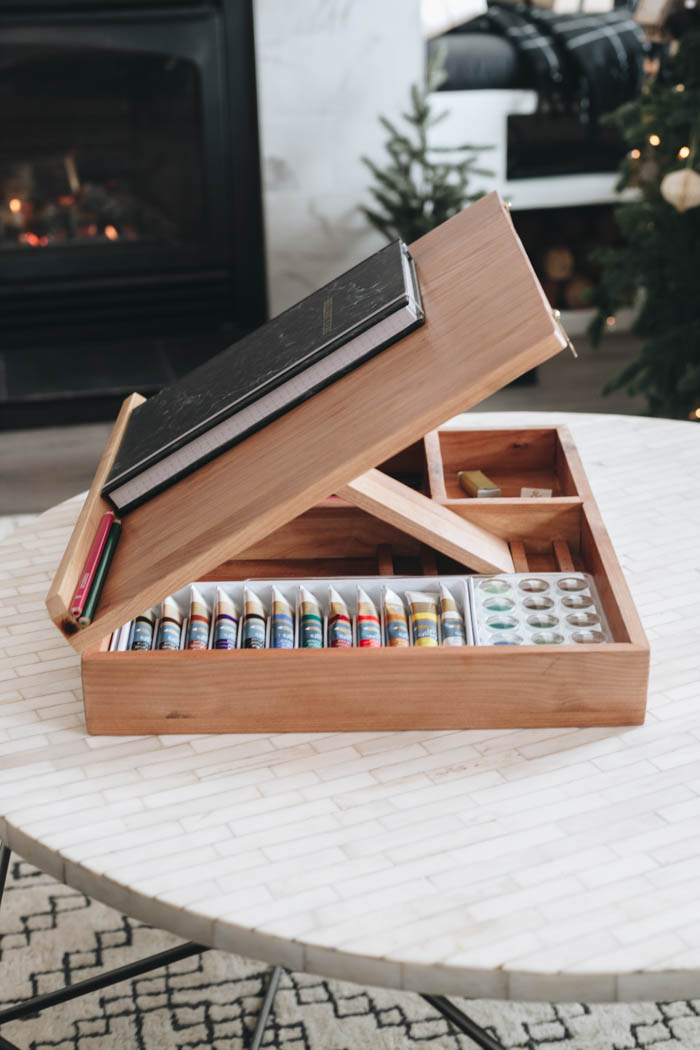
For the leg, I used a T-hinge to allow the lid to sit up at different angels. When attaching the hinge to the lid you want to make sure your screws aren’t too long and do not protrude through the top of the lid. See drawings for location of leg.
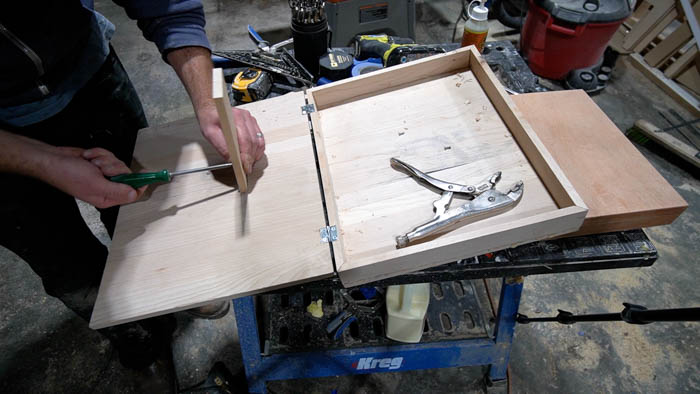
To secure DIY Tabletop Easel top while not being used, I added two latches to the back.
Once I was happy with how every thing worked, I removed all the hardware to got ready to apply the finish coatings.
Spraying Finishes
We tested several stains, but ultimately decided to go with a Natural Stain from Minwax. We also planned to give the DIY Art Easel a couple of coats of Polycrylic Protective Wood Finish to seal and protect the wood.
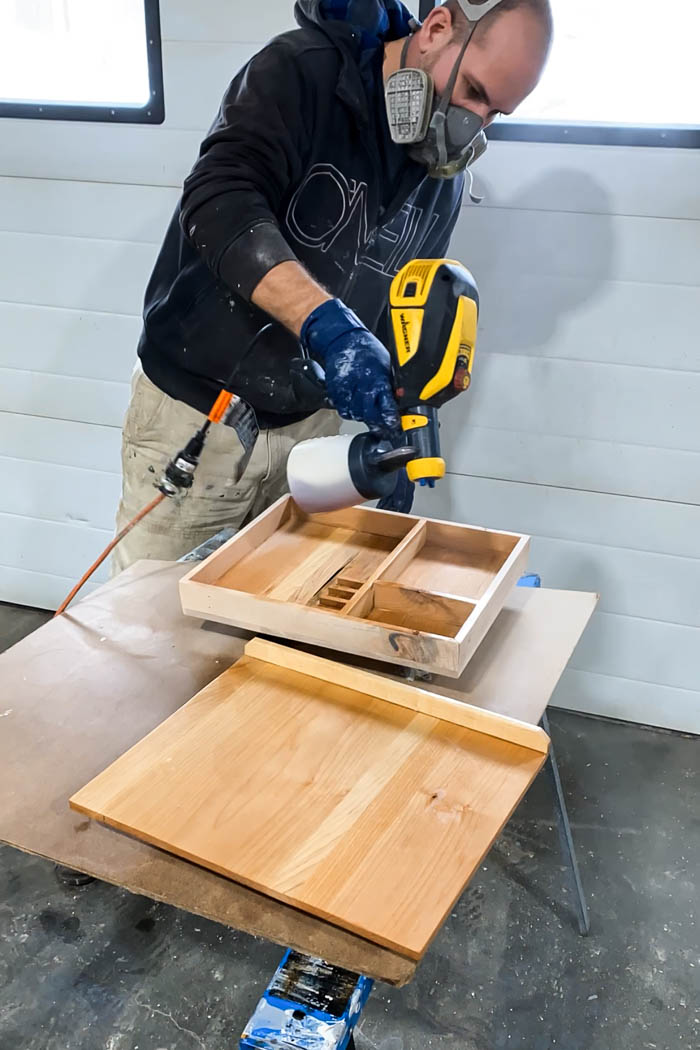
I grabbed our new Wagner Flexio 3500 Sprayer and Detail Finish nozzle and applied the stain to all surfaces of the DIY Tabletop Easel. The great thing about the sprayer is that you can evenly apply the stain all at once and top and bottom. I used these little stands to hold it up while the stain dried. The new design is compact and easy to use.
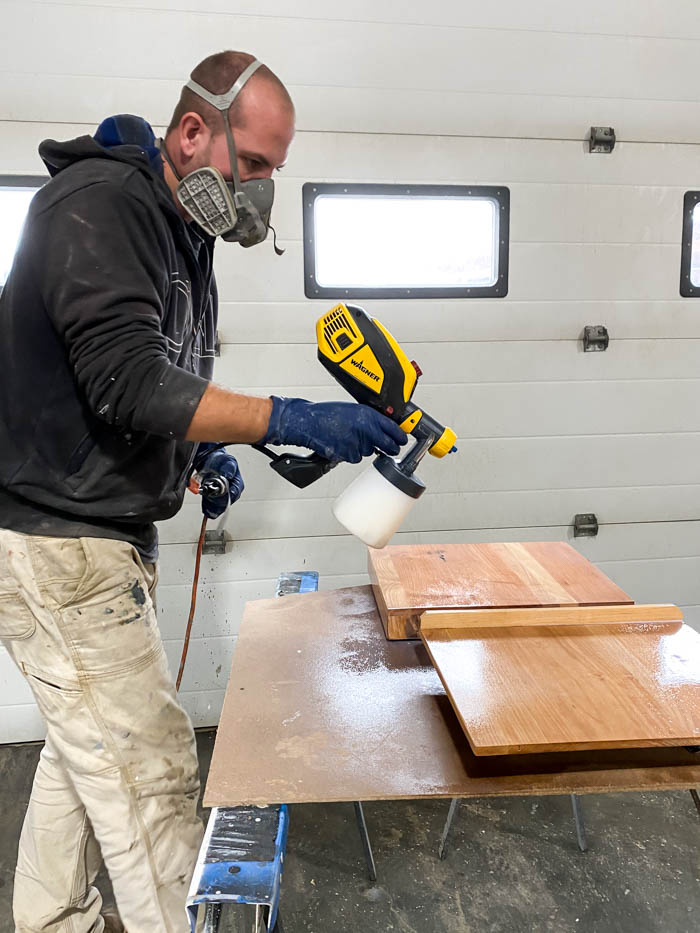
Once the stain dried I used the sprayer again to apply the top coat protective finish on all the surfaces.
I was really happy how the sprayer worked, it applied all the finishes smoothly. One of my favorite features is how easily it is to clean when you are done.
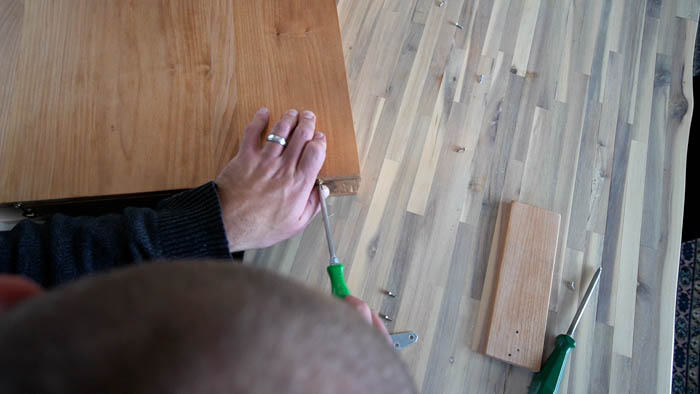
Re-Assembly
With the top coat dry I re-installed all the hardware. When working with the smaller screws I like to use hand tools. I find that power tools can easily strip out the holes making the connections loose.
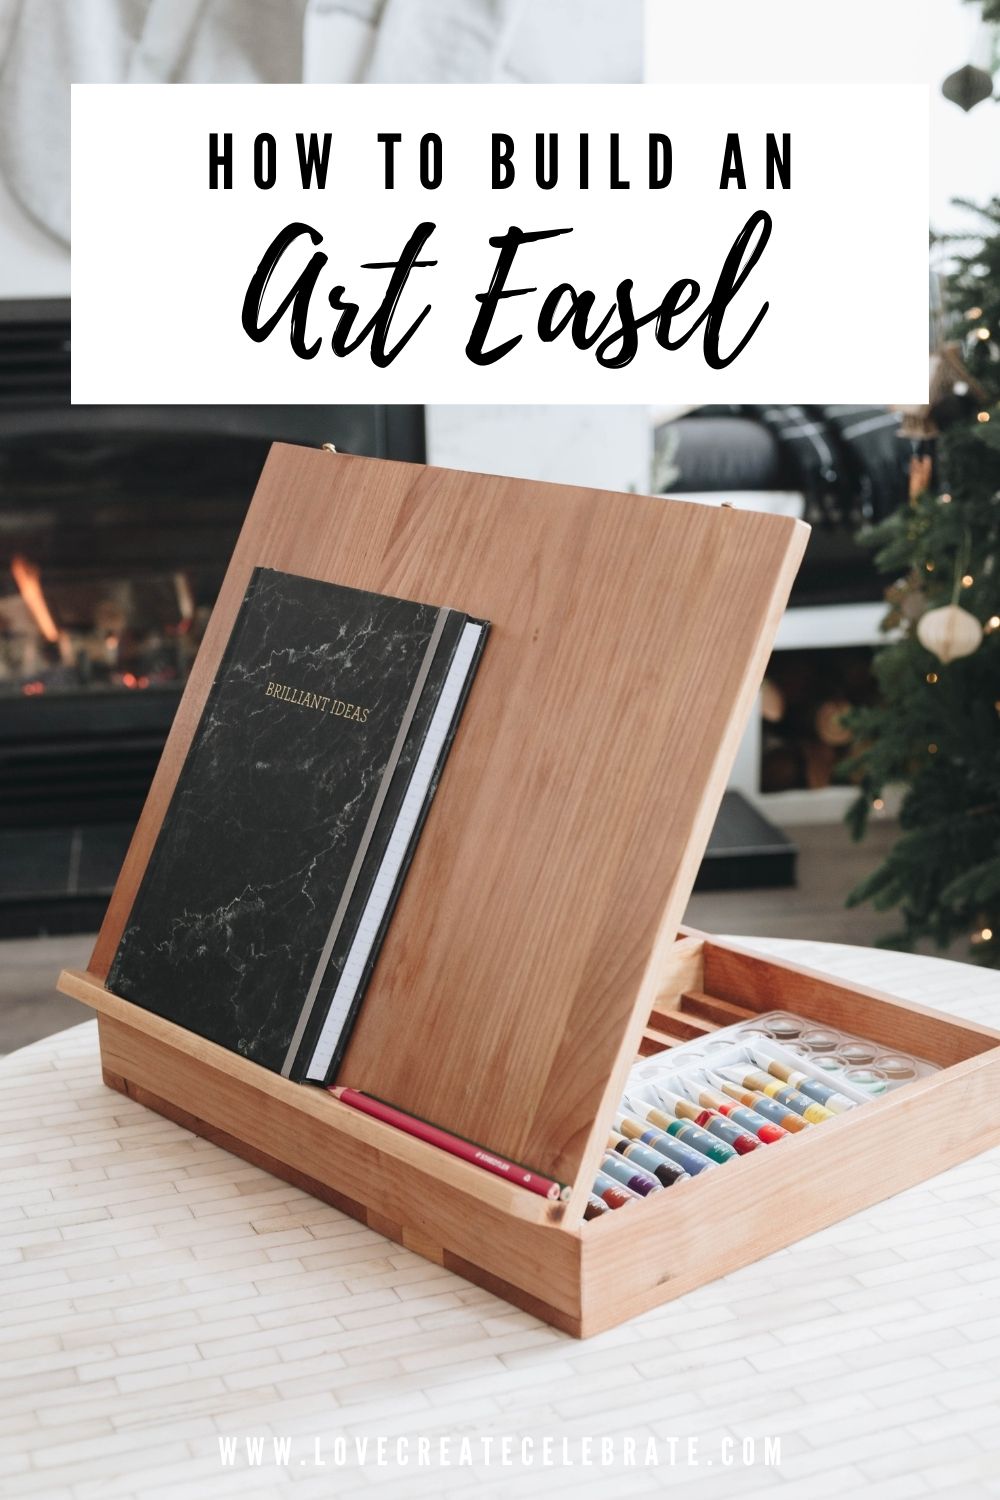
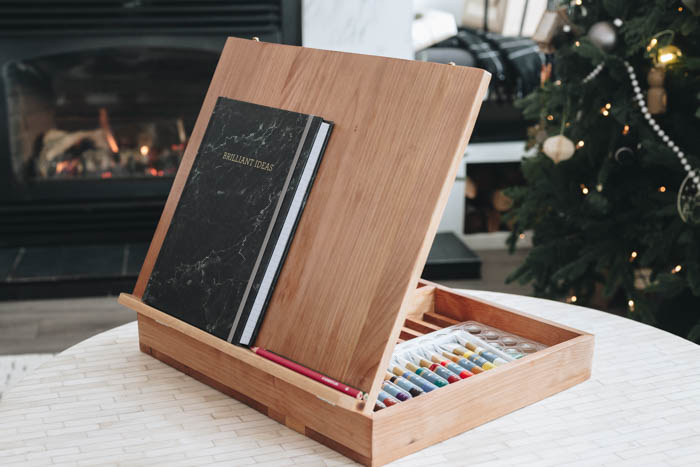
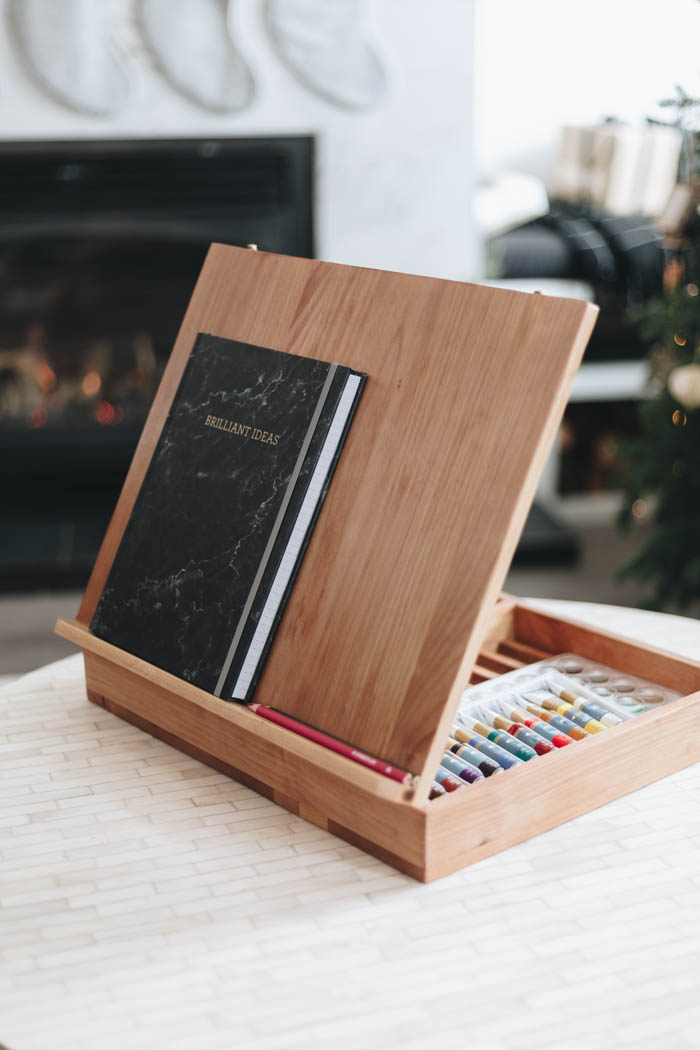
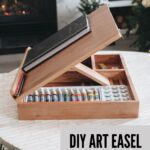
Our Finished Tabletop Art Easel
Here’s how our art easel turned out! It’s such a great piece for kids or adults. We’re really for our daughter to see this on Christmas morning. It’s a great piece that can be put at multiple angles, can be used for multiple hobbies, and can help store some of your supplies.
DIY Tabletop Easel Budget
- 16″ wide x 5′ long x 1/2″ thick piece of Maple: approx. $80 (could substitute pine to lower costs)
- Latch: $8
- Narrow Hinges: $6
- T-Hinge: $5
- Stain: $20
- Polycrylic: $30
Total Cost: $150 (assuming you need to buy all supplies, if you have stains/finishes or extra wood you could use your costs would be significantly less)
Video of DIY Art Easel Build
Here is a video of us planning, building, and revealing the DIY Tabletop Easel as well as two other gifts for our children for Christmas.
How to Build a DIY Tabletop Easel
Build a DIY Tabletop Easel for the artist in your family. This quick and easy project makes a beautiful Art Easel.
Materials
- 1/2-in x 16-in x 5-ft of Maple (Approx.)
- 2 x Latch
- 1 x T-hinge
- 1" Narrow Hinge
- Wood Glue
- painters tape
- Sanding Discs (60/120/220)
- Natural Min-wax Stain
- Polycrylic Protective Wood Finish
Tools
Instructions
- Cut material to size
- Assemble/GlueBox
- AddingHardware
- Spray Finishes
- Re-Assemble
Notes
see blog post for full details and build plans


Shreya @ The Creatives Hour
Wednesday 8th of December 2021
That looks like a great new easel. Thanks for the tutorial;)