
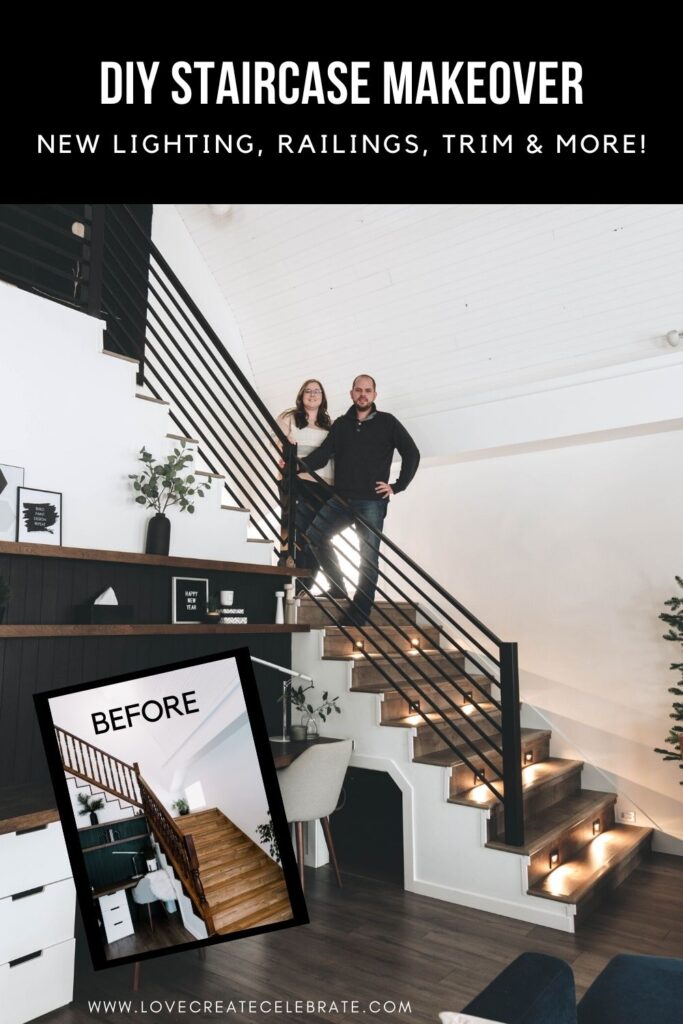
An amazing DIY staircase renovation, learn how to install laminate flooring, nosing and custom trim along the edges and sides of your staircase.
Russel here with Love Create Celebrate, since I was so heavily involved in this stair renovation I decide to grab Lindi’s laptop and write this post to explain what we all did for our staircase renovation.
This staircase renovation has been a year in the making but has been so worth the wait. When Lindi and I first bought this home in 2017, Lindi immediately said she wanted to update the railing and stairs, to which I replied, “stairs are a lot of work” and “that is a solid wood railing and looks great” (as I am a wood purest), but as she always does… she won me over.
*This post was sponsored by DAP Canada and may contain affiliate links. As always, opinions are 100% my own. For more information, please see my disclosure page.*
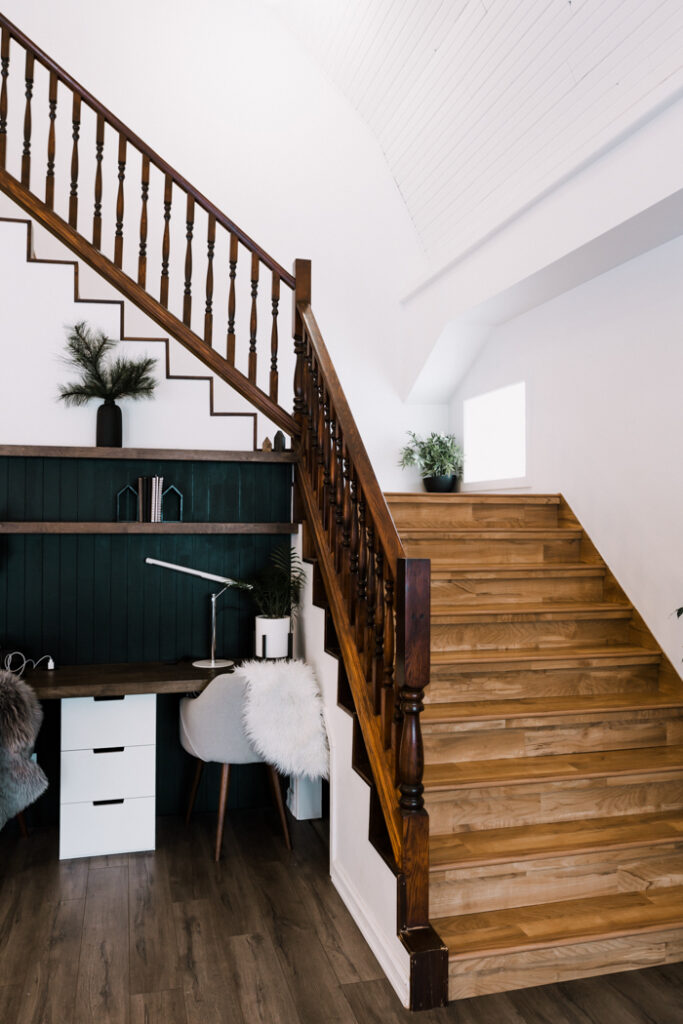
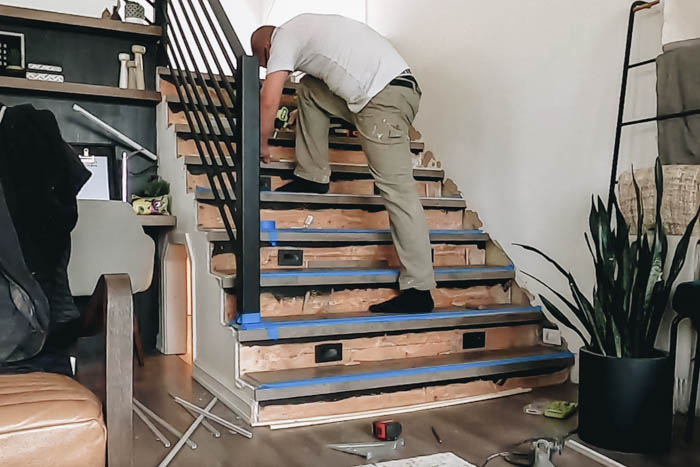
This photo above was our staircase one year ago. Fast forward to end the beginning of 2019 when Lindi’s design plan ultimately won and we decided to bite the bullet and tackle the stairs. We were able to team up with some great partners and Lindi came up with a great design plan for the stairs.
Lindi decided to follow through with the same flooring we used in our living and dining area and update the railing. See below for all the details!
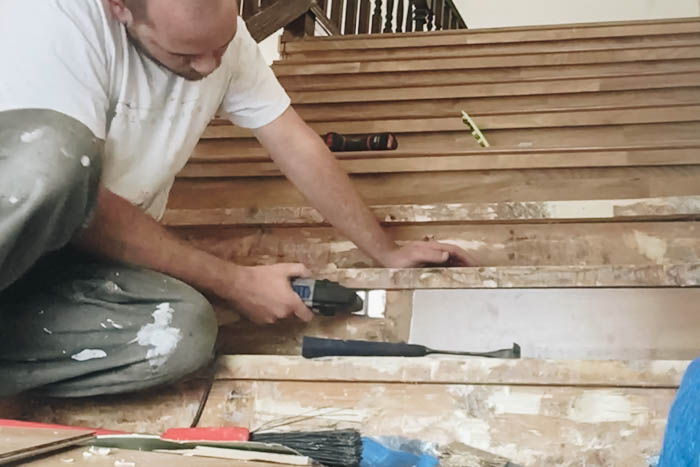
Removal of old trim and flooring
We started the stair renovation by removing all the old trim, flooring, and prepping the railing to be removed (but leaving it in place until new rail was ready). We made sure all the old glue from the old flooring was gone to make sure the new flooring would bond securely once installed.
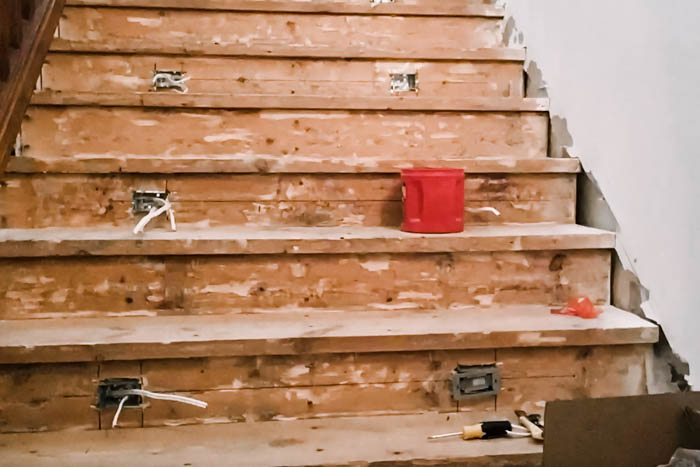
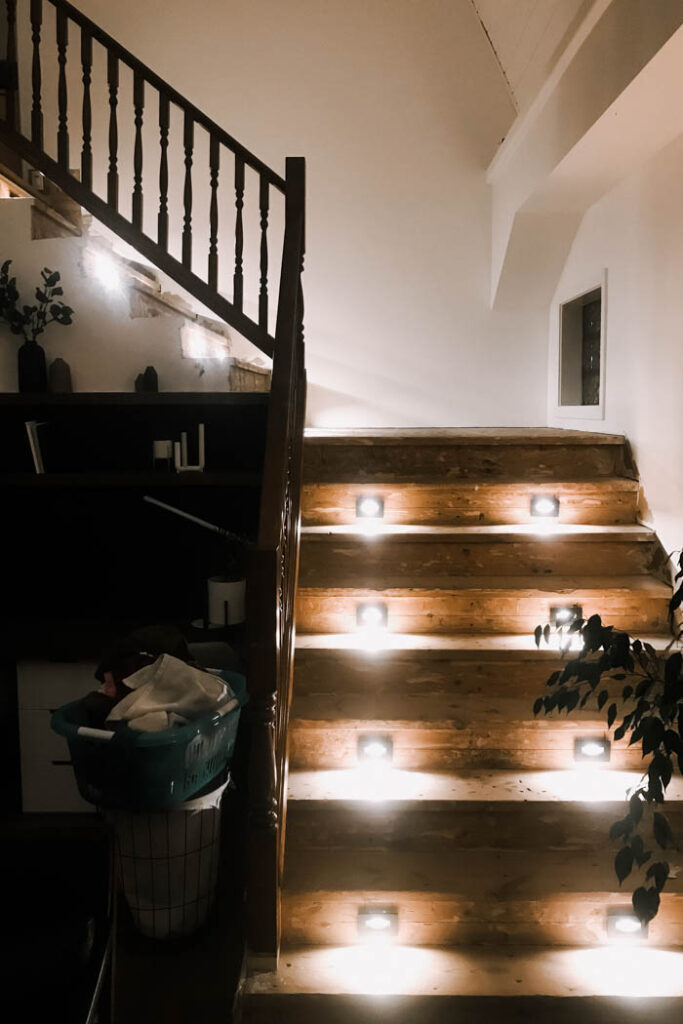
Custom In-Tread Lighting for our Stairs
This is something we debated if we wanted to tackle at the beginning of the renovation due to the large scope of work of adding all the electrical, but are we glad that we did!
For installation details about the the in tread lighting we will share a full tutorial soon. We used these LED tread lights and these motion sensors. Due to the width of our stairs we installed two LED lights on every other step and couldn’t be happier with the final result!

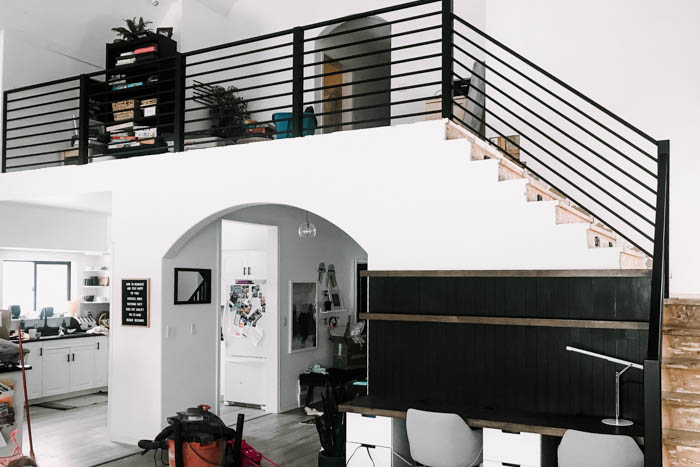
The Metal Railing for our Staircase Renovation
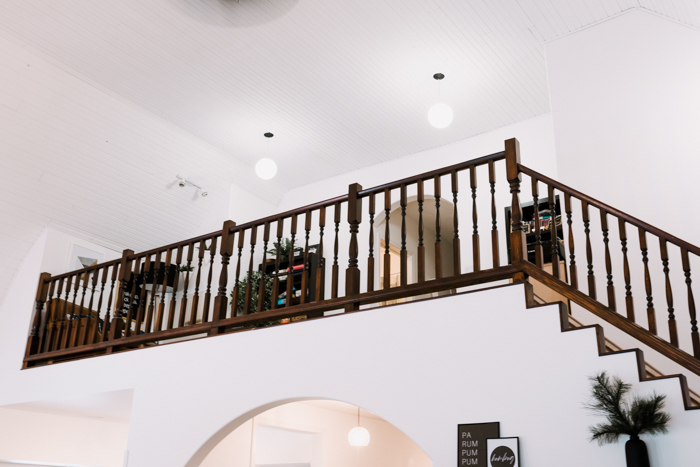
The original solid wood railing was beautifully crafted by my parents when they originally built the house but no longer fit the new design aesthetic we were going for. So we had a new railing fabricated by Blundell Metal Works who designed a new powder coated matte black, sleek, steel railing.
Other than the removal of the old rail, the only other work that had to be completed in regards to the new railing was to add bracing (as shown in the this video) to the underside of the flooring to allow the new posts to be firmly secured. Once this was completed Blundell Metal Works installed the new rail and we could sit and admire his handy work.

Putting Down Laminate Flooring
With the tread lighting and new railing installed we could start on the install of the new flooring. You can see this post or this video for more details on how the flooring was installed along the stair treads.
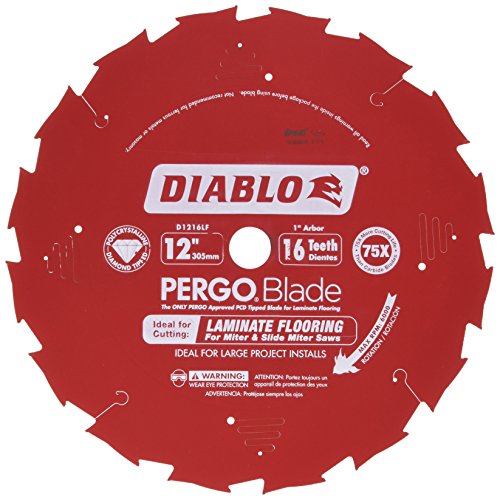
We used DAP Construction Adhesive MAX STRENGTH to adhere the new laminate flooring to the stair treads. To cut the laminate flooring I would highly recommend investing in specialty laminate blades, as they minimize tear out and leave you with clean cut edges (links to blades are included below). Once all the laminate flooring was installed we could start work on the trim.
How to Finish Custom Trim and Moulding
Trim and mouldings had to be installed on either side of the newly installed laminate flooring for our stair renovation.
Wall Side Moulding
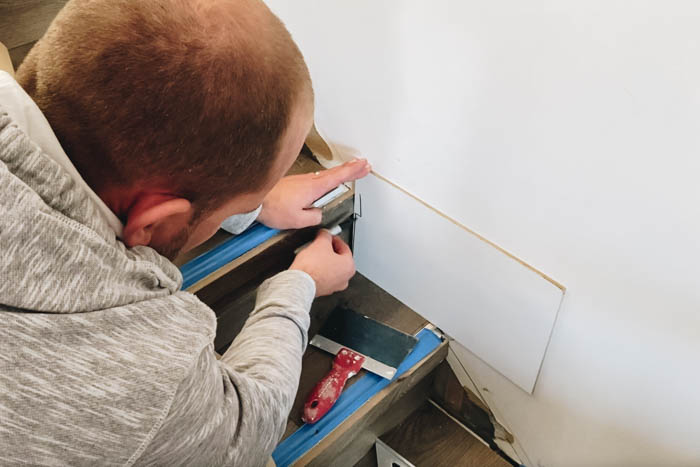
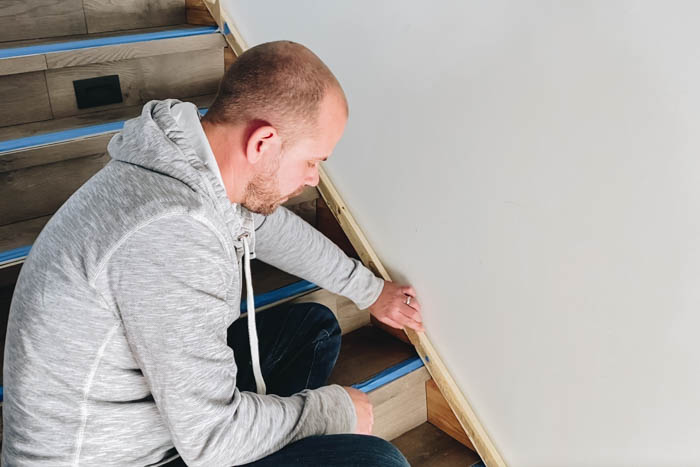
For the trim along the wall side of staircase I made custom trim out of 1/2″ thick MDF. To start I use some scrape boards to template each existing stair treads, breaking the stairs into two sections (on either side of the landing). Once I had all the step templates cut and fitted I glued the templates together (for each section). Details can be seen in the Youtube video of how I completed each step.
Once the glue dried I took both templates and transferred the shape onto 1/2″ thick MDF. Once cut I primed and painted the moulding. With the paint dry I secured the moulding to the wall using DAP Construction Adhesive and brad nails.
Once the trim along the wall was installed, all the stair tread nosing could be placed. Again you can see this post (coming soon!) or this video for full details on how the trim was installed.
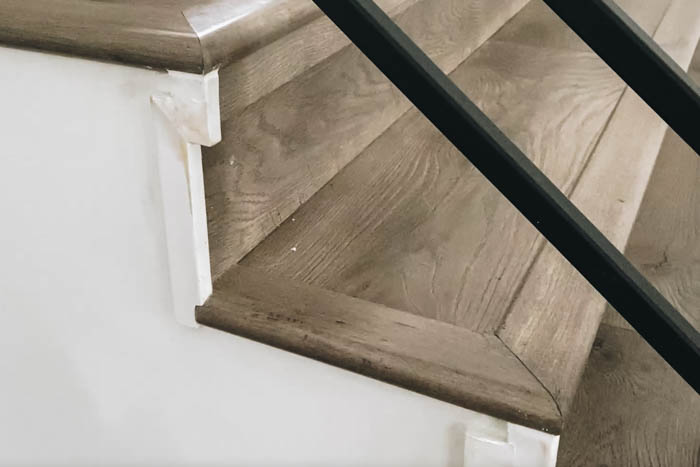
Outside Face Moulding
To trim out the outside face (opposite the wall) I used Metrie Pine Corner Moulding. I modified one side of the moulding with my table saw and router table to only have 1/2″ of overhang instead of the 1 1/8″. We did this as we wanted to minimize the amount of moulding on the stair face (this step is optional).
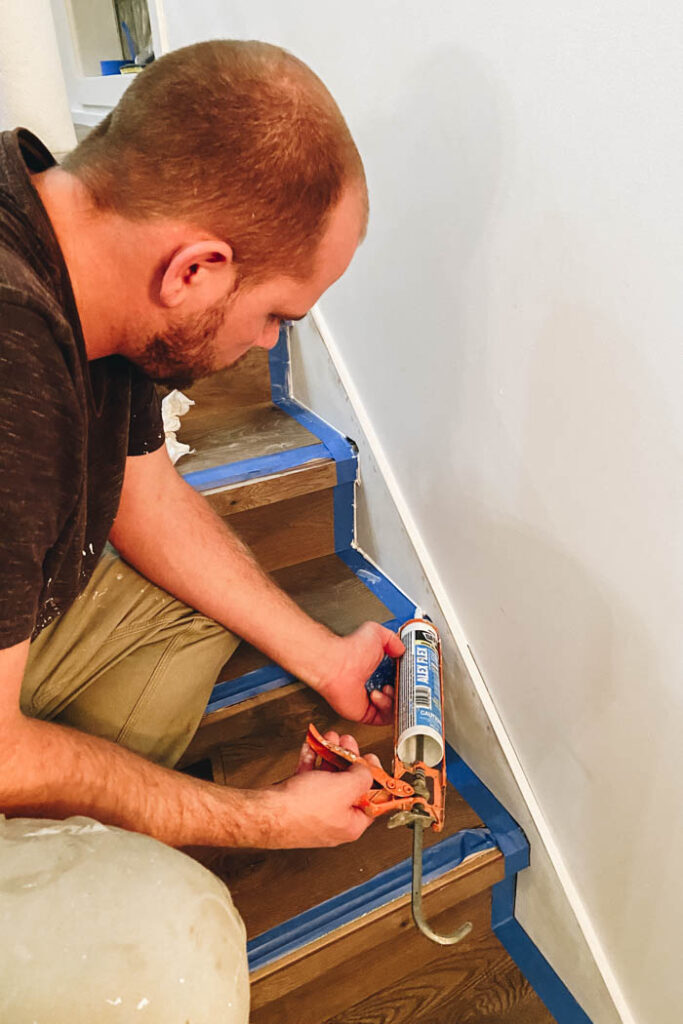
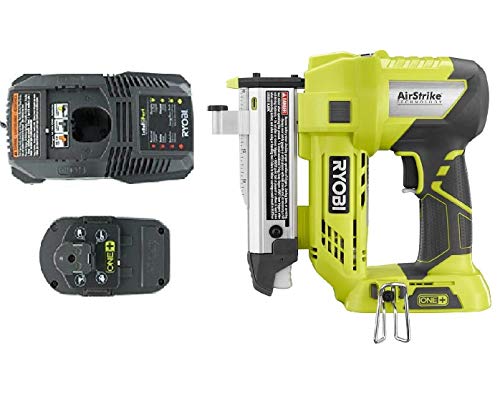
With the trim modified I cut the moulding down to size using my mitre saw and used a pin nailer as well as some DAP Construction Adhesive to set the trim in place. Details can be seen in the Youtube video of how I completed each step.


Moulding Finishing
I gave all the mouldings a light sand and used DAP Alex Plus Caulking and DAP Premium Spackling to fill any gaps or nails holes. Once I was happy with the finish I gave all the trim and moulding a final coat of paint.
A Full Video of Our Staircase Renovation
If you want to see how the entire project went down from start to finish, check out the full YouTube video here:
Don’t forget to subscribe to our channel!
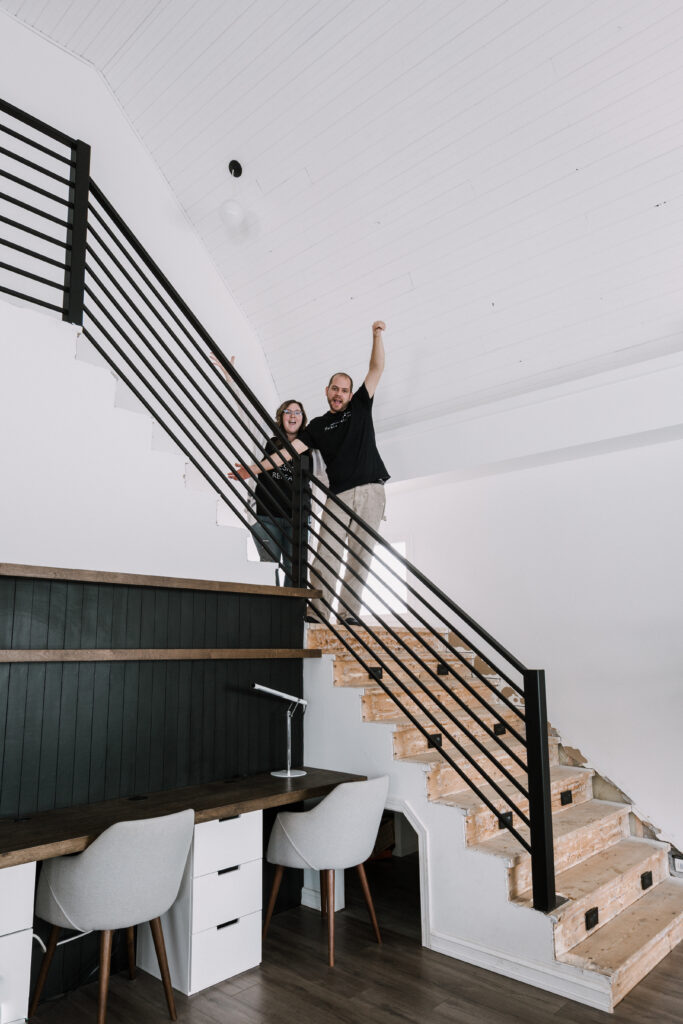
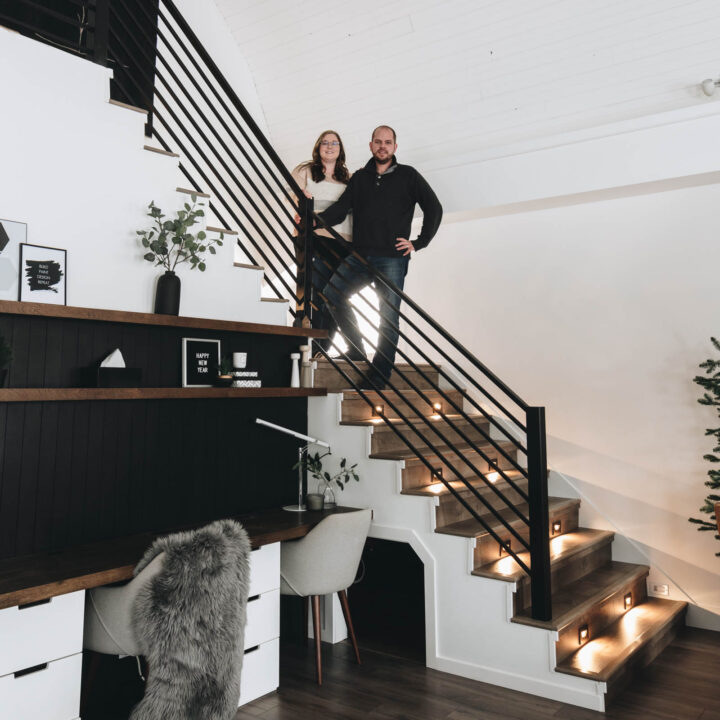
Our Finished Staircase Renovation
It only took a year to finish but we couldn’t be happier with the results :) In all seriousness though we spent the Christmas Holidays staring at our beautiful DIY Staircase Renovation and finally enjoying the finished space.
Approximate Cost Breakdown (CAD)
- New Custom Powder Coated Steel Railing: $8500
- New Flooring and Nosing: $1850 (approximate 450 ft2 including 20% extra for waste)
- In-Tread Lighting: $850 (16 lights, 2 sensors, wiring, boxes, and misc electrical supplies)
- MDF for trim: $50 (4 x 8 sheet x 1/2″ thick)
- Corner Moulding: $100
- Caulking, Adhesive, Spackling: $250
- Paint: $200 Primer, Paint, and paint supplies (brushes, rollers, etc.)
- Misc supplies: $200 (screws, painters tape, etc.)
- Approximate Total Product Cost (not including any kind labour): $12,000 CAD
Materials/Tools needed:
Here’s a final list of all the materials we used for this project:
- DAP Alex Plus Caulking
- DAP Construction Adhesive MAX STRENGTH
- DAP Premium Spackling
- LED In-tread lighting
- Motion Sensors
- Laminate Table Saw Blade
- Laminate Mitre Saw Blade
- Laminate Jigsaw Blades
- Laminate Flooring
Staircase Renovation
Materials
- New Railing
- New Flooring with nosing for stair lips
- LED tread lighting
- Wall motion sensors
- Moulding
- DAP Alex Plus Caulking
- DAP Spackling
- DAP Construction Adhesive
Tools
- Table saw
- Mitre saw
- Jigsaw
- Hammer
- Chisel
- Multi-tool with scraper blade
- Pin Nailer
- Caulking Gun
- Orbital Sander
- Painting supplies
- Laminate Blades for Table saw, mitre saw, and Jig saw
Instructions
- Remove old flooring
- Add Tread lighting. Consult an qualified electrician for codes/rules in your area regarding electrical scope of work.
- Remove old railing, add reinforcement as required for new railing.
- Install new railing
- Install new flooring
- Install new trim/moulding
Notes
*see blog post and Youtube video for detailed instructions*
*time estimated based on DIY, actual time will depend on skill level - hiring a contractor to complete work would speed up estimated time to complete*
If you have questions you can ask in the Blog or Youtube comments sections!
Recommended Products
As an Amazon Associate and member of other affiliate programs, I earn from qualifying purchases.


Karen
Saturday 9th of January 2021
Simply beautiful.
Lindi
Sunday 10th of January 2021
Thank you!!
Kristi Mercer
Friday 1st of January 2021
SUCH an incredible transformation you guys, all that planning and hard work payed off big time! LOVED following along every step of the way on Insta! You two make such a great team!
Lindi
Friday 1st of January 2021
Thank you Kristi!! It was such a huge project to take on, but I’m so happy with how it turned out!