
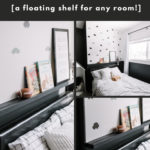
Learn how to make an easy DIY Picture Ledge with this easy tutorial! Make the perfect shelf to display books, photos, plants, etc.
There will never be a home that doesn’t have a spot for a picture ledge. I’m sure of that. Photo ledges are so versatile. They can go in almost any room, they can hold so many different pieces to style your space, and they can be stained or painted to fit any decor style. Versatile. When I decided that we needed one, I couldn’t find a tutorial anywhere with the design I was picturing, so I’m sharing the tutorial in case someone out there is looking for a DIY picture ledge that is slightly more contemporary than the rest.
*This post may contain affiliate links. When you buy a product through one of our links, we get a commission at no cost to you! Thank you for supporting our blog so that we can continue to bring you posts like these. For more information, please see our disclosure page.*
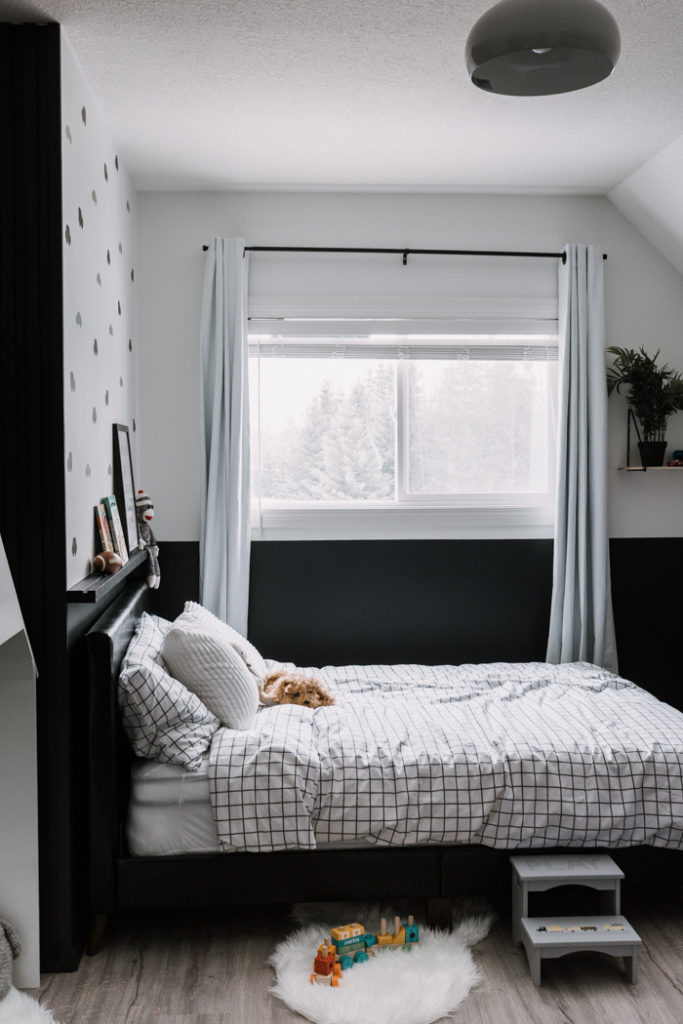
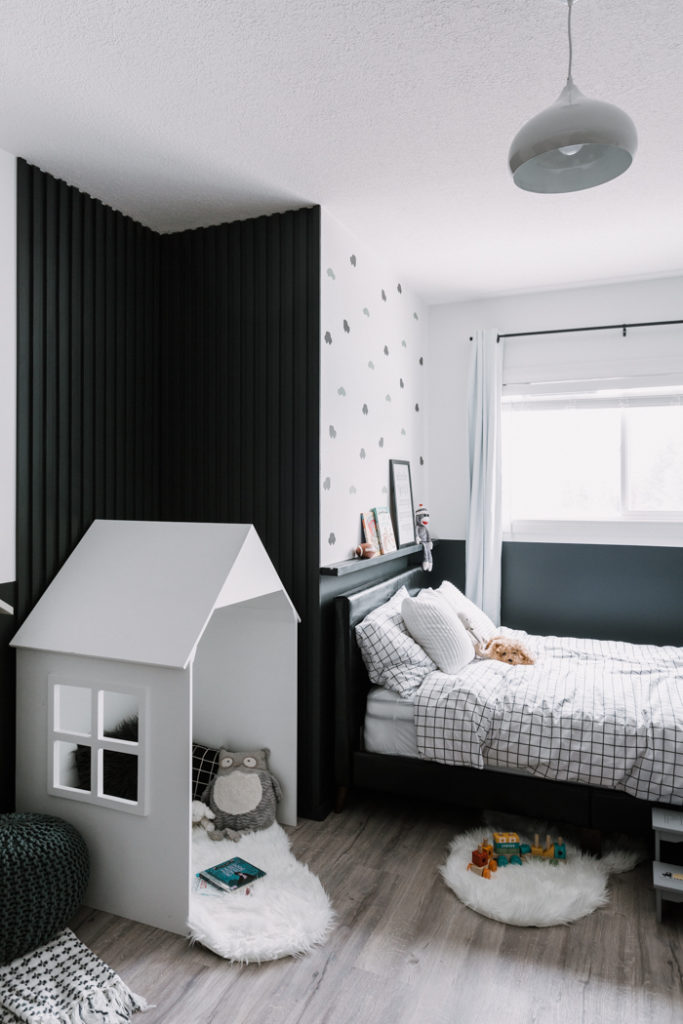
When we were redecorating a bedroom for my kids this was one of my last minute additions. We had painted a horizontal line around the room and I really wanted something for the eye to rest on as it travelled around.
We built this ledge to sit exactly on top of that line, and it was the perfect piece to help give that side of the room a little extra character.
Instructions for Making a DIY Picture Ledge
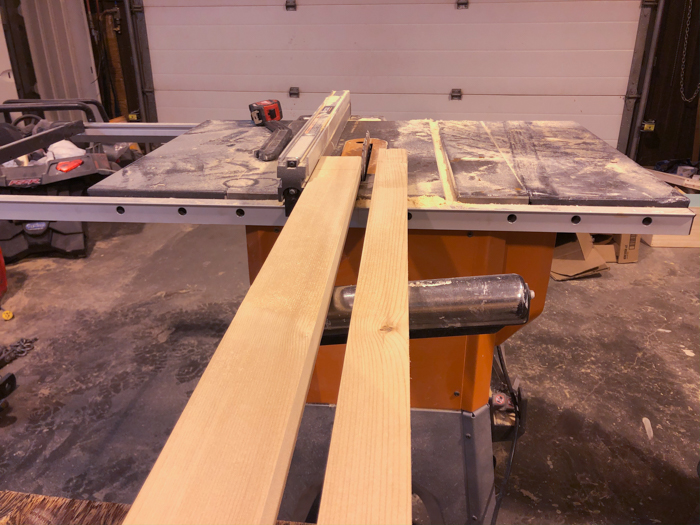
The first step is to cut your wood to size. This will totally depend on your own space and the size of ledge you want. I knew that I wanted ours to go across the entire length of the wall behind the bed, but if you are doing floating shelves behind the couch or on a wall, you’ll need to measure your space first.
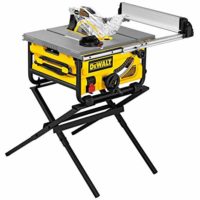
We cut the board to width first – ours was 3″ wide, but you can do yours wider if you’re going to drill into studs on the wall. And then we cut the length down on the table saw.
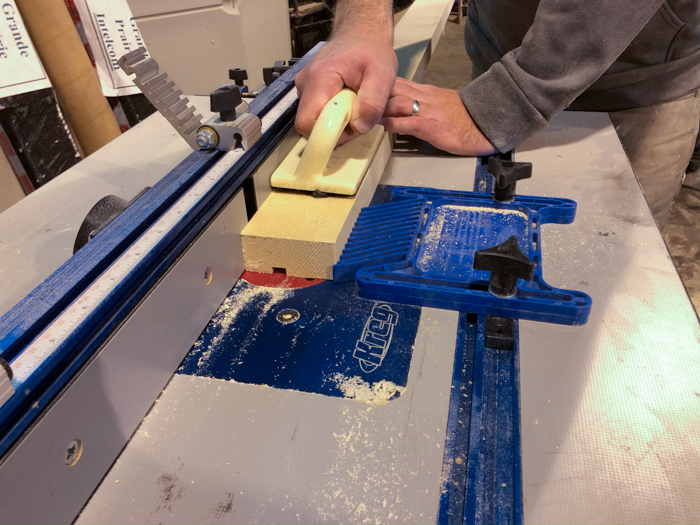
Next we wanted to create a groove in the board. The groove would allow books and picture frames to sit on the shelf securely, but having their edges rest on an angle.
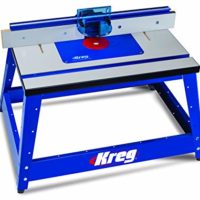
We used our router table for this, and just slide with wood through the table with a 1/2″ router bit to make a groove. If you don’t have a router table, you can also do this with a table saw, as in this video tutorial.

When you’re done, you should have a perfect groove running through your board. You don’t want your groove to be centered. Rather, you want it further from the wall edge so that the angle your frames and books are resting at isn’t too steep.
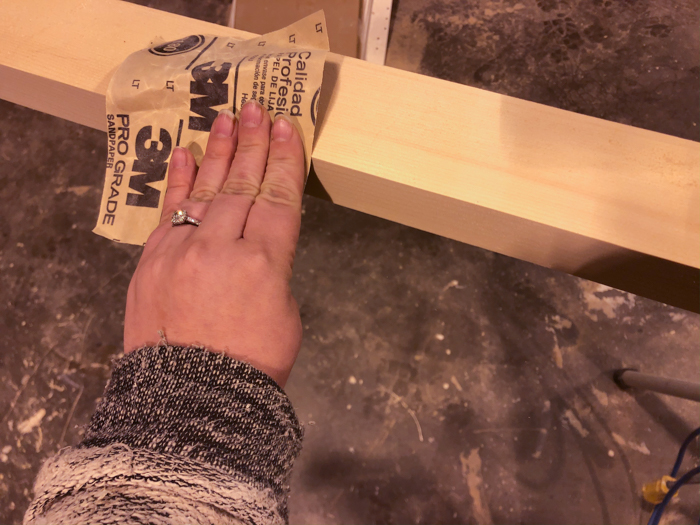
This board was going in our child’s bedroom so we wanted to make sure all of the edges were sanded down a bit and not too sharp.
The final step is to actually attach your board to the wall. Because of the sleek design, the only way to attach the ledge is to drill through the entire board from the face.
You want to attach into studs wherever possible, so we found the locations of the studs, drilled through the ledge (full instructions written out below!), and then created plugs to fill the wholes.
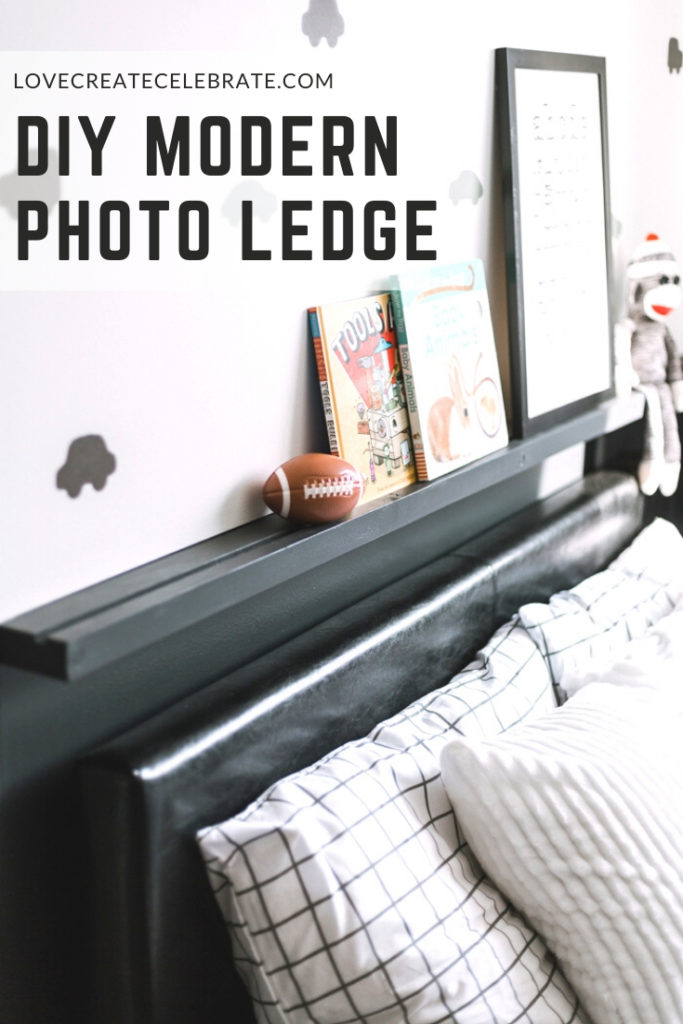
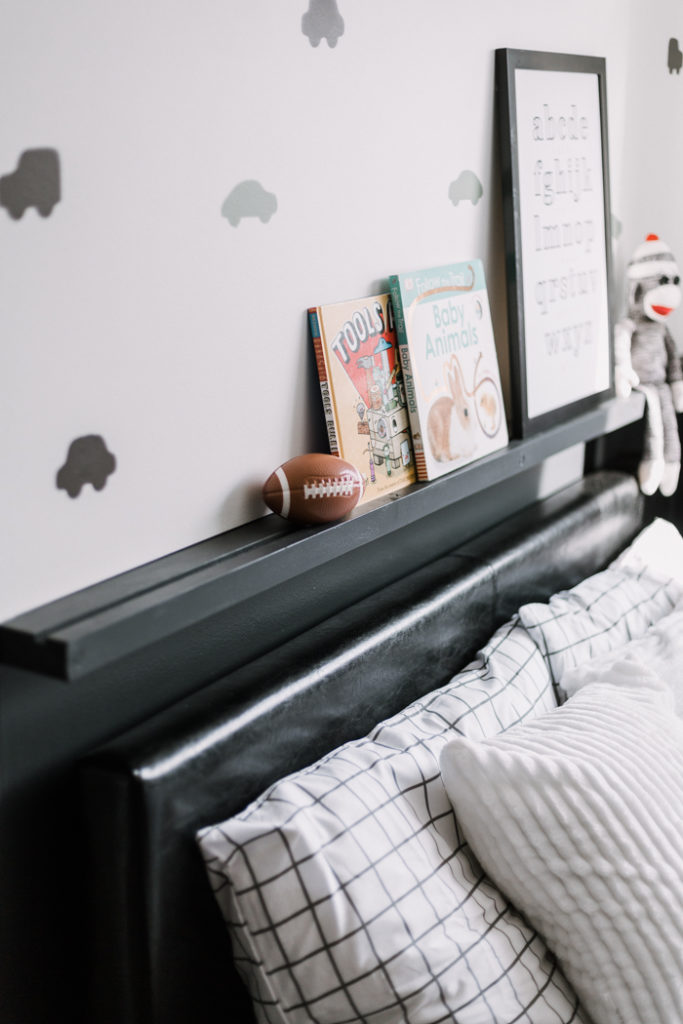
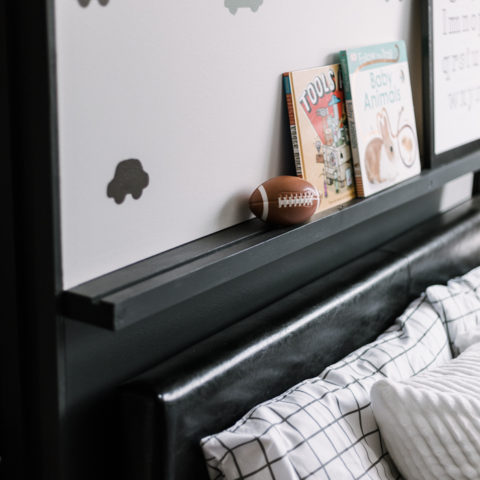
Our Finished Photo Ledge
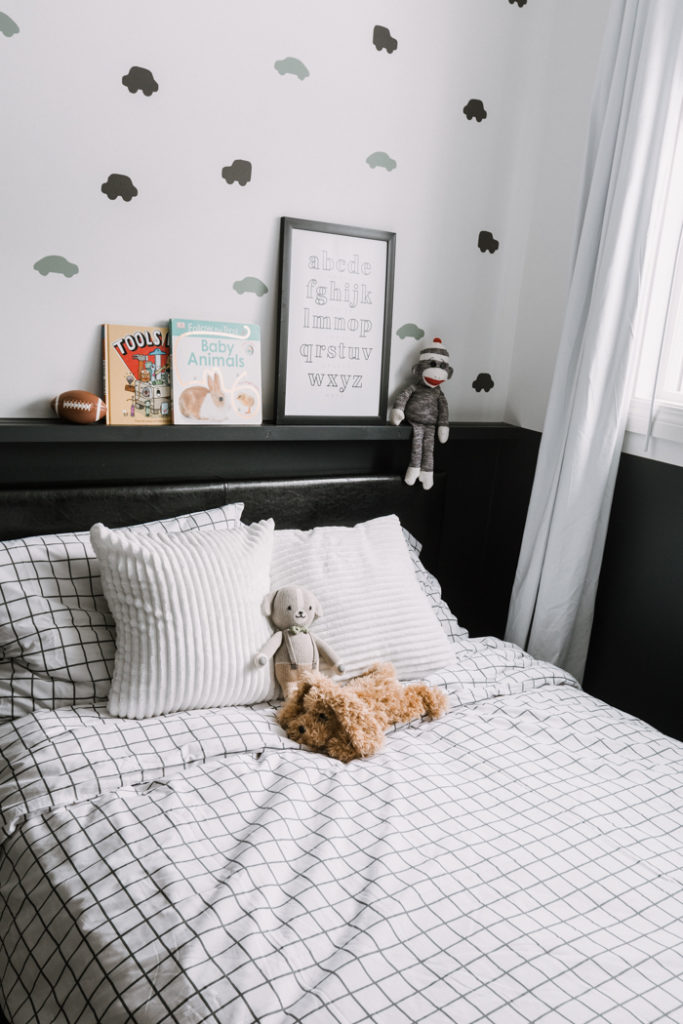
The ledge is perfect. We put some fun things on it above our son’s bed – and don’t worry, the frame is plastic and doesn’t have any glass in it. It was such a fun way to style the space.
I love it in this room, but because of the modern design, I can also easily picture it in our hallway or behind a couch. I’m already planning to build another one.
DIY Picture Ledge
Learn how to make an easy DIY Picture Ledge with this easy tutorial! Make the perfect shelf to display books, photos, plants, etc.
Materials
- 2x4 board - 8' long
Tools
- Mitre Saw
- Sander
- Router or Tablesaw
- Stud finder
- Drill
- *optional*
- 3/8" dia. plug drill bit
Instructions
- Determine the length of the picture ledge, in our case the wall we were installing the picture ledge on was 68 1/2" long, therefore we made tour length the same length of the wall we were installing it on.
- Sand down all 4 sides and ends of your picture ledge with your sander, we used our orbital sander with 220 grit sandpaper. Prior to sanding, we also had run our board through the planer to square up all the edges but this step is optional. Due to planning the board our final dimensions were 1 3/8" thick by 3" wide x 68 1/2" long.
- Using a 1/2" router bit, using a guide or a router table route a 1/2" wide by 1/4" deep grove in the middle of the top of the board. The groove was 7/8" off the front face of the board. If you don't have an router you can use a table saw with a dado blade or a tablesaw with a standard blade and take multiple passes until you have the desired width and depth of the groove.
- Lightly sand all of the edges of your picture ledge with 220 grit sandpaper, to reduce any very sharp corners or edges.
- Once your board is sanded and the groove cut you can take your board to the wall you plan to install it on. Find the studs on the wall with a stud finder and mark out. You will want 3 locations, one on the wall near each end and one at the center. If your board is longer than 68 1/2" you may want to screw into additional studs. Once you have located the studs you can transfer these marks onto your picture ledge by holding the picture ledge against the wall and marking the board with a pencil. Make sure you hold the groove side upwards when transfer the marks onto the board.
- Using a drill, drill a 1/8" hole centered on the face opposite the wall at the locations you transfer from the studs on the wall onto your board. We than drilled a 3/8" dia. hole 3/8" deep - this will allow you to counter sink our screws. *optional step* using scrap wood you can make your own plugs to insert into the counter sunk holes to completely hide the screw head. To do this drill three 3/8" dia wooden plugs using a 3/8" plug cutter on a scrap piece of wood, these plugs can be sanded down to around 1/2" length and installed in the holes once the picture ledge is mounted to the wall.
- Test mount your board to insure it fits securely to the wall, we installed out board 41" off the ground. You may want to customize this height depending on where you are installing the board. In our case we where installing it above a head board of a bed and below a paint transition line.
- Once you are happy with the fitment, you can remove your board from the wall. Give it a final sand and paint it with your desired stain/varnish or primer/paint of your choice. Don't forget to paint or stain your plugs the same finish at this time.
- Once your finish has properly cured you can install your picture ledge. We used 4" long #10 zinc plate screws to attach the wall. Once in place, you can install your wood plugs if you choose to complete this step.
Recommended Products
As an Amazon Associate and member of other affiliate programs, I earn from qualifying purchases.


If you’re looking for another affordable way to make shelves, the shelves we did for our desk were less than $40!


JoAnn
Wednesday 26th of February 2020
Nice, a useful place for a boy's treasures!