
Learn how to make your own personalized doormat with this quick and easy video tutorial!
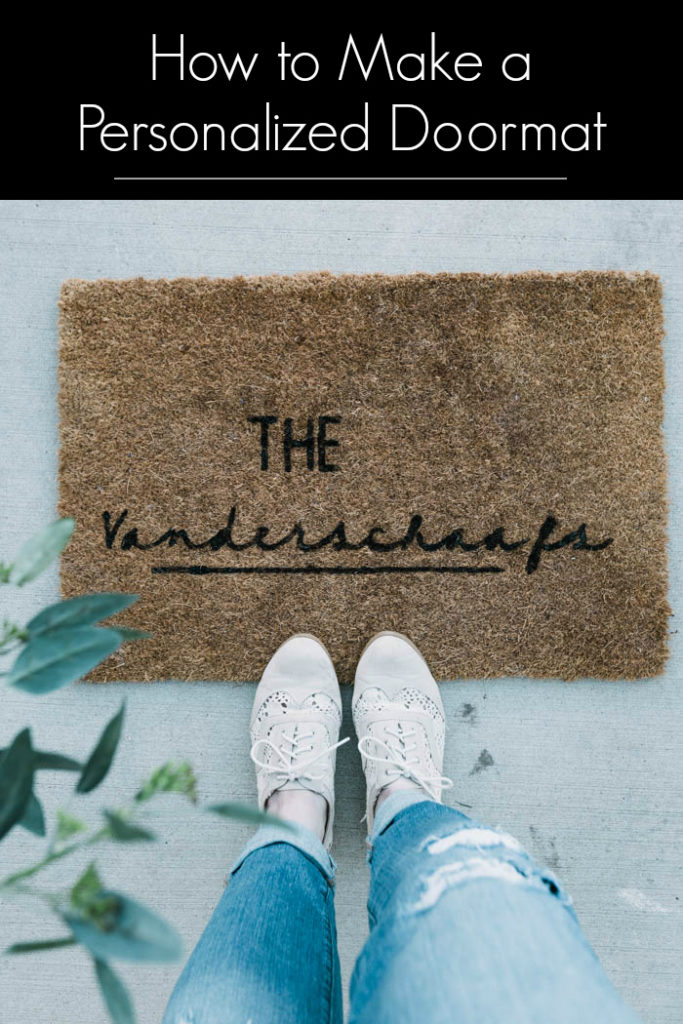
These are the best days of the entire year. I say that in the early days of every Spring, and every Spring its true again. when the snow melts away and the birds start singing and the kids can finally play outside again. Those are the best days. So I’ve whipped all of my Spring shoes out of hiding (even though all I can use right now are rubber boots), and I’m crafting up some Spring projects – the ones that keep me outside are at the top of my to-do list! Including this personalized doormat that I’ve been wanting to make for ages now!
*This post was sponsored by Cricut. As always, opinions are 100% my own. For more information, please see my disclosure page.*
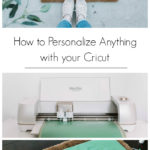
You’ve probably seen mats like this before! But the personalized mats can cost a pretty penny, and since I’ve already got a Cricut Explore Air 2, there’s really no need to buy one, lol. In case you haven’t heard it mentioned here before, I use my Cricut Explore Air 2 for everything. It cuts a TON of different materials, from iron on vinyl to cardstock, and vinyl. If you’ve never used vinyl before, it’s one of the most versatile crafting tools you can use! Today I’ll be using it to make a stencil for my new personalized doormat, but if you check out my create gallery, you’ll see a ton of other uses for it!
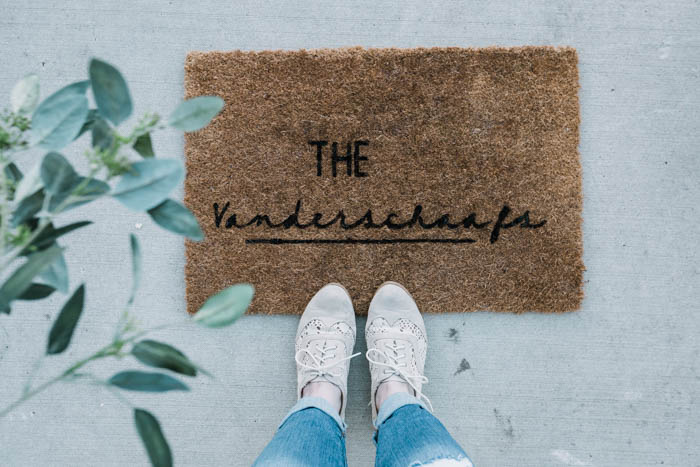
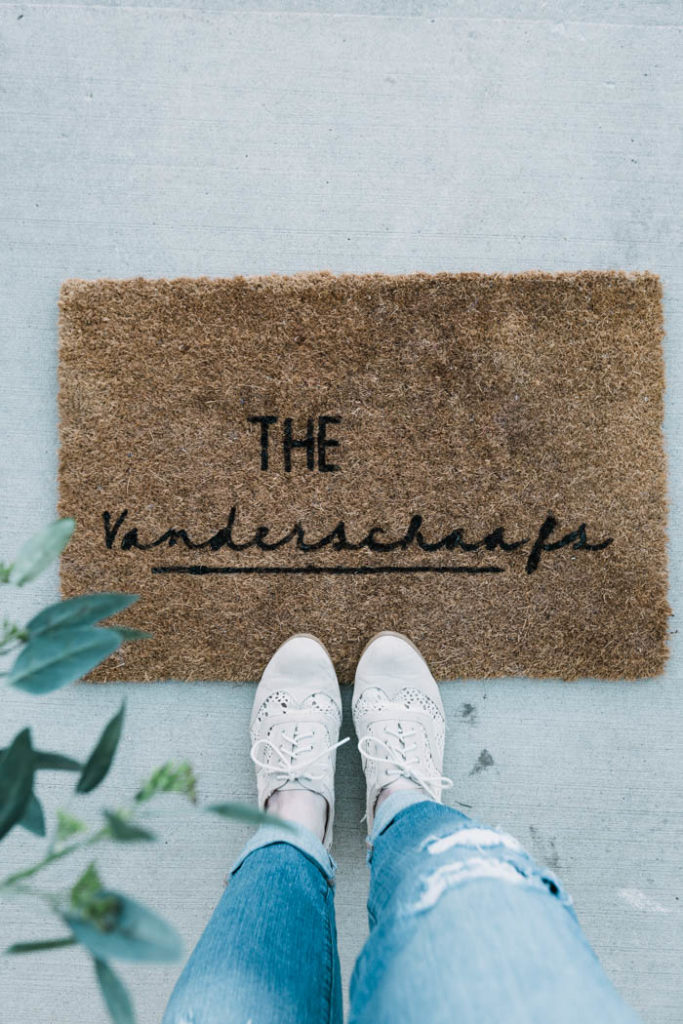
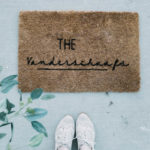
When you know how to use the Cricut Design Space, it’s so easy to customize designs for anything you want. Adding names or monograms to things is such a fun thing to do. Pillowcases, backpacks, napkins, the options are endless. And the thing about monograms, is that they are always in style! I could have put a monogram on our doormat, but I really wanted to do our full last name this time, since we don’t get to see it written out all that often!
I’m going to show you exactly how I made it, from adjusting the fonts, to playing with shapes and images in the Design Space.
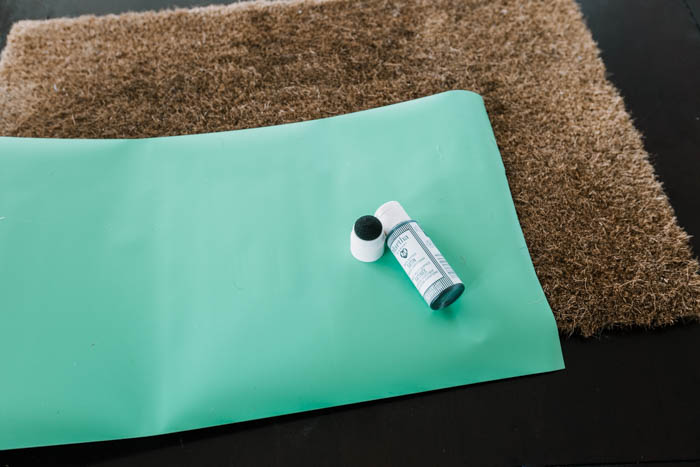
Materials for Making DIY Doormats:
Blank Doormat
Cricut Explore Air 2
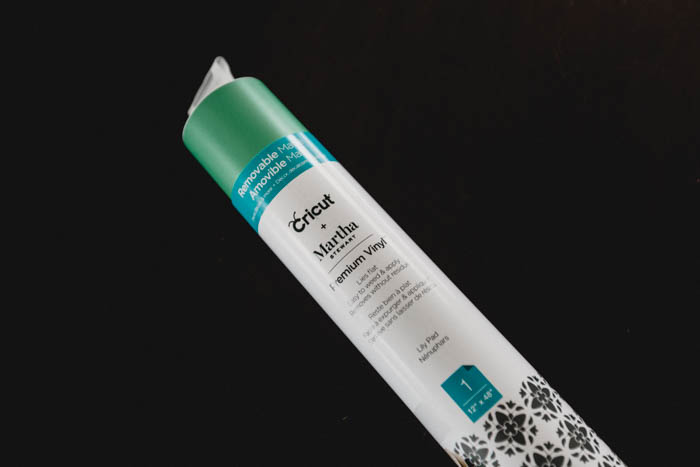
Stencil Vinyl
Martha Stewart Paint (Black)
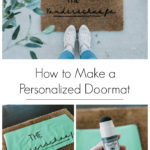
How to Make Your Personalized Doormats:
If you want to start with the video tutorial, it will go through everything from creating your design to painting the design onto your mat.
If you want to peek at my design, or use it as a starting point, you can open it HERE.
The reason I chose to share a video for this tutorial is because my personalized design will be different from yours and the next persons. I wanted to give you the skills to personalize your design instead.
If you didn’t get a chance to go through the video, here are a few of the points I teach about when using the Cricut Design Space to make your custom doormat design:
- How to create your own background or template to help you visualize your design
- How to search and choose fonts
- How to manipulate text (style, size, and curves in text)
- How to add shapes, lines, and images to your designs
- How to weld everything together so that your images print together
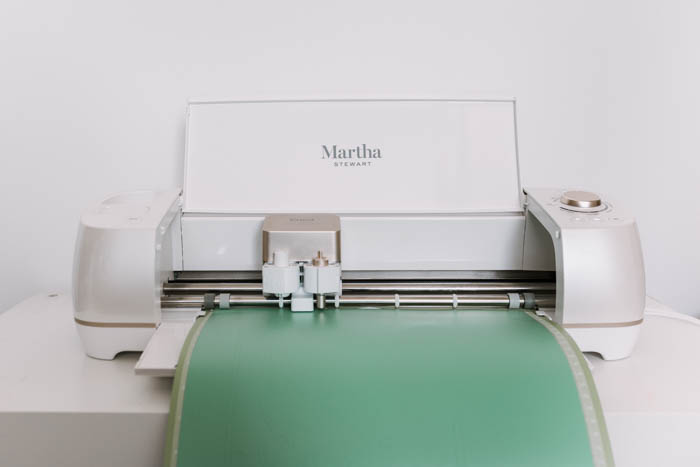
Once you know how to do all of that in the design space, then you can cut your design out on the Cricut Machine using vinyl.
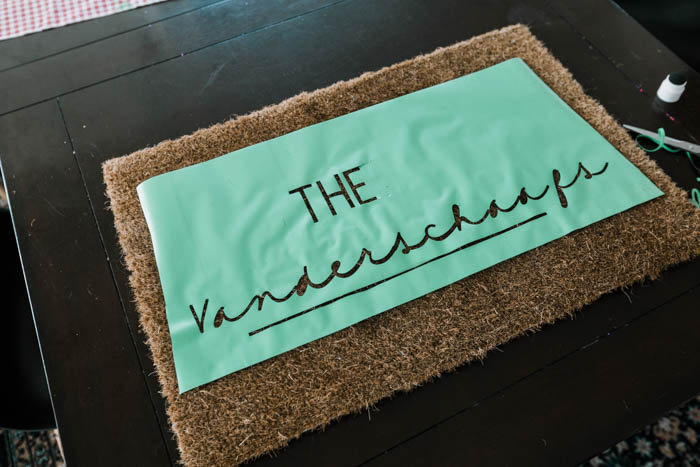
There are a few tricks to adding the vinyl to your mat, which you can watch in the video as well. You can’t use Transfer Tape because you are moving a piece of vinyl that is too large, and won’t be able to adhere nicely to the surface. Instead, start by peeling a small edge of the design off of its base, and placing it right onto the mat. Then slowly pull the rest of the base out from underneath. If you pull too fast it will likely rip your design. You will have to check as you go to make sure that all of the design elements are released from the paper.
Once it was all released, I had tape ready to help stick the vinyl to my mat, but I was surprised that the vinyl adhered really well, even on this texture.

I knew that painting could cause my vinyl stencil to shift, so I opted to use these Martha Stewart bottle toppers. Unfortunately, I can’t find a link to share with you to purchase them. They are basically spongy dabbers that fit on top of your Martha Stewart paint bottles, and they were perfect for this project! By dabbing my design instead of brushing it, I was able to make sure that the vinyl was staying in place.
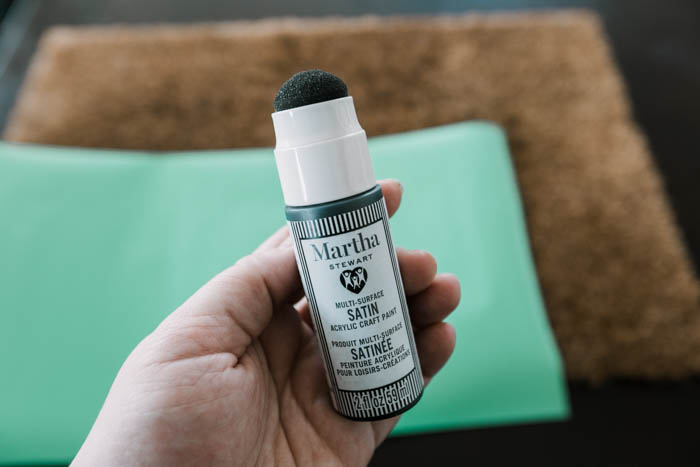
Because I’m a fan of all things monochrome, it will come as no surprise to you that I chose black for the writing on my mat!
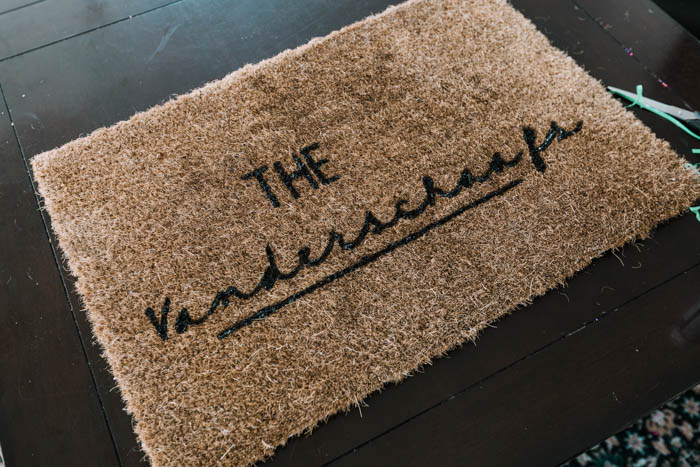
When we finally peeled back the stencil, the writing was perfect. I was actually shocked by how crisp all of the lines were. Seeing this beautiful mat makes me want to run out and buy some more so that I can make one for every season!

This is a sponsored conversation written by me on behalf of Cricut. The opinions and text are all mine.

Elly
Tuesday 19th of May 2020
Hey hun...just wondering how the paint held up after being 'wiped' on? Great idea! LOVE it! Well done!
Lindi
Wednesday 27th of May 2020
It held up well, until it got soaked, then it really faded!
25 Personalized DIY Gift Ideas with Cricut | The DIY Mommy
Thursday 12th of December 2019
[…] Personalized Doormat by Love Create Celebrate […]
Jill
Saturday 7th of December 2019
Where did you get your mat?
Lindi
Monday 9th of December 2019
You can get blank ones at IKEA, and on Amazon :)