
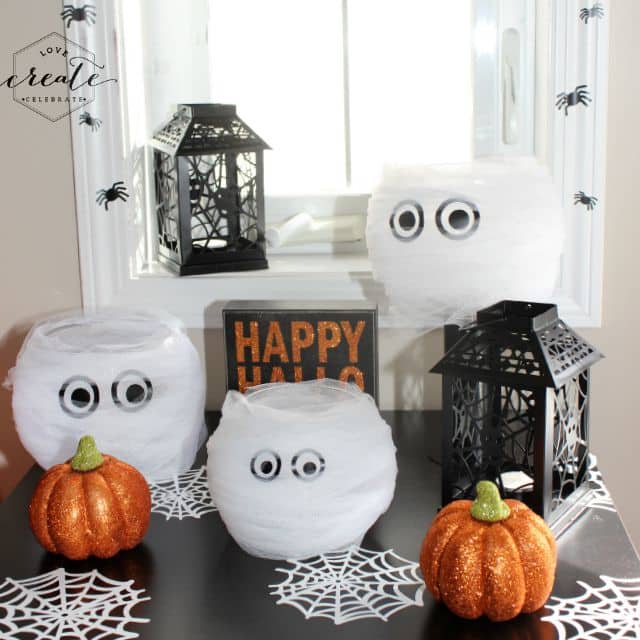
DIY Mummy Bowls! Create these quick and easy Hallowe’en decorations using the Cricut Explore and Cricut vinyl!

It’s October 1st! Time to start thinking about all things black, orange, and spooky!
Aside from the carved pumpkins on the doorstep, we’ve never decorated anything for Hallowe’en before. I figured it couldn’t hurt to add a few little spooky touches this year to get my little girl (& husband!) in the mood! I LOVE to decorate, but I wanted some quick & easy projects, so the first decorations I chose were these DIY Mummy Bowls.
*This post may contain affiliate links. When you buy a product through one of our links, we get a commission at no cost to you! Thank you for supporting our blog so that we can continue to bring you posts like these. For more information, please see our disclosure page.*
How to Make your DIY Mummy Bowls
Materials needed:
Step-by-step Tutorial for your DIY Mummy Bowls
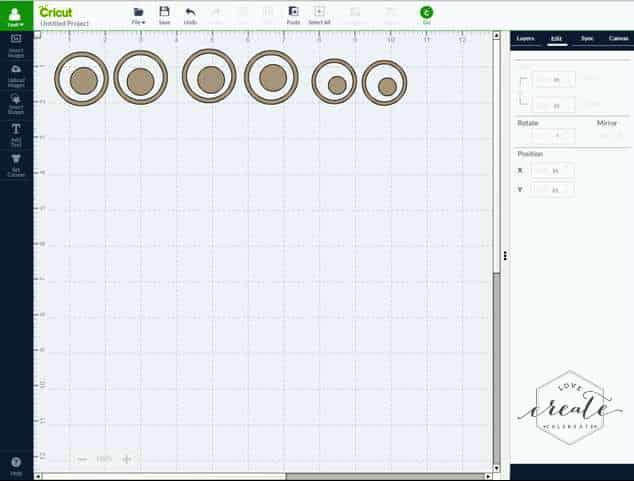
You start by logging into the Cricut Design Space, and designing eyes for your DIY mummy bowls. All I did was insert circle shapes and place them as I wanted them. The outer circles were 1.5″ (1″ for smaller bowl) and the inner circles were 0.75″ (0.5″). When I was ready, I printed on Black Vinyl using my Cricut Explore Air 2.
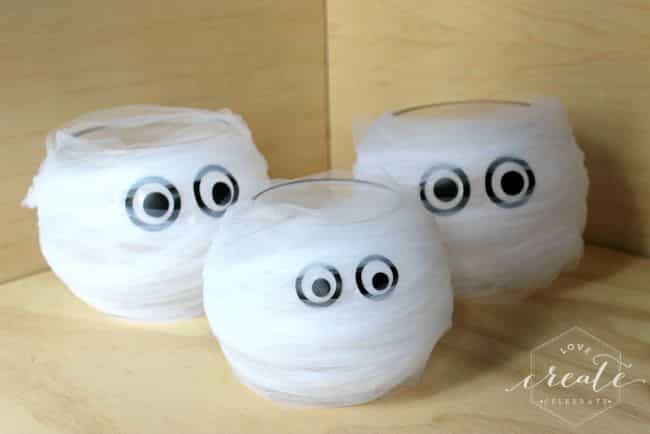
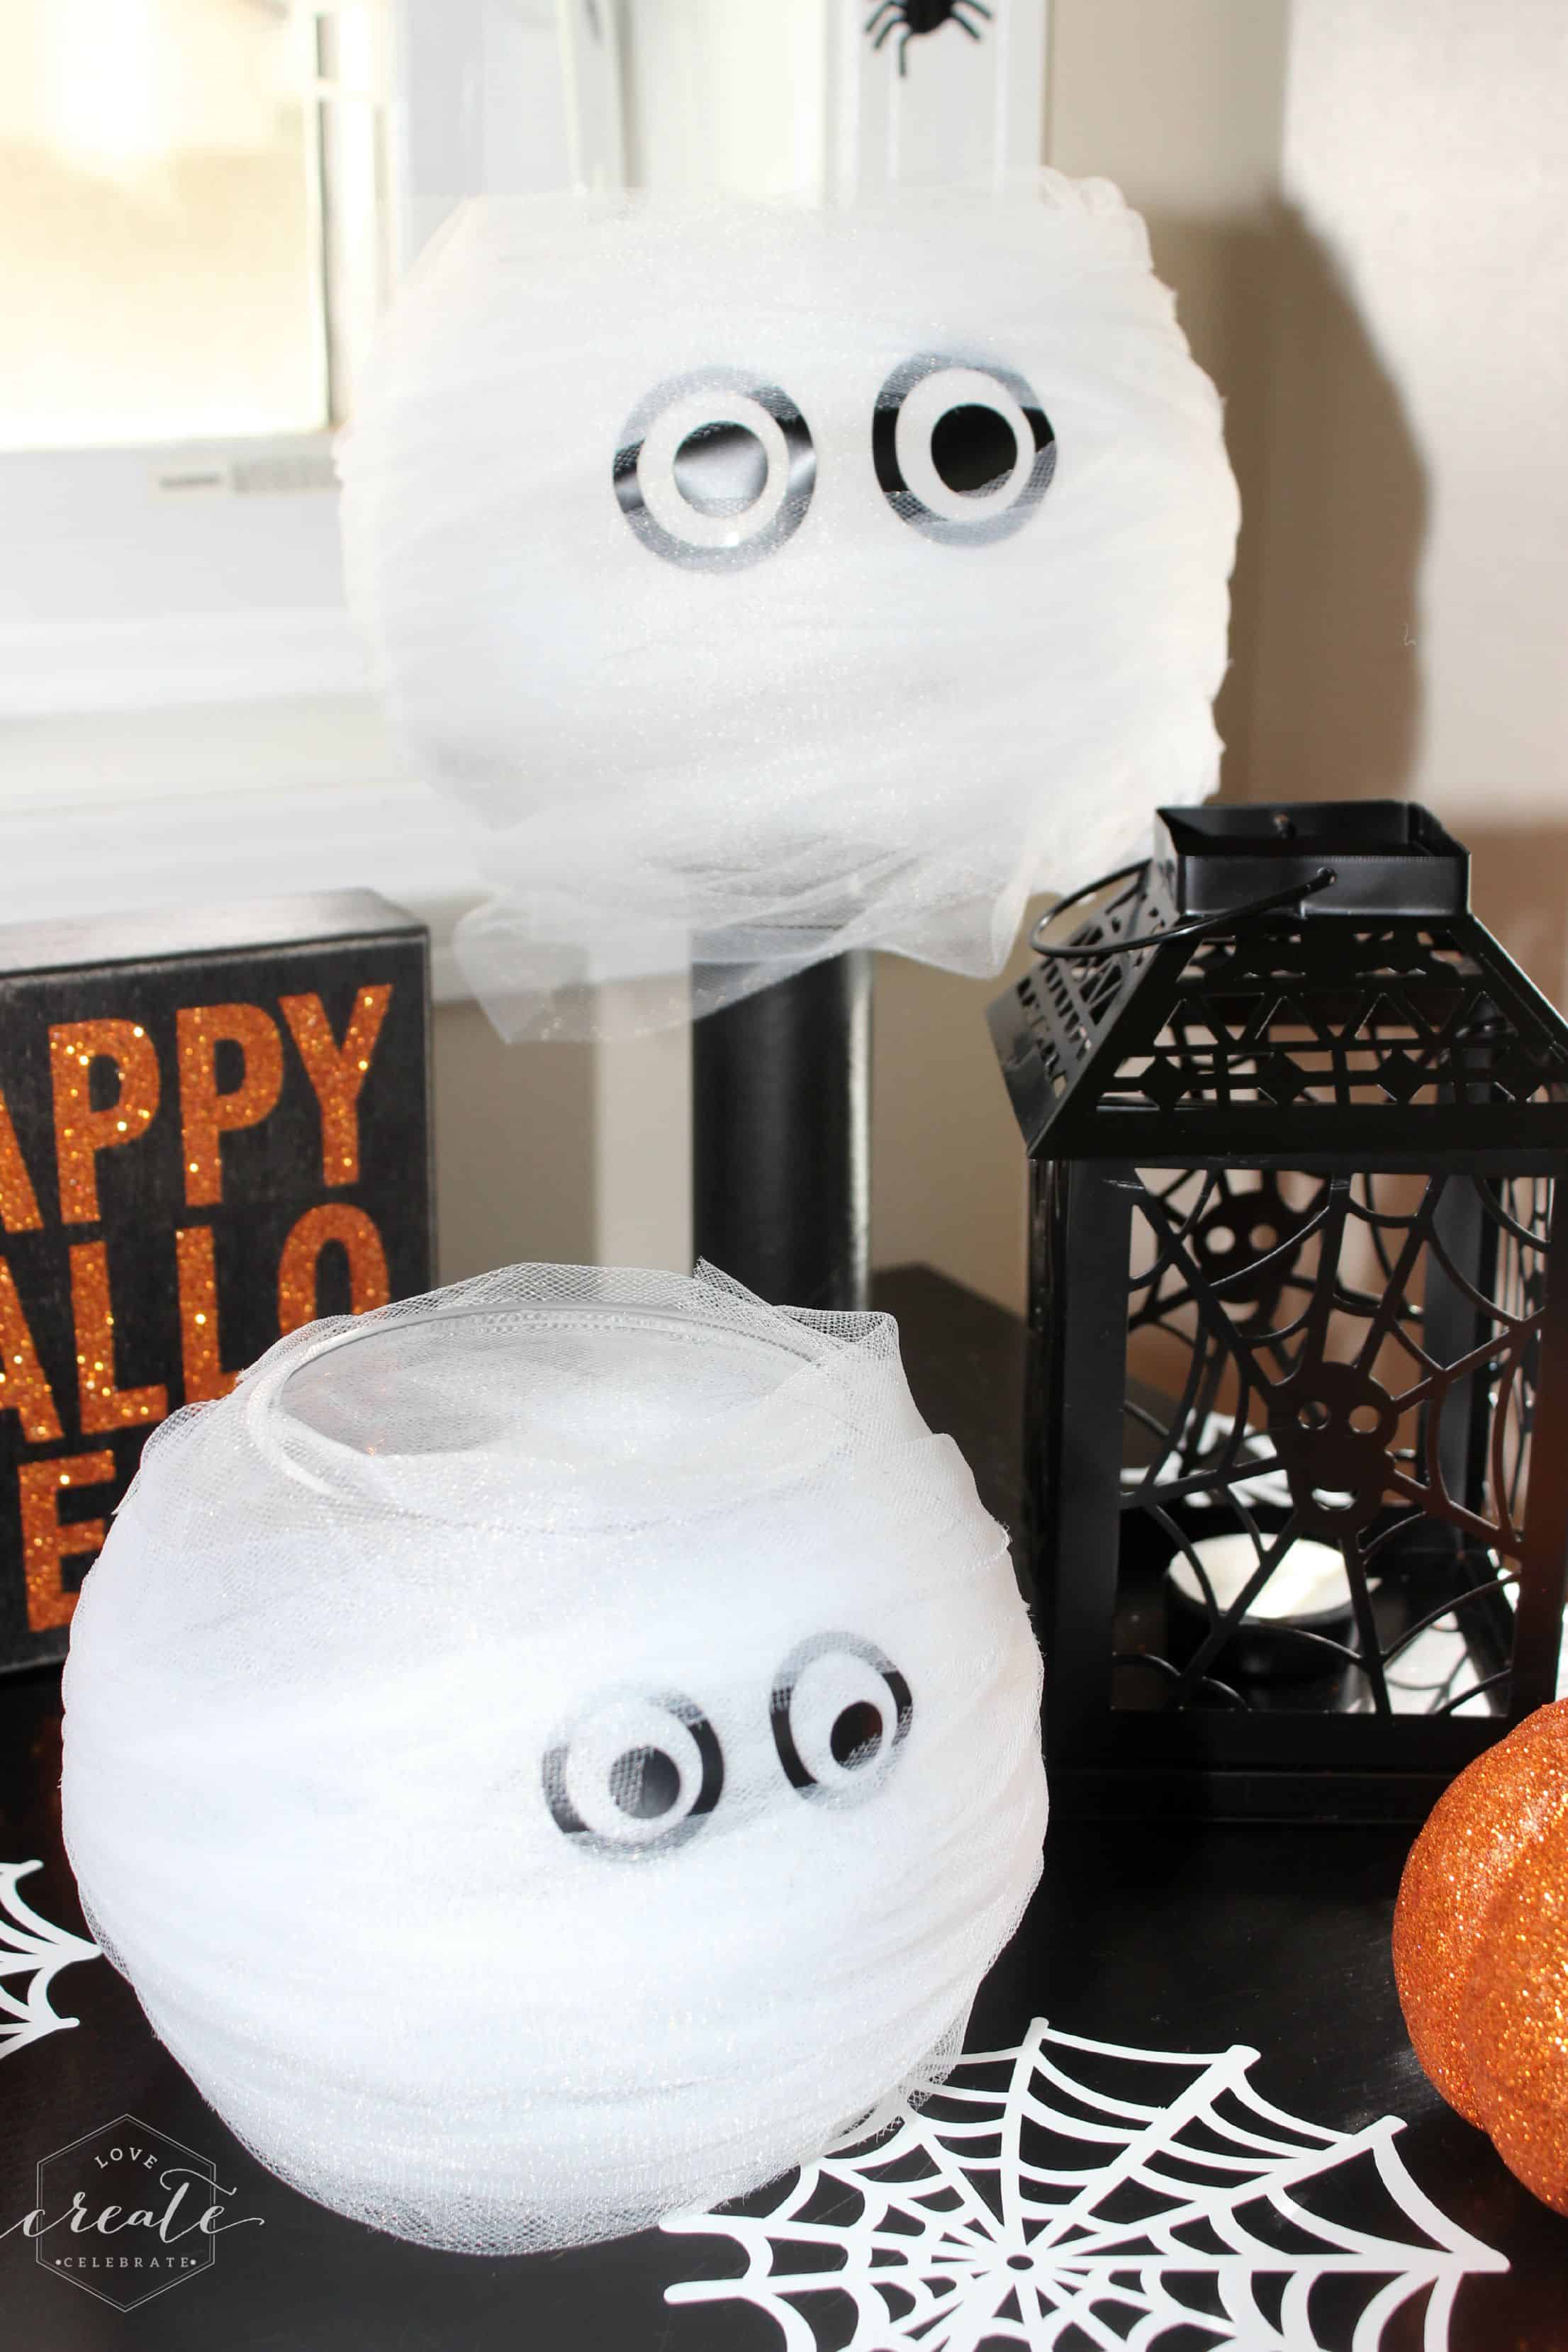
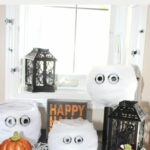
Next, I cut all of my tulle down so that it was only 2-3″ wide, and in very long strips. Then I wrapped and wrapped those bowls up! It doesn’t have to look too neat – I say the messier the better! Once I had a few layers, I stuck my vinyl eyes to the tulle, and then I kept wrapping. I liked the idea of the eyes being slightly hidden in the tulle.
That was it!
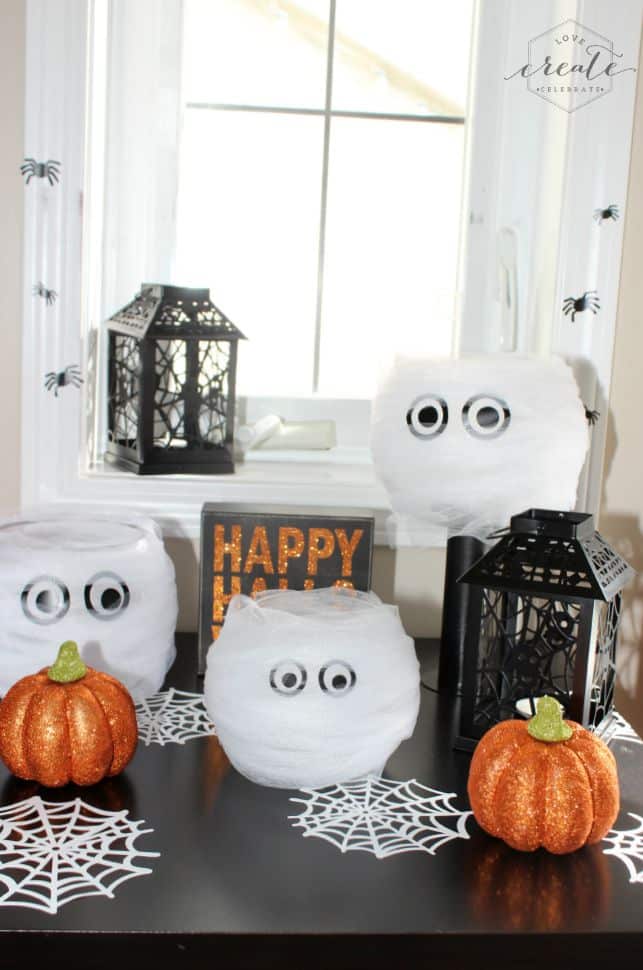
An hour later I had a few perfectly spooky Hallowe’en decorations for the home!
You could easily put candy in these DIY Mummy Bowls, or candles, or spooky toys, or party favours. I love DIY’s with so many options!
Have you started decorating for Hallowe’en? Hope you enjoyed the project!
More Hallowe’en Projects
Don’t forget to subscribe to our YouTube channel for more great holiday season DIYs!
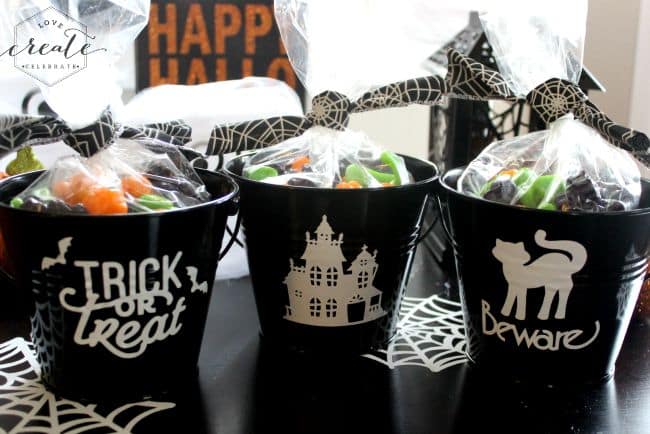
For more great easy holiday season DIY ideas, check out these festive DIY Hallowe’en Party Favors!
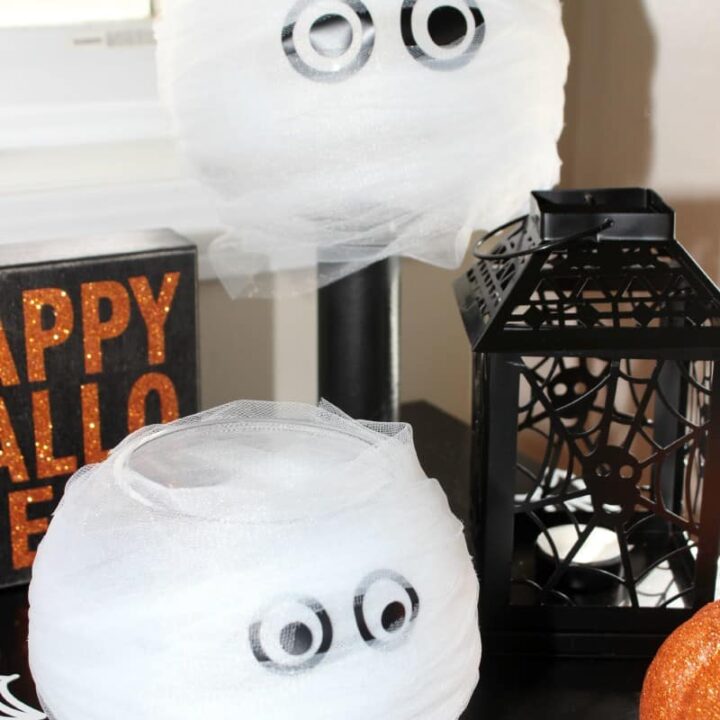
DIY Mummy Bowls
DIY Mummy Bowls! Create these quick and easy Hallowe’en decorations using the Cricut Explore and Cricut vinyl!
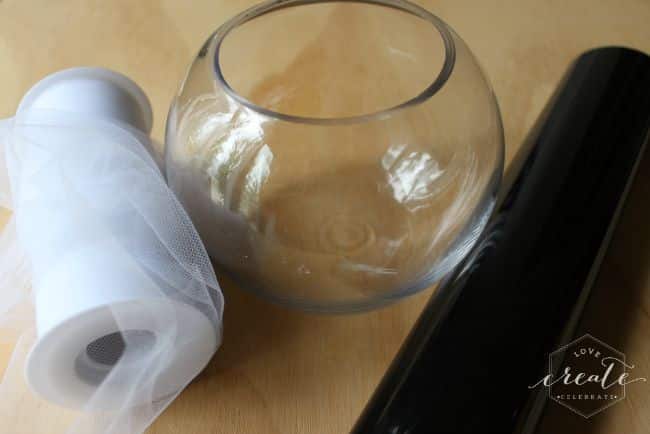
Materials
- Glass bowl
- Black vinyl
- 10 ft white tulle
- Cricut Explore One
Instructions
- Design eyes for your mummy bowls in the Cricut Design Space
- Print the eyes on black vinyl using your Cricut Explore One
- Cut your tulle so that it’s only 2-3” wide, in very long strips
- Wrap your glass bowls with the tulle, the messier the better!
- Stick the vinyl eyes to the tulle after wrapping several layers of tulle
- Continue wrapping until done

Merry Monday #76 | Olives&Okra
Monday 23rd of October 2017
[…] pick–DIY Mummy Bowls | Love Create Celebrate {PIN […]
Pin Worthy Wednesday - Snapshots and Snippets
Wednesday 4th of January 2017
[…] DIY Mummy Bowls […]
5 Halloween Treat Bowl Ideas | RoomMomSpot
Monday 3rd of October 2016
[…] Mummy Bowl via Love Create Celebrate […]
30+ Fun Halloween Craft Ideas - Kleinworth & Co
Tuesday 31st of May 2016
[…] Mummy Bowls from Love Create Celebrate […]
Merry Monday Link Party #76 – Blogger Opportunity
Friday 22nd of April 2016
[…] pick–DIY Mummy Bowls | Love Create Celebrate {PIN […]