Give your front porch some personality! Personalize your mailbox with the Cricut Maker! Our kids loved this DIY mailbox idea!
Did you see the playhouse reveal?! I’m so in love with that space! More than anything else, I’m in love with the fact that we did it all ourselves! There is so much pride in building something from scratch and every single detail has our hand on it! If I was building an adorable playhouse, I couldn’t forget about the front porch, right?! We built a little mailbox, and customized it ourselves! I can’t wait to show you what we did.
*This post was sponsored by Cricut and may contain affiliate links. As always, opinions are 100% my own. For more information, please see my disclosure page.*
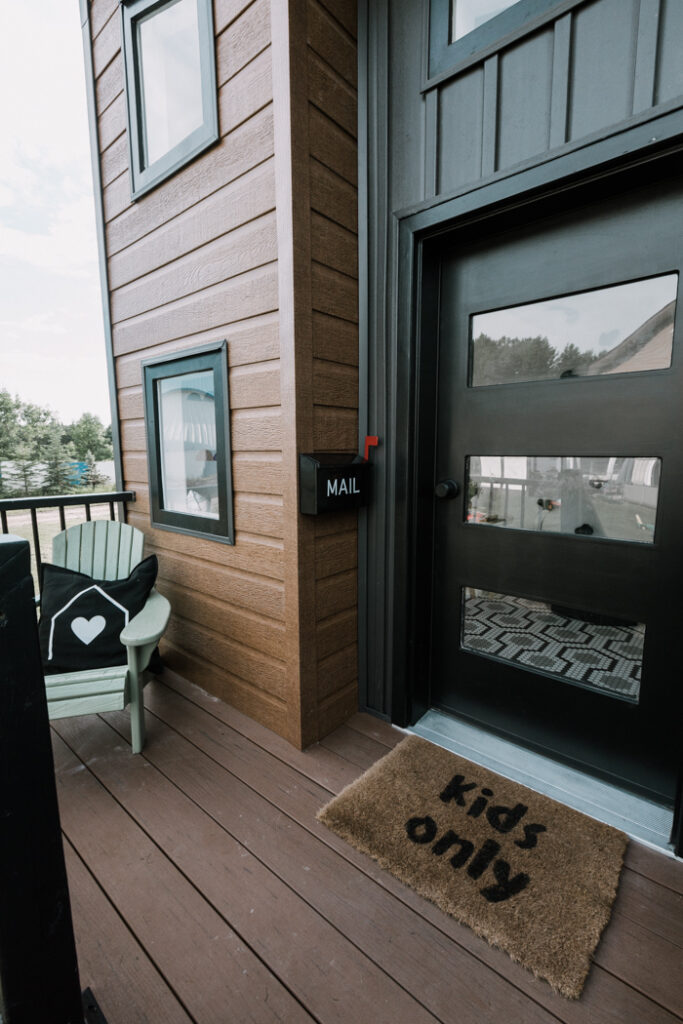
When it came to adding personalization to our little playhouse, I couldn’t help but get creative on the front porch. I actually used my Cricut Maker to cut FOUR DIYs in that little space: a design on the pillow, the front door mat, the mailbox design, and some little play felt envelopes inside the mailbox.
I’m focusing on sharing the design for the mailbox today, but I made all four of these projects in one afternoon because once you get used to using a Cricut Maker, you can make ALL THE THINGS quickly and easily!
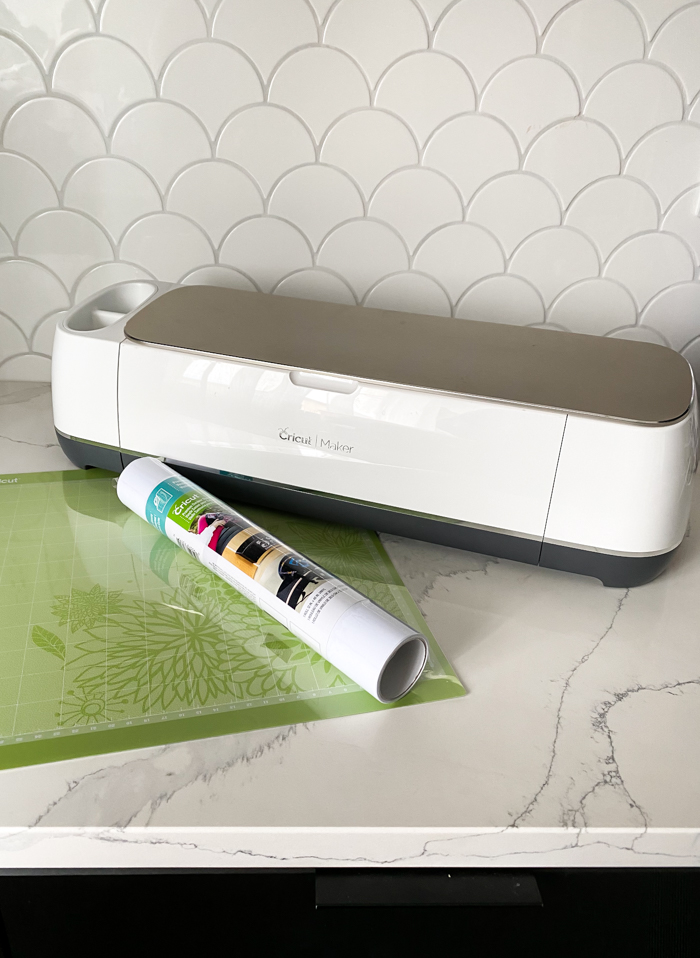
What is the Cricut Maker?
If you’ve never heard of the Cricut Maker, it is a small cutting machine. You can store it in a cupboard and pull it out onto your craft room whenever you’re ready to use it! It works together with the Cricut Design Space, which is an app for your computer, tablet, or phone, where you can create your own design, or chose from 1000s of built in design options!
You choose your design in the Cricut Design Space, and then the Cricut cuts, draws, scores, engraves, etc. your design onto one of the many materials it works with. Plus, they are always adding new tools, so that you never have to buy a new machine, but you can constantly get creative in new ways!
I answered a ton of FAQs about the Cricut Maker and whether it’s worth the price of not HERE.
What does the Cricut Maker Cut?
For today’s porch personalization project, I’m cutting premium outdoor vinyl, but the Cricut Maker cuts sooo much more than that! Our DIY playhouse is full of personalized items that we made using the Cricut Maker and cutting different designs.
The Cricut actually cuts over 300 materials (300!!!). You can see a full list here, but some of my favourites are:
- Iron-On Vinyl – We used this to iron the design onto the front porch pillow, just like this pillow tutorial. Honestly, after vinyl I probably use this material the most on t-shirts, tote bags.. basically anything I can iron a design onto!
- Wood – Cutting with wood on the Cricut Maker is SO FUN. It’s one of the reasons I wanted the machine! I cut out everyone’s name for our thanksgiving dinner, and LOVED seeing the beautiful wooden place settings!
- Leather – Leather is one of my favourite mediums because it’s so versatile. Cricut sells genuine leather that you can use to get creative making anything from jewellery, to home decor, to napkin rings!
- Chipboard – We made a sign that says “play” for the wall inside the playhouse with chipboard. It’s a great thick and strong material that you can use to create amazing 3D designs, like this bowl we made.
- Stencil Film (& stencil vinyl!)- This is one of my favourites, and one of the lesser known ideas! I’ve used stencil film to cut out designs and paint patterns and stencils onto our wall. I LOVE creating my own reusable stencils!
Our DIY Mailbox Personalization
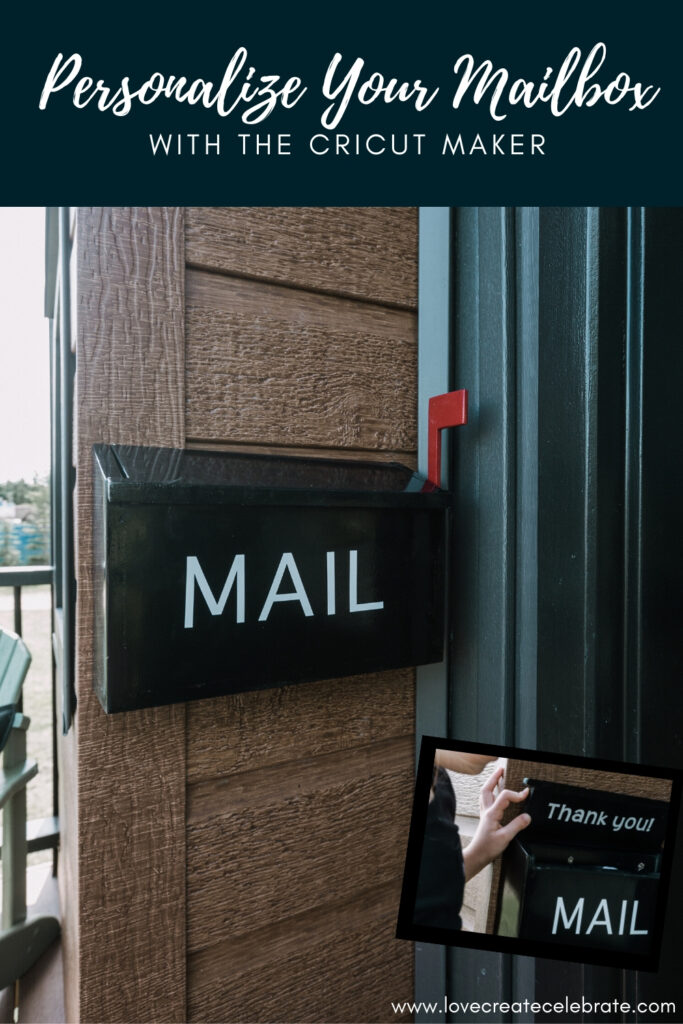
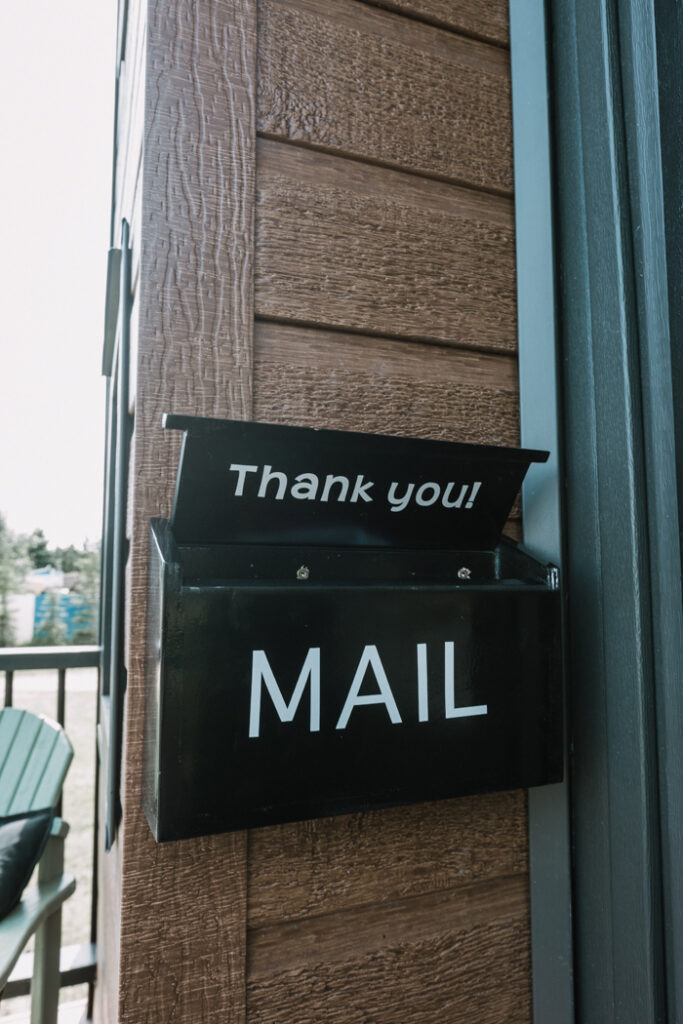
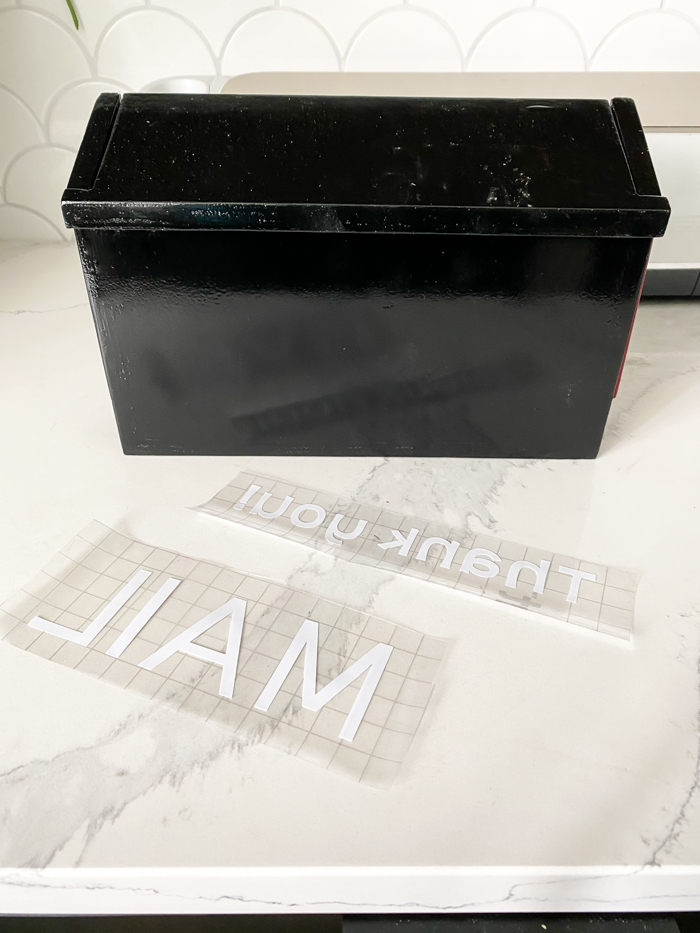
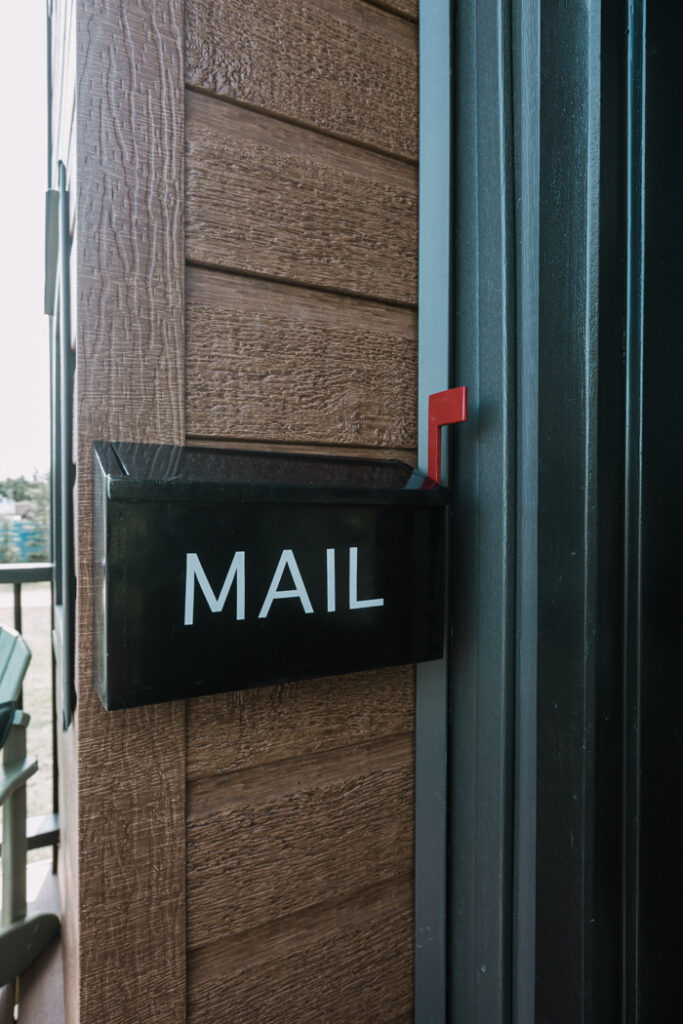
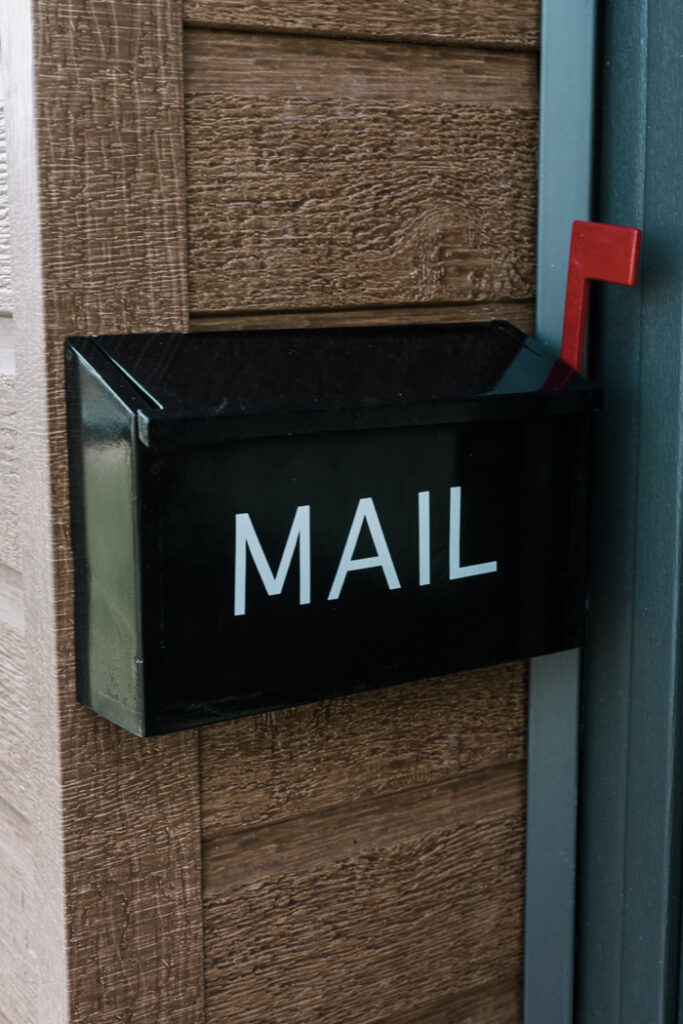
Since we were doing a playhouse mailbox, we decided to just put the word “mail” on the front, and then “thank you” inside, but the Cricut Maker allows your to be really flexible!
You can design anything you want for the front of your kids box, or your real home mailbox, from custom names, to images, and house numbers.
Materials Needed to Personalize Your Mailbox
- Cricut Maker
- Premium Outdoor Vinyl (we used white)
- Regular Cutting Mat
- Transfer Tape
- Mailbox (you can buy a kids one like this to personalize!)
How to Add Vinyl to Your Mailbox
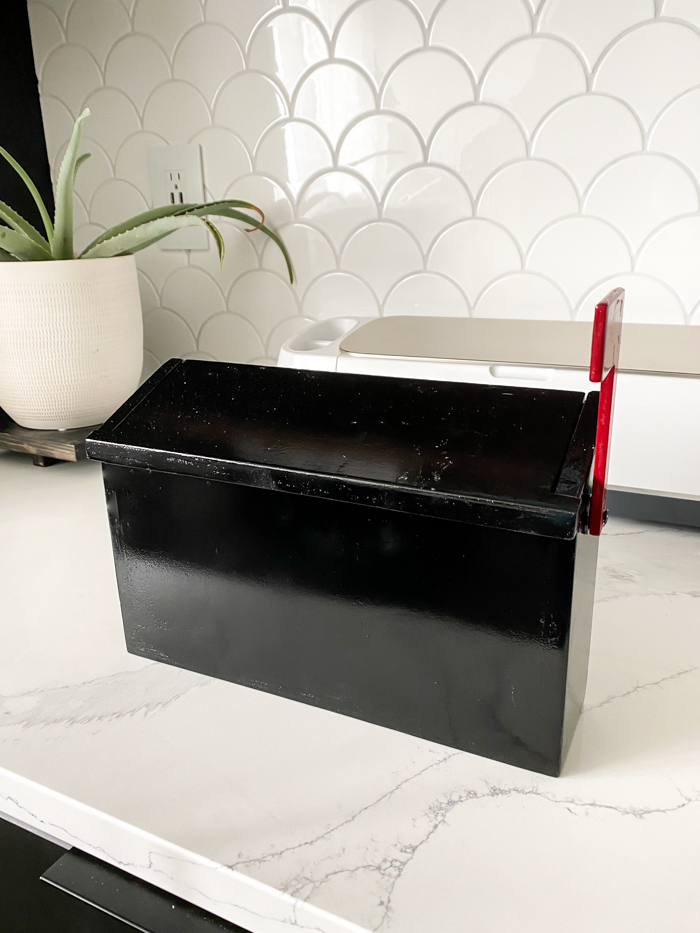
I made our mailbox with some scrap wood (if you want the plans, let us know!), and then used the Cricut Design Space to add some personalization.
If you don’t have a mailbox, you can order some here!
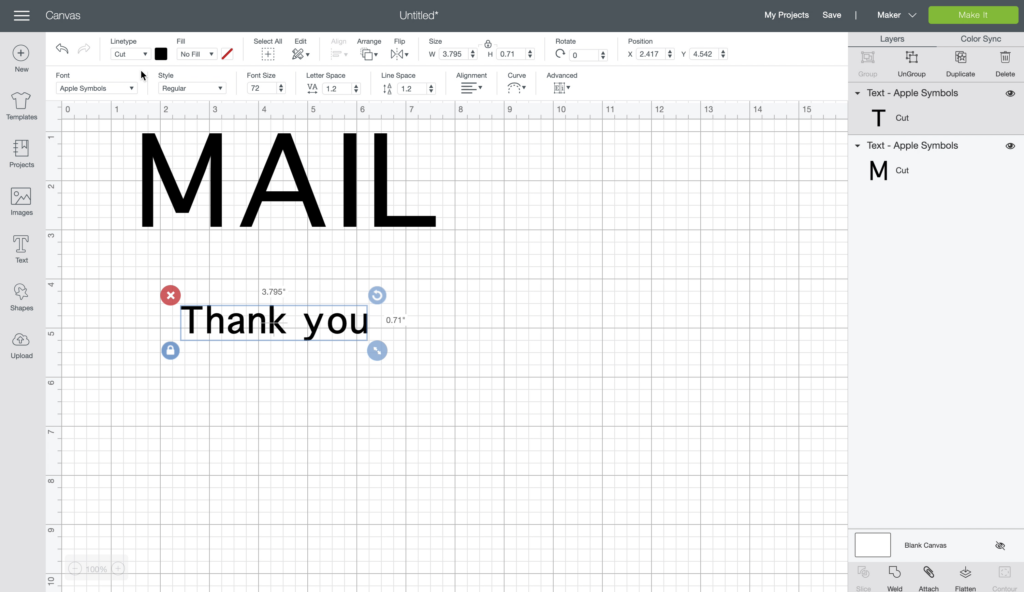
In the Cricut Design Space app, start a new project and choose fonts that you want to use. The two fonts I used were “Apple Symbols” and “Birthday Cakes”. When you are ready hit “attach” at the bottom left to attach your letters.
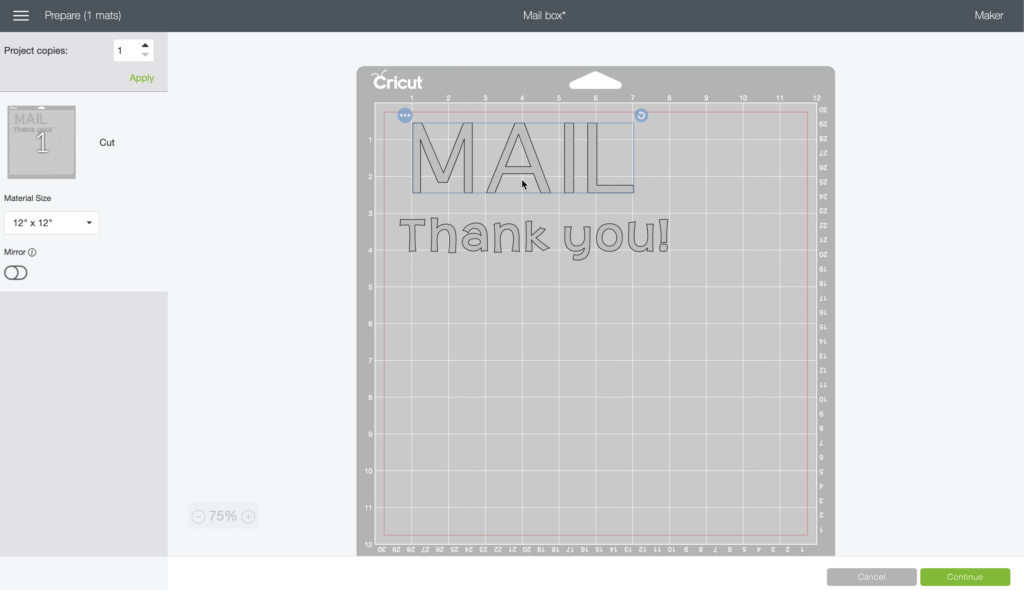
Re-size the text or images so that you know it fits on your mailbox, and cut it out. When you get to the cut screen above, you can select the words and move them around to give yourself more room to cut around them afterwards.
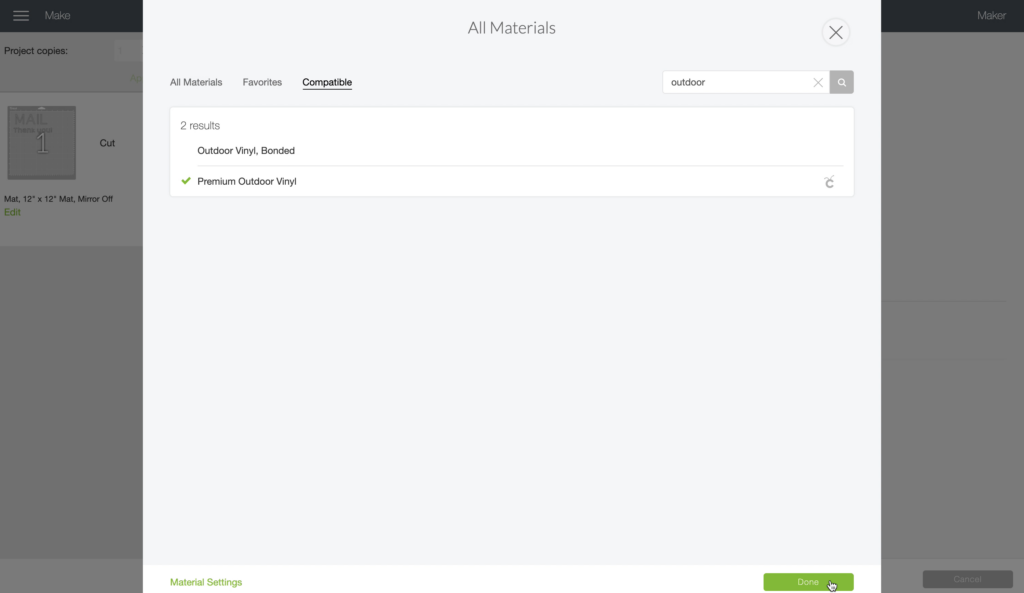
Next, select the material you want to use. I used outdoor vinyl for our mailbox because I thought it would stand up better to the elements.
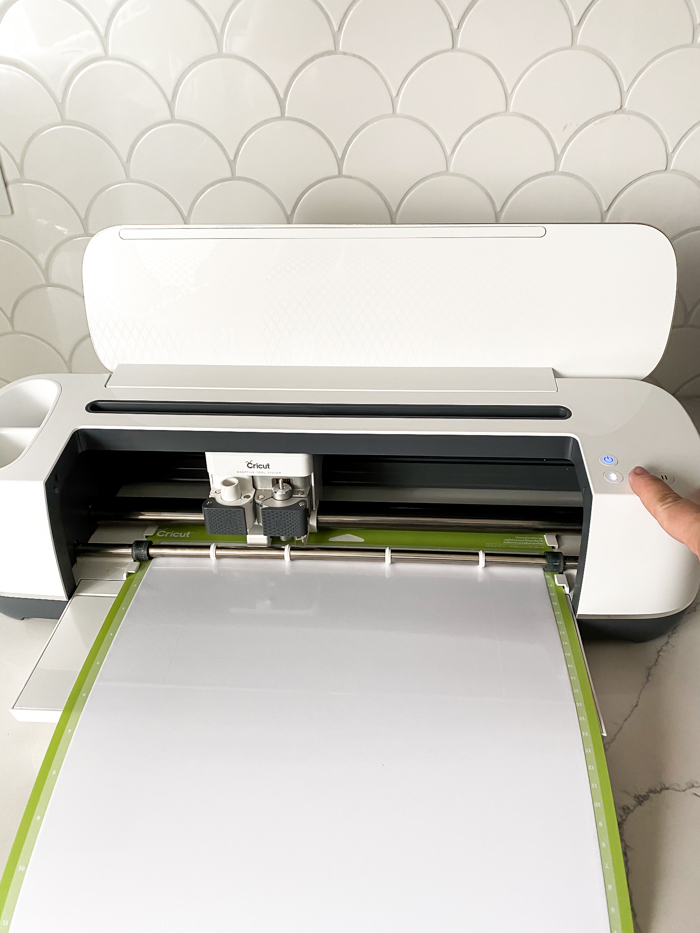
Put your vinyl on the cutting mat, and cut out the design.
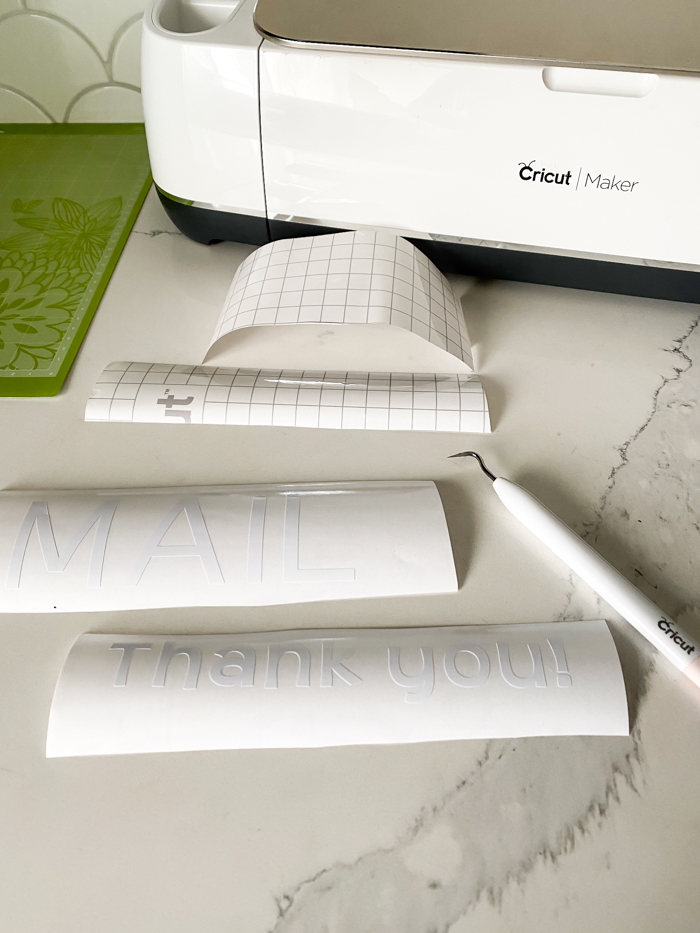
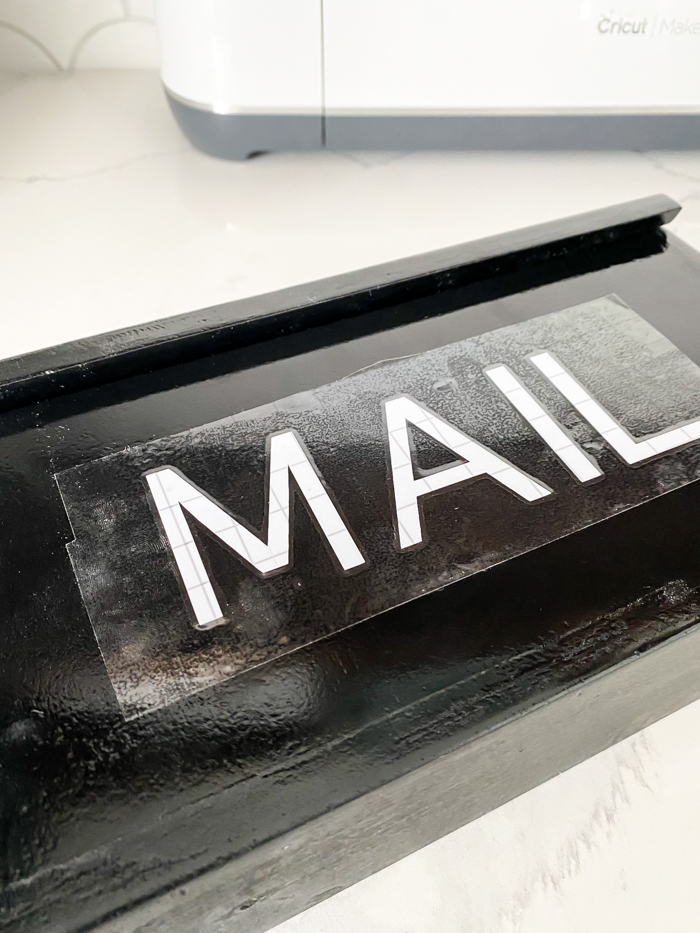
After it is cut, you need to remove the excess vinyl material. I usually use a small weeding tool for this. You should be left with just the words after you are done.
Next you can apply the transfer tape to the words. Transfer tape helps pick up your images, etc, and easily transfer them to another medium.
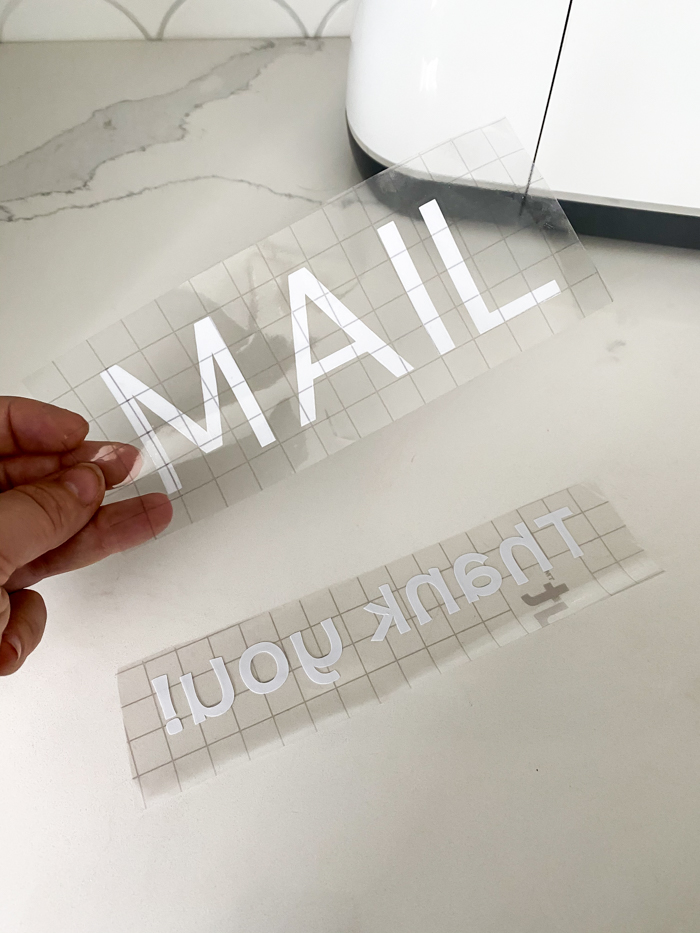
Once your words are on the transfer tape, pick them up, put the tape down on your mailbox exactly where you want them to live, and carefully remove the transfer tape.
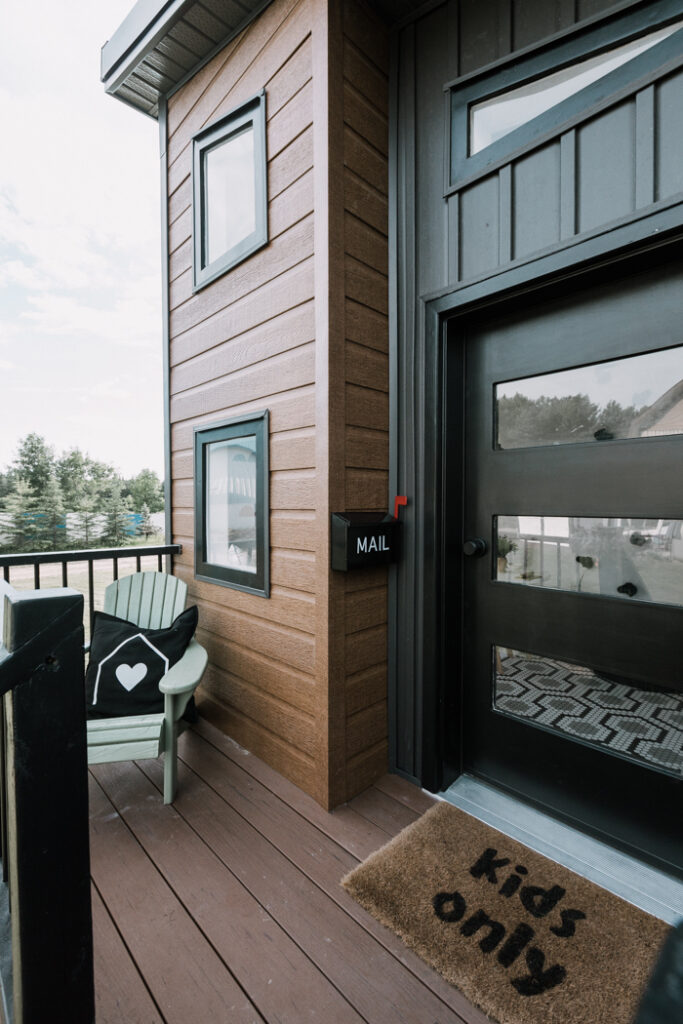
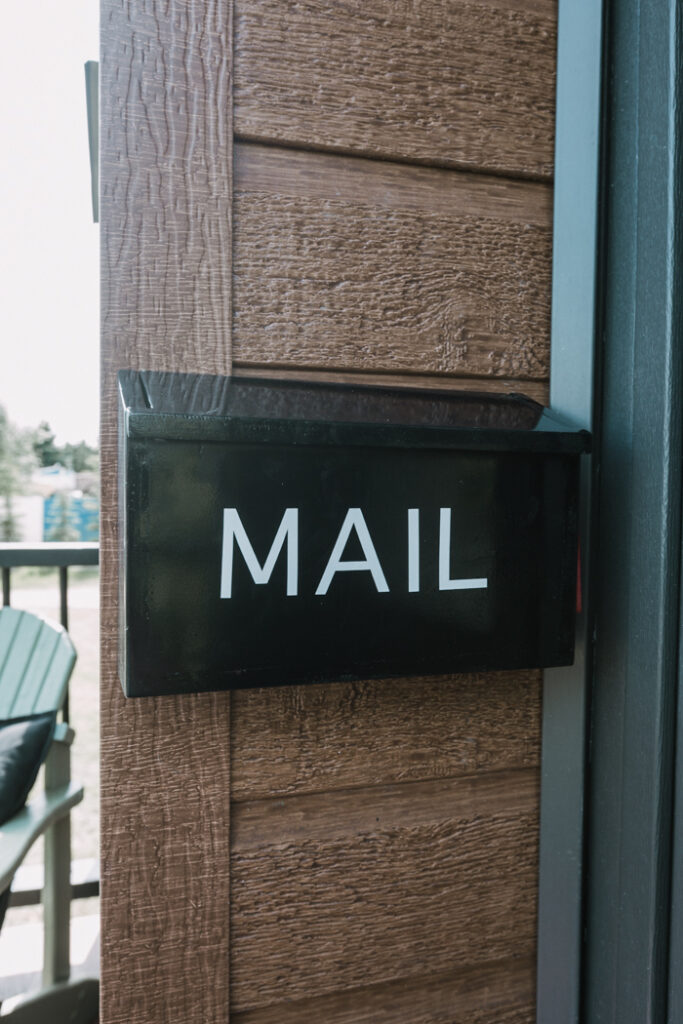
Our Personalized DIY Mailbox for the Kids Playhouse
I could not love this mailbox more. The kids love that it says “MAIL” just for them! And the “thank you” inside is like a secret message that they have to show everyone all the time!
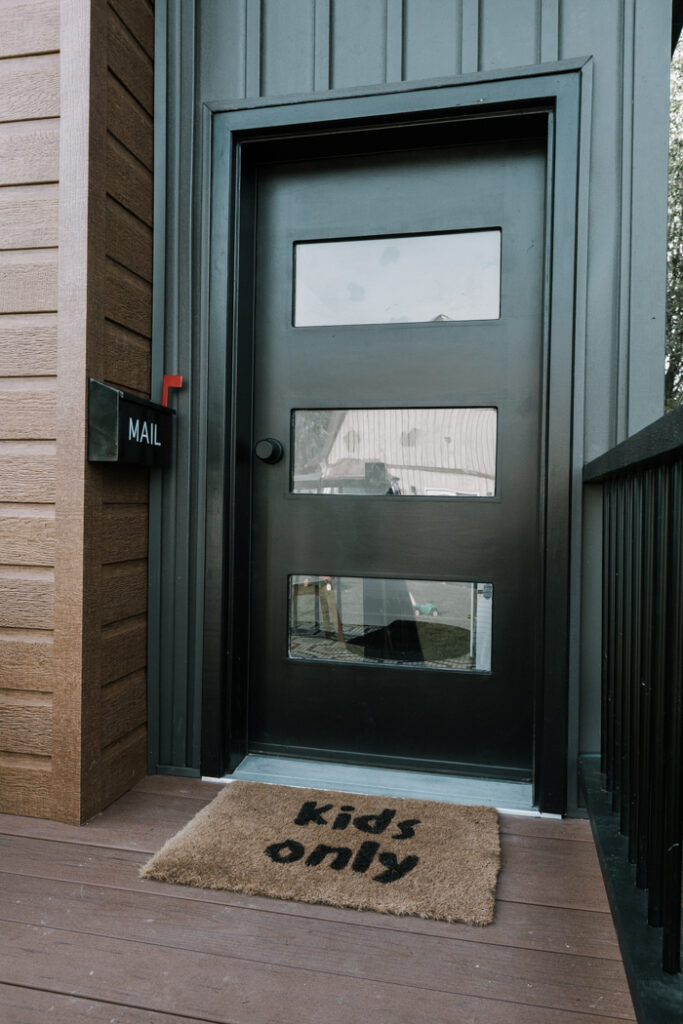
Our whole playhouse front porch was personalized with Cricut and I couldn’t be happier about it! Now to make some more pretend mail to surprise them with… lol.
For more amazing Home renovation project inspiration, check out the Cricut Blog where they are sharing weekly projects!

This is a sponsored post written by me on behalf of Cricut. All opinions are 100% mine.