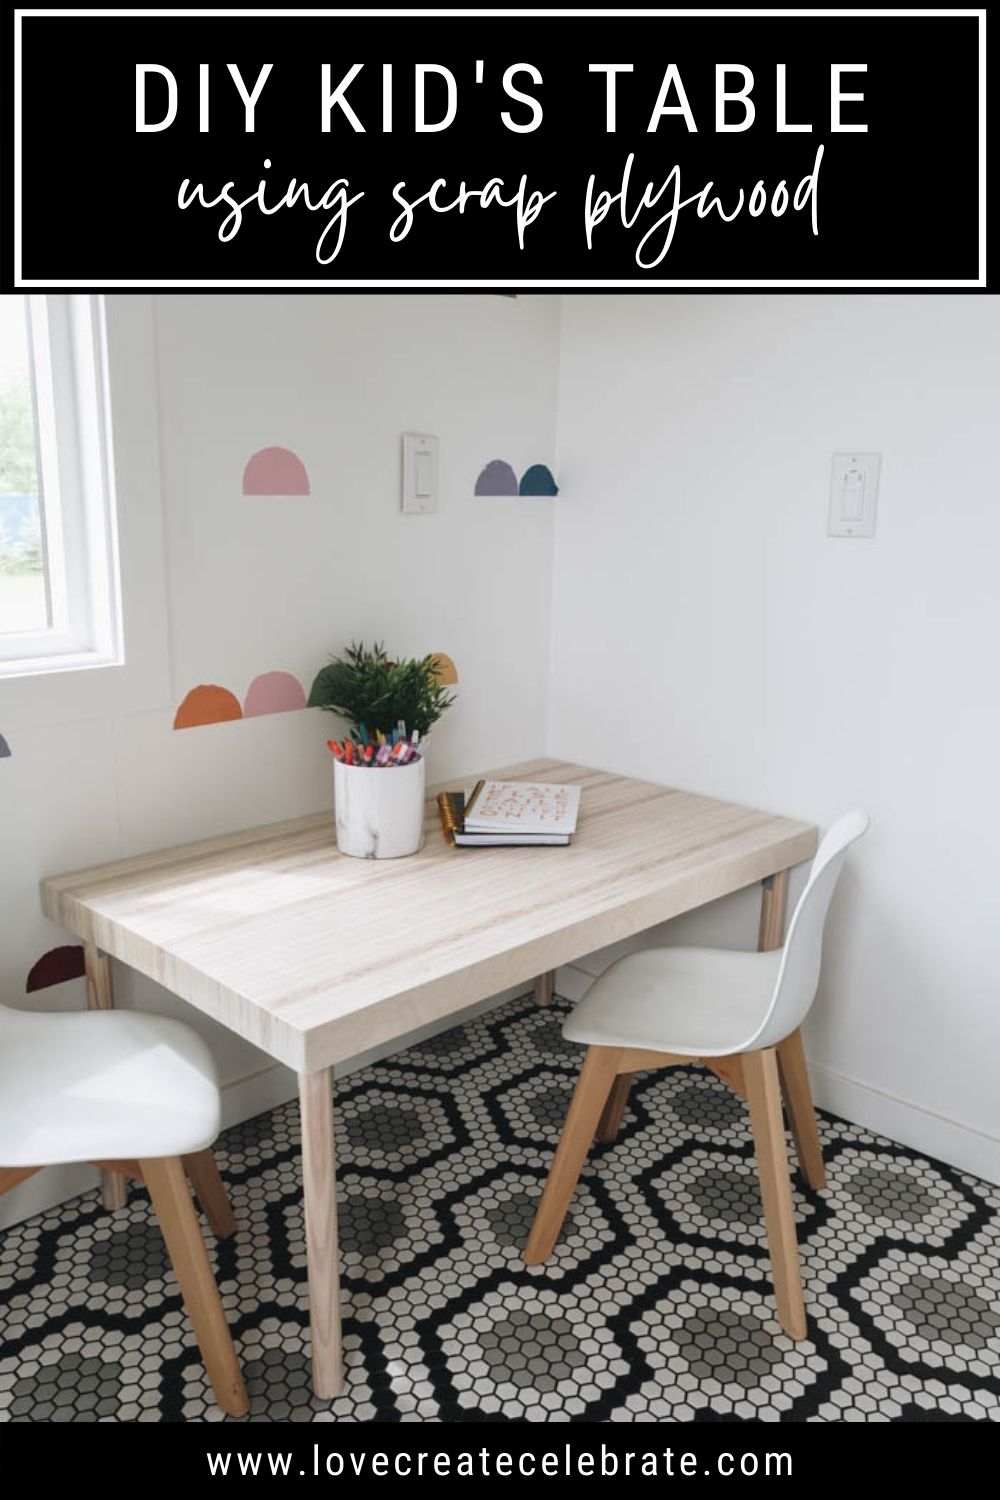
Learn how to make a kid’s table using scrap plywood. This kid’s table DIY is an easy project that your kids will love. Make it using plywood from your scrap pile or from a 4×8 sheet of plywood with this step-by-step tutorial and video.
Why are modern kids tables so hard to find?! Is it too much to ask that a table look cute, be durable, and be strong enough for toddlers and preschoolers to climb on without breaking?! LOL. Ok, maybe that is a lot to ask, but we found a way to make a sturdy, tough table for kids that looks adorable in their playroom or bedroom and is affordable!
You may remember the desktop and floating shelves we made, this kid’s table is made the same way. I love the look and texture of our desk and shelves so much, I knew a kid’s table would look just as great and the kids would love a table to colour at or play games on.
The BEST part is that you can make the entire tabletop for less than $40 with just a sheet of plywood and a bit of hard work.
*This post may contain affiliate links. When you buy a product through one of our links, we get a commission at no cost to you! Thank you for supporting our blog so that we can continue to bring you posts like these. For more information, please see our disclosure page.*
Supplies
- 3/4 plywood scraps (or 1-4×8 sheet)
- Wood Glue Kit
- Wood Glue
- Sander
- Planer
- Clamps
- Spade Bit
- Corner Brackets
- Stain of your choice
- Polycrylic
How to Make a Kids Table Using Scrap Plywood
Watch the video below to see how to make a kid’s table using scrap plywood. The full written tutorial follows.
Don’t forget to subscribe to our YouTube Channel while you’re there, so you can be the first to see new content!
Step-by-Step tutorial
Cut the scrap plywood
Decide how wide to make the kids table. We made ours 37″ wide. We had enough scrap plywood to make this table, but you could buy a 4×8 sheet if you don’t have enough scrap.
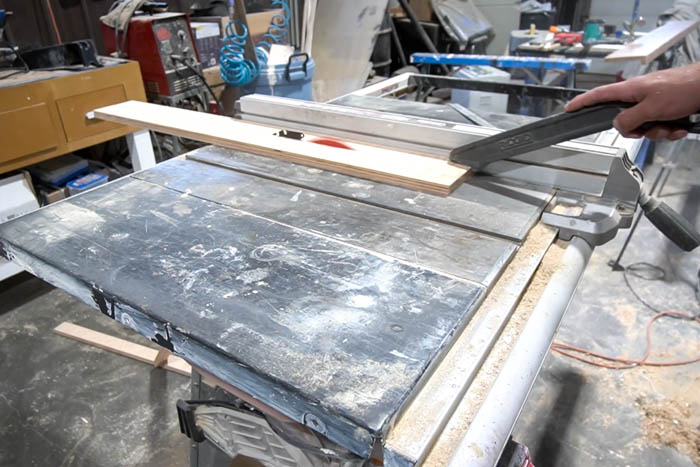
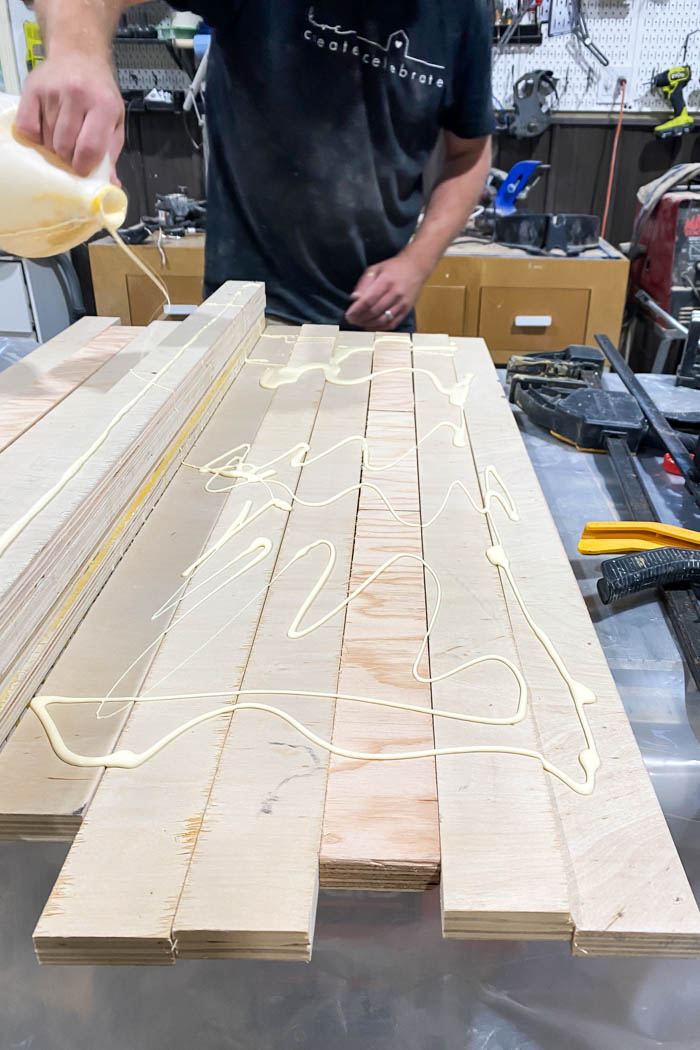
Cut the plywood to 37″ then, using a table saw, cut the plywood into strips that are 1 3/4″ wide.
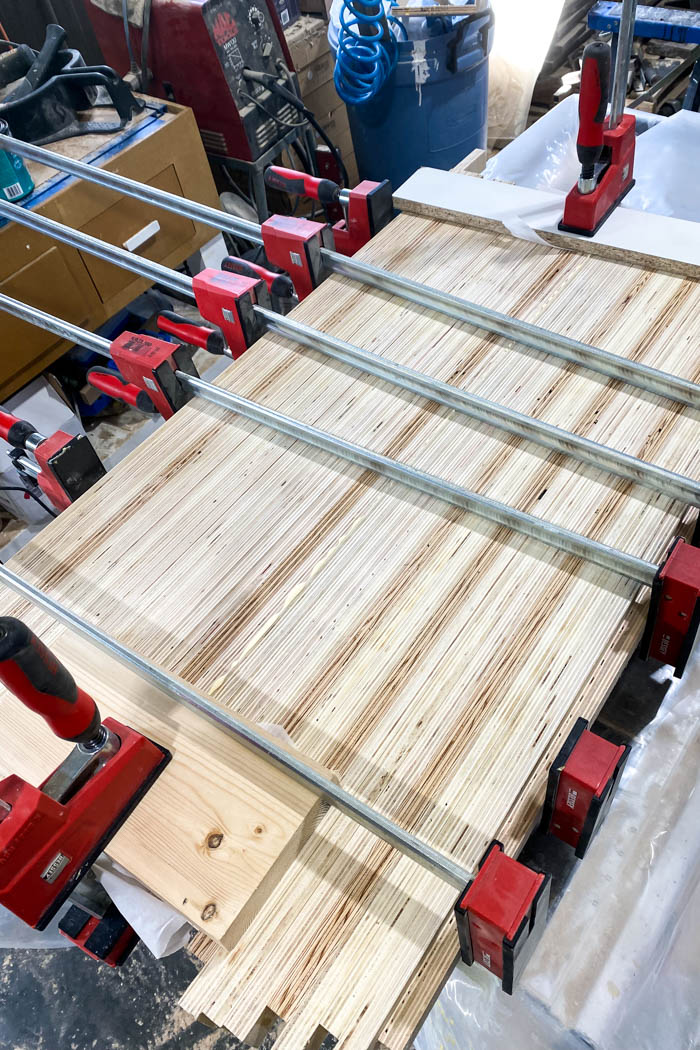
Glue plywood strips
We made our tabletop in two pieces because of the width of our planer, but if you don’t have that limitation you can glue it all together.
Lay out the plywood strips and apply wood glue, a lot of wood glue, using a brush. Turn them over and apply to the other side. Make sure the glue is covering all the boards so that you get a tight bond. Flip the strips on their side and clamp them together and allow to dry overnight.
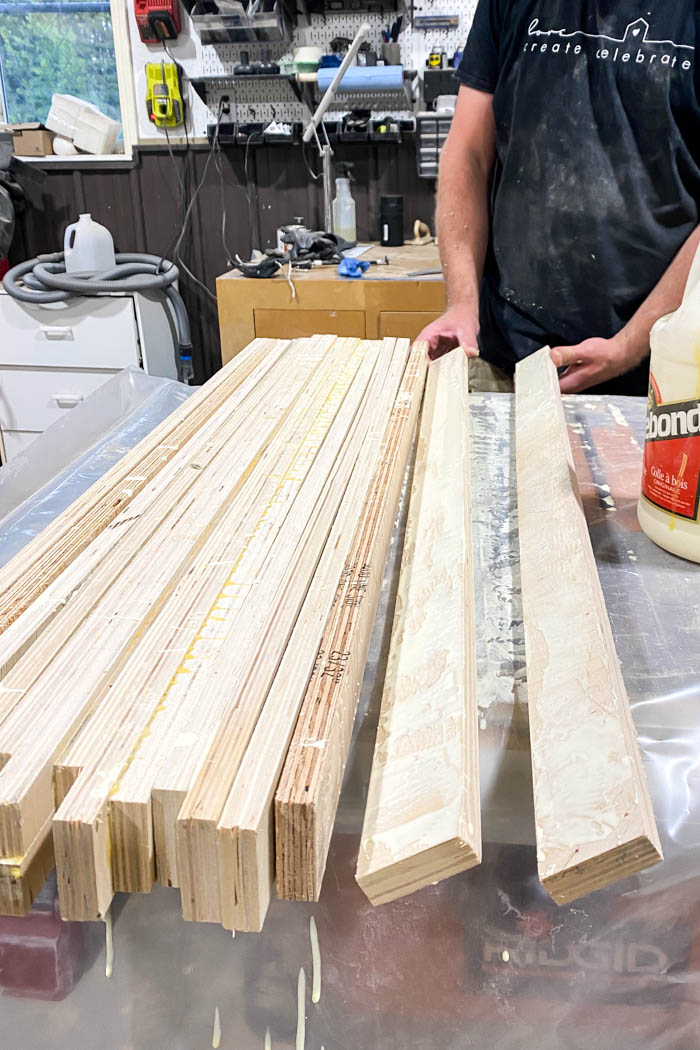
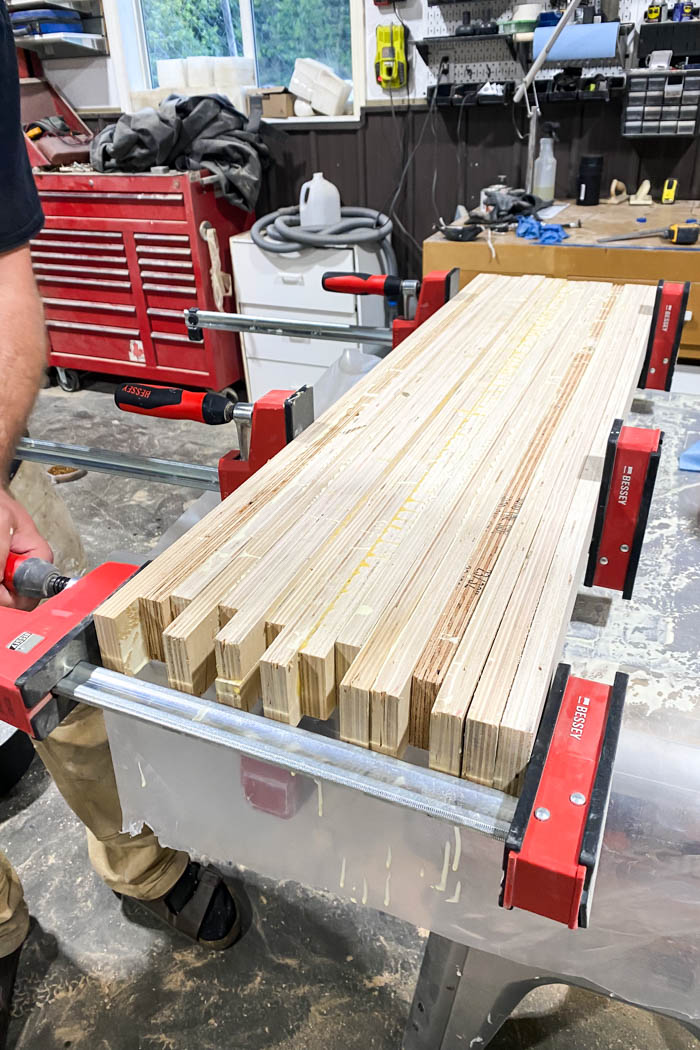
Make sure the boards are as level as possible, this will make it much easier to run through the planer later. Also, by making sure you are drying the boards on a level surface, you can prevent any warping, or bowing in the wood as is dries.
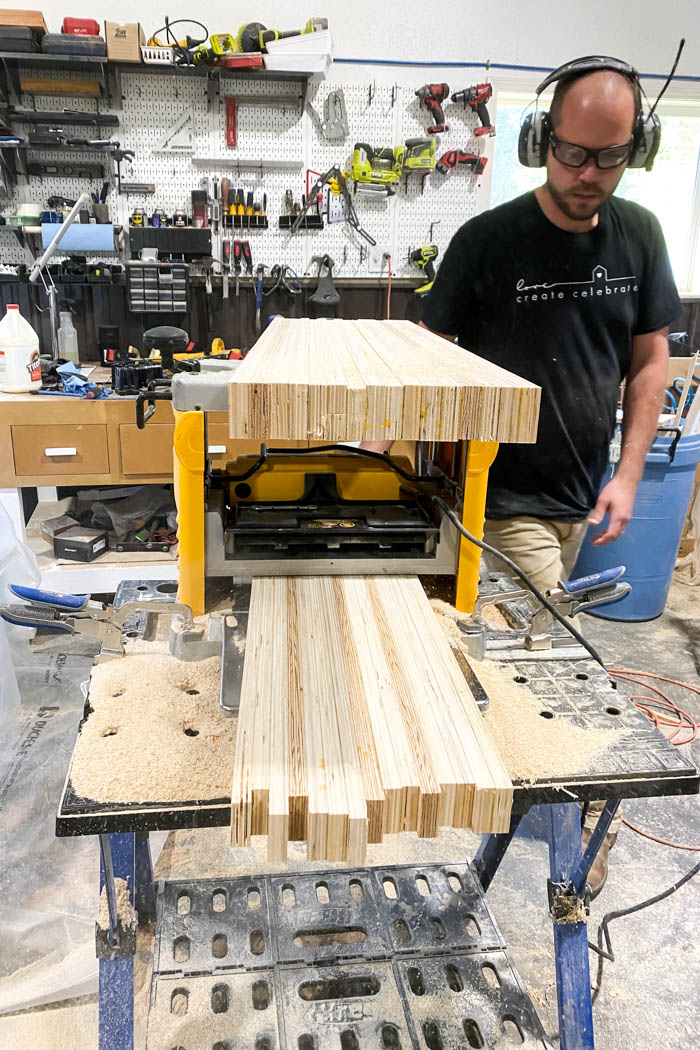
Plane the top of the kids table
Run the sections of the tabletop through the planer. Turn it over and do both sides. If you are doing it in two sections, be sure to run both sections through the same amount of times so they end up the same width. We used a planer because it was the quickest way to get a smooth even finish.
Join the two pieces together
Sand each piece to remove any excess glue, then apply new wood glue to each piece and clamp them together. Allow to dry overnight.
Sand and fill holes
Before sanding, you may want to use a chisel to knock away any hardened glue on the top of the table. Sand away any imperfections on the top and bottom of the kid’s table, and then fill the holes with wood filler.
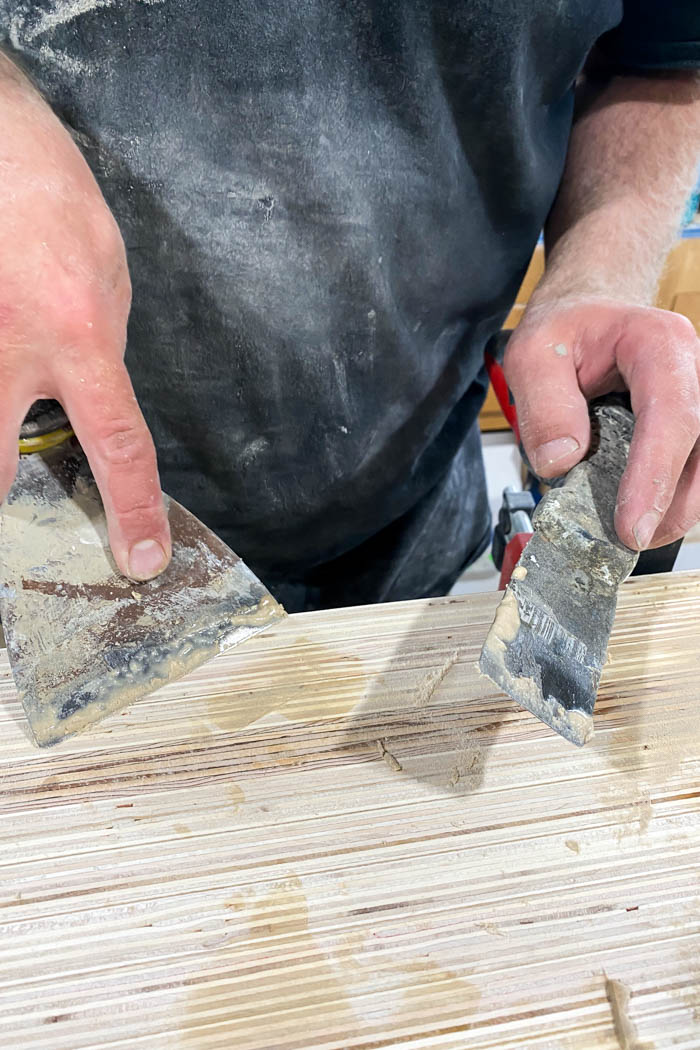
We made our own wood filler, it’s easy to make and will match the wood piece you are making. It will also take stain evenly and blend in with the rest of your piece.
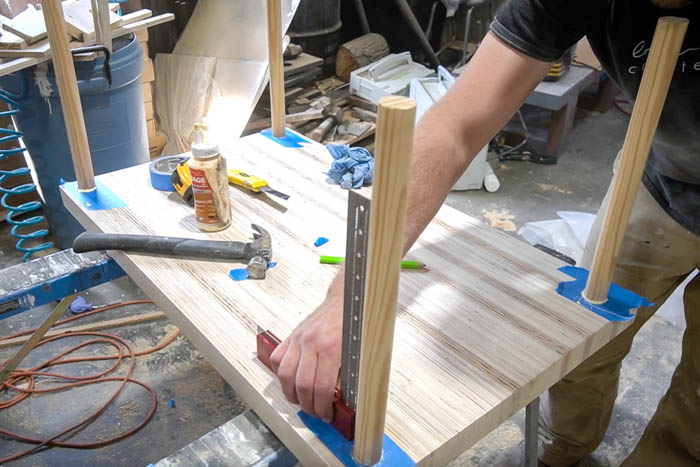
Attach legs to kids table
We used leftover dowels from our scrap wood pile, but you can buy table legs already made at your local home improvement store or buy dowels like the ones we used.
Cut the dowels to 18″. Use a spade bit to drill holes 2″ from the edge, 1/2 inch deep. Glue legs in place.

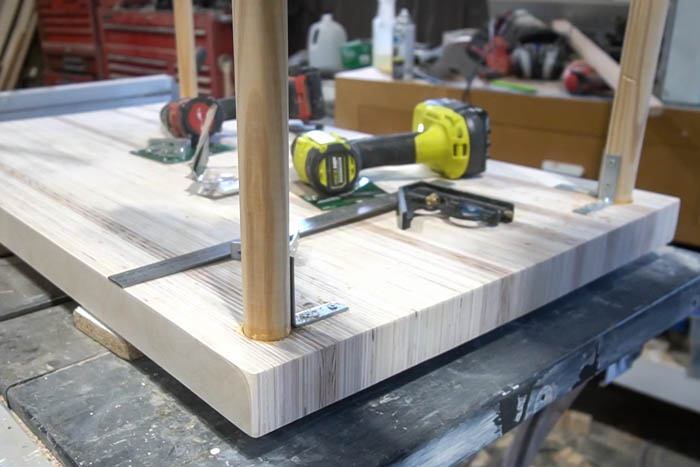
Because these table legs are slender, we used brackets attached to the inside (so you can’t see them) to make them more stable and take out the wobble. This table is for our kids, and we can already imagine our kids climbing on top of it! It has to be sturdy and safe.
Finishing the table
After the legs are attached, give the kid’s table and legs one final sand, and then apply a wood conditioner. The wood conditioner allows the stain to take more evenly. Allow time for the wood conditioner to dry.
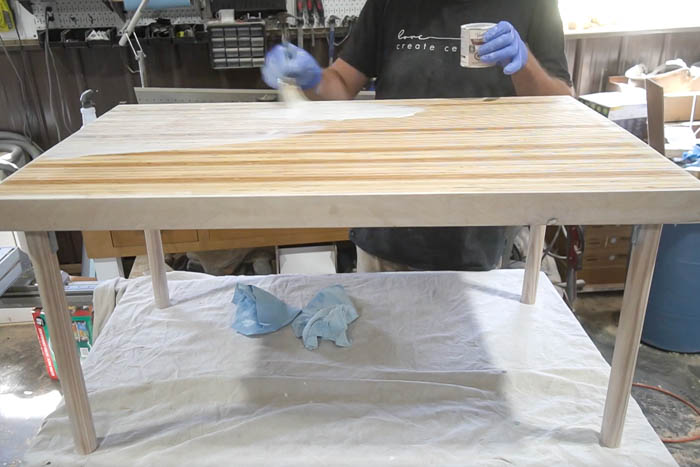
Stain your piece any colour you like. Know that the edges will be more pronounced since the tabletop is made of plywood edges, so make sure to test the stains and see which one you like first. We used stain in white linen to keep the modern, stylish look we were going for!
Finally, apply a coat of polycrylic for a final protective finish coat. You know this table is going to get coloured on and have stickers stuck everywhere, but we’ll protect it as well as we can with multiple coats!
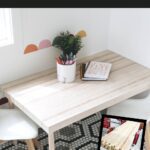
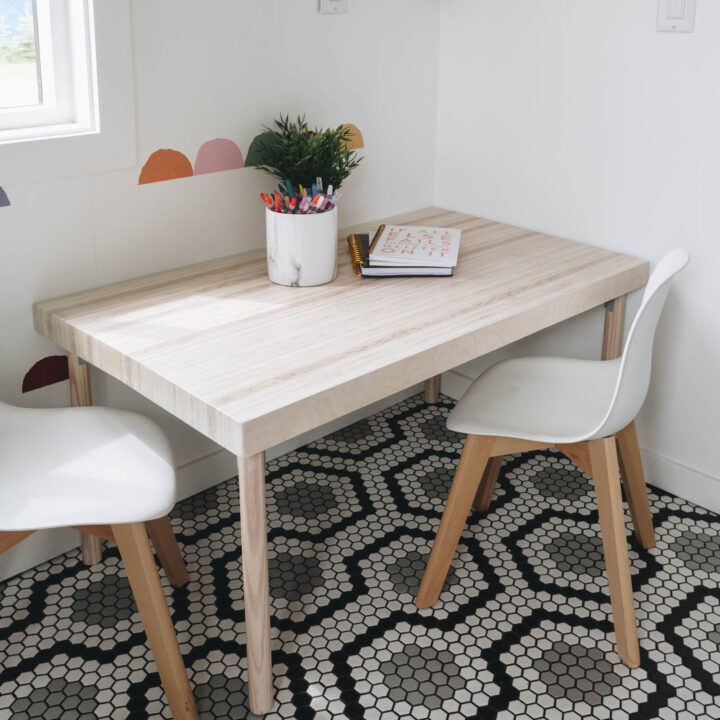
Our Finished Modern Kids Table
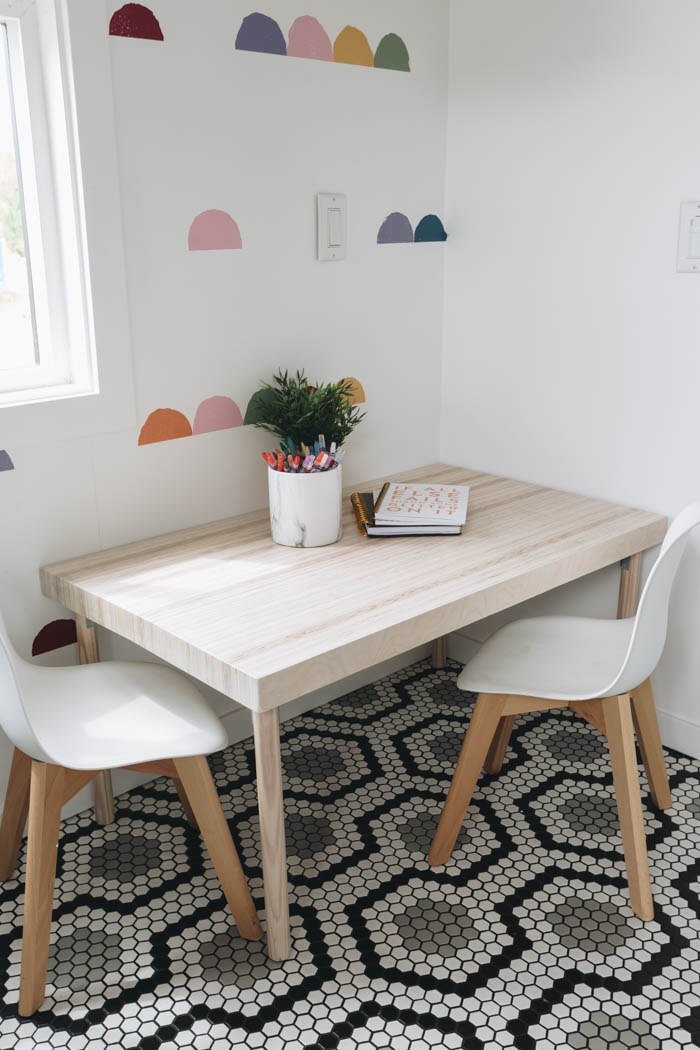
I LOVE how it turned out. Honestly, for the price, I haven’t seen anything anywhere that I like more than this design. And the icing on the cake? Our kids love it too!
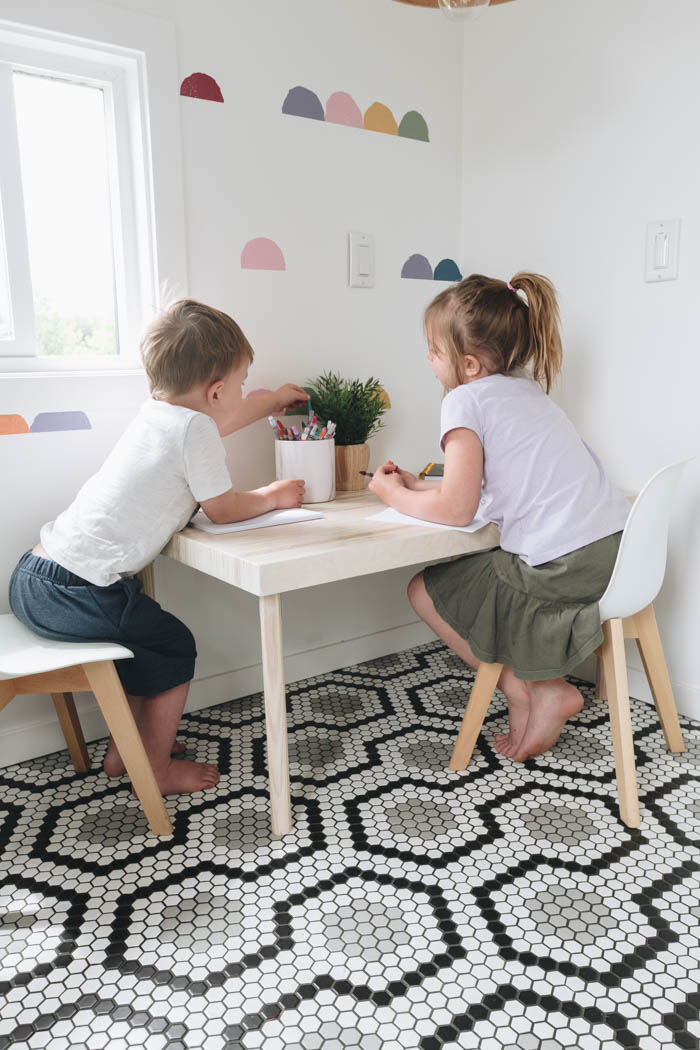
It’s the perfect size for them and looks so cute with these cute kid’s chairs!
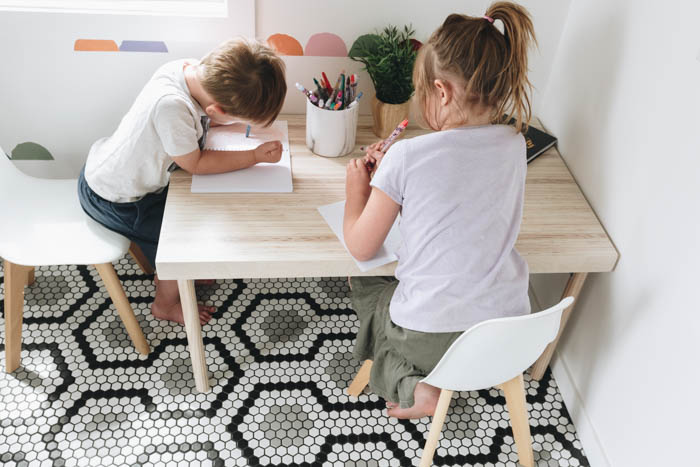
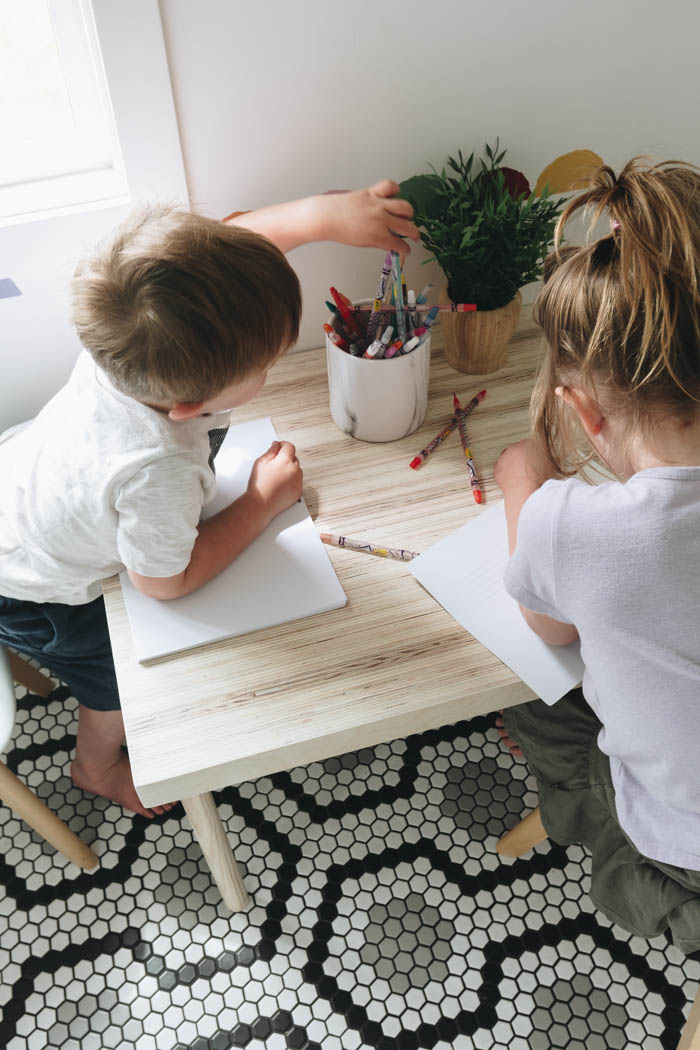
This table will provide hours of entertainment and creativity! Please let us know if you have any questions about this DIY kid’s table
DIY Kids Table Made with Scrap Plywood
Learn how to make a kid's table using scrap plywood. This kid's table DIY is an easy project that your kids will love. Make it using plywood from your scrap pile or from a 4x8 sheet of plywood with this step-by-step tutorial and video.
Materials
- 3/4" plywood scraps (or 1-4x8 sheet)
- Wood Glue Kit
- Wood Glue
- Corner Brackets
- Stain of your choice
- Polycrylic
Instructions
- Cut the plywood to 37" then, using a table saw, cut the plywood into strips that are 1 3/4" wide.
- Lay out the plywood strips and apply wood glue to both sides of the boards using a brush. Clamp together and allow to dry overnight.
- Run the sections of the tabletop through the planer. Join the two sections together with wood glue, clamp together and allow to dry overnight.
- Sand away any imperfections on the top and bottom of the kid's table. Fill holes with wood filler.
- Use a spade bit to drill holes 2" from the edge, 1/2 inch deep. Glue legs in place. Add brackets to legs for extra stability.
- Finish with stain of your choice.

Looking for more kid’s projects? Check out this DIY Playhouse for Kids!