
A stunning DIY home office accent wall! Make this easy MDF accent wall in just one day with this quick tutorial!
If there’s one thing we like doing around here, it’s DIY accent walls! I love a good accent wall in the right space. So when my nephew asked us to help him renovate a home office so that we could study from home, we immediately wanted to make him a quick home office accent wall!
*This post was sponsored by DAP Canada and may contain affiliate links. Thank you for supporting our blog so that we can continue to bring you posts like these. For more information, please see our disclosure page.*
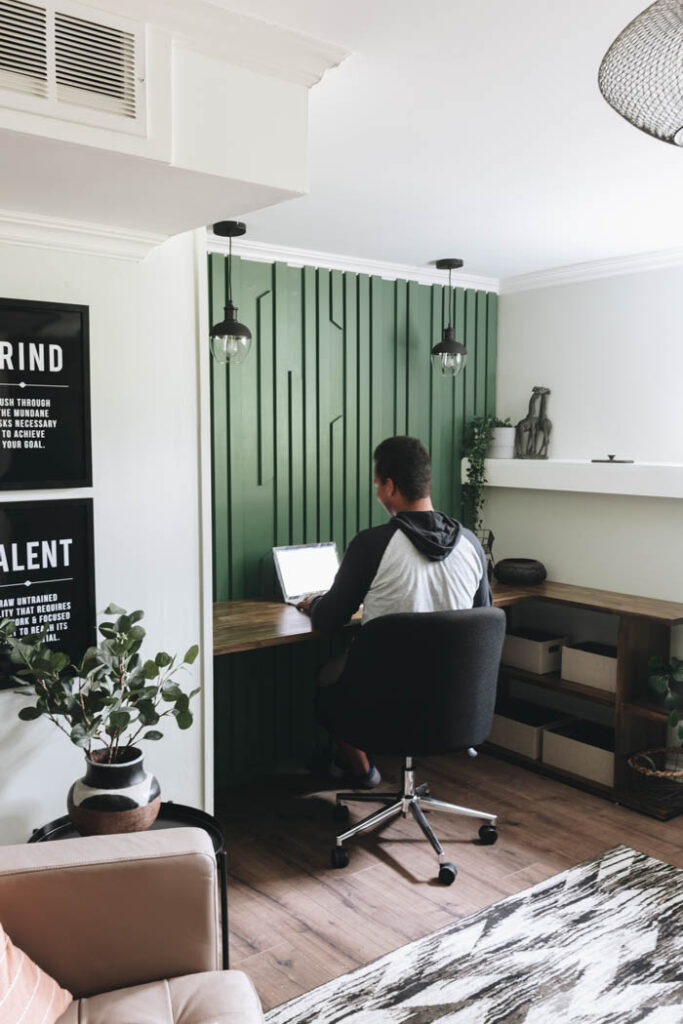
Many of us are learning to work from home these days, and slowly realizing that these work from home changes are not working! Instead of working at that random table in the basement, or at the kitchen table, we need to find a dedicated work space.
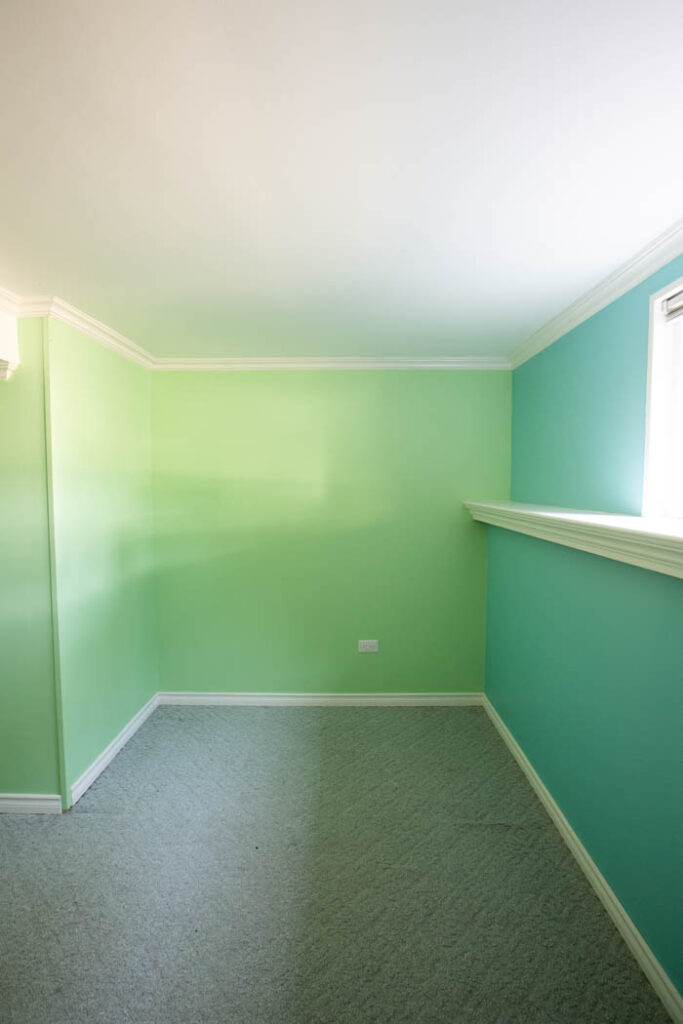
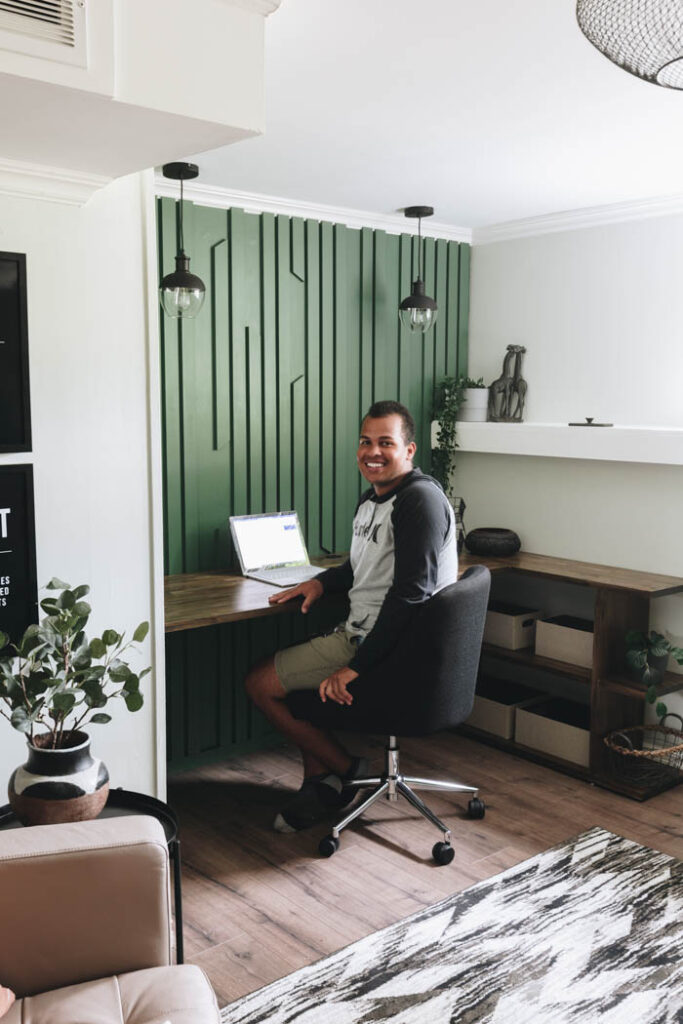
Many college and university students are needing to stay home right now too, and my nephew was one of them. He needed a space to work in, so we created one for him, transforming an old “catch-all” room into a home office with an amazing accent wall (as per his request!).
I am calling this a home office accent wall, but honestly, you could use this wall anywhere! I think any nook in your home, behind the bed, or as a dining room wall would look amazing!
Everything you need to make a home office accent wall
We have done a few amazing feature walls in the past, and this one is one of our easiest because it only requires one sheet of MDF, and doesn’t require any complicated angles or measurements!
Materials:
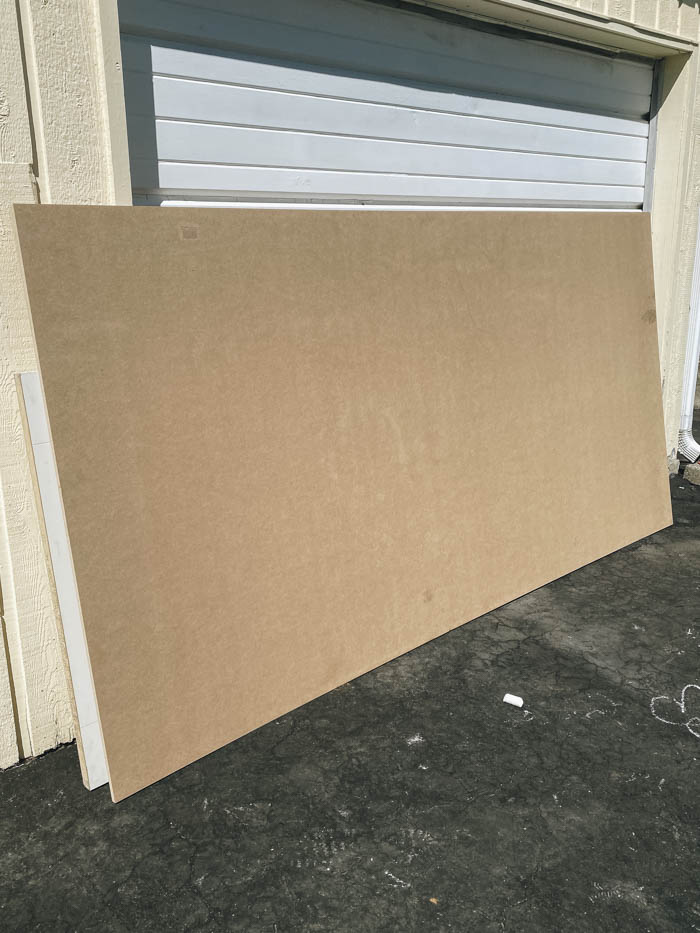
- 1 4×8 1/2″ thick MDF board
- ALEX PLUS Spackling
- ALEX FLEX molding and trim sealant
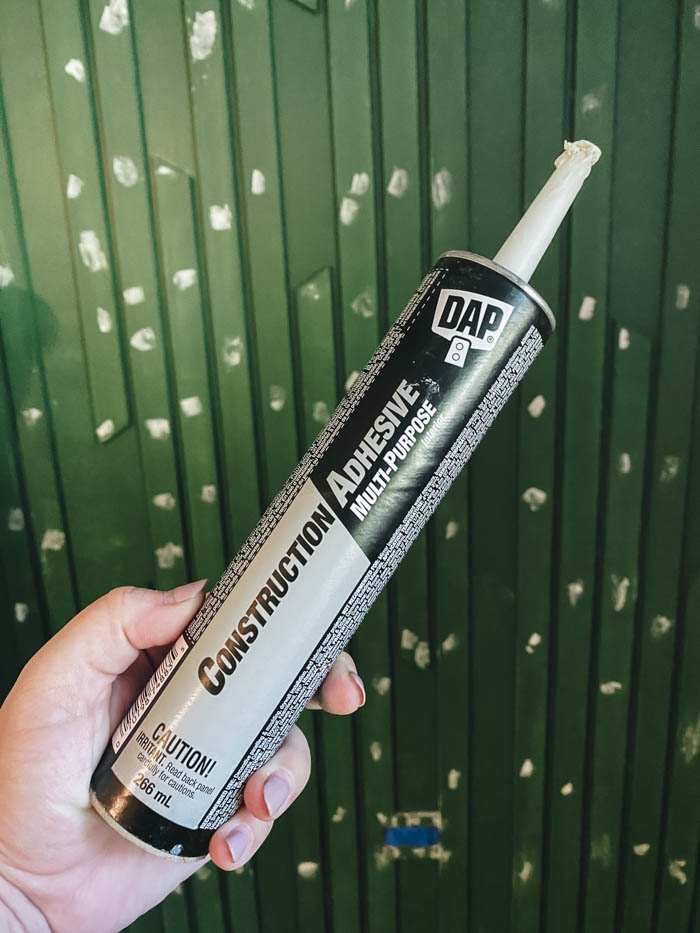
- Multi-Purpose Construction Adhesive
- Paint
Tools:
Home Office Feature Wall Video Tutorial
If you’re like me and you need a visual tutorial, then check out our YouTube video below. I will write out the steps below as well, but this will let you see the entire transformation and gives a few extra tips and tricks.
Don’t forget to subscribe to our YouTube channel while you’re there!
How to Make this Home Office Accent Wall
Here are some step-by-step instructions and tips you can use together with the video above.
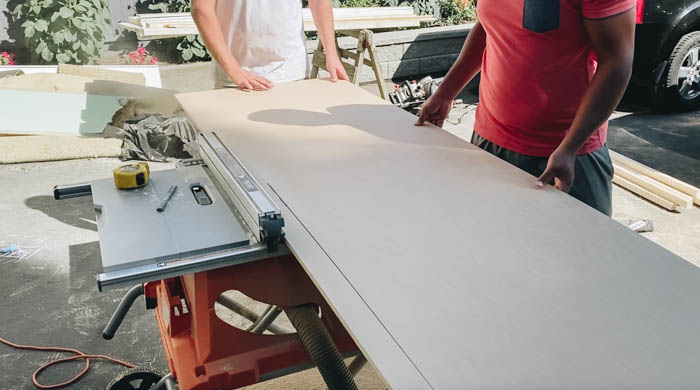
We started by using the table saw to rip our 1/2″ thick sheet of MDF into 2 1/4″ strips. This is just the thickness I liked best when testing everything on the wall.
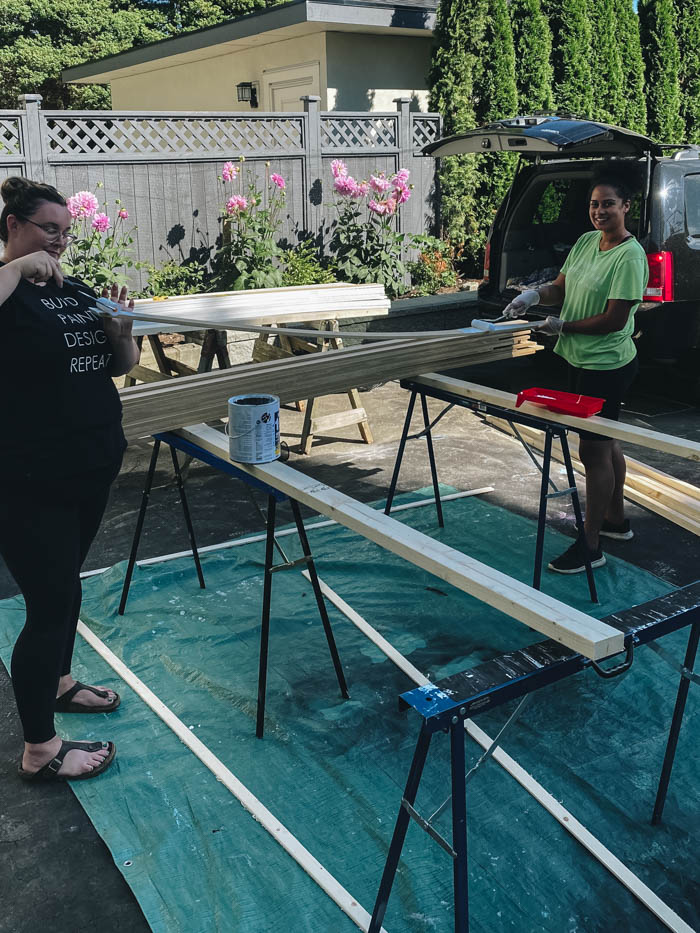
Our next step was to get the wall and the MDF boards prepped. We primed the wall, and all of the strips on three sides (the back side doesn’t ever get seen so it doesn’t need paint.
Then when the primer dried, we did the first coat of paint on the MDF boards and the wall.

When we were ready to put boards up on the wall, we first measured the wall height where the board was going, then cut the board to the correct height on the mitre saw.
Once the board was the correct height, we put Multi-Purpose Construction Adhesive on the back of the boards and then used a long level to make sure our boards were level as we stuck them to the wall.
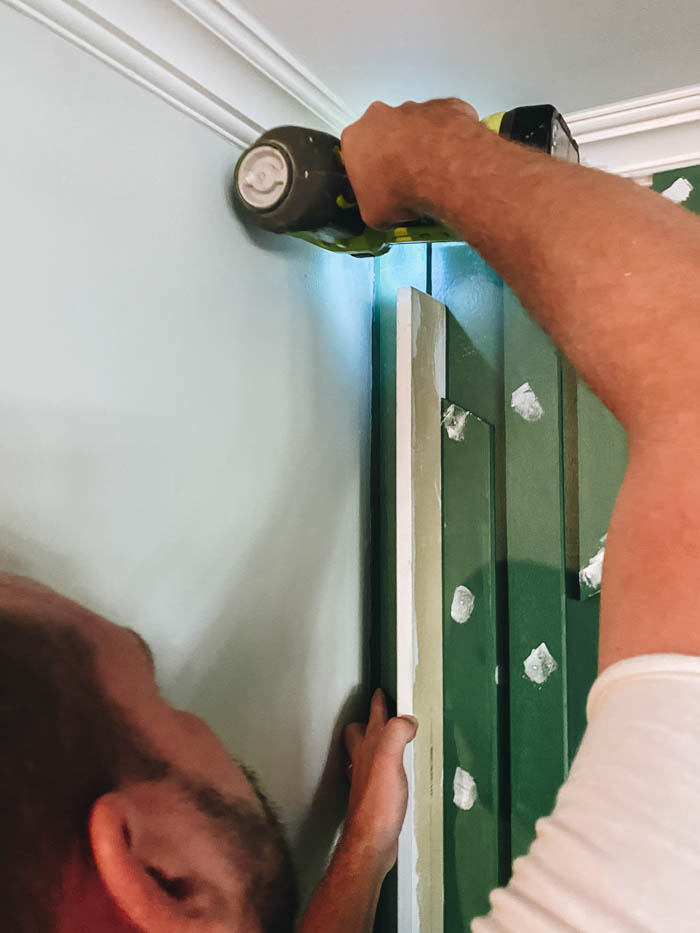
Then we held the board in place and used a nail gun to nail the boards to the wall.
As you lay the next boards, you’ll need to use a spacer, as in the photo above, to make sure your spaces between the MDF slats are consistent. We used an old piece of molding for this that was 3/4″ thick. You can use the MDF boards too, but they are thinner (1/2″ thick) and I liked the look better with the slats slightly further apart.
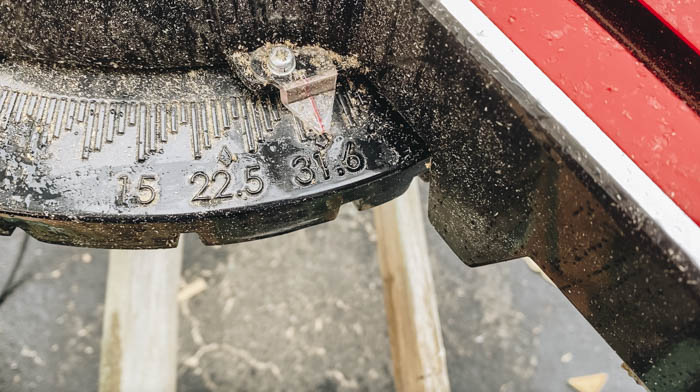
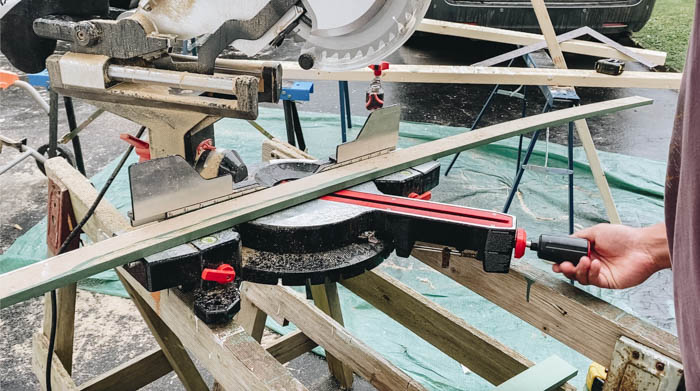
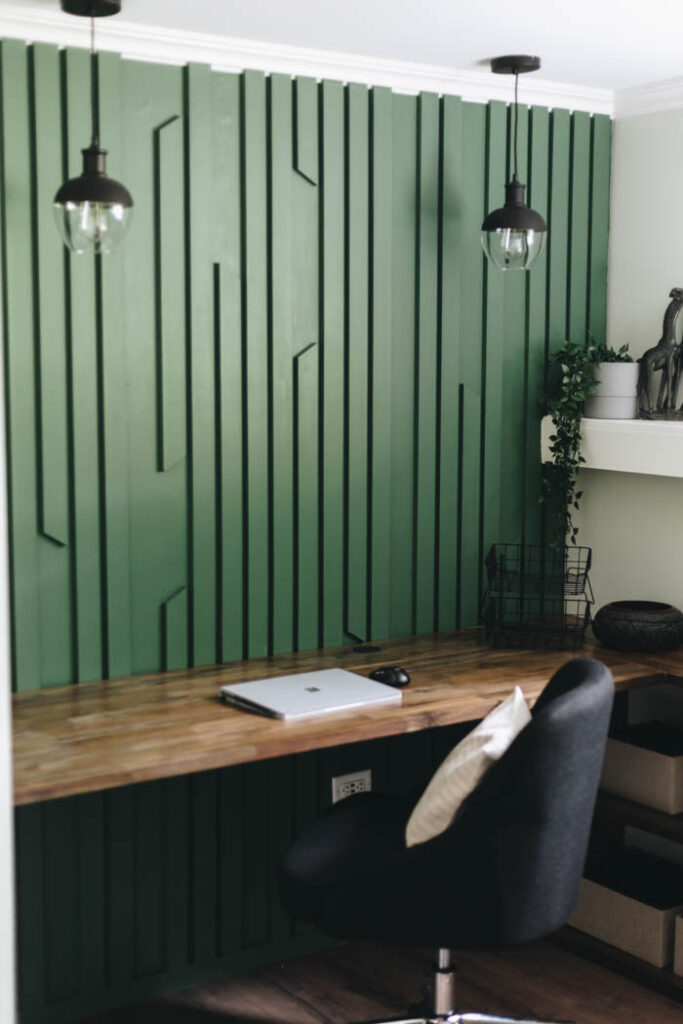
To add in the angled boards. you simply decide where you want the angle to start or end and measure to that point. We tried a few different angles, but ended up cutting all of them at a 31.6 degree angle.
We picked this weird number because it was a marked out angle on our mitre saw, but if it’s not marked on yours, you can pick any angle around that.
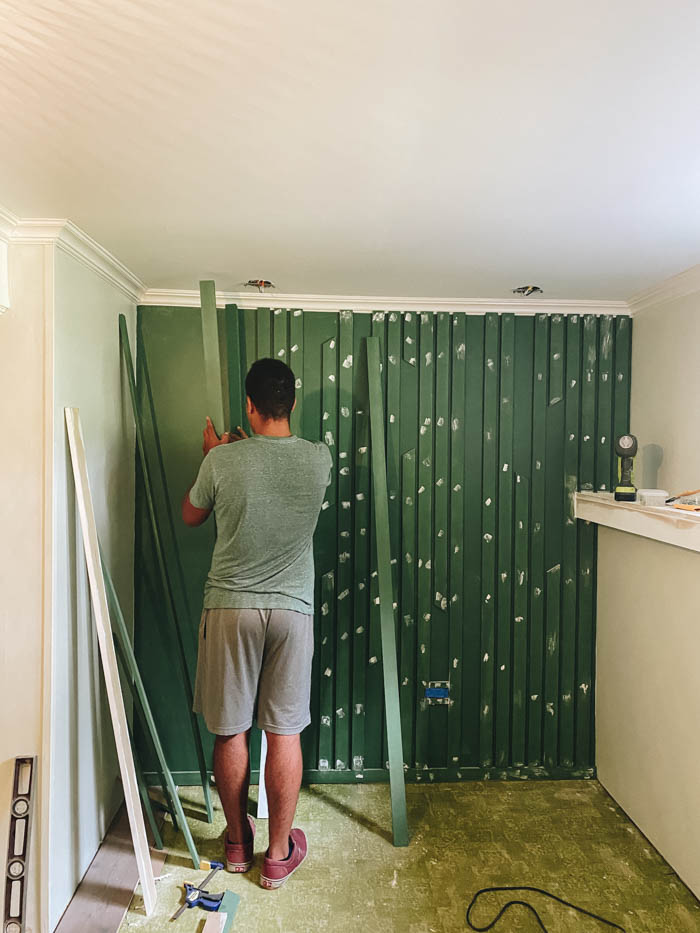
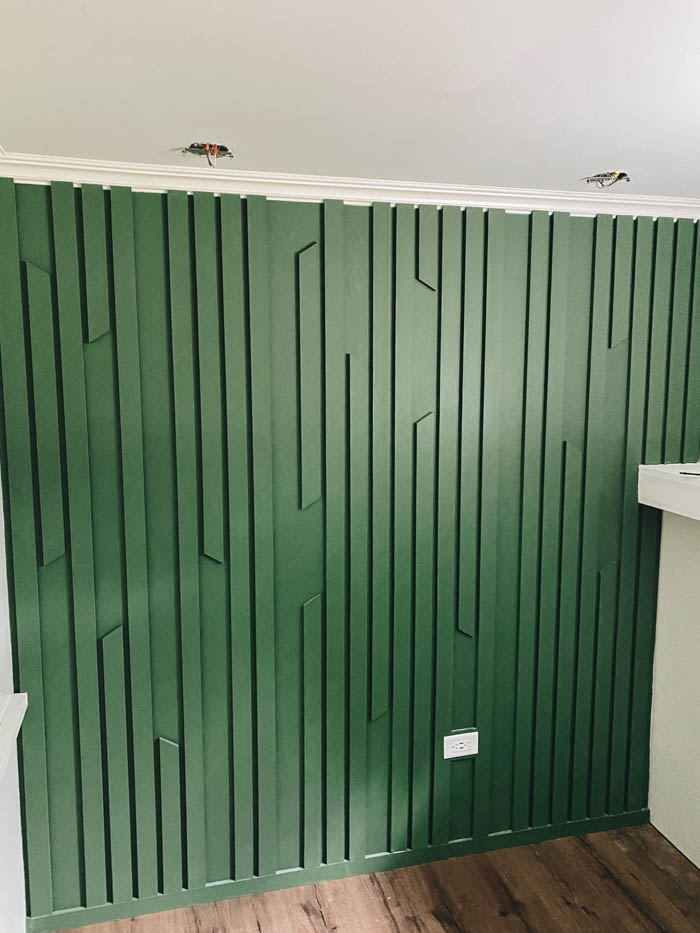
As we did the wall, we would put a board up, step back and decide the next board, etc. etc.
We did angles going in different directions and at different heights. We also did some spots with no boards at all (like a skipped over board), and some boards in the center of the wall with the top and bottom cut off. All of the cuts were always the 31.6 degree cuts.

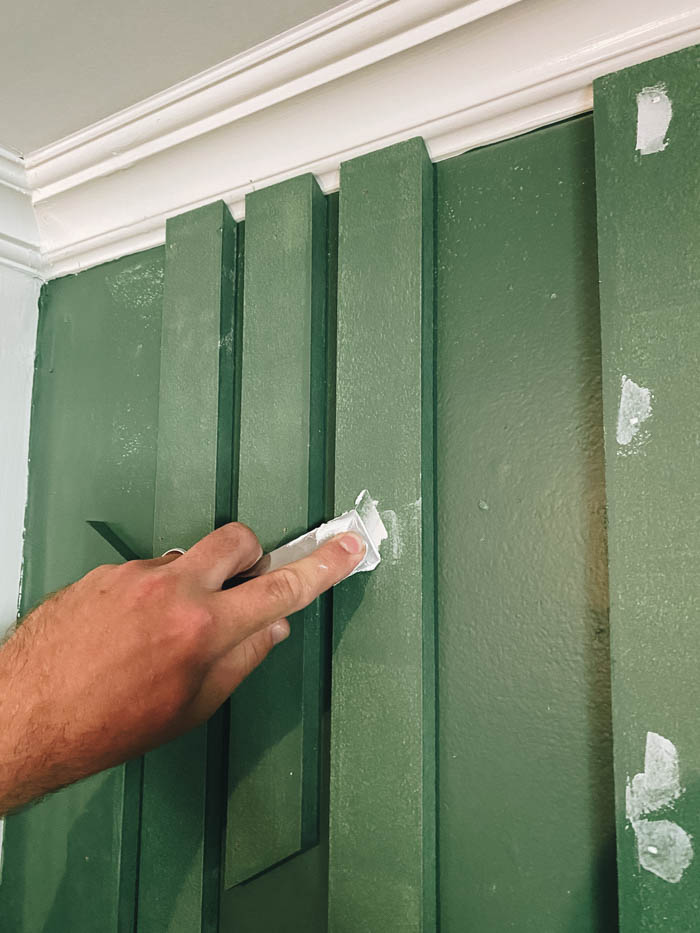
Once all of the boards were up, we used ALEX PLUS Spackling to fill in all of the nail holes.
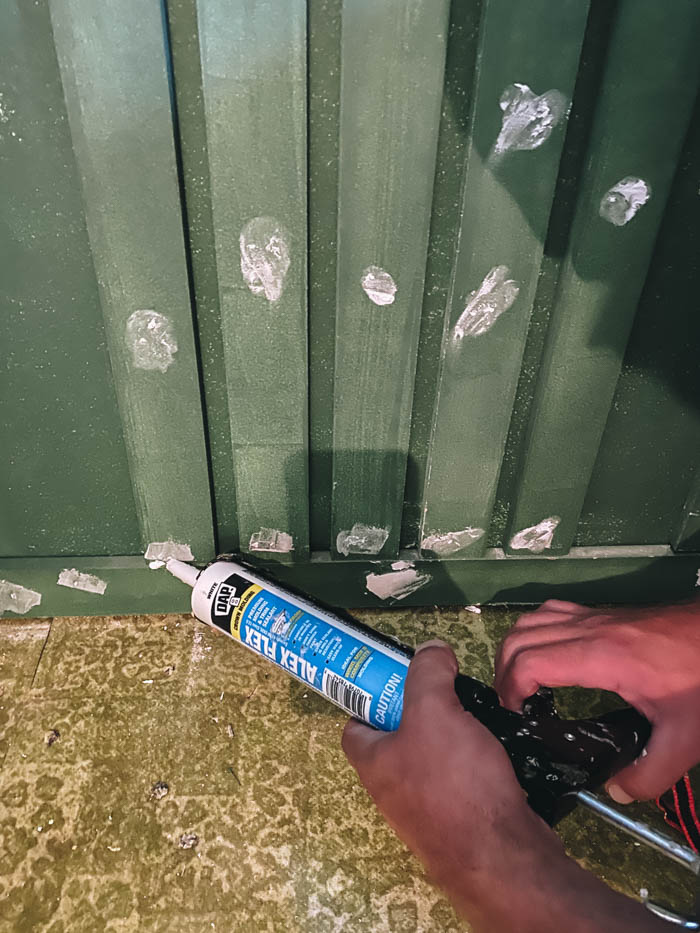
Finally, we used ALEX FLEX molding and trim sealant to seal the spaces between the baseboards (which was also a piece of MDF painted green), and the wall slats to protect the wall from any house or wall shifts.
If you have any slats on the corner, you can use this against the wall too.
When everything is done, give the entire wall and slats another coat of paint and you’re done!
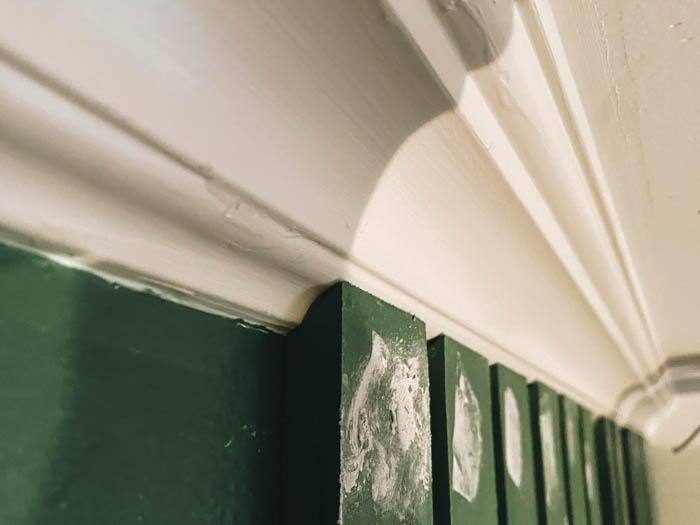
One thing that you may come across is a wall that already has crown molding up, like this wall did. In order to deal with the crown molding, we cut the tops of all of our boards at a 45 degree angle. We thought a straight cut at the top would be too abrupt of an angle against the crown.
Then when we measured boards for the wall, we measured from the bottom of the crown molding, and the bottom of the 45 degree angle cut. They fit nicely over the molding, and you can’t even tell in the room that they weren’t made to fit perfectly.
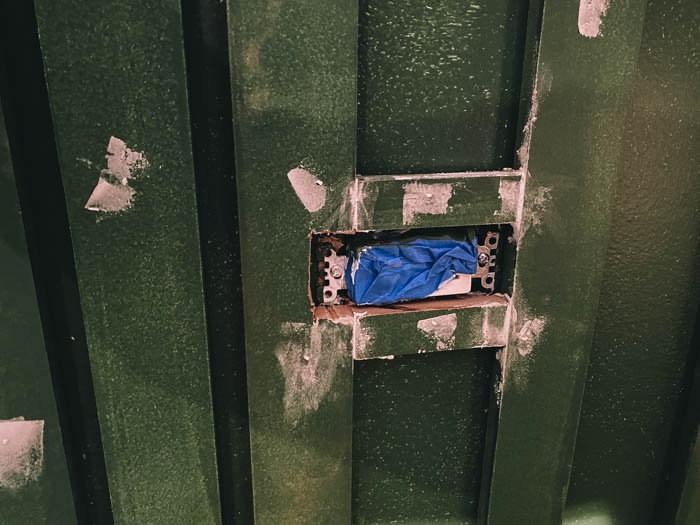
Another quick tip is that if you are dealing with outlets or switches, the plate for those switched and outlets will likely need to be raised 1/2″ as well. Because of this, we always make a small MDF frame around our switches or outlets so that they have a good surface to rest on all the way around.
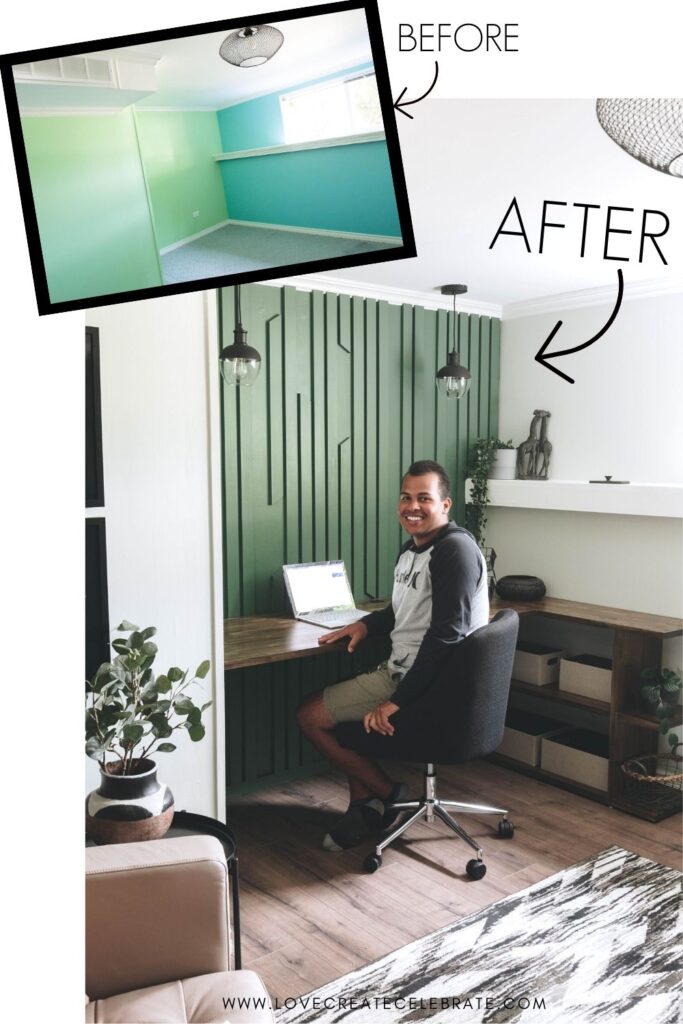
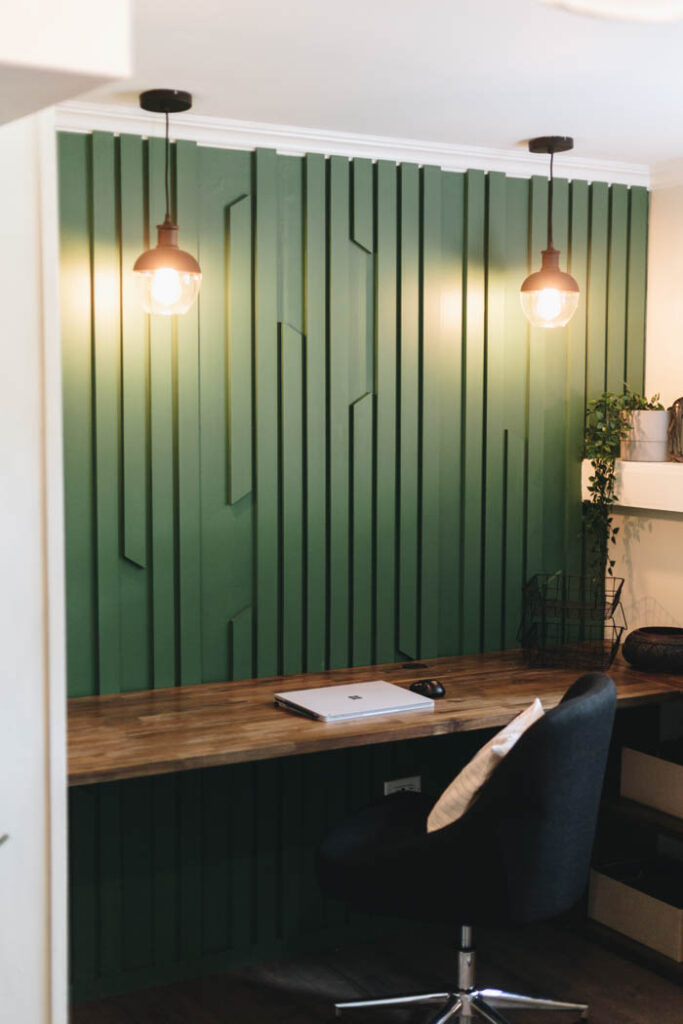
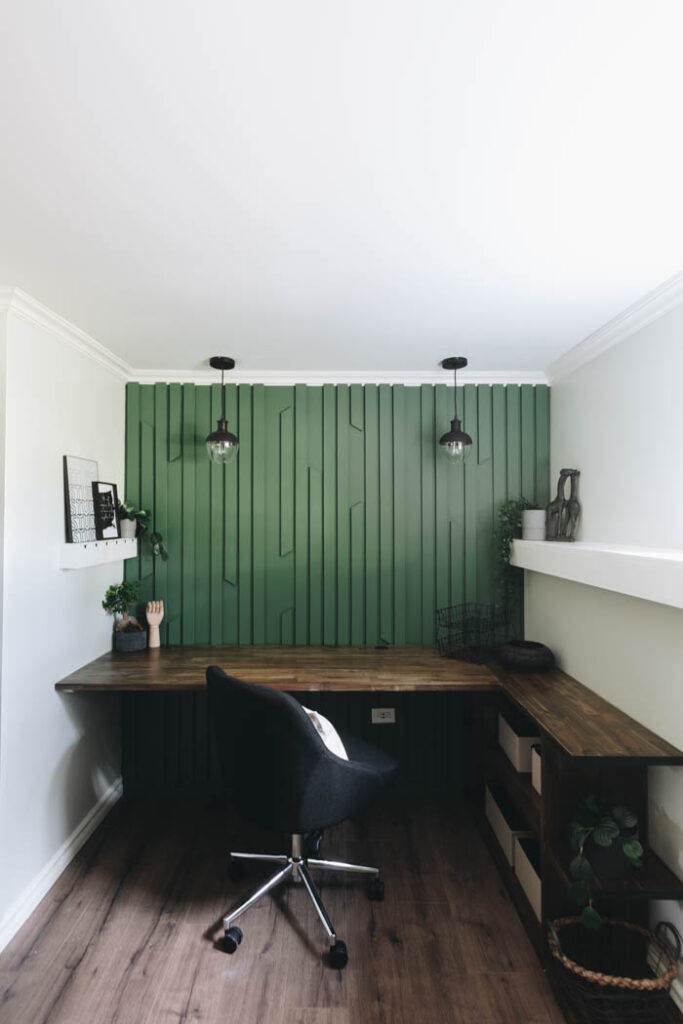
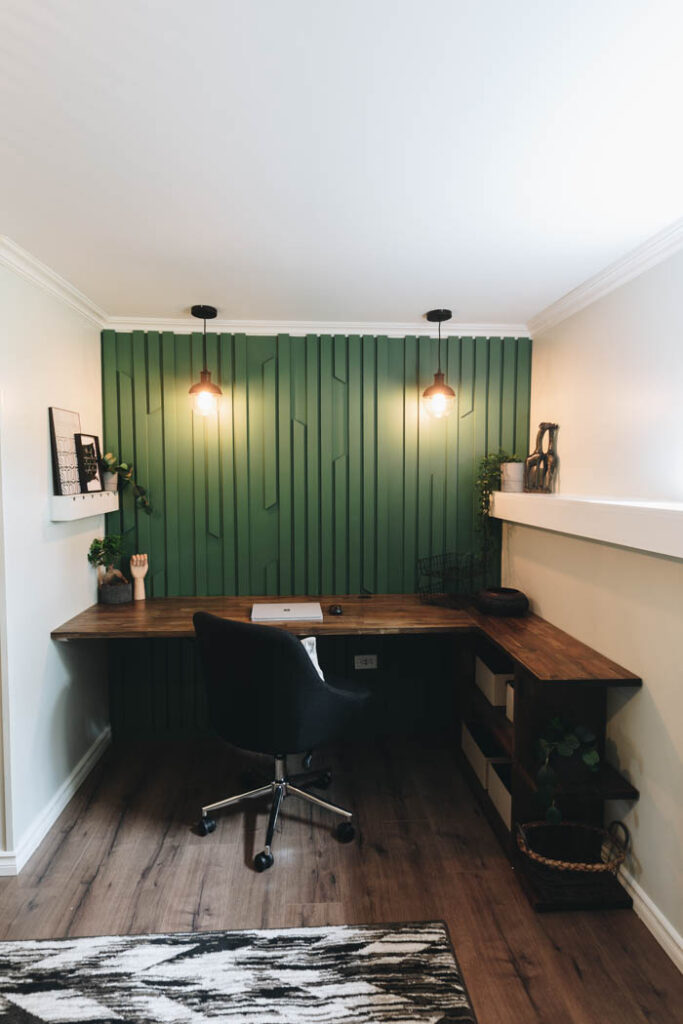
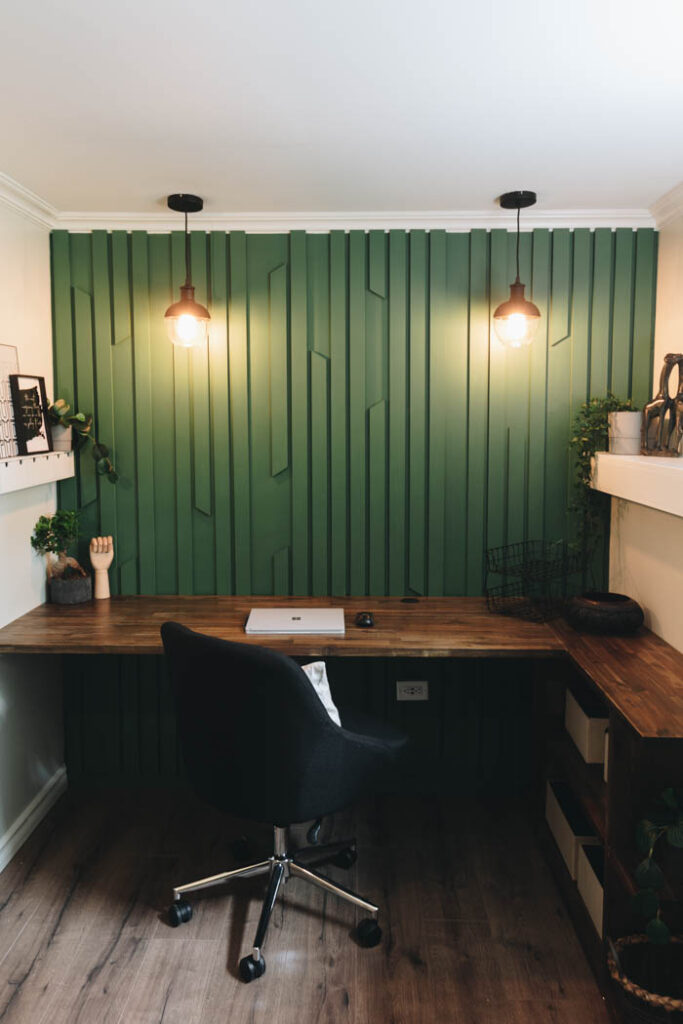
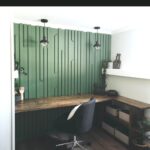
Our Finished Home Office Accent Wall
Ok, this is way too many photos to bombard you with, but the wall is just soooo good! My nephew picked the green paint colour and it looked absolutely amazing in the space!

DIY Home Office Accent Wall
A stunning DIY home office accent wall! Make this easy MDF accent wall in just one day with this quick tutorial!
Materials
- 1 4x8 board of MDF
- ALEX PLUS Spackling
- ALEX FLEX molding and trim sealant
- Multi-Purpose Construction Adhesive
- Paint
Tools
- Nail Gun
- Mitre Saw
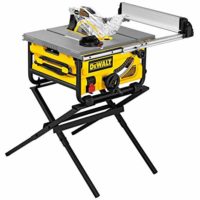
- Table Saw
- Long Level
Instructions
- Cut your sheet of MDF down into 2 1/4" strips using the table saw. We needed 30 strips for our wall.
- Prime the wall and your MDF strips with primer.
- When primer dries, paint MDF strips and wall with one coat of new paint colour.
- Measure the wall for the location of your first strip and use the table saw to cut it down to the right height.
- Put multi-purpose construction adhesive on the back side of your MDF strip to stick to to the wall.
- Use a long level to make sure that your first piece is perfectly level before attaching it to the wall, then use a nail gun to nail it into place.
- Repeat this process for each new MDF strip and use a 3/4" spacer between the boards to make sure the spacing is consistent. We used an old piece of molding that was 3/4" thick, but you can make your own spacers from any leftover wood.
- If you want to create angled pieces, we cut our angles at 31.6 degrees, which was a setting on our table saw. Cut your angles pieces and attach them to the wall using the same method. If you have blank spaces, you can cut down a piece of MDF and hold it in place while you attach the next piece, to help space everything properly.
- When you're done, use ALEX PLUS Spackling in all of the nail holes and let it dry.
- Use ALEX FLEX molding and trim sealant to caulk any of the moldings where they meet the baseboards (or wall edges if needed).
- When the spackling is dry, sand it flat, and paint the entire wall and mouldings with the new paint colour.
Recommended Products
As an Amazon Associate and member of other affiliate programs, I earn from qualifying purchases.


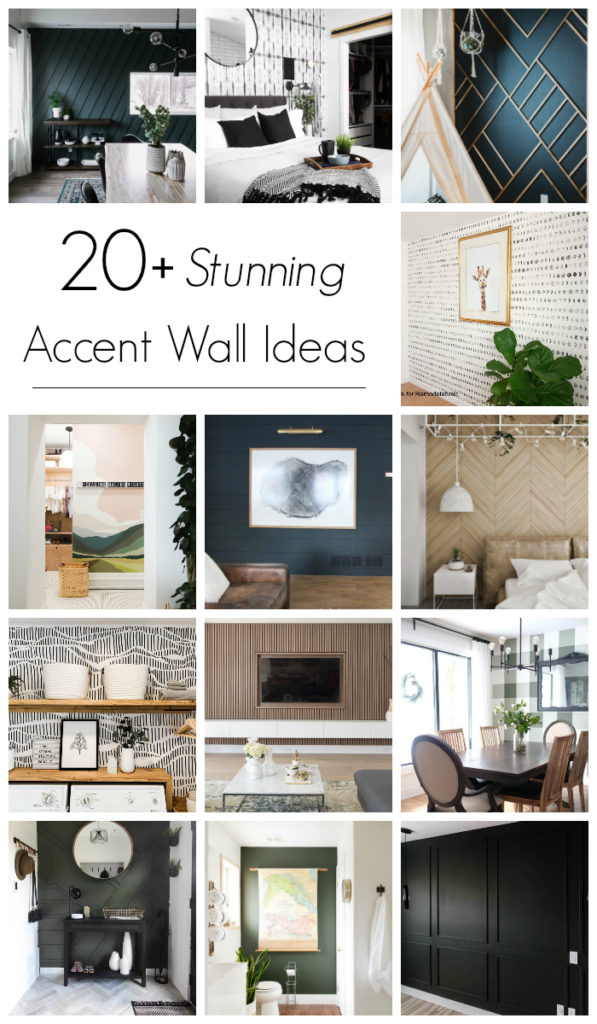
If you like accent walls, here’s an amazing list of all our favourite walls!
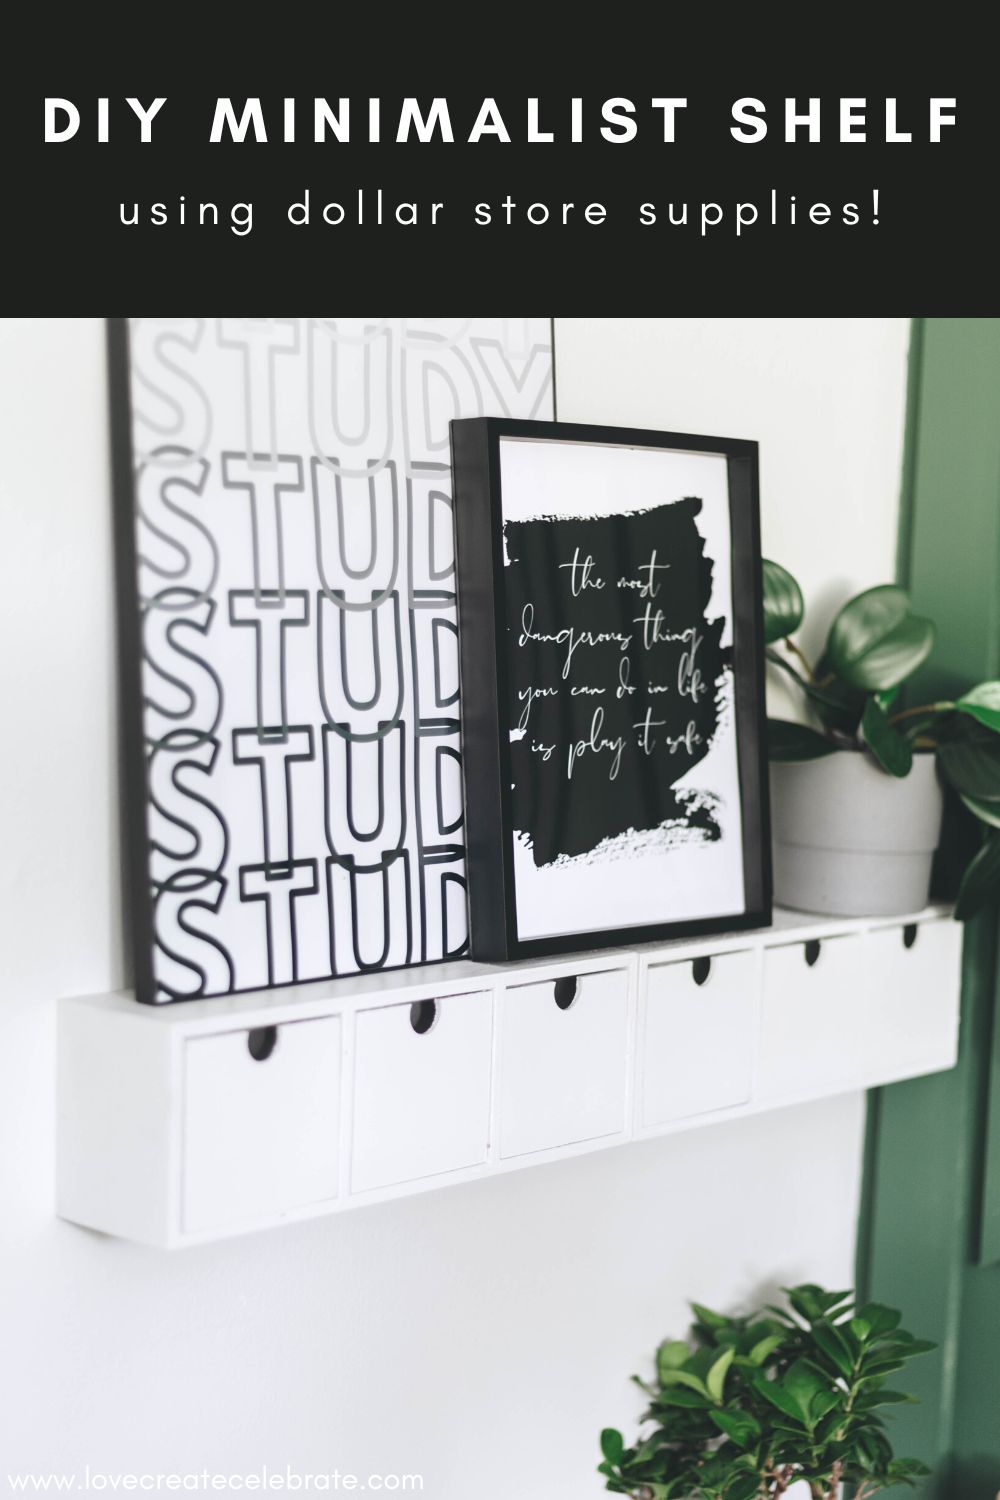
Wondering how we made the little shelf on the wall?? This minimal shelf is a dollar store DIY!

Jason
Sunday 21st of March 2021
Truly outstanding work. The end result here, far outweighs both the cost AND effort involved. Really impressed!
I once did a project with cut and painted MDF. I was not pleased with how the paint looked on all my cut edges. Is the primer the difference?
Lindi
Monday 22nd of March 2021
Did you putty the ends? Or use wood filler? That will make a big difference. The ends are a bit porous so they need to be puttied and sanded. The primer would also help with this. For best results, putty, sand, prime, and paint. Hope that helps!
Shannon
Thursday 5th of November 2020
What color is that green wall?
Lindi
Friday 6th of November 2020
It's called Alpine Top by Valspar!