Easy modern DIY Garden Sign! Try this simple summer DIY for your garden decor without spending a ton of money!
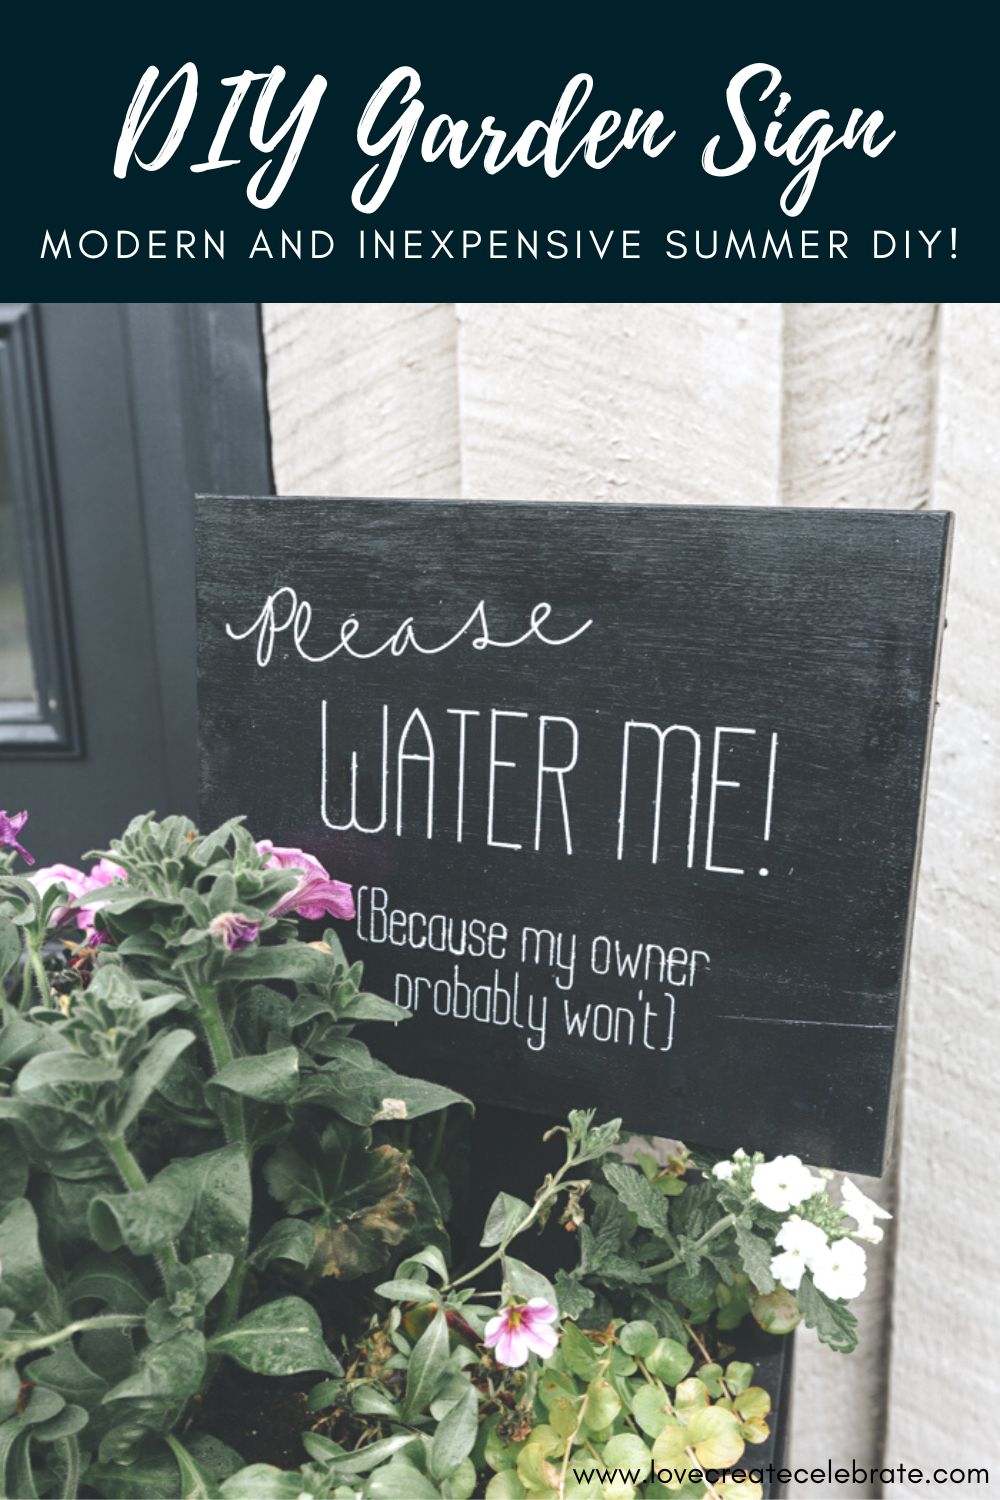
If you’re looking for a quick and easy sign to add to your gardens or planters this summer, this DIY Garden Sign may be just what you’re looking for! I added a cheeky little saying, because I’m known for not remembering to water my plants, lol. But you can easily customize this sign with your own text!
*This post may contain affiliate links. When you buy a product through one of our links, we get a commission at no cost to you! Thank you for supporting our blog so that we can continue to bring you posts like these. For more information, please see our disclosure page.*
DIY Garden Sign
This project is one of a series of modern summer outdoor DIYs that I did using dollar store supplies. I love creating beautiful, affordable projects, using affordable products.
Materials Needed
- Dollar store wooden frames
- Scrap plywood
- Black paint
- Cricut
- Transfer tape for Cricut
- White paint
- Exterior wood glue
- Sander
- Saw
- Paint Brush
- Paint Dabbers
Step-by-step Tutorial for your DIY Garden Sign
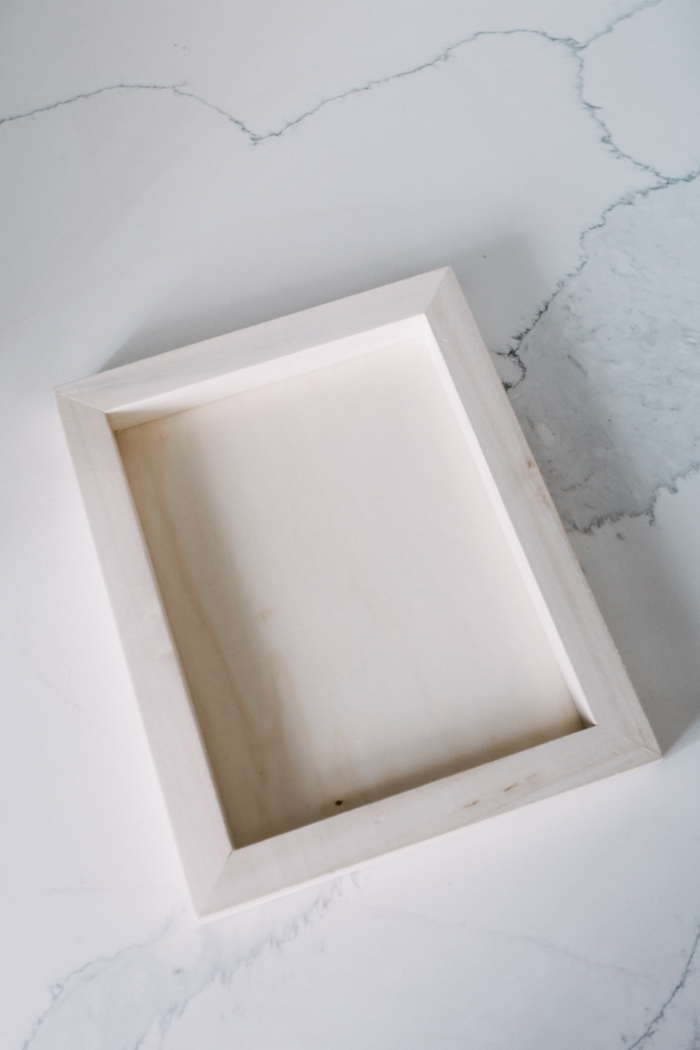
This DIY summer decor project involves creating a garden sign using one of these little wooden frames from the dollar store and a small piece of scrap plywood. I’ve used these frames before, including in last year’s summer DIY projects, but I love grabbing anything made from wood at the dollar store, because it’s such a versatile material.
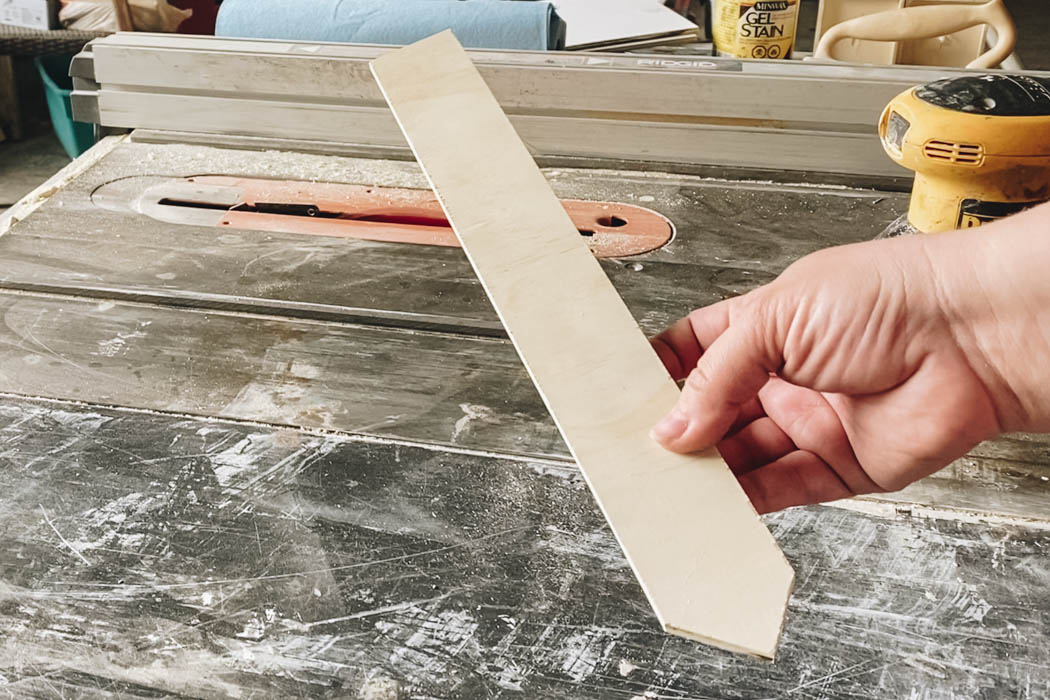
Start by cutting a point into a scrap piece of plywood. This will be the stick that goes into the ground to hold up our garden sign.
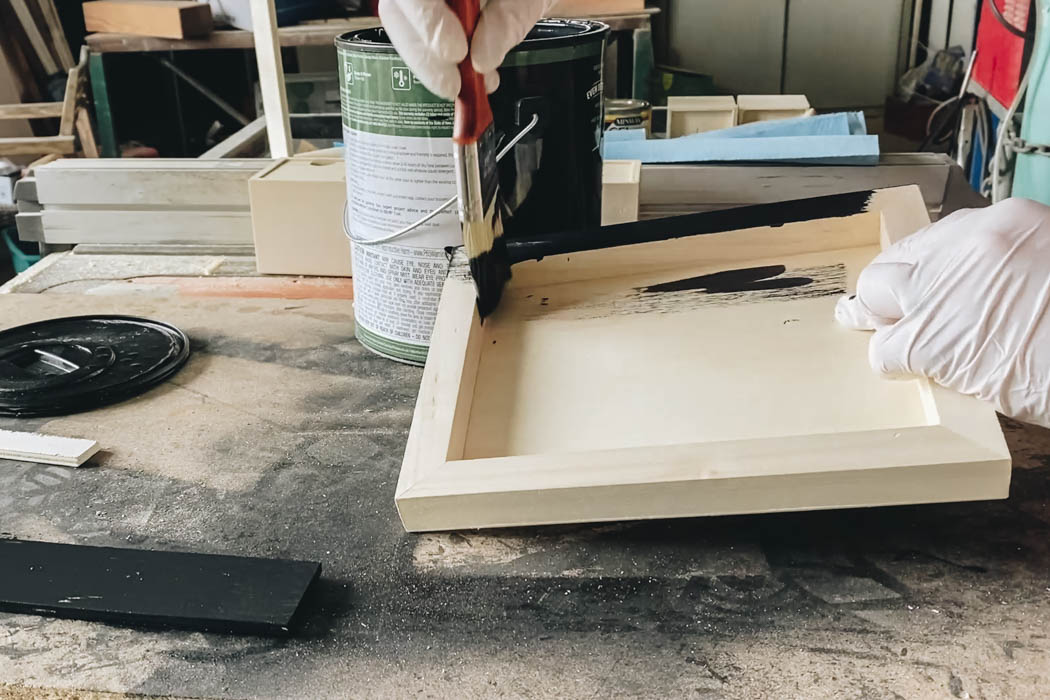
Sand the plywood down on all sides to get a smooth finish, and then paint the plywood stick and the dollar store picture frame using an exterior safe black paint.
You could use stain for this instead, but we will be putting a stencil on the garden sign and it might stick better onto the paint rather than stain.
For the stencil design on this DIY garden sign, if you have nice hand lettering you can probably do this by hand. I do not, lol. But I do have a Cricut!
If you have a Cricut, you can create a design in the Cricut design space and use your Cricut to cut out a stencil. If you’ve never used a Cricut to make a stencil, check out this video that will show you exactly how to do it.
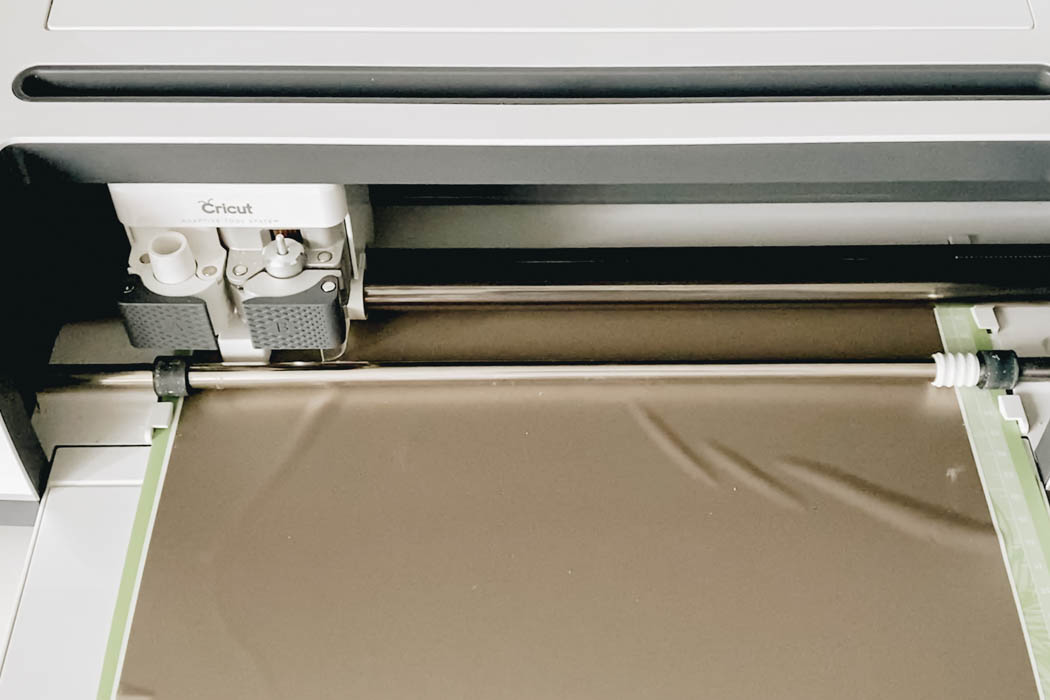
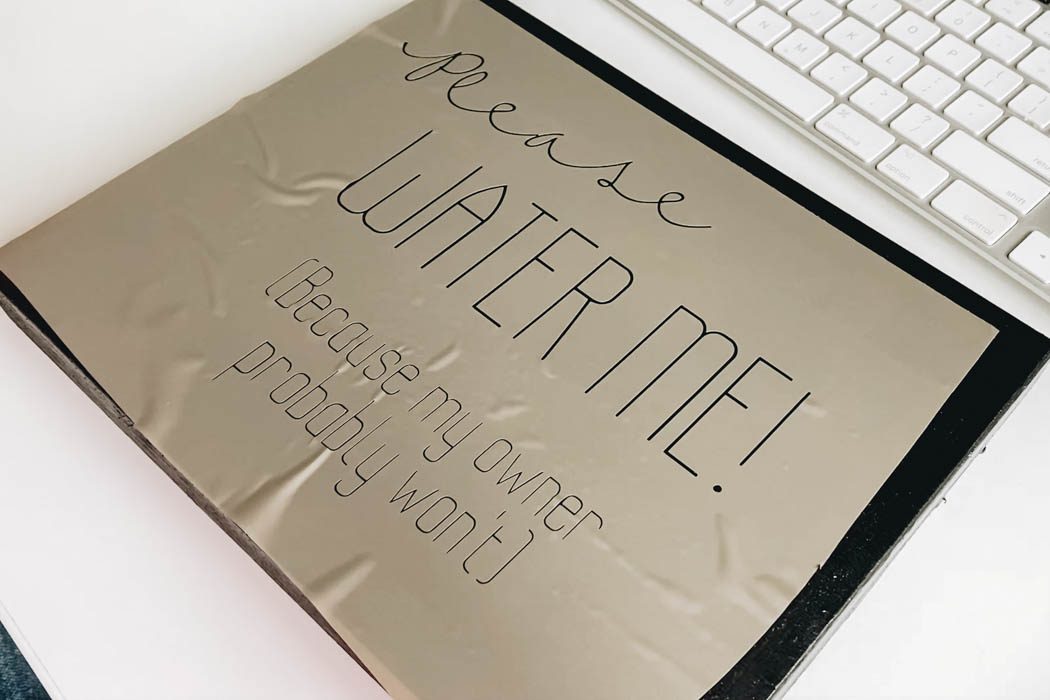
You can write anything you want onto the stencil, and the Cricut Design Space probably already has some great sign ideas and/or images to use if you don’t feel like getting creative today! I used a thin font and a nice cursive one to make the sign below.
Once you have the stencil cut out, use some transfer tape to attach the stencil to the picture frame. The transfer tape helps because it keeps all of the pieces together and in the right place. For example, you can move the word “water” without the tiny circle in the “a” or the “r” getting left behind, and it keeps all of the straight lines perfectly straight.
Check out the video below if you want to see the transfer tape in action!
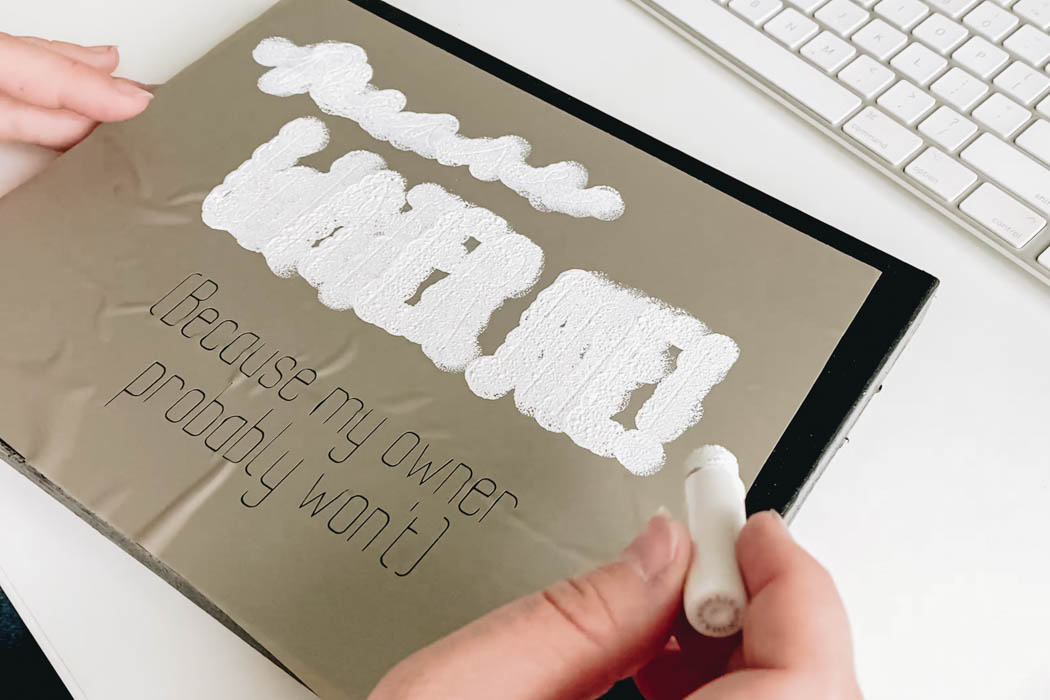
Now use some little dabbers to paint within the stencil. You can also use foam pieces from the dollar store. The key here is not to use too much paint or you may risk pushing the paint behind the stencil and making all of your painted lines blurry.
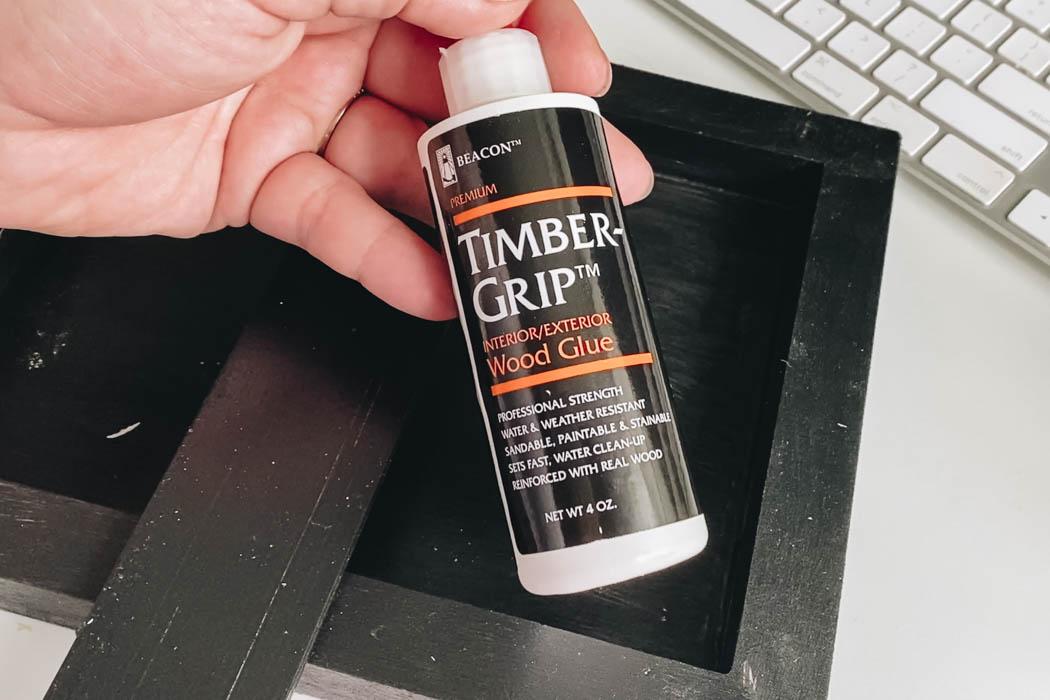
The final step of the garden sign project was to use some wood glue to attach the stick to the back of the frame.
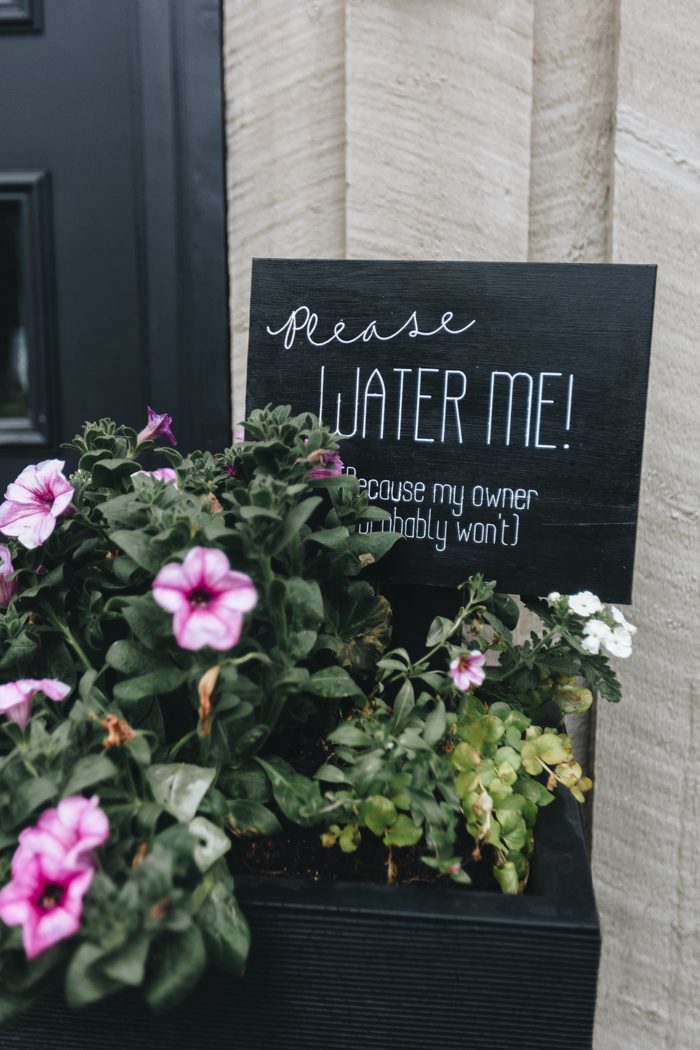
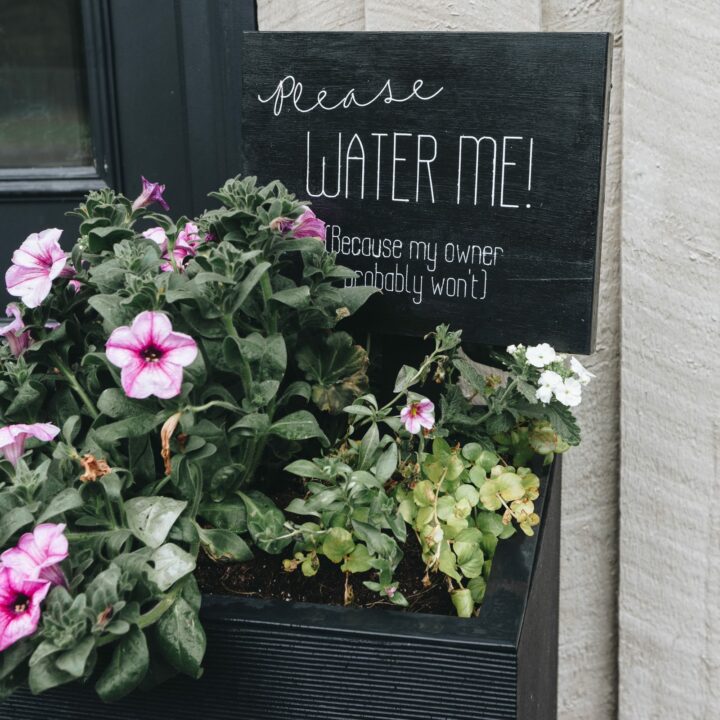
Here is how our sign looked when it was done.
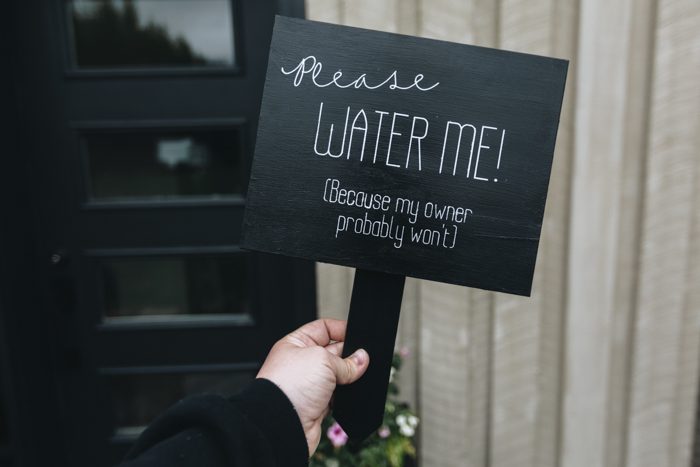
I’m planning to put it in my garden, but at the moment we don’t have anything coming up in my garden, so I put it in my front planter for now to show how it looks.

More Outdoor Summer Decor DIYs
This DIY garden sign was one of a series of modern summer decor DIYs for your outdoor space that you can do without spending a ton of money. Click on the video below to see how the other summer projects turned out!
Don’t forget to subscribe to our YouTube channel for more great summer decor DIYs!
If you’re looking for more inspiration for summer projects, check out this beautiful DIY Outdoor Bench!

DIY Garden Sign
Easy modern DIY Garden Sign! Try this simple summer DIY for your garden decor without spending a ton of money!
Materials
- Dollar store wooden frames
- Scrap plywood
- External surface black paint
- Transfer tape for Cricut
- White paint
- Exterior wood glue
Tools
- Sander
- Saw
- Paint brush
- Cricut (optional)
- Paint dabbers
Instructions
- Cut a stick out of a scrap piece of plywood, and create a point at one end
- Sand the plywood down on all sides
- Paint the plywood stick and the wooden frame black
- Use a Cricut machine to create a stencil for the design for your sign (or you can paint your design by hand)
- Use transfer tape to transfer the stencil to the picture frame
- Use dabbers to paint within the stencil
- Use wood glue to attach the stick to the back of the frame