
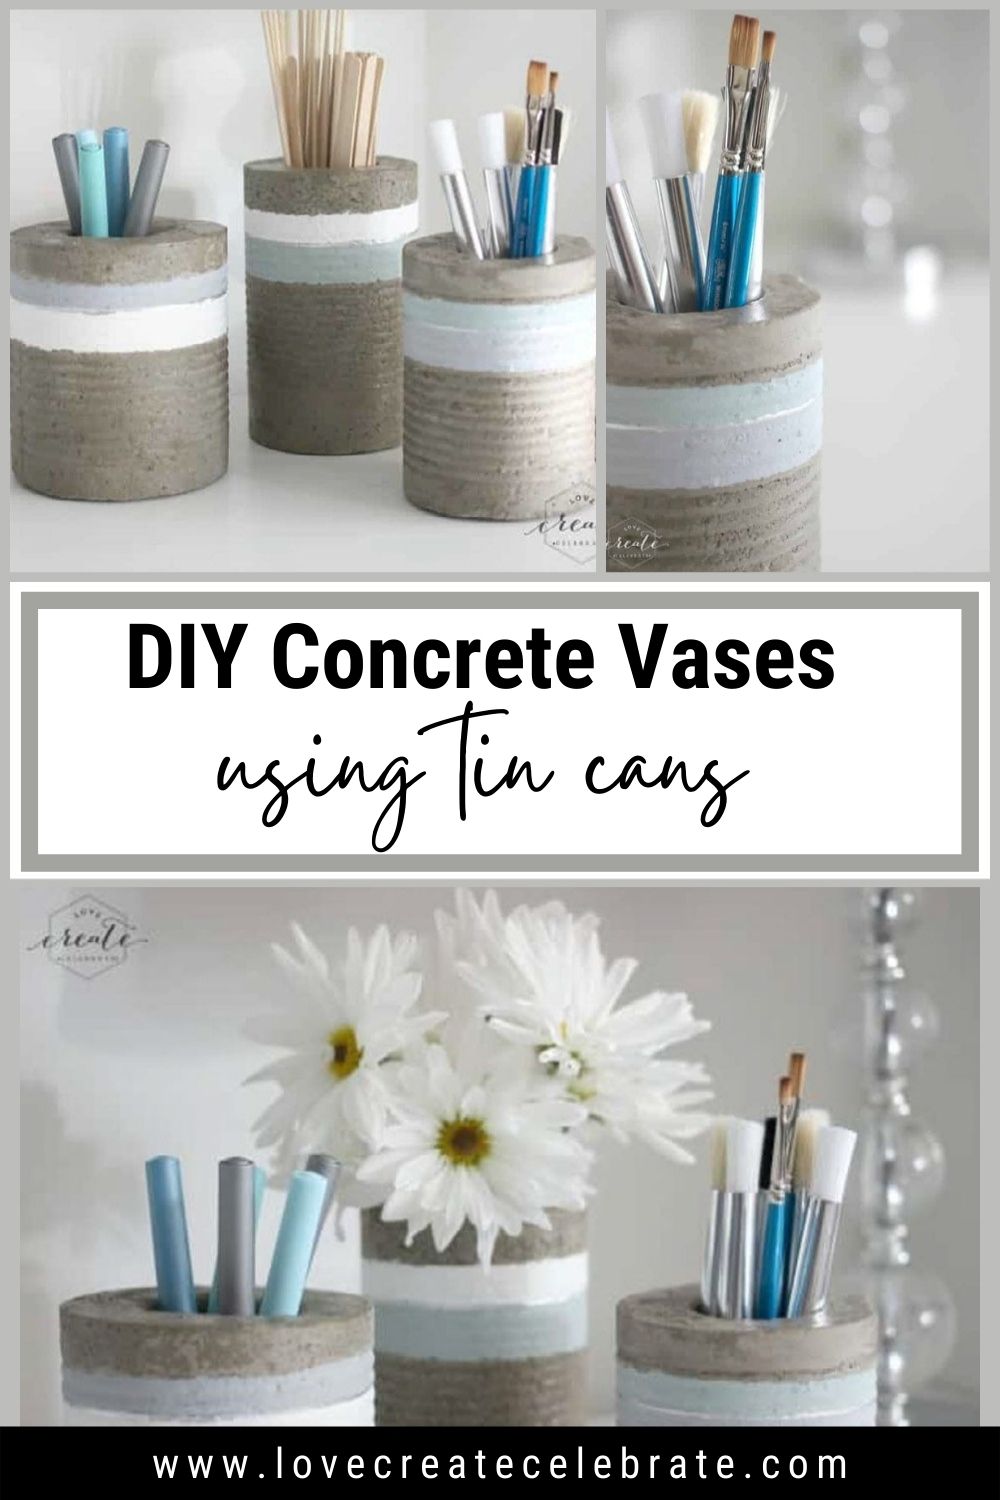
Make these amazing Concrete Vases from tin cans you save around your home. Sharing secrets for using concrete in DIY projects.
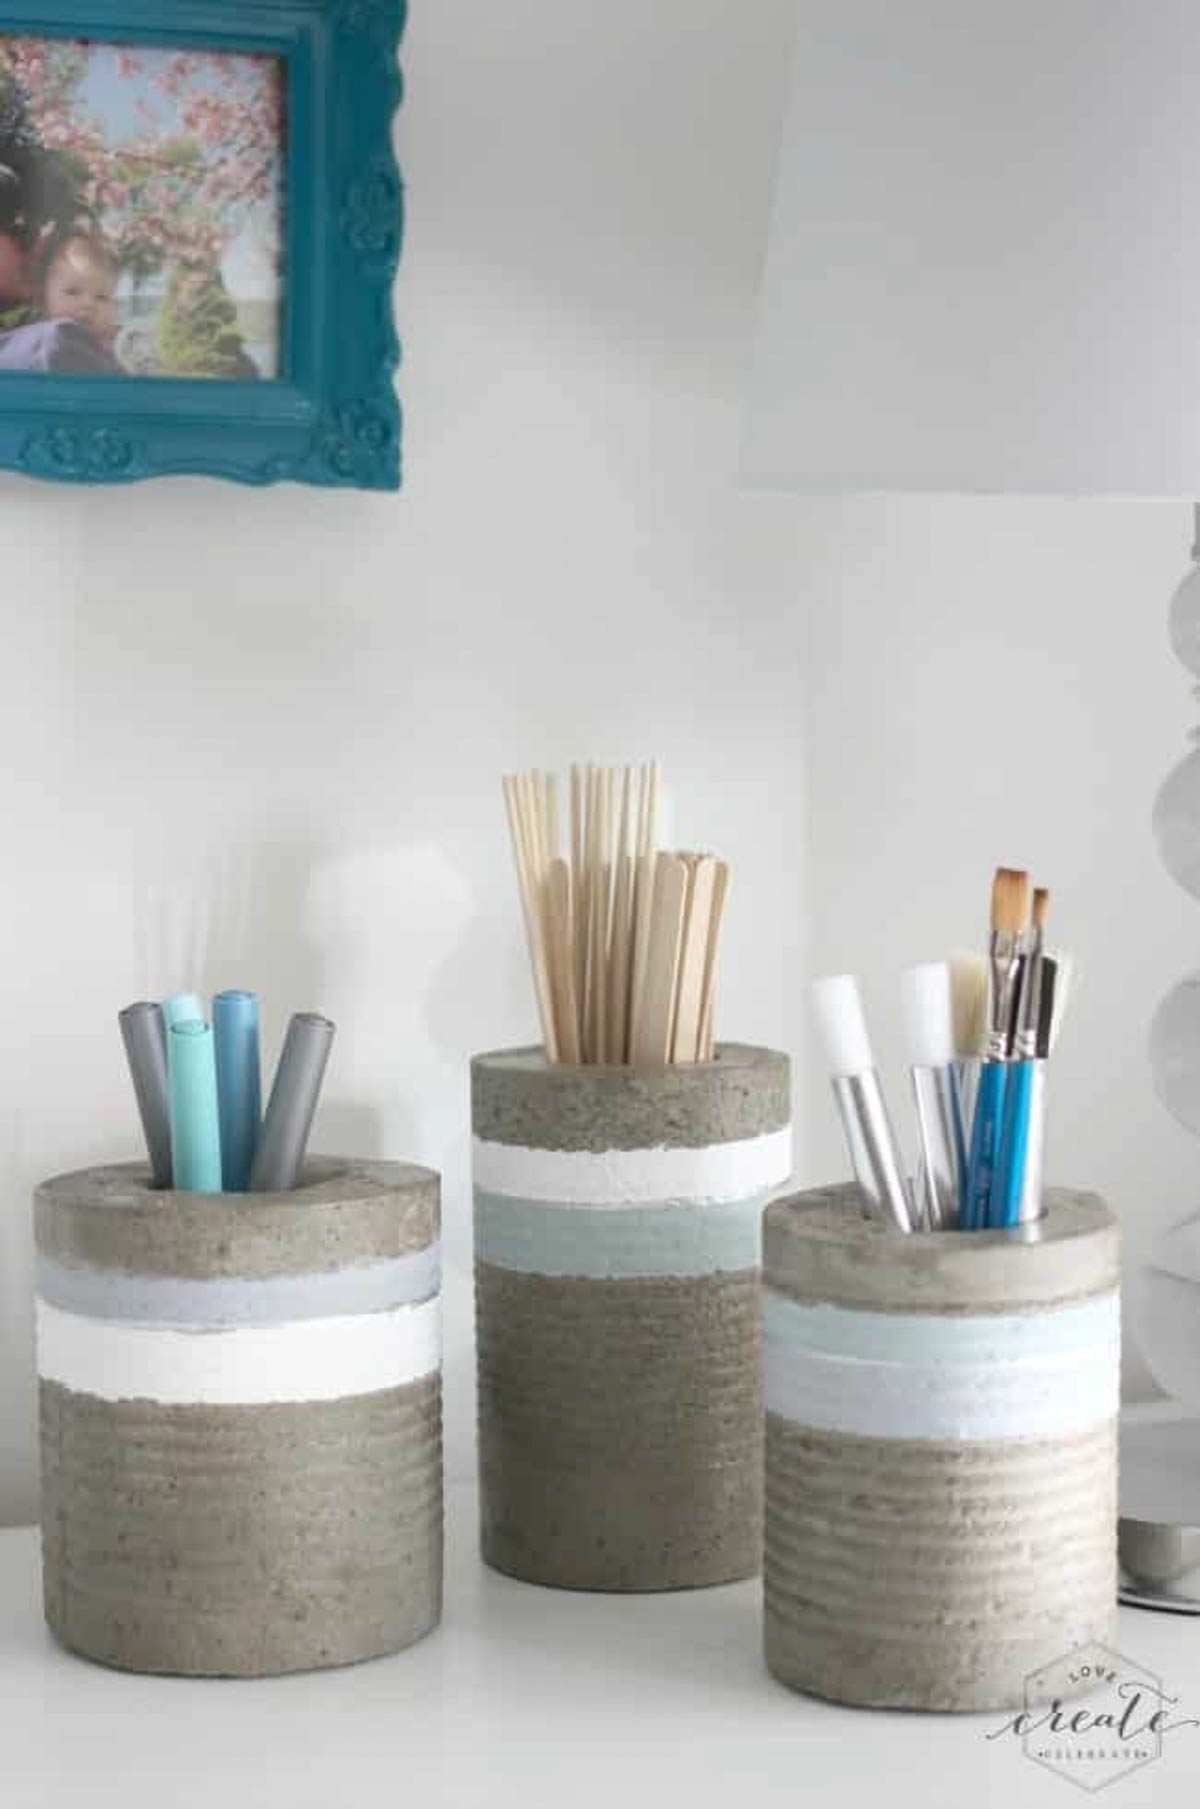
Well, if you stopped by yesterday for the Create With Me link up, then you know that I created these DIY Concrete Vases for the challenge! You voted for me to use tin cans, and I rose to the challenge!
You can stop by the Create With Me party right now to vote on what we will DIY with this month! Can’t wait to see what you chose for me! In the meantime, come in and see how I made these great organizational vases for my craft space.
The material list gets a bit hefty, but I’m SO happy with the results!
Materials:
Tin cans
Plastic containers (smaller than tin cans)
Drill
Screws
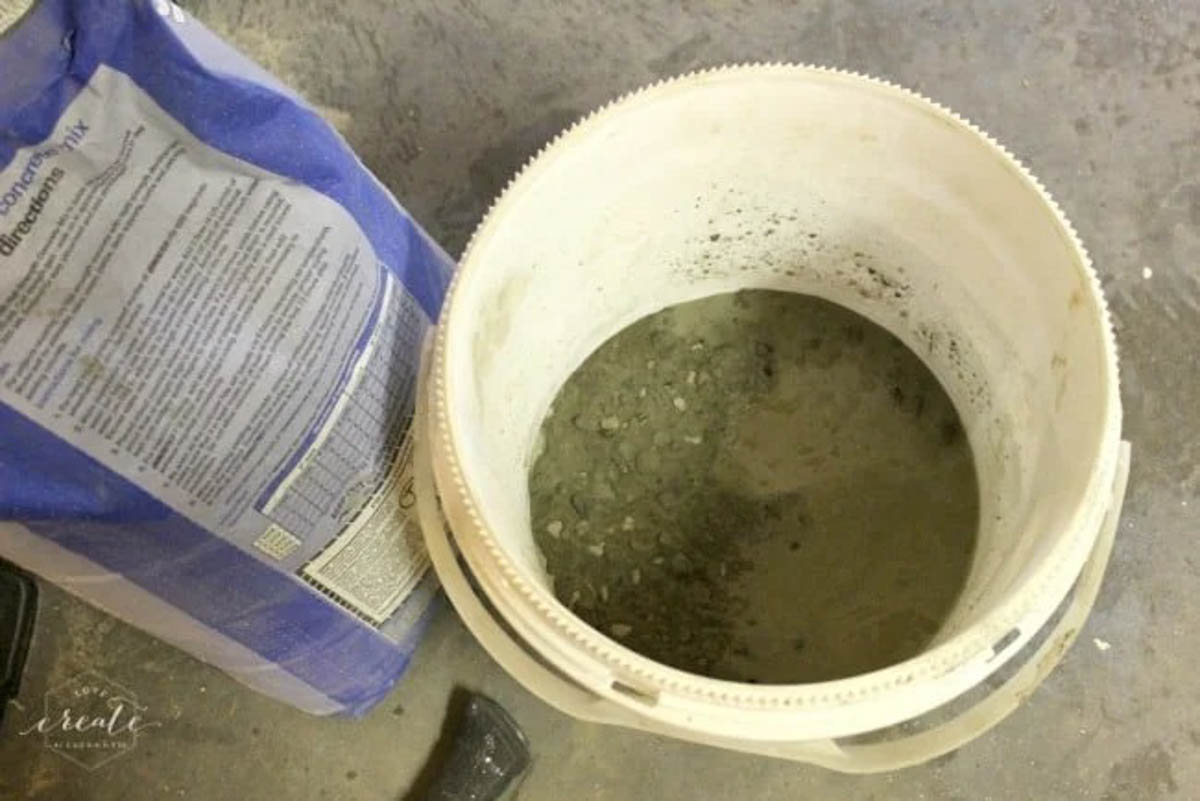
Concrete mix
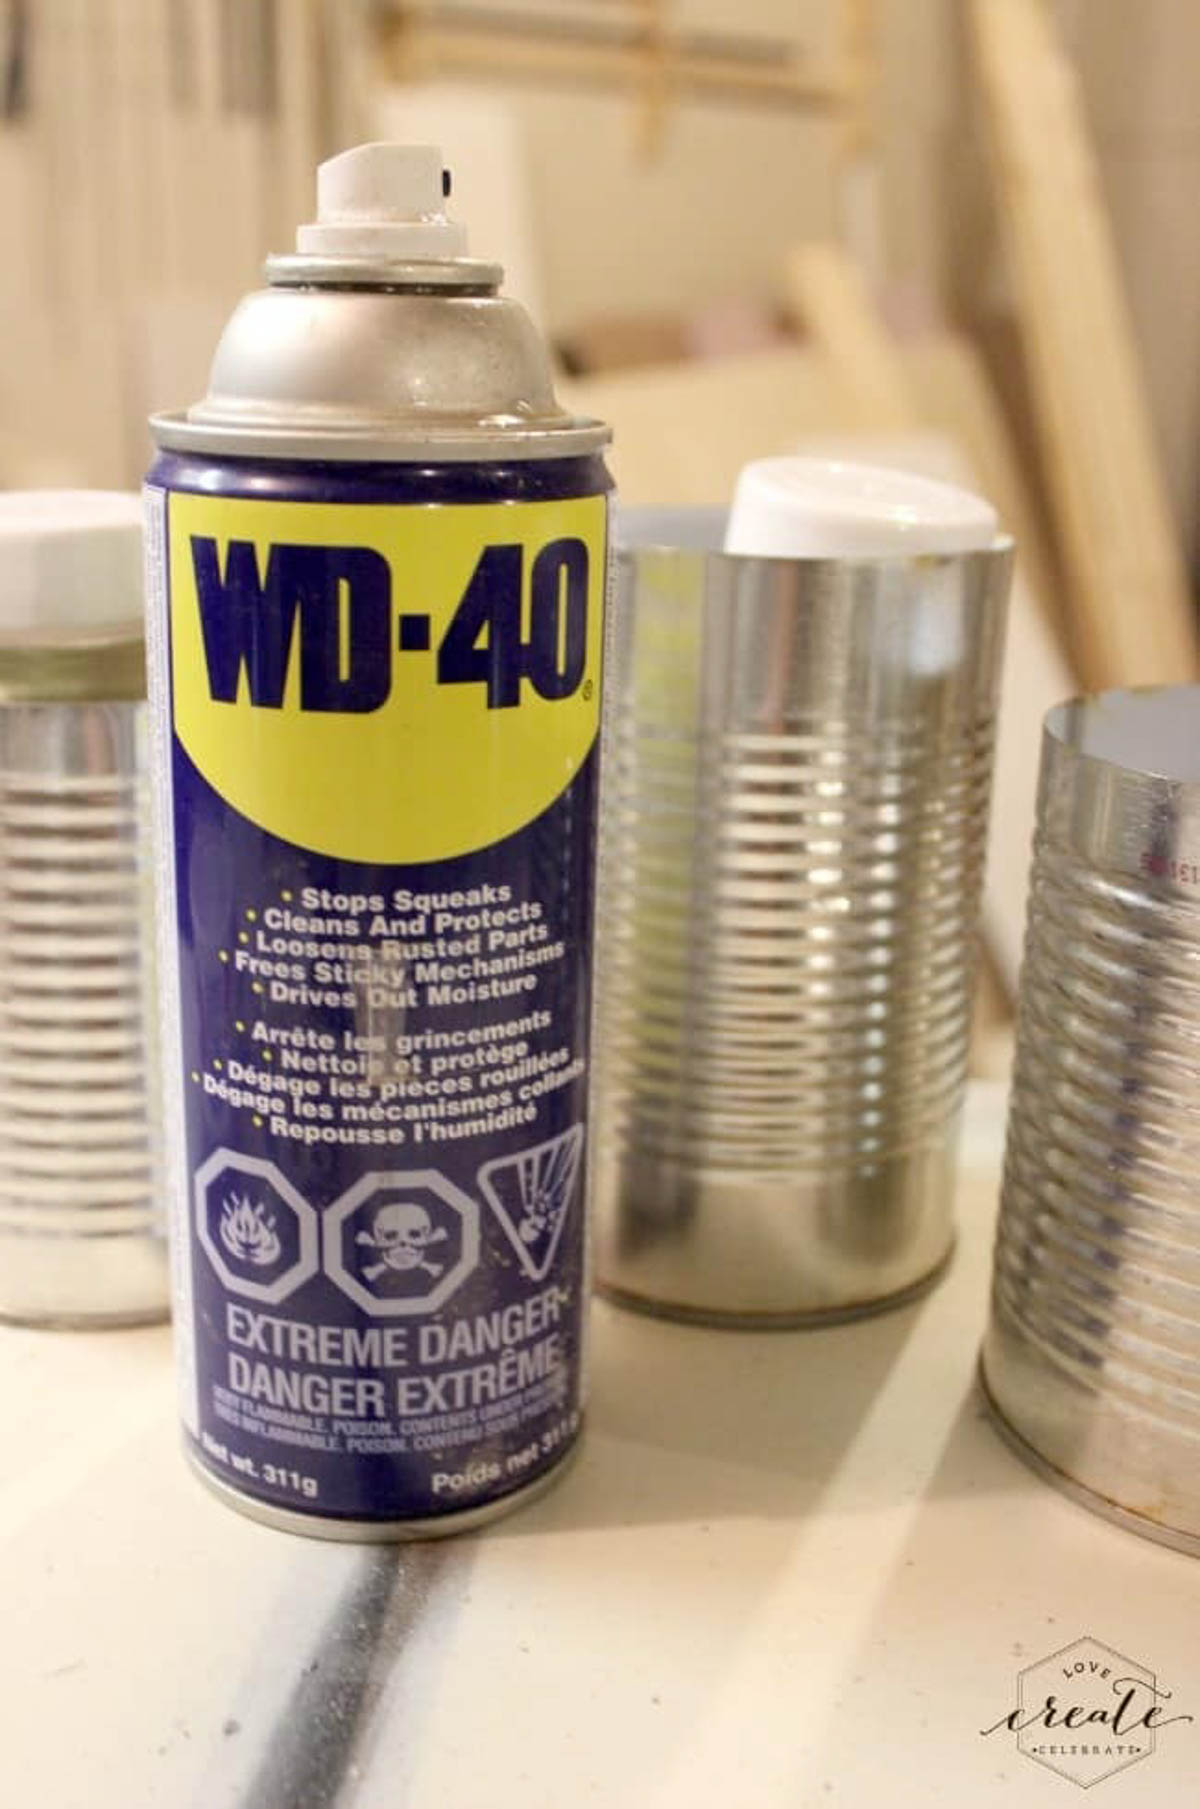
WD-40
Dremel (with metal blade)
Pliers
Clear Gloss Spray Paint
Paint
Silver Leaf Pen
Always use proper safety gear!
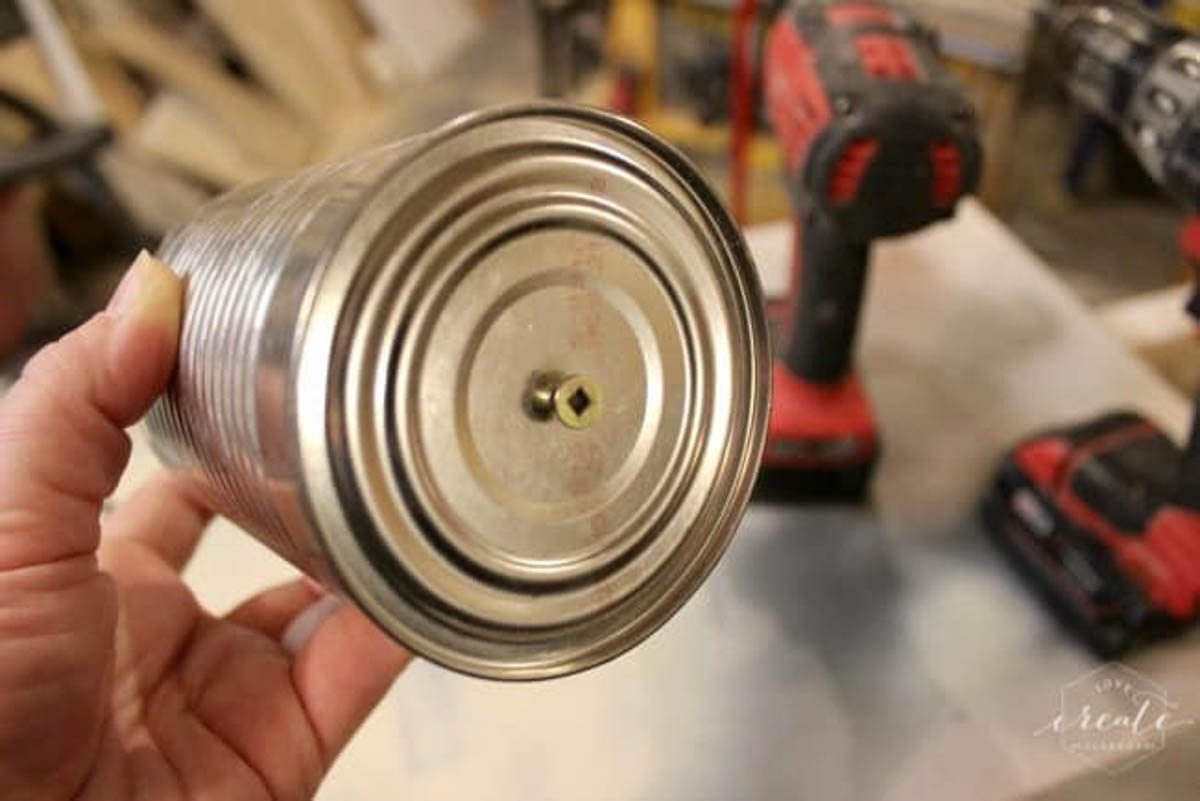
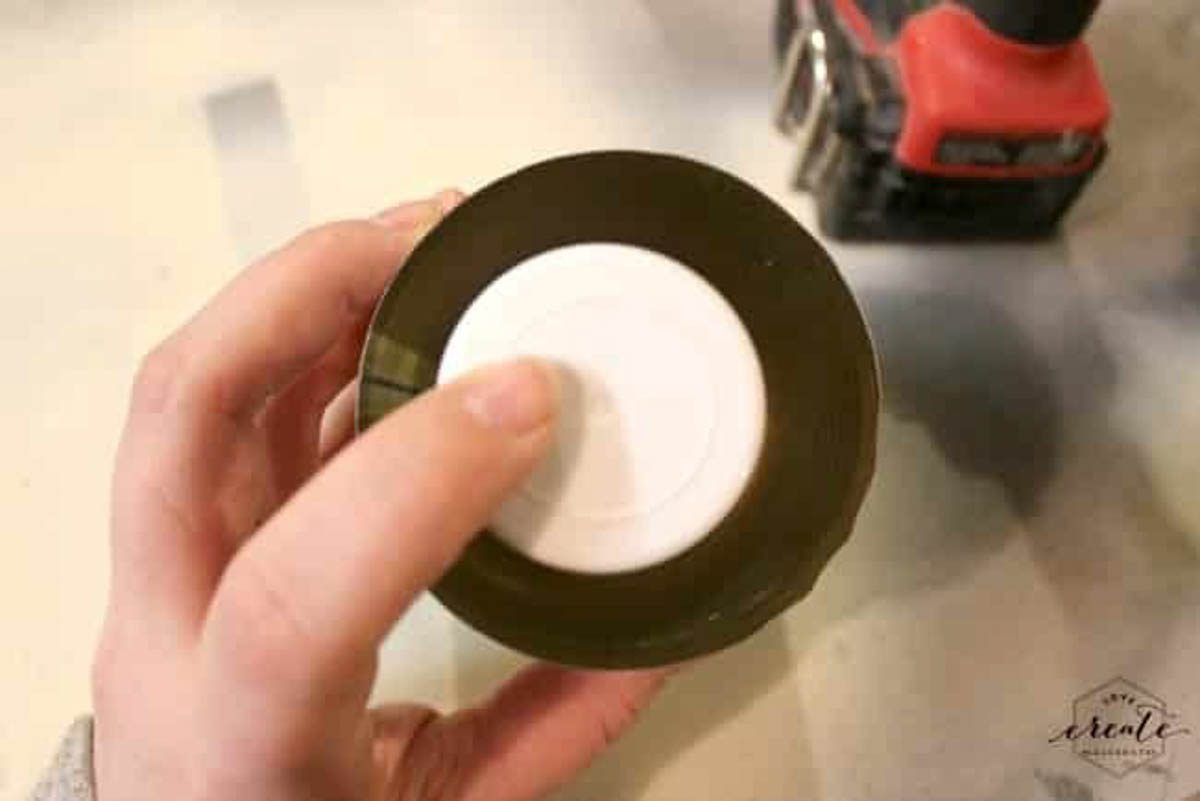
Start by drilling a hole in the bottom on your tin cans, and then your plastic containers. You want to chose plastic containers to go inside that will be higher than the tin cans. Plastic containers are pliable, and easy to remove once the concrete sets for the concrete vase. I used old sprinkle containers!


Next, screw into the bottom of the tin cans and the plastic containers. I screwed into the tin can first, and then twisted the plastic onto the screw by hand. You want to make sure that there is some space between the bottom of the plastic and the bottom of the tin can so that a thick enough layer of concrete can sit in between to create the concrete vase.
Next, we sprayed the inside of the cans and plastic with WD-40. You need something that will stop the concrete vase from sticking to the tin and plastic. This stuff is heavy duty and definitely did the trick.
Next you want to mix the concrete with water (as per the bag instructions) and fill in the space between your plastic and tin cans. Then leave it for about a week so that the concrete has time to set.
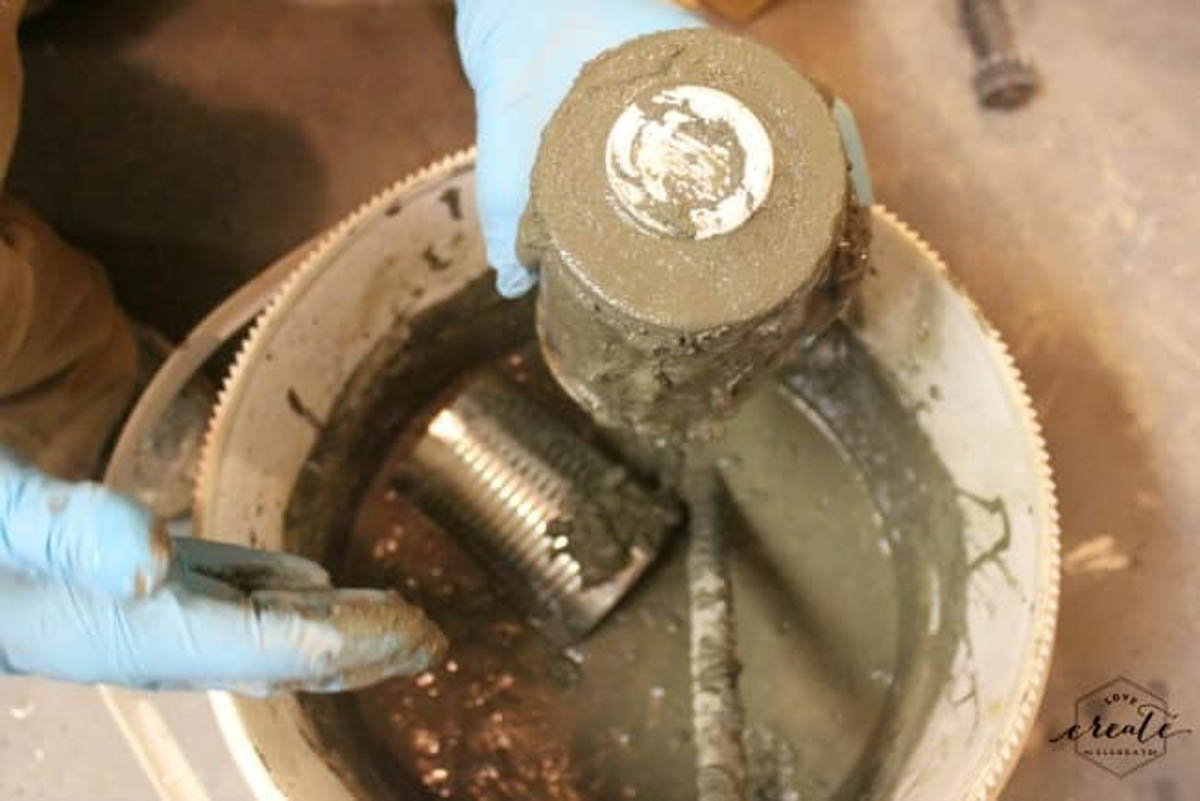
When you come back to your piece, you will be anxious to see if it worked, but be patient! Concrete can crack if you are rough with it!
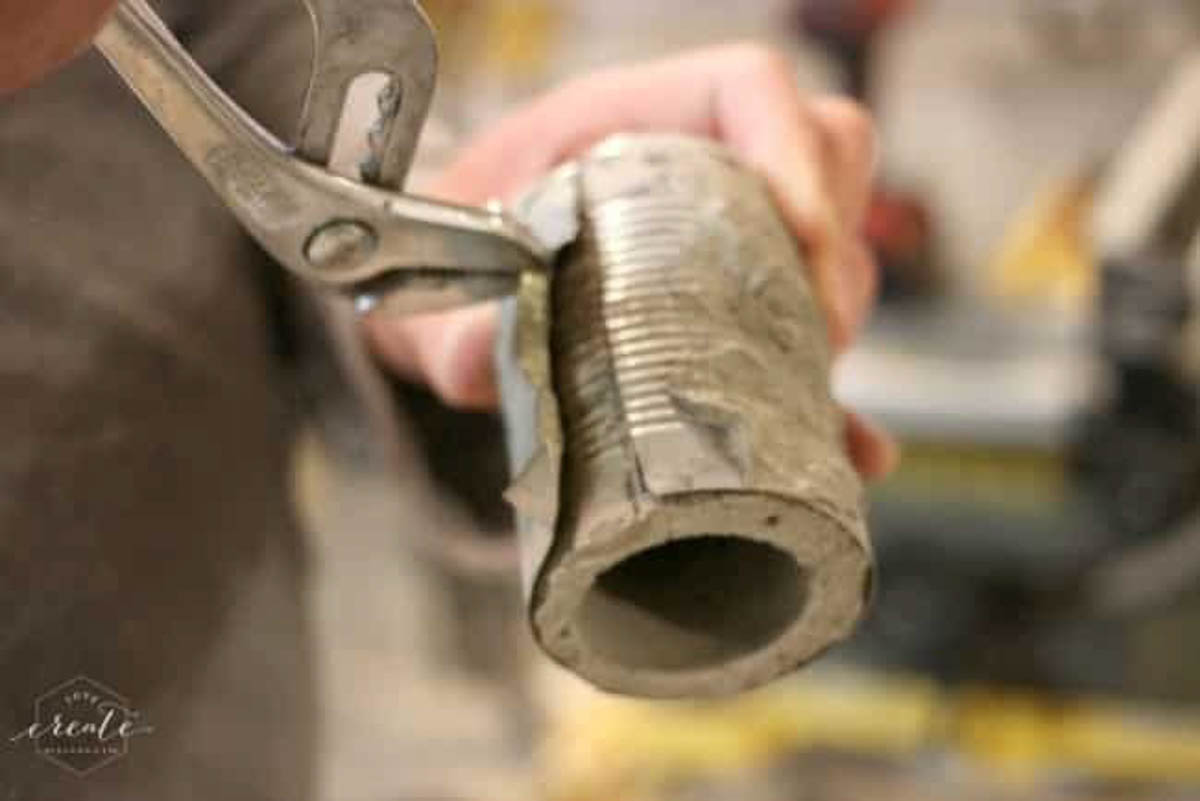
First remove the plastic piece inside by peeling it away gently with your pliers. Don’t be afraid to bend the plastic!
Then get your Dremel out (with a metal blade) and cut a straight line down the side of the tin can and the bottom, until the can pops off of the concrete (see below).
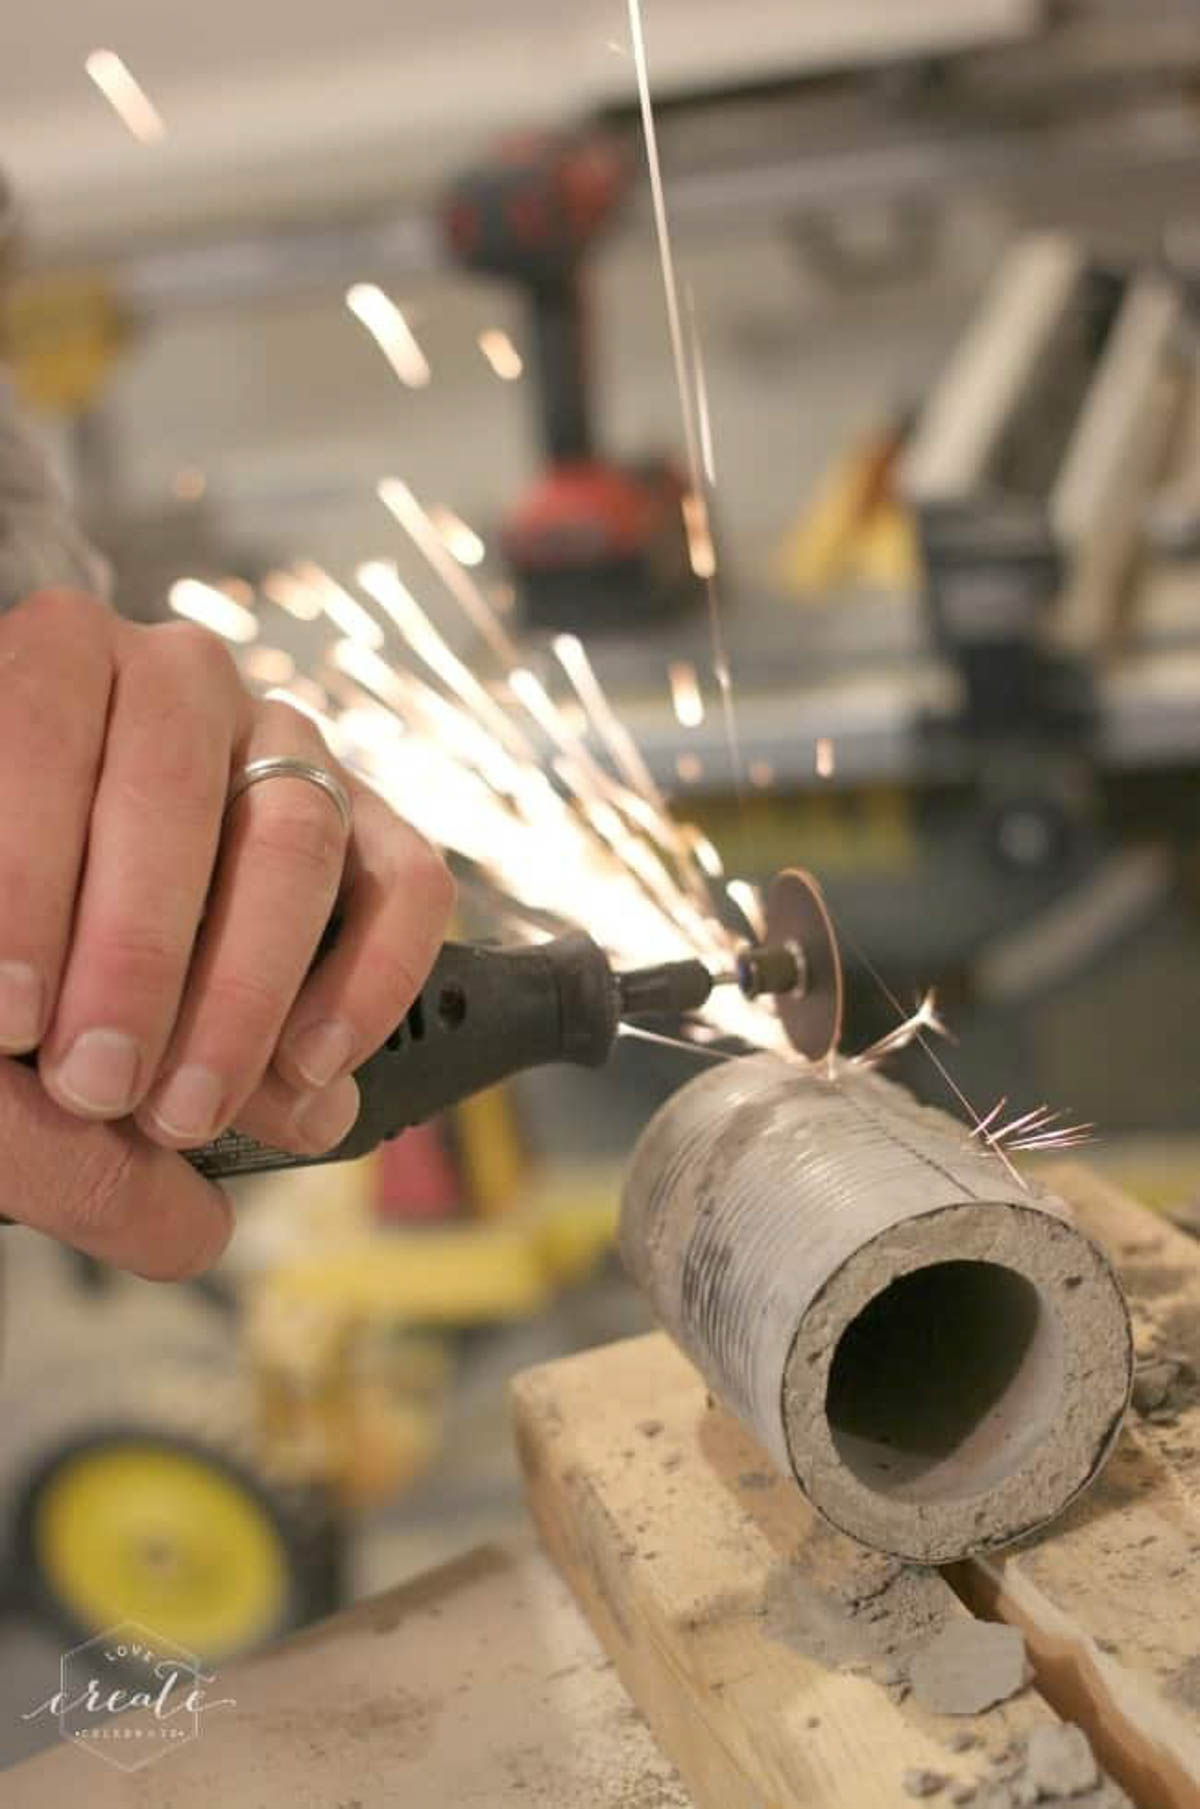
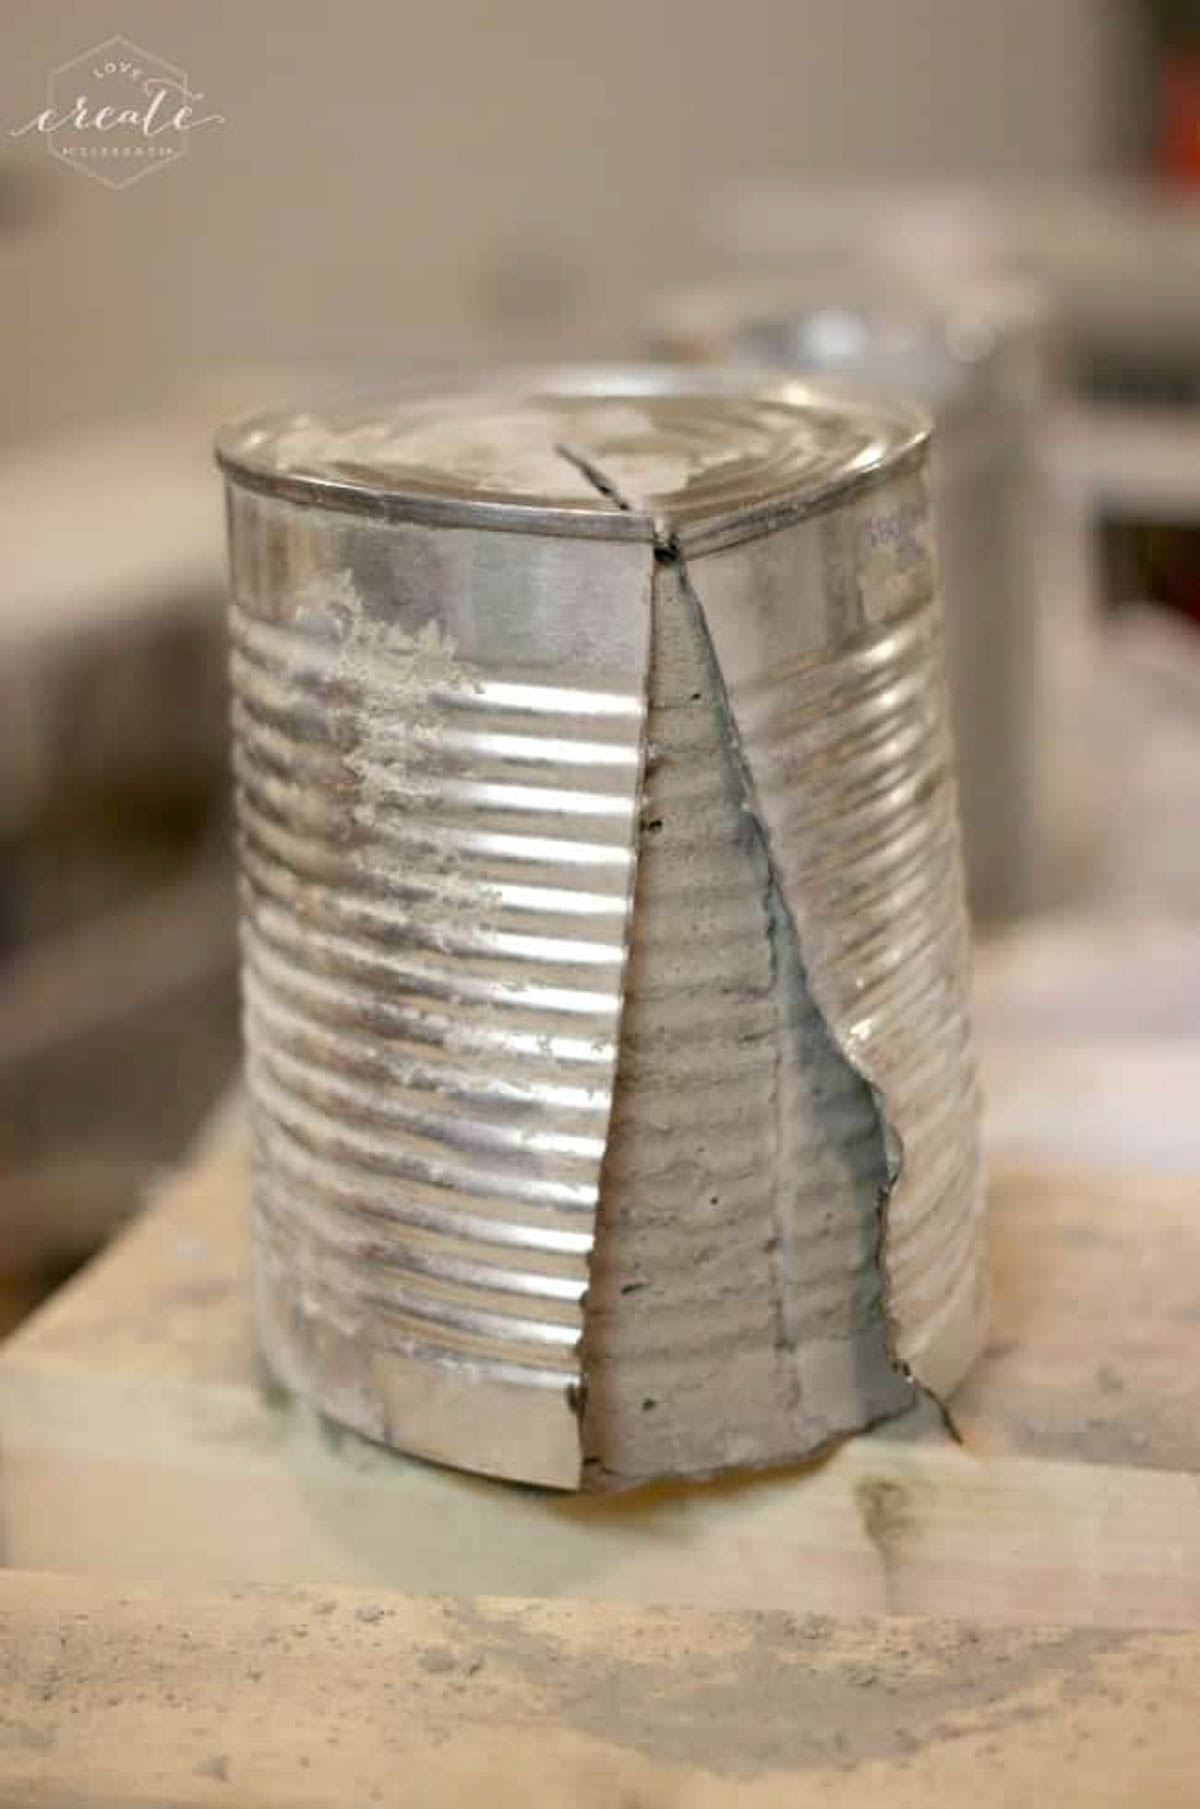
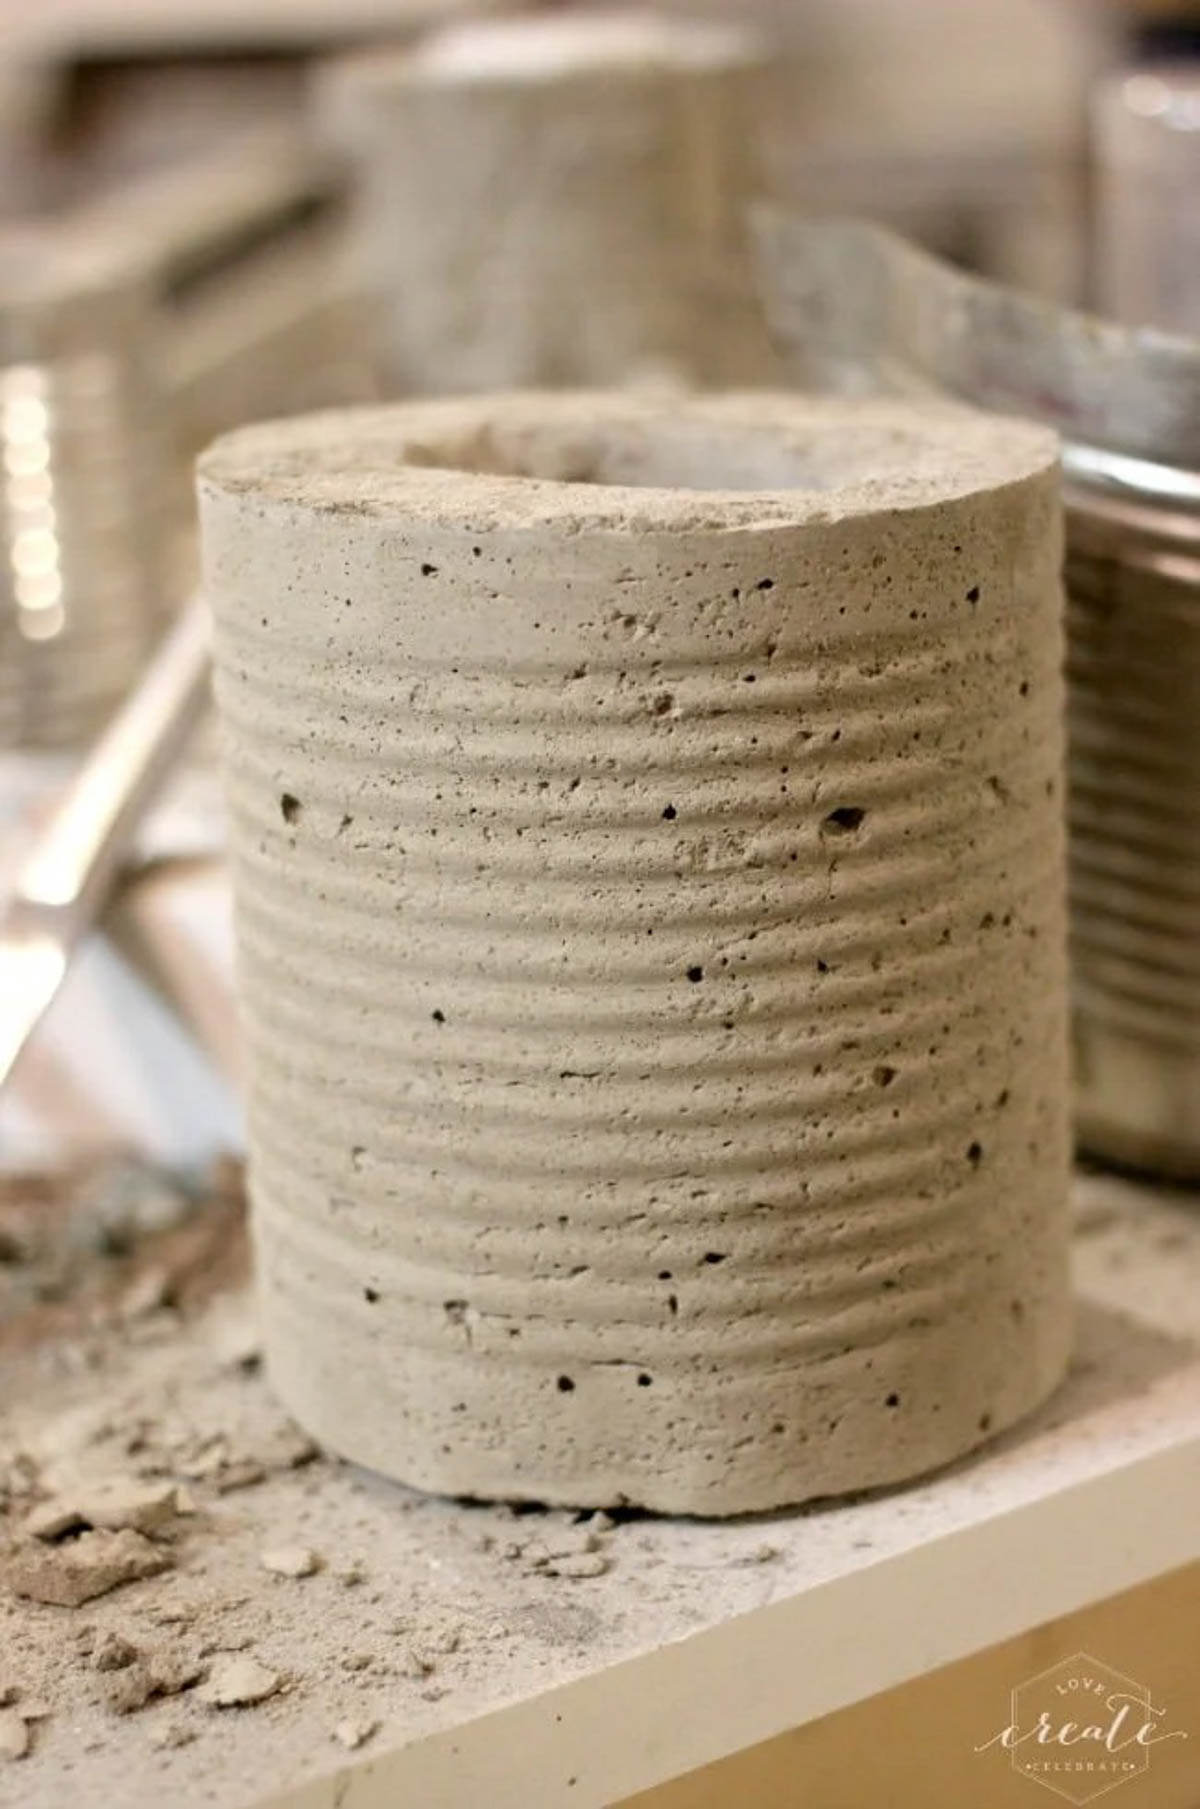
Use pliers to pull the tin away and you are left with a lovely concrete vase!
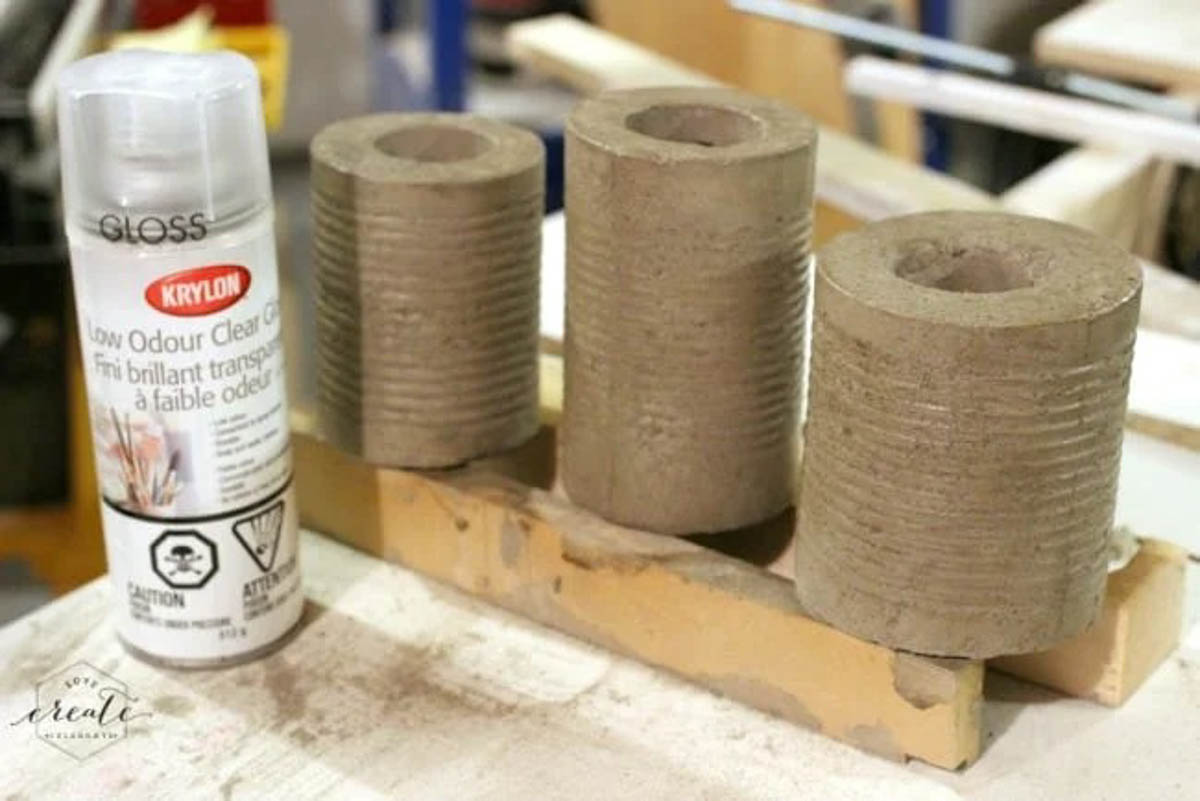
We used a clear gloss spray over the concrete vases to protect them from life on my craft table before I painted them.
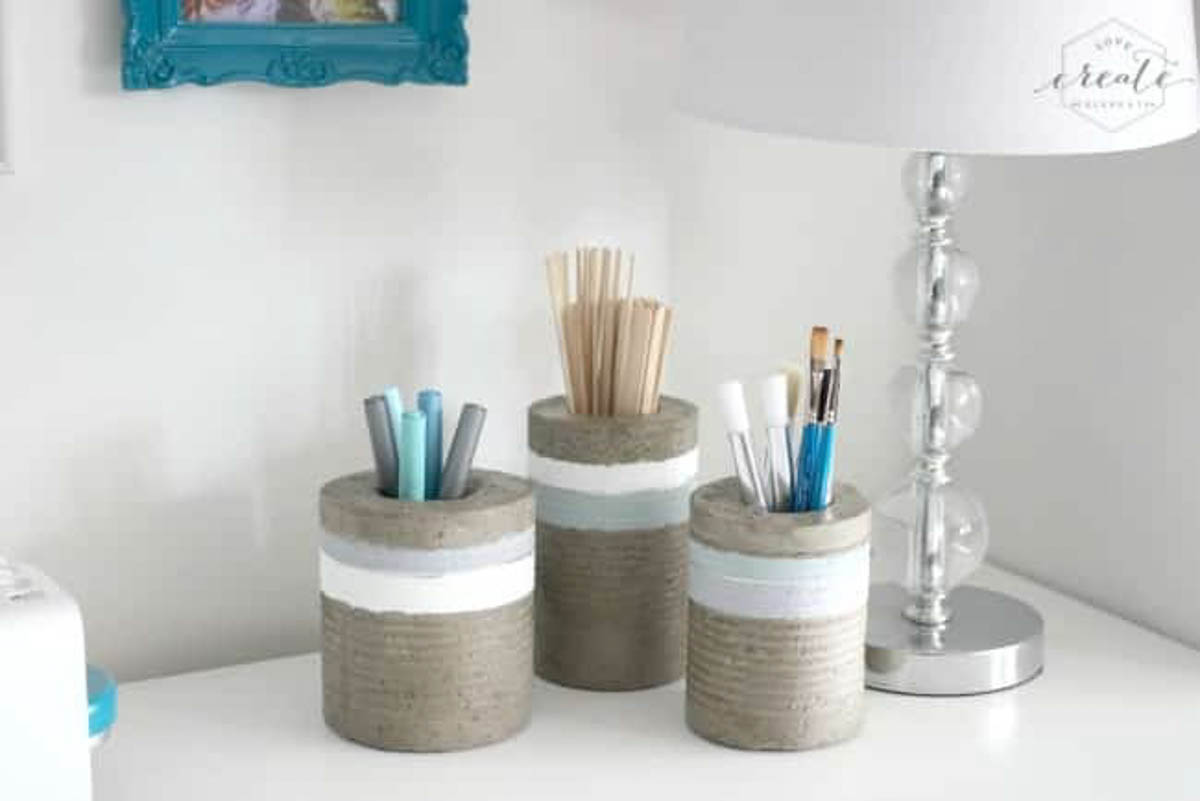
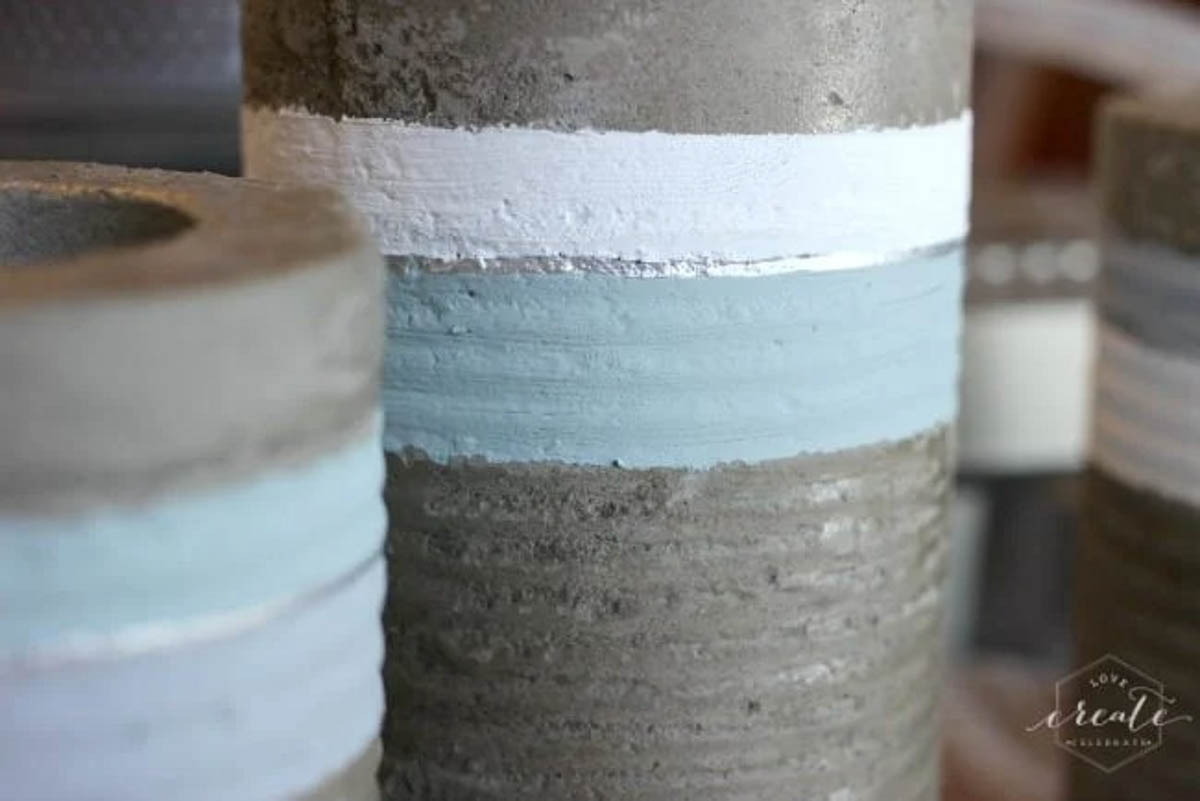
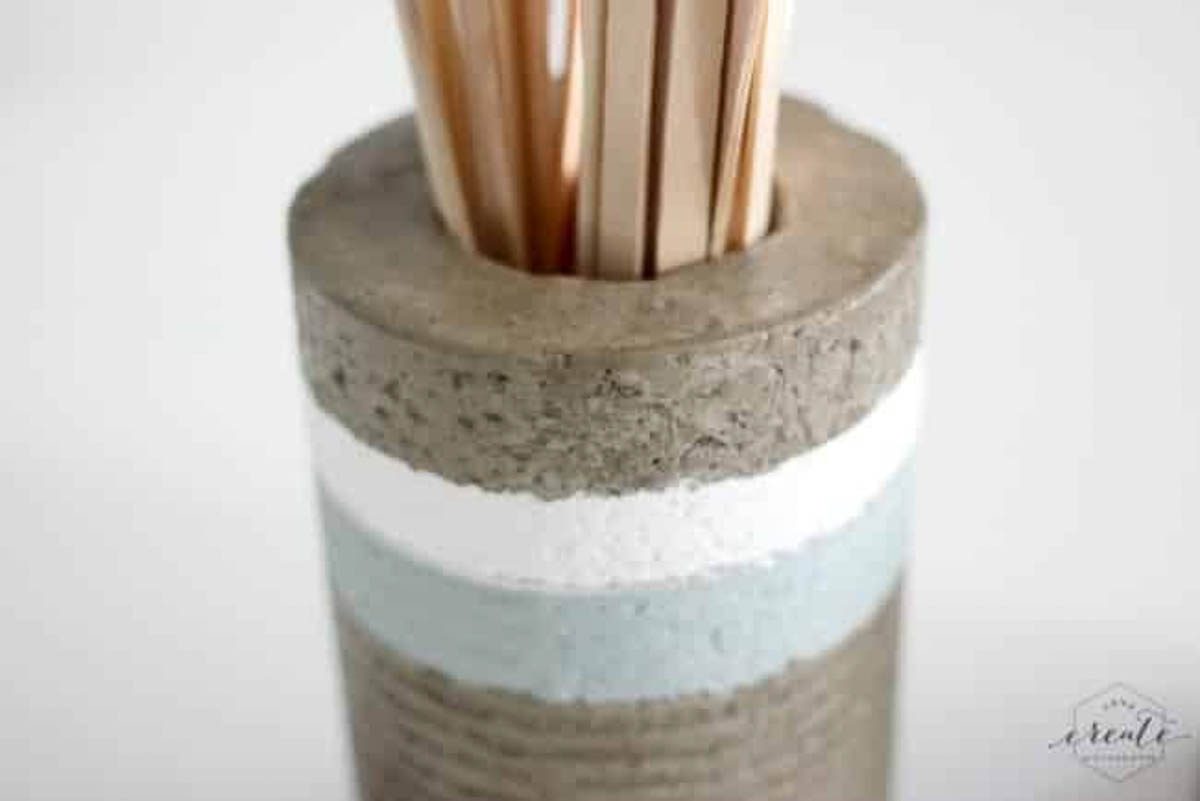
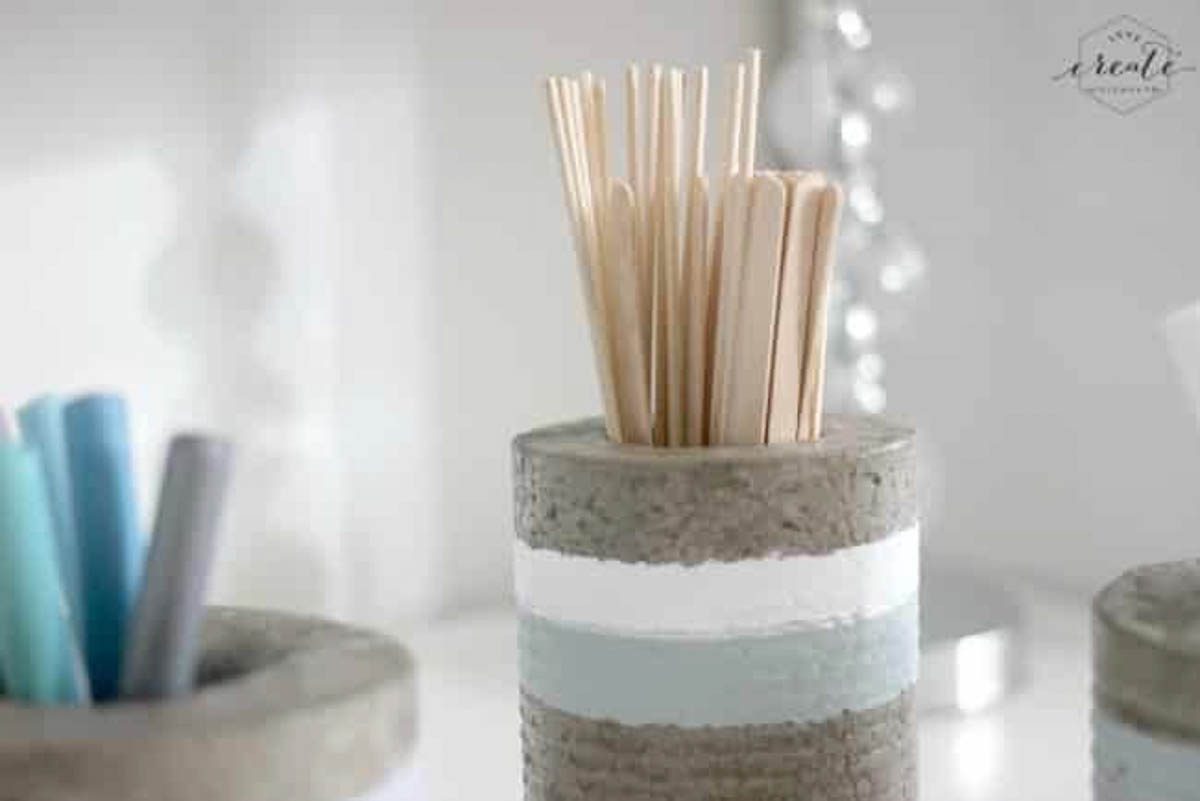
Finally, I painted strips on my concrete vases one at a time using my Americana Decor Chalky Finish paint.
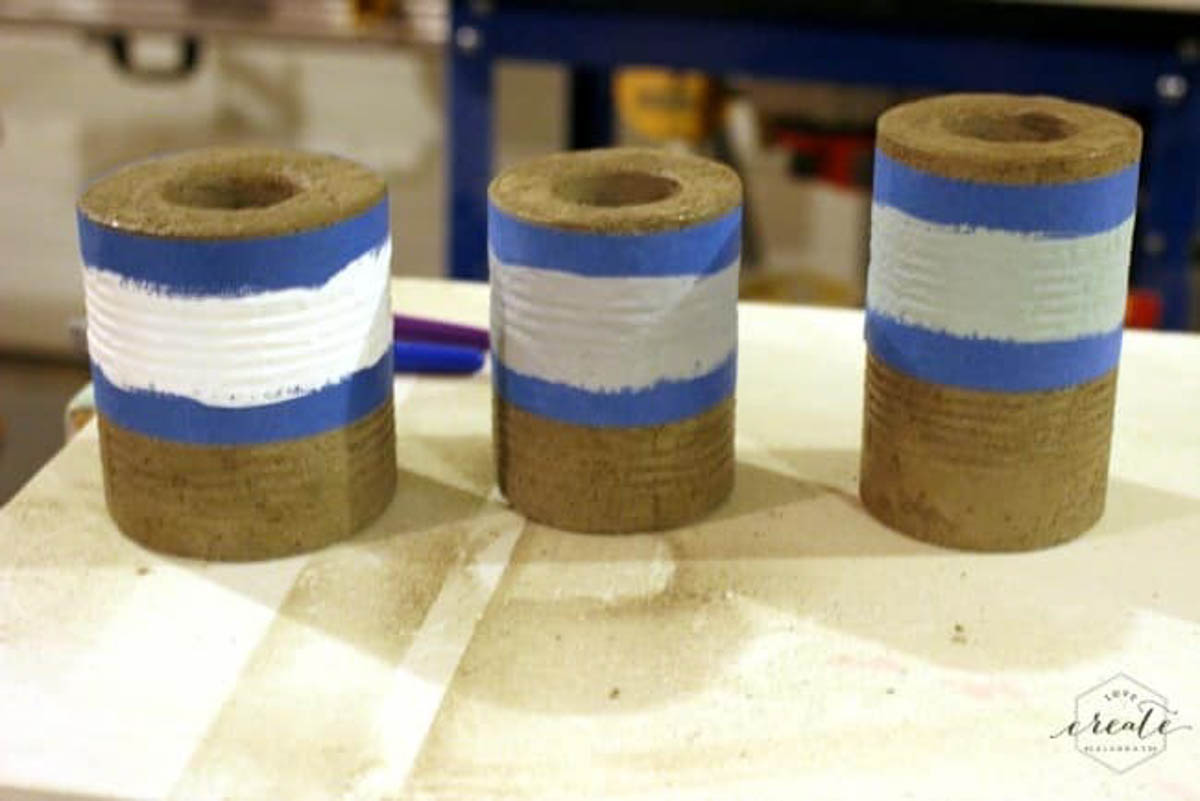
When the paint was done, I loved the look, but I felt it was missing something. I searched my craft space and found my beautiful silver leafing pen, which I used to draw a line between the two paint colours.

Now let’s all gush over the beauty of these vases…. lol.
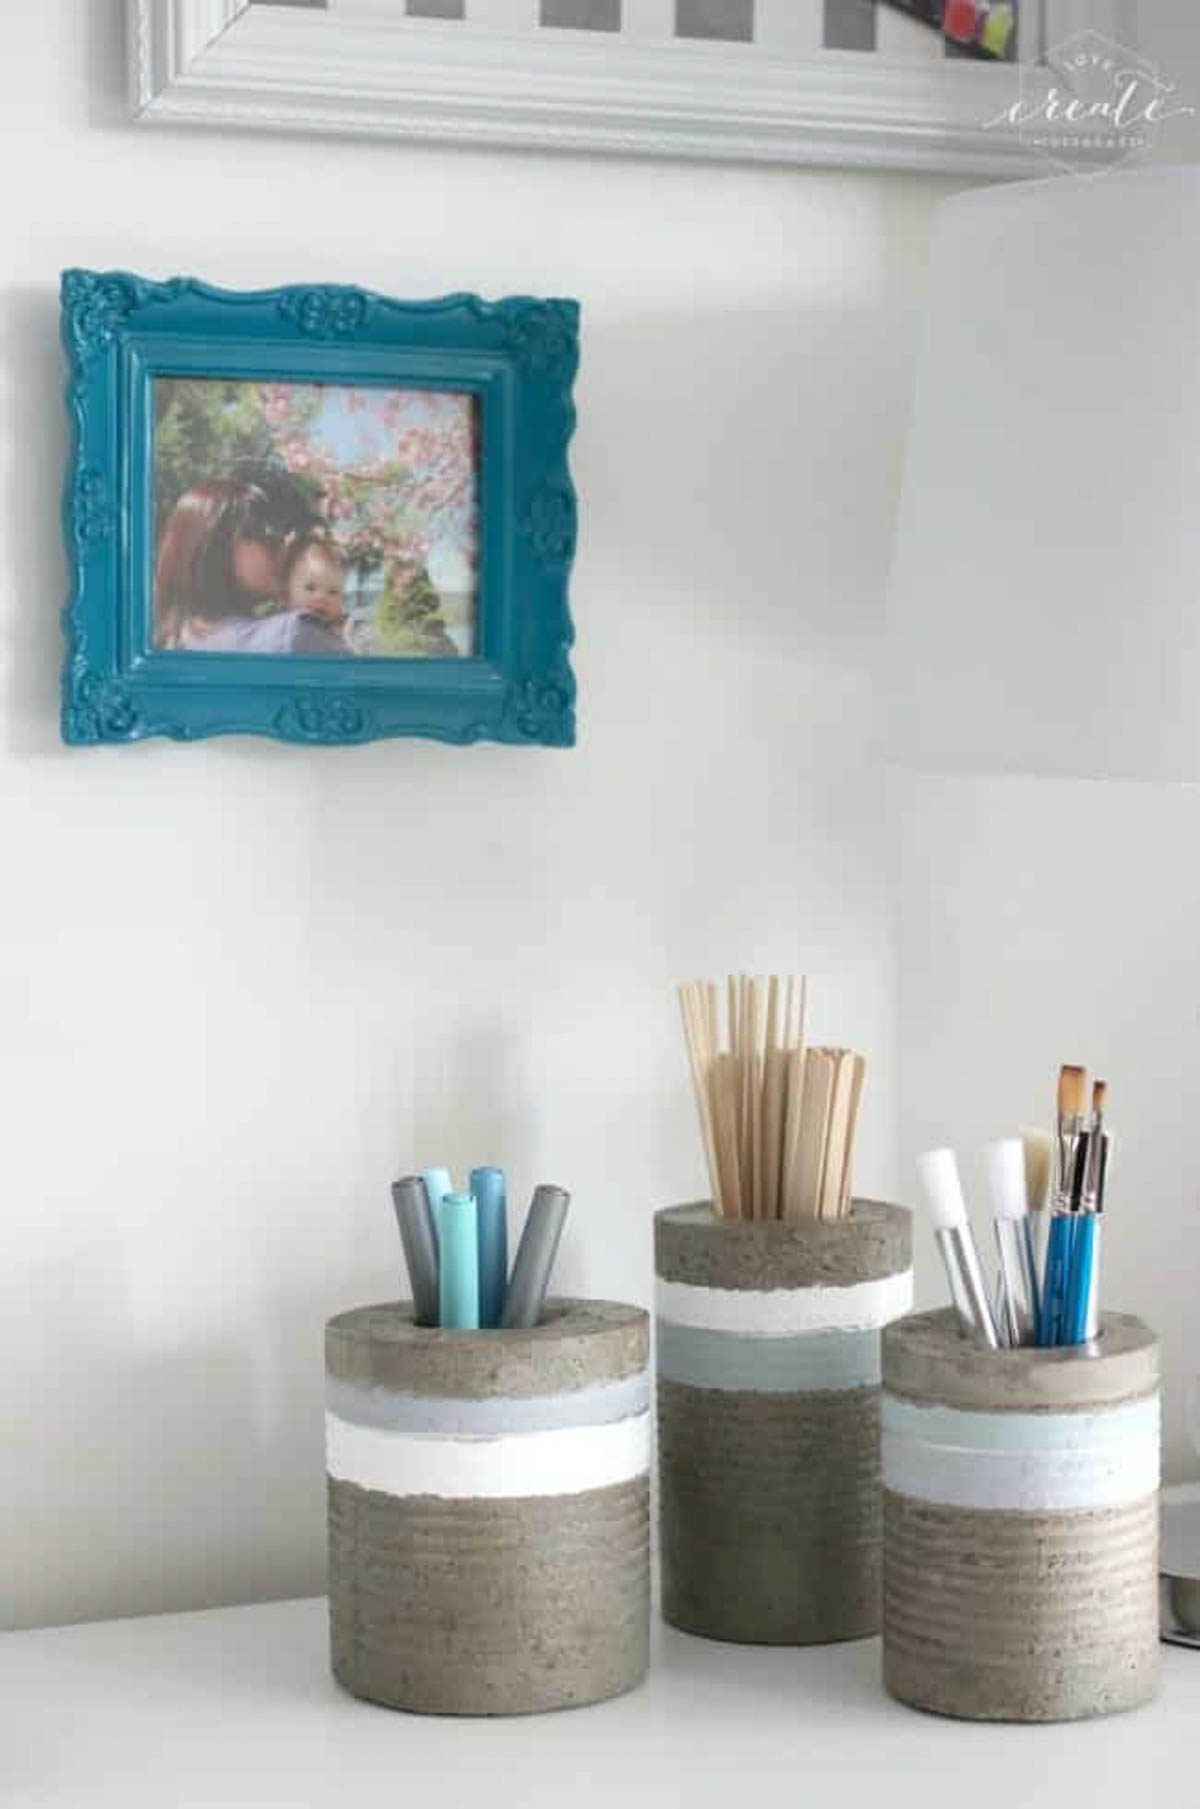
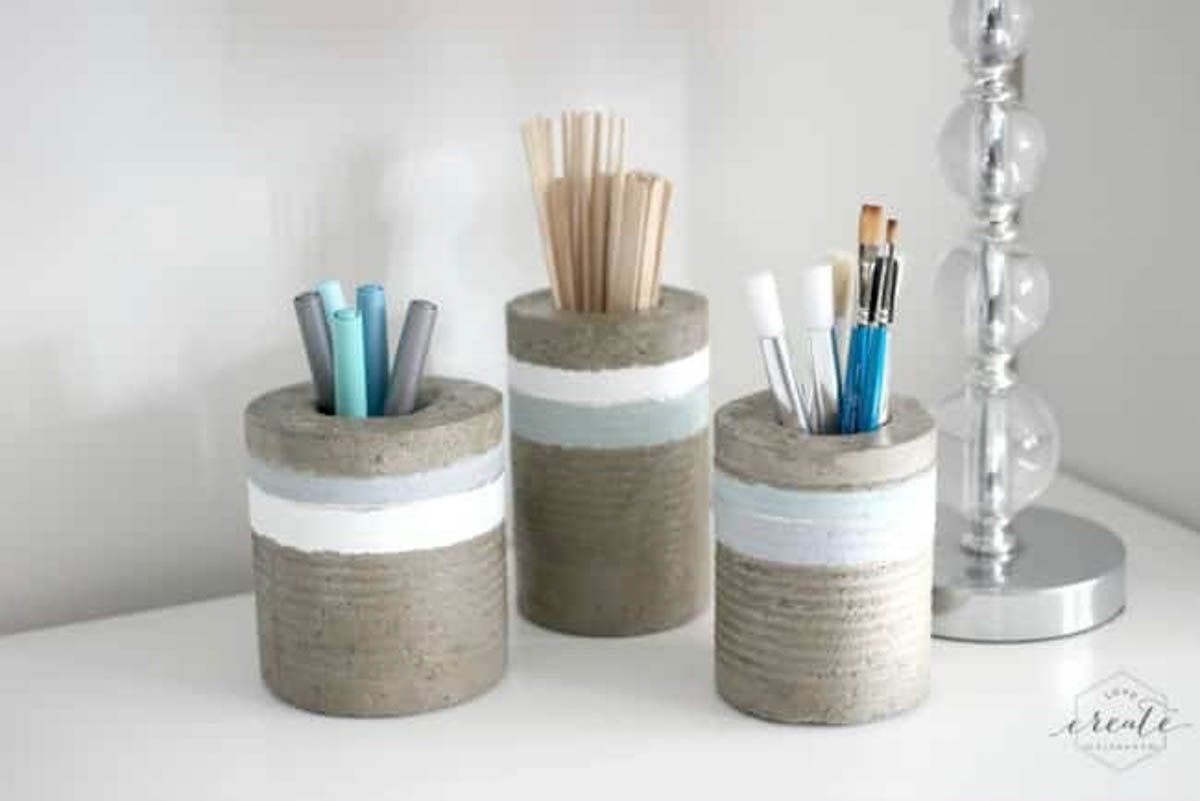

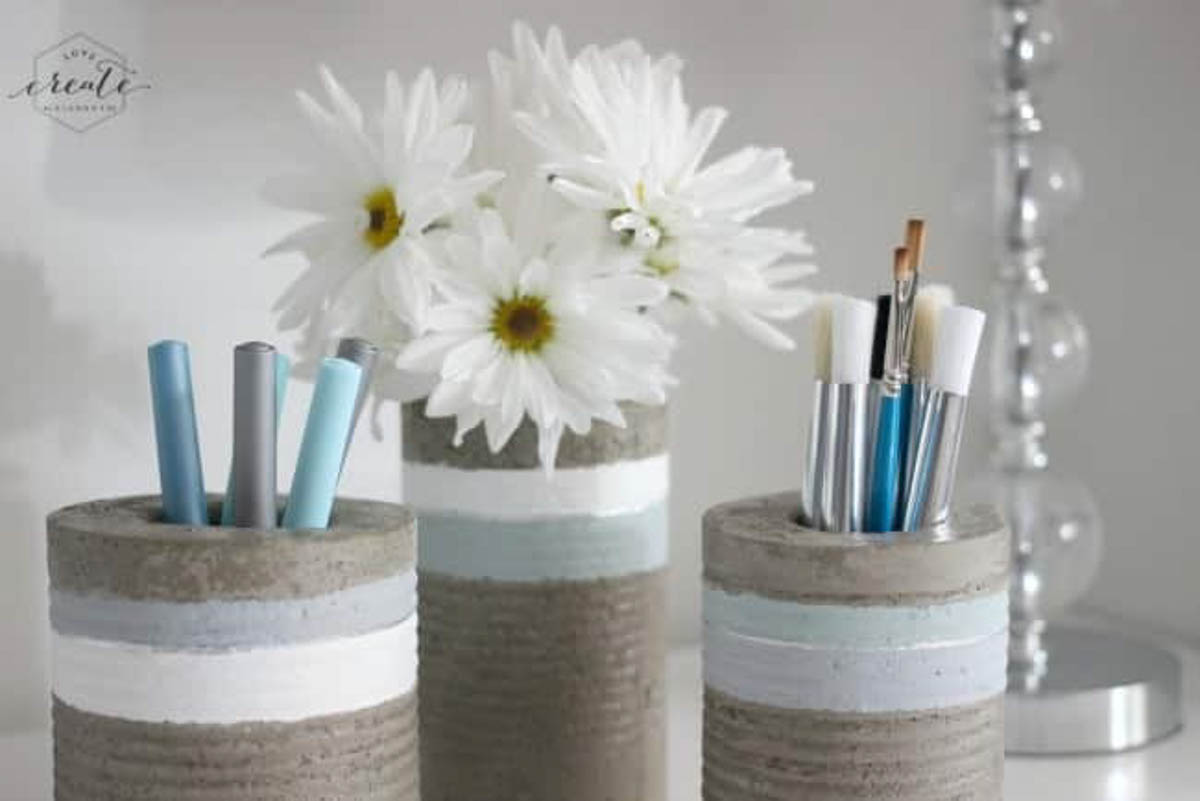
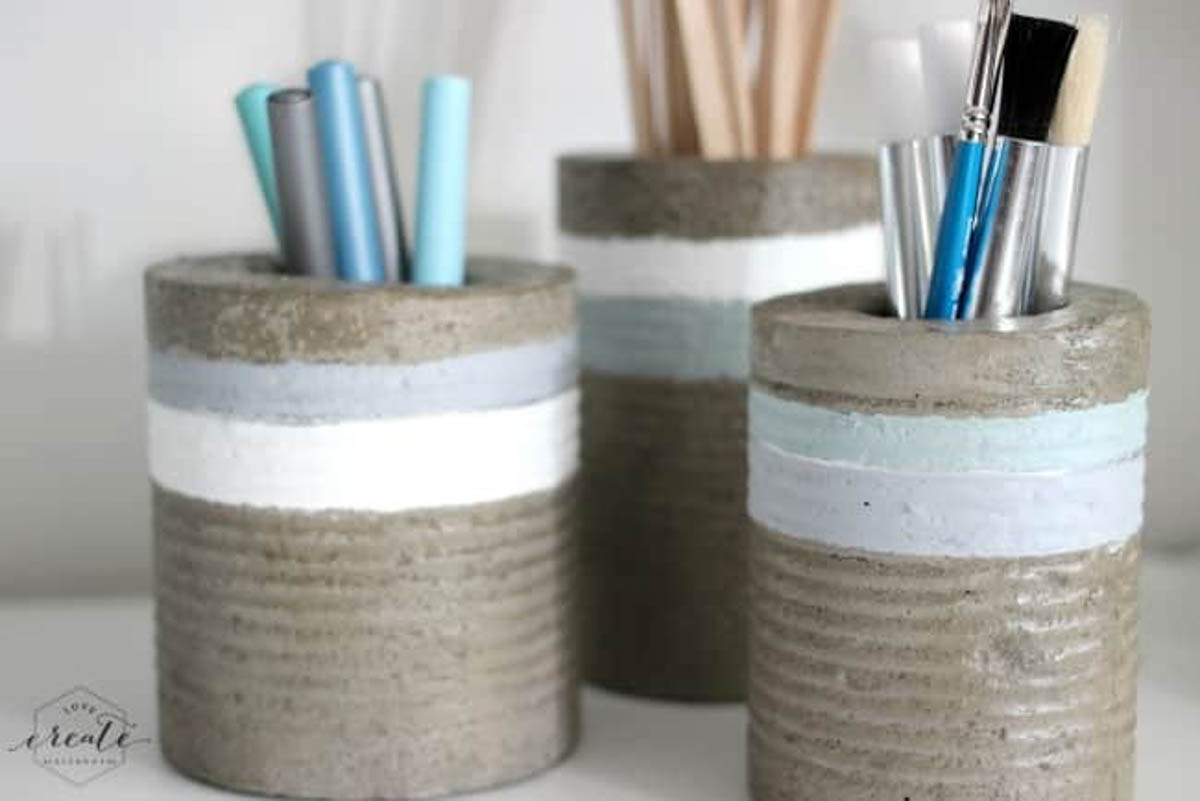
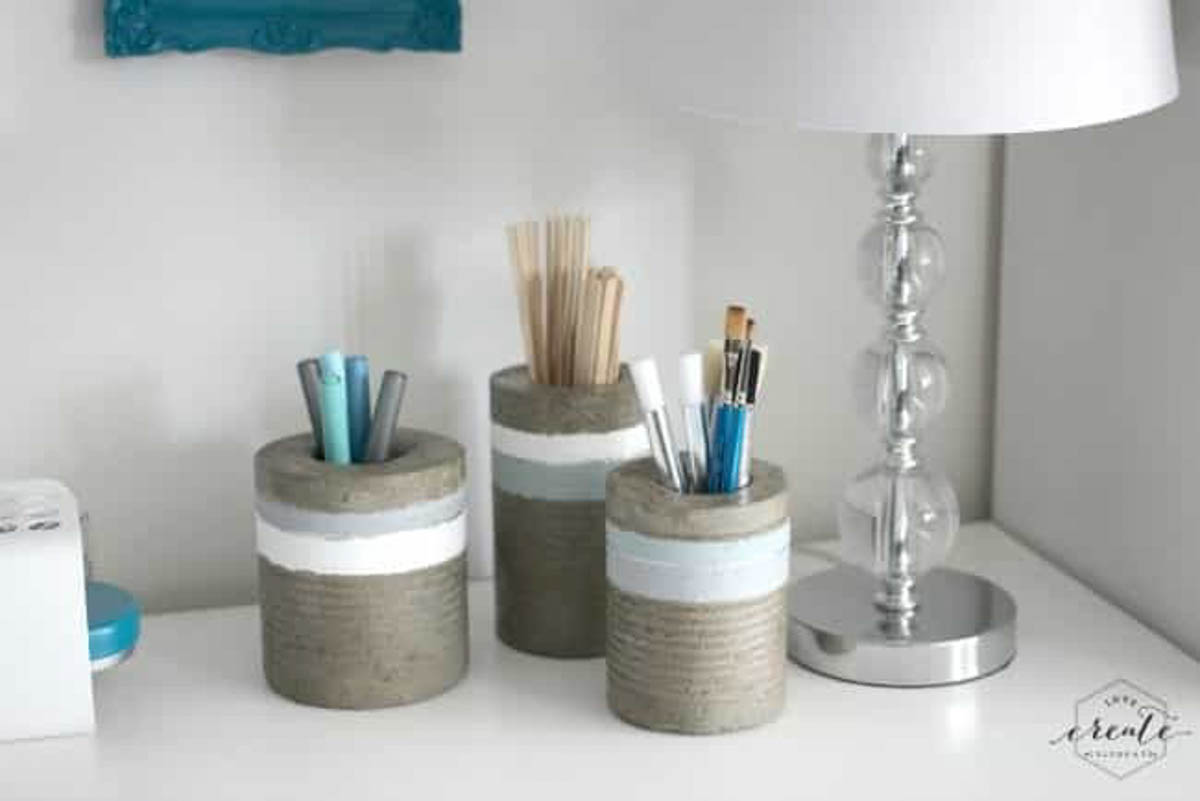
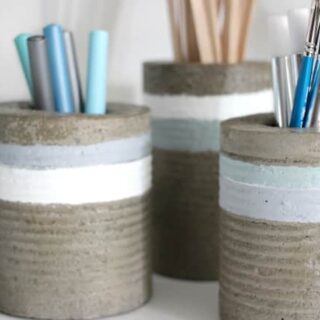
DIY Concrete Vases
Make these amazing Concrete Vases from tin cans you save around your home. Sharing secrets for using concrete in DIY projects.
Materials
- Tin cans
- Plastic containers (smaller than tin cans)
- Screws
- Concrete mix
- WD-40
- Clear Gloss Spray Paint
- Paint
- Silver Leaf Pen
Tools
- Drill
- Dremel (with metal blade)
- Pliers
Instructions
- Drill a hole in the bottom of the tin can and plastic container.
- Screw the tin can and plastic container together.
- Spray the containers with WD-40.
- Mix the concrete.
- Fill the containers with the concrete mixture and allow to dry.
- Remove the concrete vases from the containers.
- Protect with a gloss spray coat, and paint as desired.
- Admire your hard work.
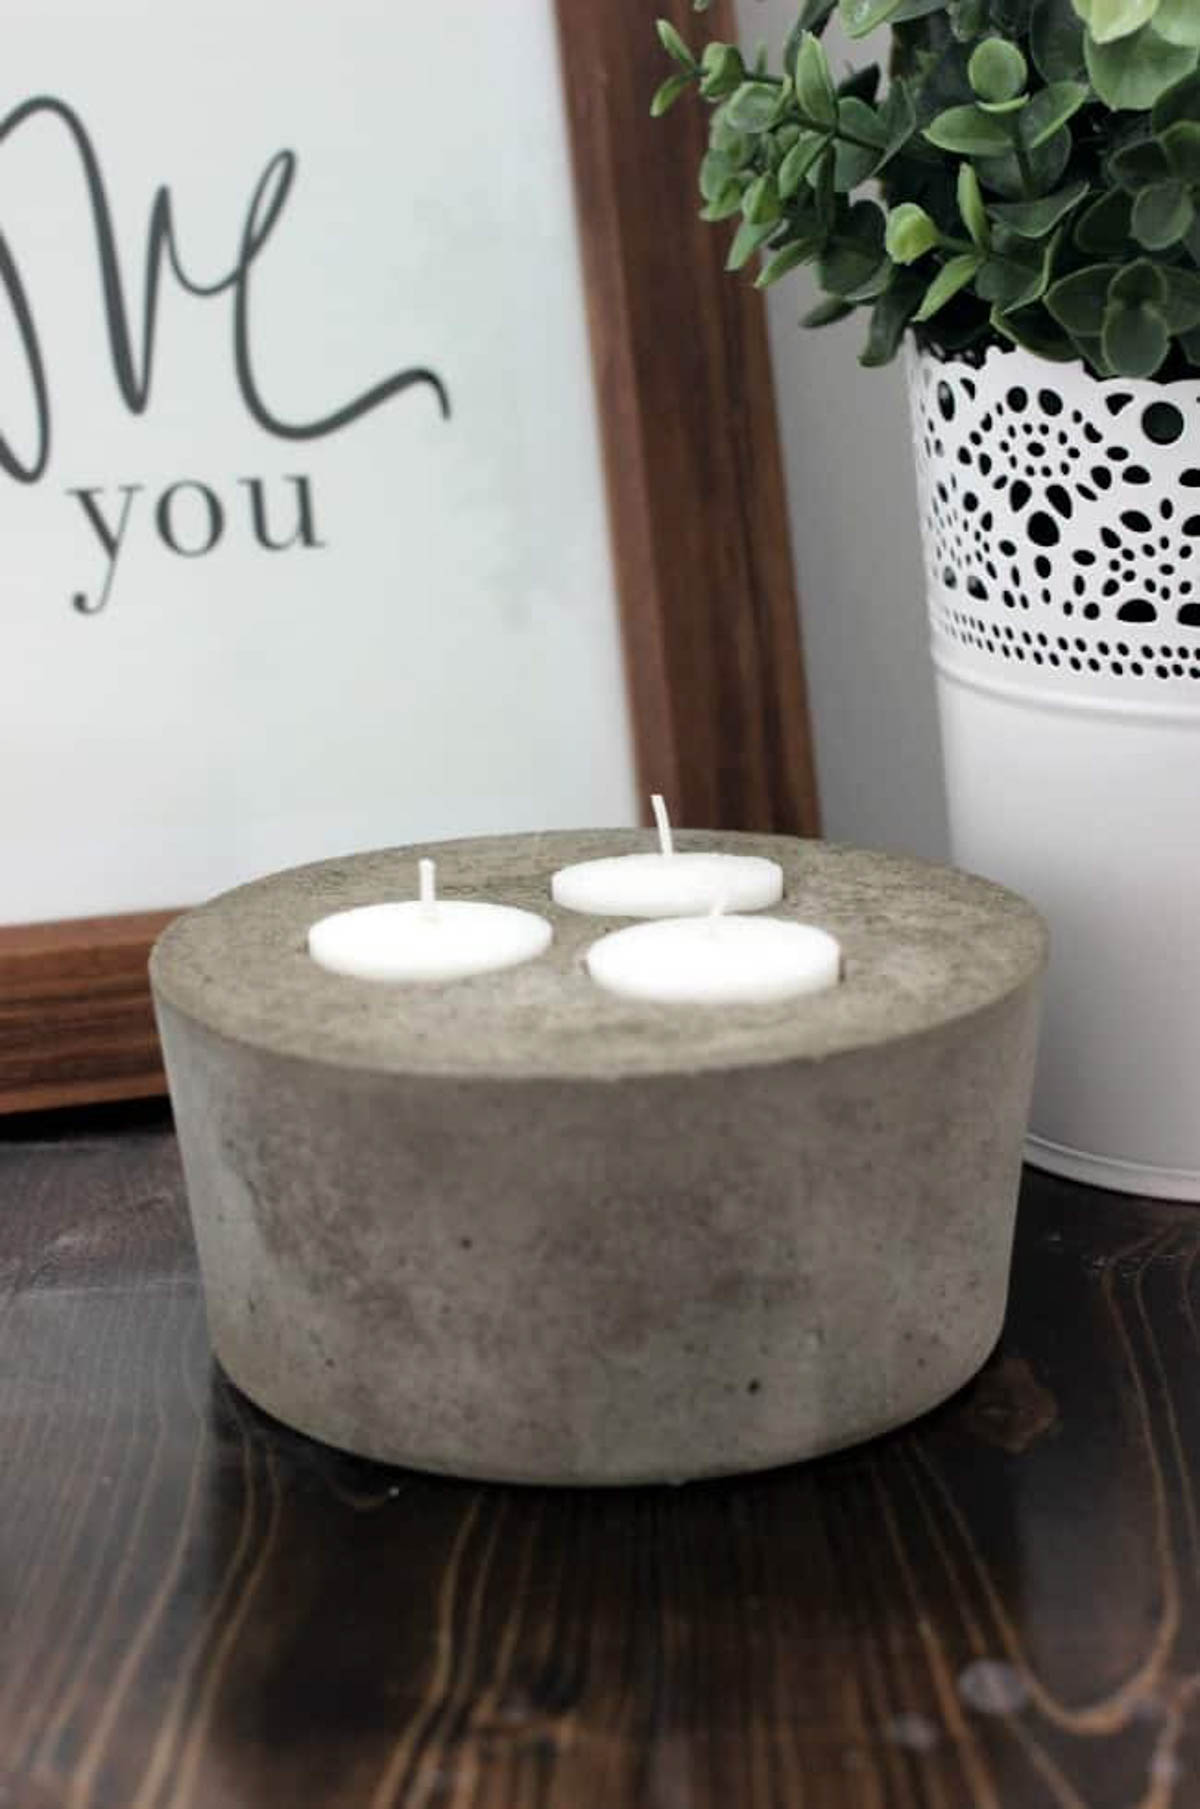
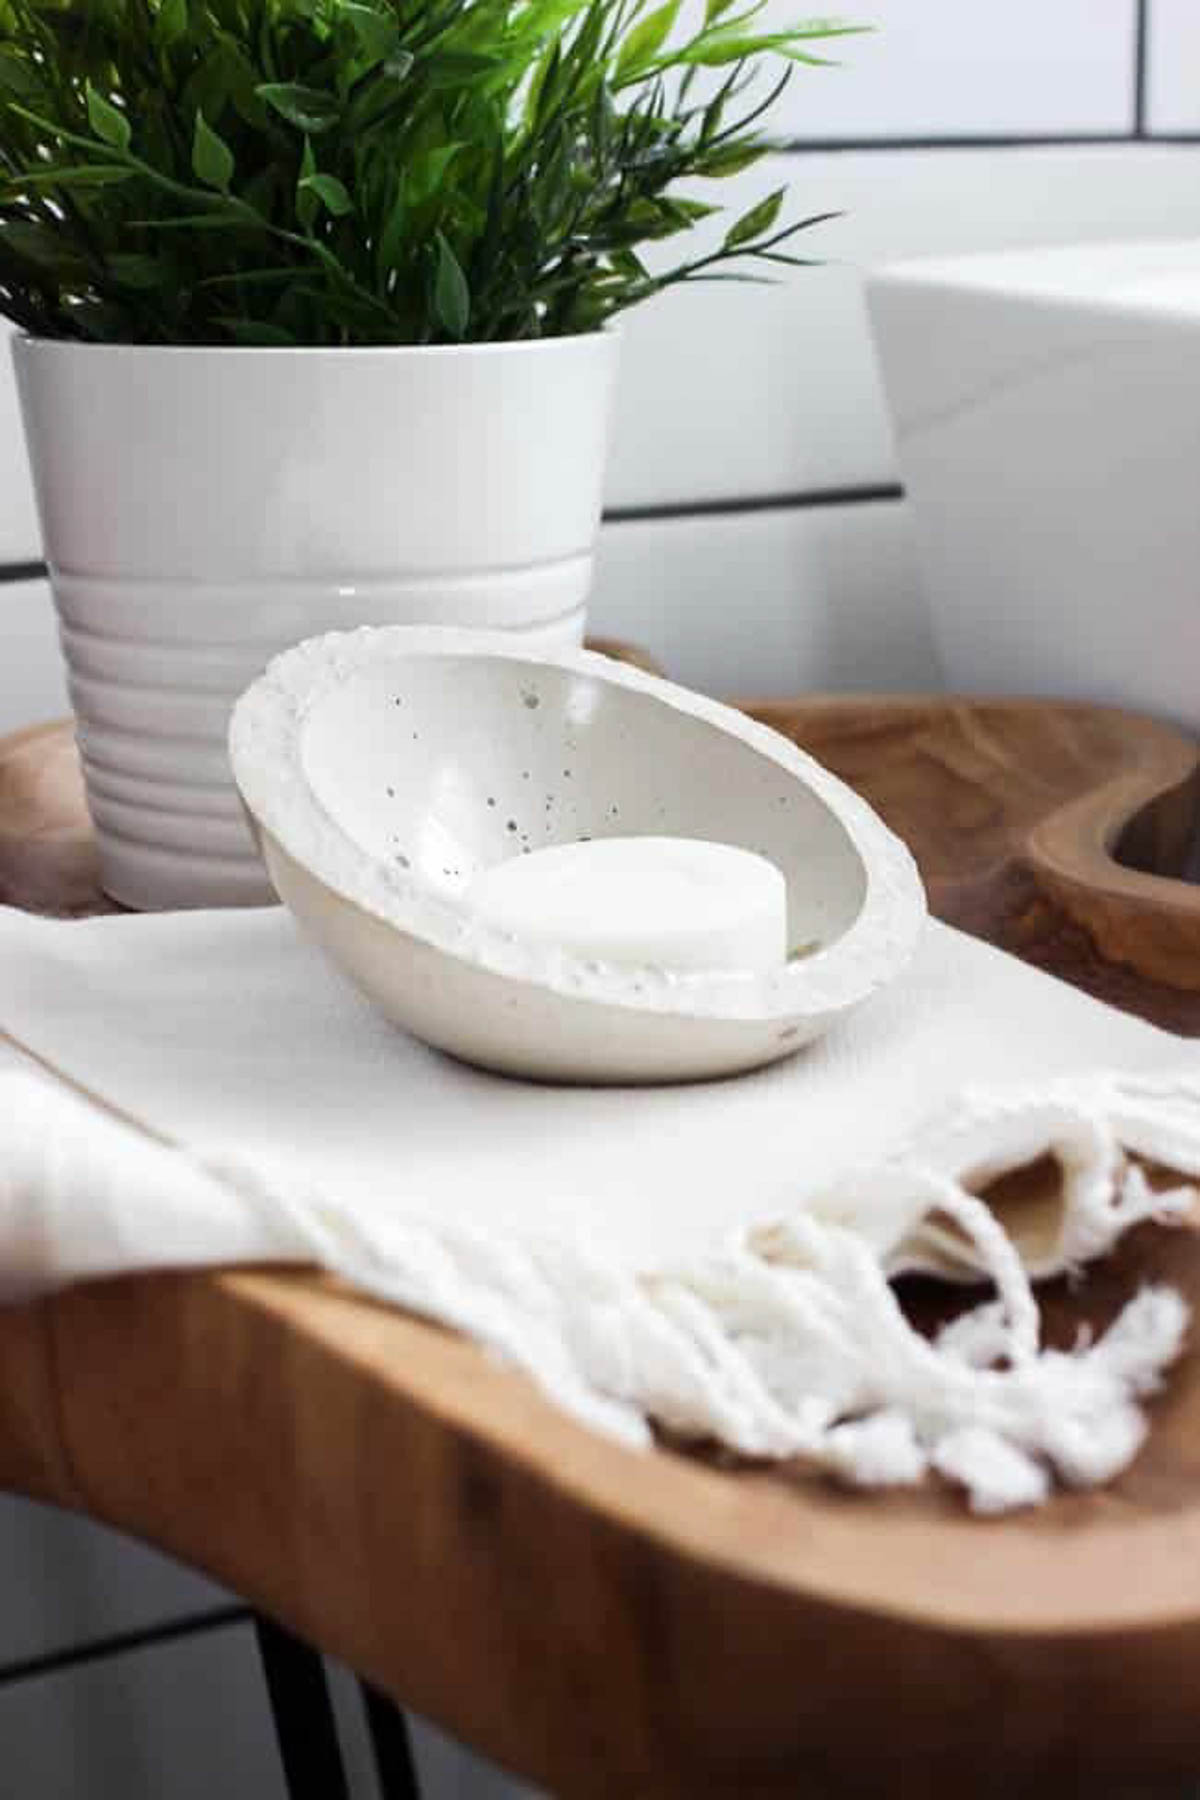
IF YOU LIKE CONCRETE PROJECTS, CHECK OUT THESE CREATIVE IDEAS!
Concrete Tea Light Holder
Concrete Soap Dish


*This post contains affiliate links. Thank you for supporting Love Create Celebrate. For more information, please read my disclosure policy*
Laura
Monday 22nd of January 2024
I just love this idea. I am redecorating my daughters bedroom and going to make some for her. Just one suggestion...put felt dots on the bottom so that they won't scratch the surface of what you put them on.
Lindi
Tuesday 23rd of January 2024
Yes! We did end up doing this too! Such a good tip!
Scott D.
Wednesday 13th of January 2021
I love this idea for an inexpensive, but upscale-looking container! Love your ideas :))
DIY Concrete Projects | DIY Ideas Tips
Thursday 18th of October 2018
[…] Learn How to Make Here Filed Under: DIY Crafts, DIY Home Decor […]
DIY| Learn to make Concrete Home decoration with amazing DIY Concrete Projects
Sunday 3rd of June 2018
[…] Learn How to Make Here Tags:Concrete Crafts, DIY Concrete Ideas, DIY Concrete Projects, DIY Ideas, Home Decor […]
Dela Ampofo
Wednesday 8th of November 2017
Very impressive and creative work.