
Being outdoors this winter inspired me to make a rustic advent calendar.
I envisioned the beautiful bare branches covered in rustic bags and shiny ornaments.
My husband was gracious enough to bring along a saw to cut some branches for me on one of our lovely winter walks this year :)

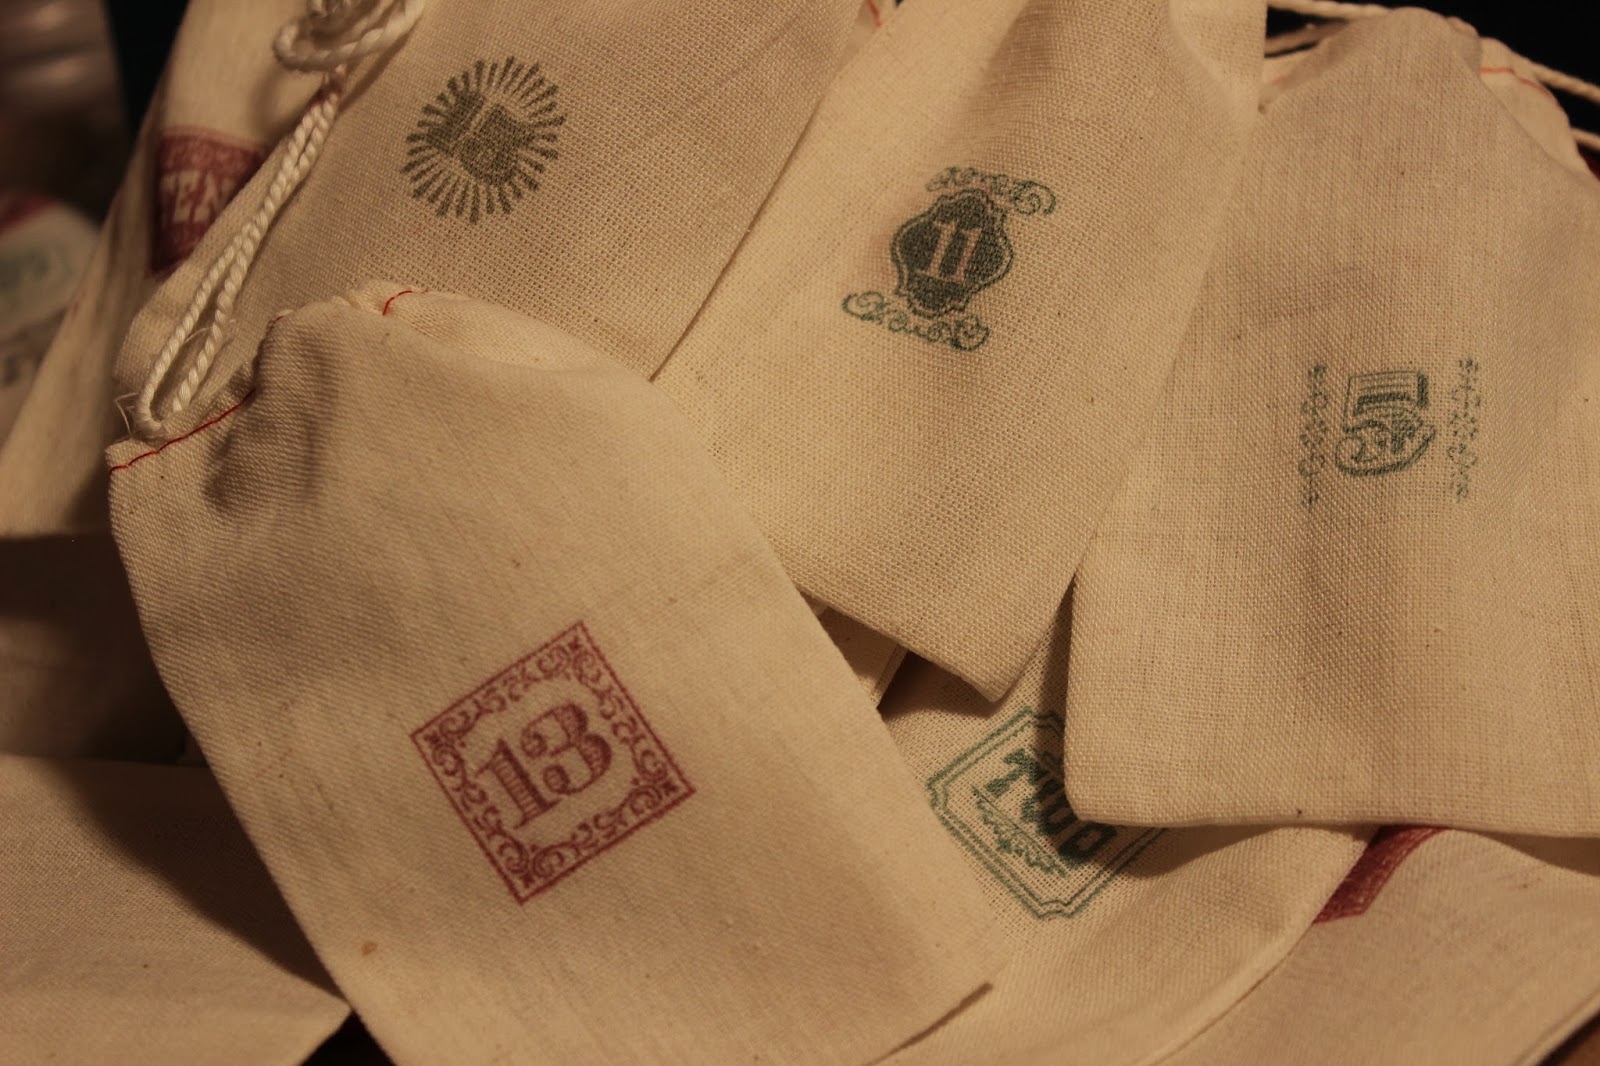
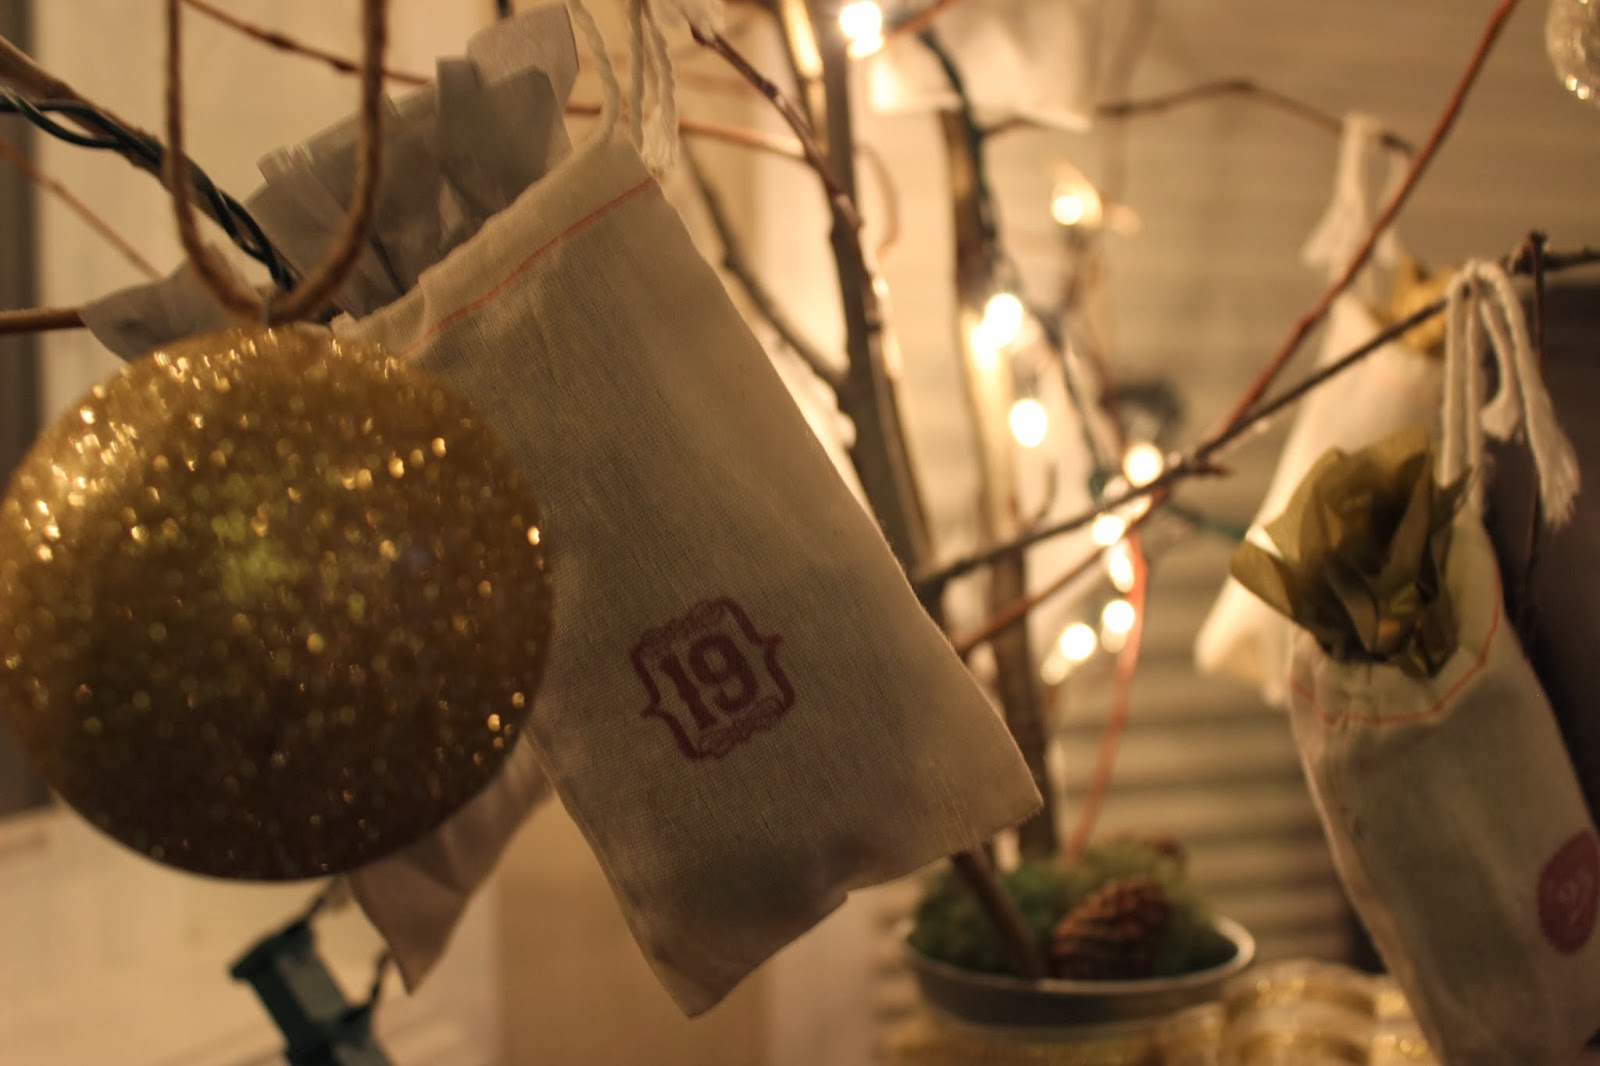
First I created the advent bags using the tutorial here.
They were super easy to stamp and label.
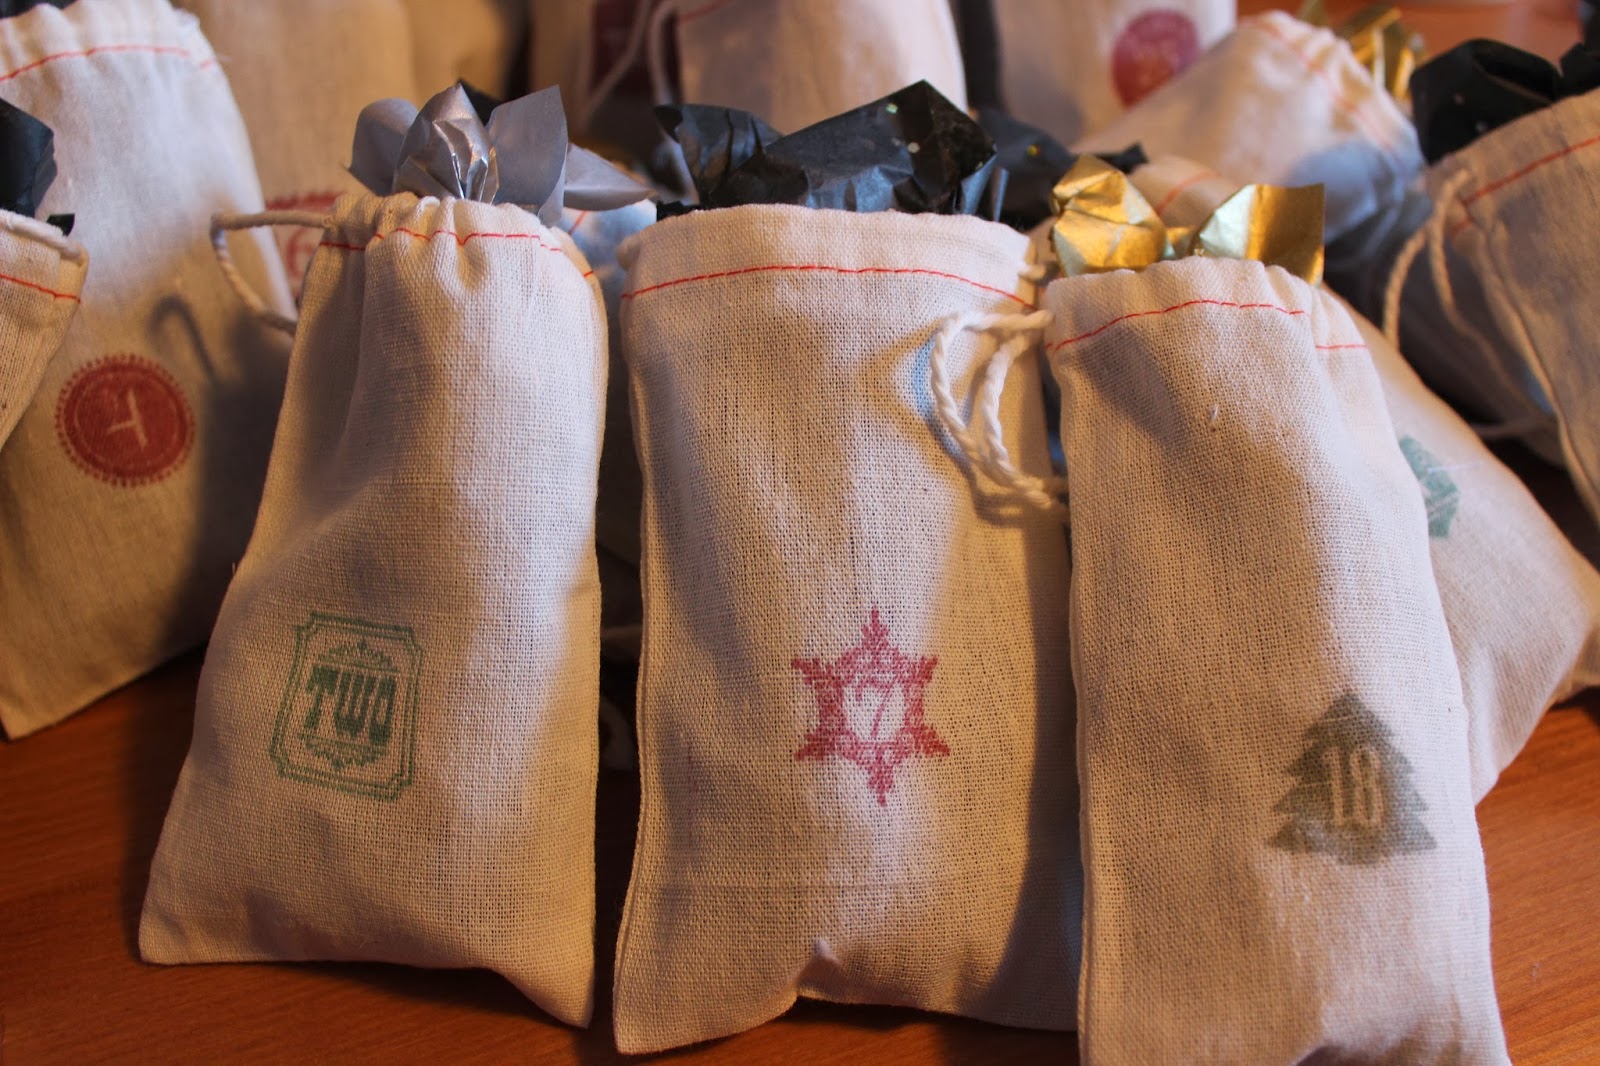
Once they were done I filled them with silver, gold, and black tissue paper to match the rest of the tree decorations :)
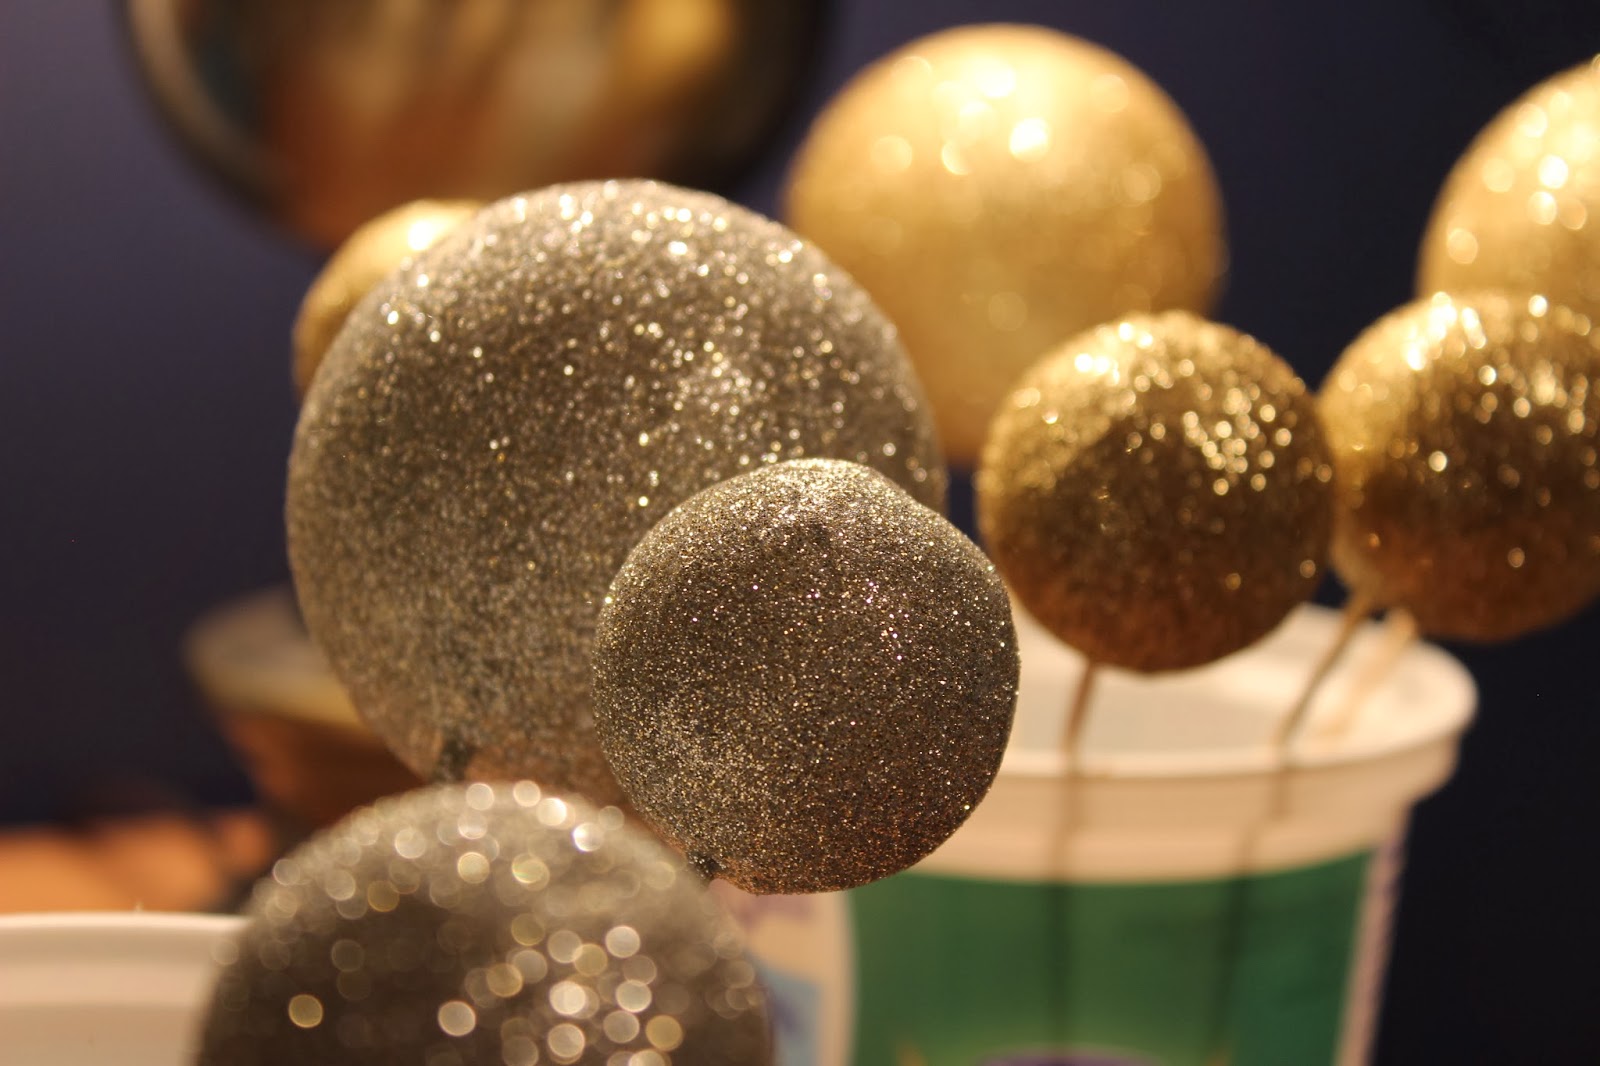
Next, I made some fun glittery Christmas ornaments, using this tutorial.
I love the gold and silver colours shining off of the tree branches.
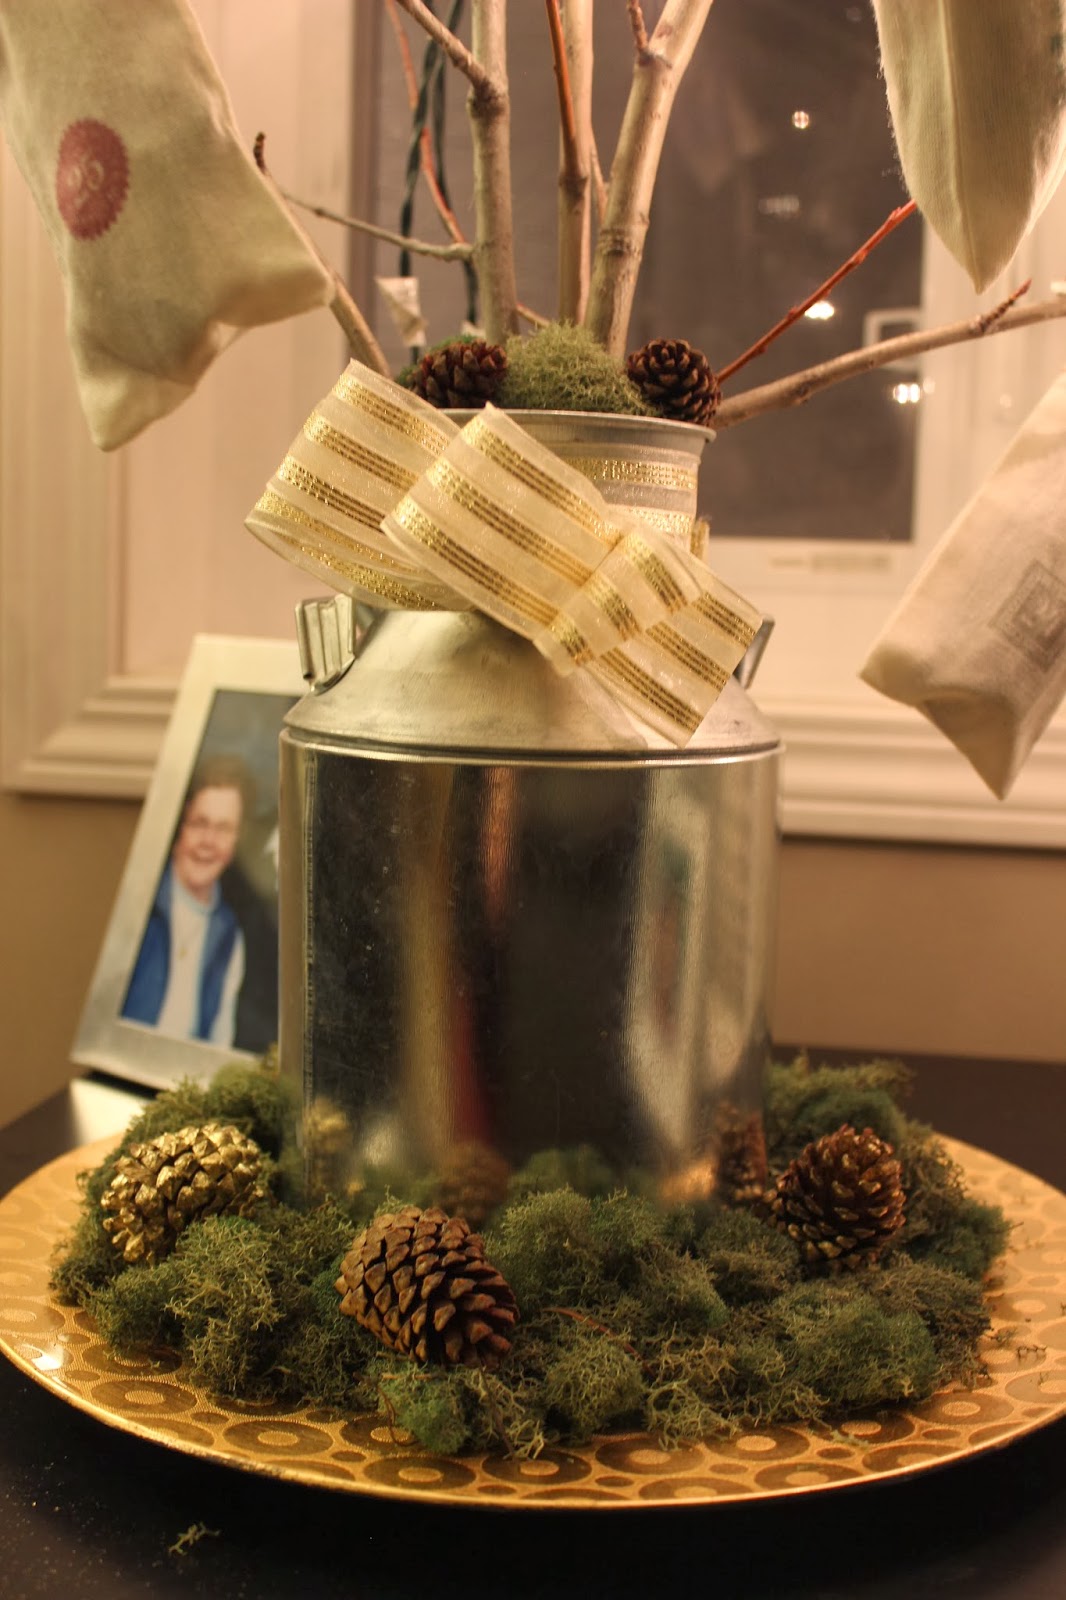
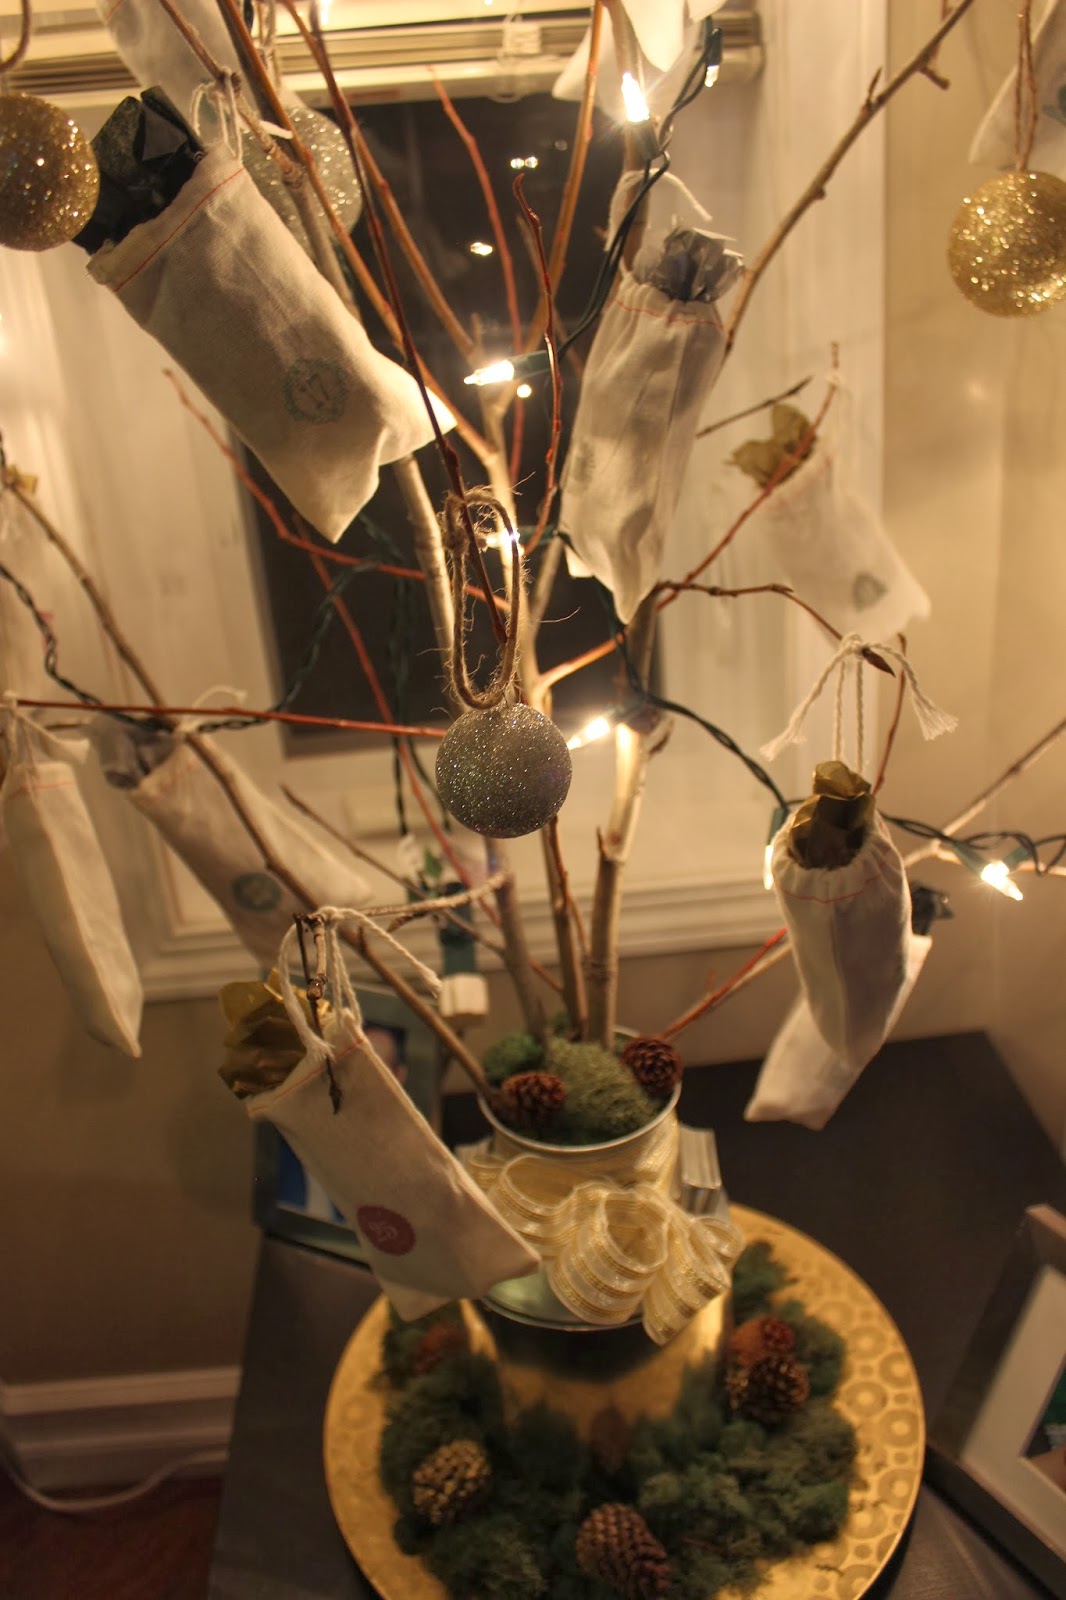
To make the stand, I filled a silver milk jug with rocks, places the braches in, and set it all upon a gold platter (from the dollar store – you can get everything there!).
Then I used moss and pinecones to decorate at the top and bottom of the jug.
I finished it off by tying a festive gold bow around the top :)
Then I filled all of the bags before hanging them.
They were filled with one of two things – either a winter/Christmas activity for us to do together, or candy :)
They were filled with one of two things – either a winter/Christmas activity for us to do together, or candy :)

Ta-Da! My finished project :)

Counting down the days now until December 1st so that my husband and I can open the first bag!
(I made sure there were enough candy/chocolate pieces that we would both get one each time!).
Happy Holidays!
{xoxo}