
How to make your own DIY charger plates. Makeover a set of cheap chargers to add texture and style to your holiday tablescape.
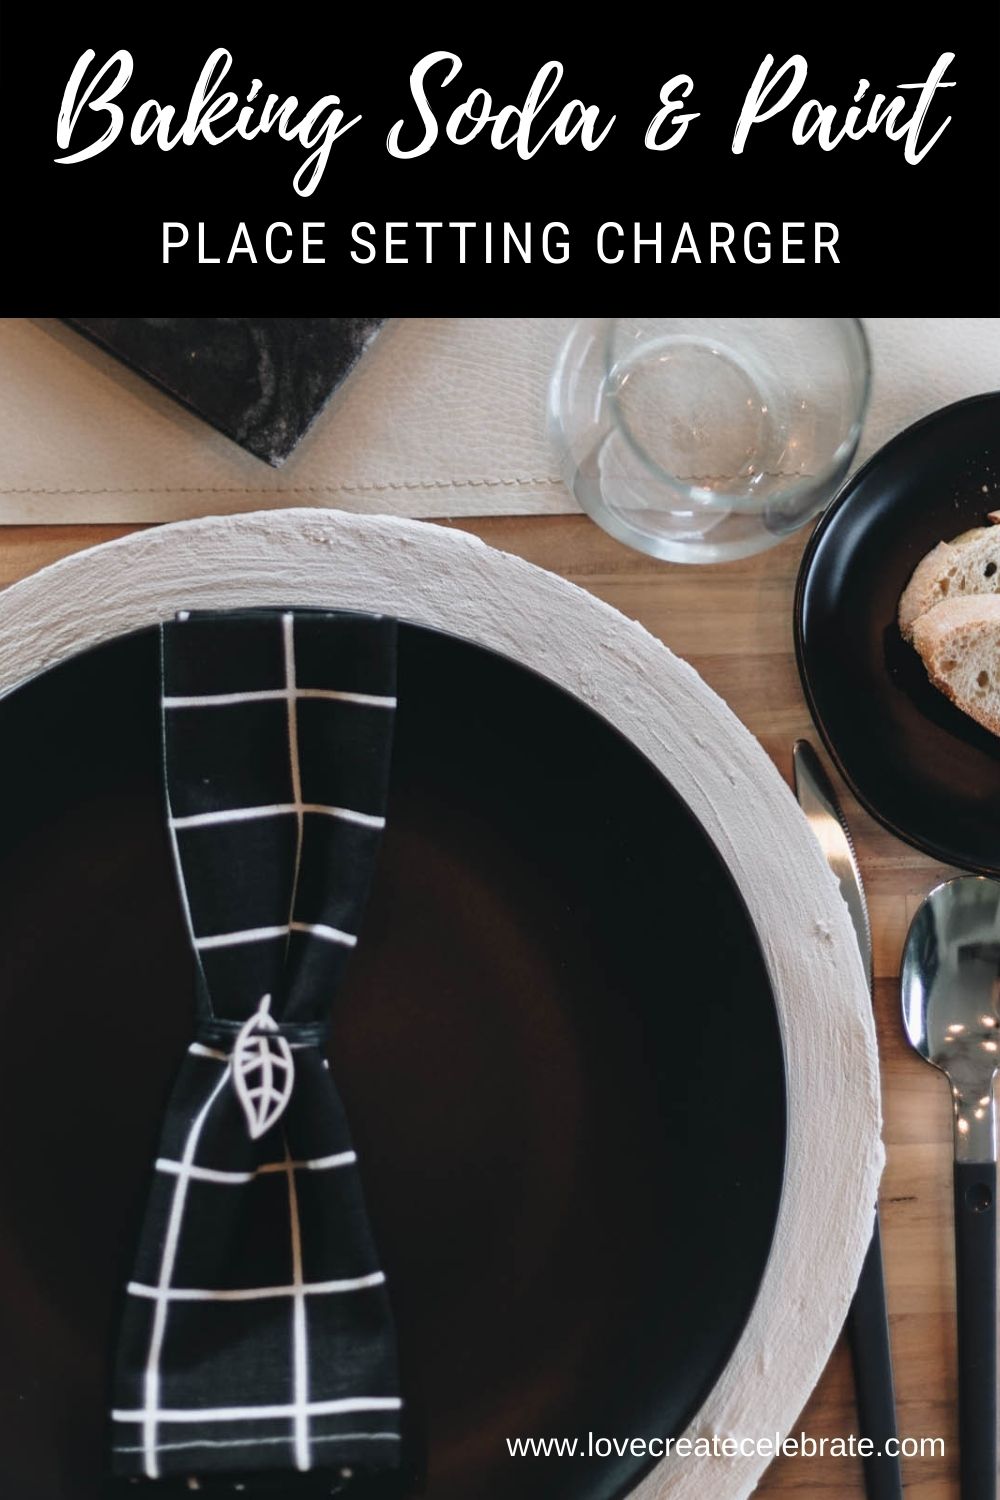
There are only a few times a year that I use charger plates, and it usually revolves around a big holiday. Even though I don’t use them often, I love the style, colour, and texture that they can add to a place setting! Today I’m sharing a super affordable, and lovely tutorial for DIY Charger Plates.
I’ve been working on some DIY projects for our fall and Thanksgiving tablescape, all using dollar store products. I have been wanting to try the viral baking soda and paint technique for a while now and when I found some simple dollar tree chargers, I knew they would be the perfect thing to try.
The baking soda gives the paint texture that really gives the charges a unique look. Typically people have tried this technique on paint and baking soda vases, but I thought it could look great under plates as well.
*This post may contain affiliate links. When you buy a product through one of our links, we get a commission at no cost to you! Thank you for supporting our blog so that we can continue to bring you posts like these. For more information, please see our disclosure page.*
What are charger plates?
Chargers plates are plates that are larger than everyday plates, typically around 14″ or 15″. They are not intended to come in contact with the food that will be eaten, and only meant to sit under the plate.
Their purpose traditionally is to allow servers to easily replace the bowls and plates held on the charger and prevent stains and damage to your linens by catching food and spills! The more modern purpose of chargers, is to add some more visual interest and design to your place settings.
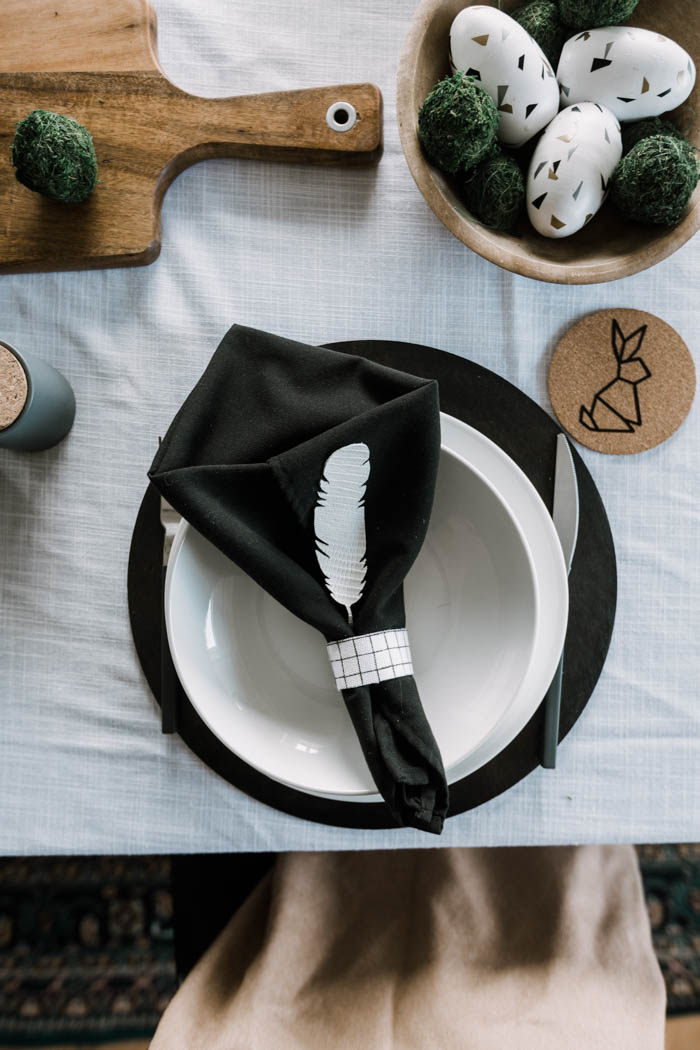
The DIY wood chargers in the photo above are a great example from our Easter Tablescape!
How to Make Baking Soda and Paint Chargers
Supplies
- Chargers (from the dollar tree!)
- Paint in the colour of your choice
- Baking soda
- Regular paint brush
- Foam paint brush
Step-by-Step Tutorial
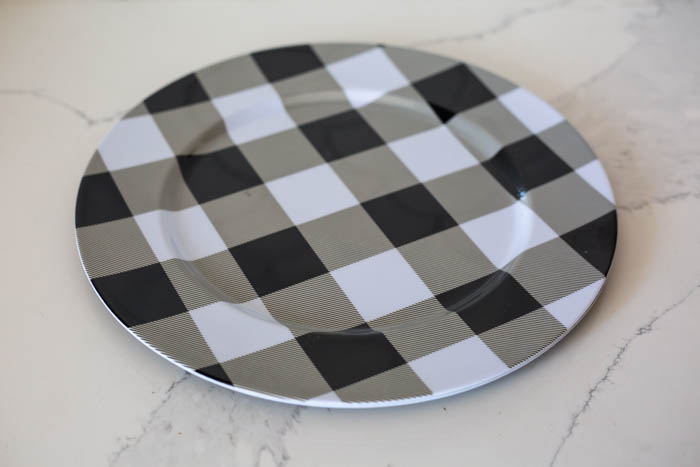
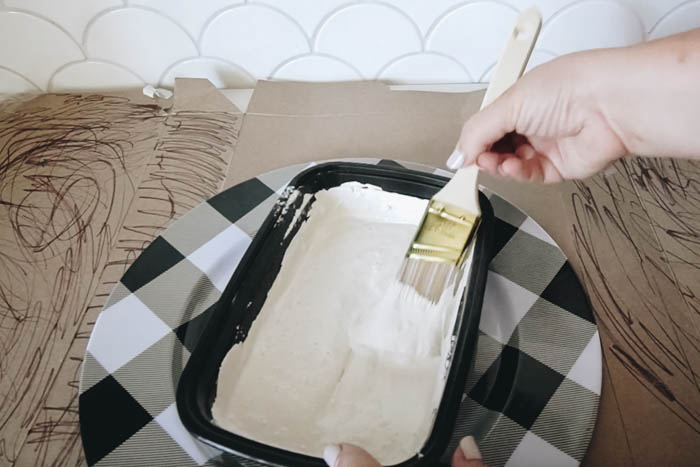
The dollar tree has many chargers available, but I’m not really a fan of any of them. I don’t really like the patterns and I feel like they look really cheap, being all plasticky. So I just picked one off the shelf to DIY.
I’m using a creamy white paint colour and mixing it with baking soda. I played around with the mixture of paint and baking soda, constantly adding more baking soda until I got a nice texture that wasn’t too pasty (you can see the texture in the video below!).
I ended up doing about half and half baking soda to paint, a one-to-one ratio, and once I had the consistency I liked, I started painting those dollar store chargers.
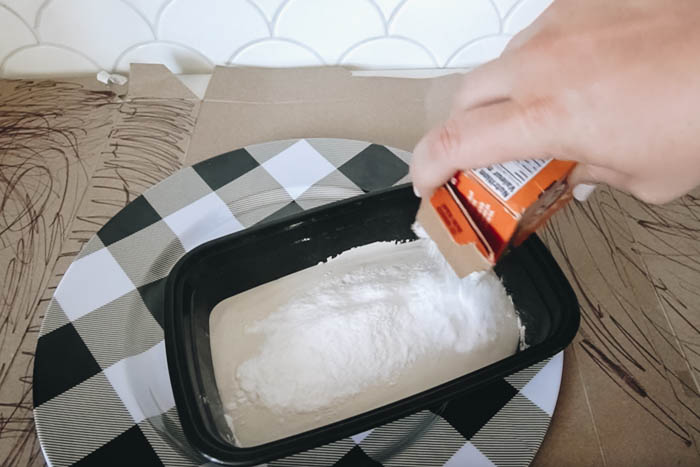
I applied the first coat with a regular paintbrush. After the first coat, I was really happy with the texture that it created. I love the baking soda, paint mixture for that reason, but it definitely needed a second coat because I could definitely see the old plate pattern through the paint still.
If you want to add even more texture, you can grind some peppercorns in, or add in other spices, or even sand! Just add it in and mix it all, just as you did with the baking soda.
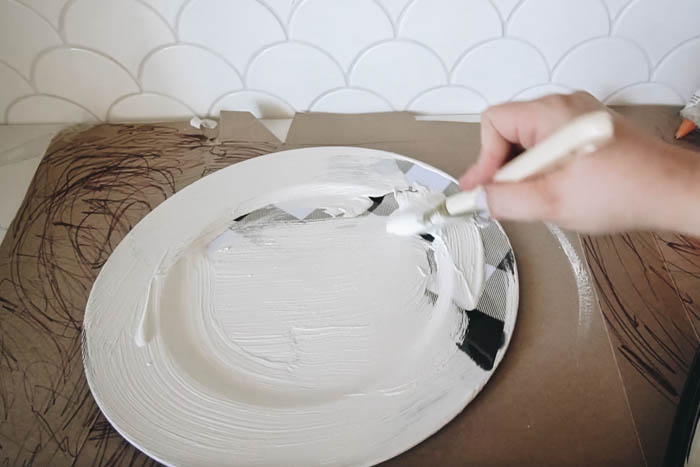
To make sure the pattern was all covered, I got to work doing a second coat. I also didn’t love all of the brush marks and lines that I was seeing on my charger, so I also pulled out a foam brush from my craft stash and just went around all of the edges smoothing out some of the brush marks to try to get a more organic look.
If water drips on these plates and reacts with the baking soda in the paint, it’s definitely gonna bubble and ruin the look we just created. To avoid this, you will want to use a spray-on clear coat to protect the baking soda and paint chargers.
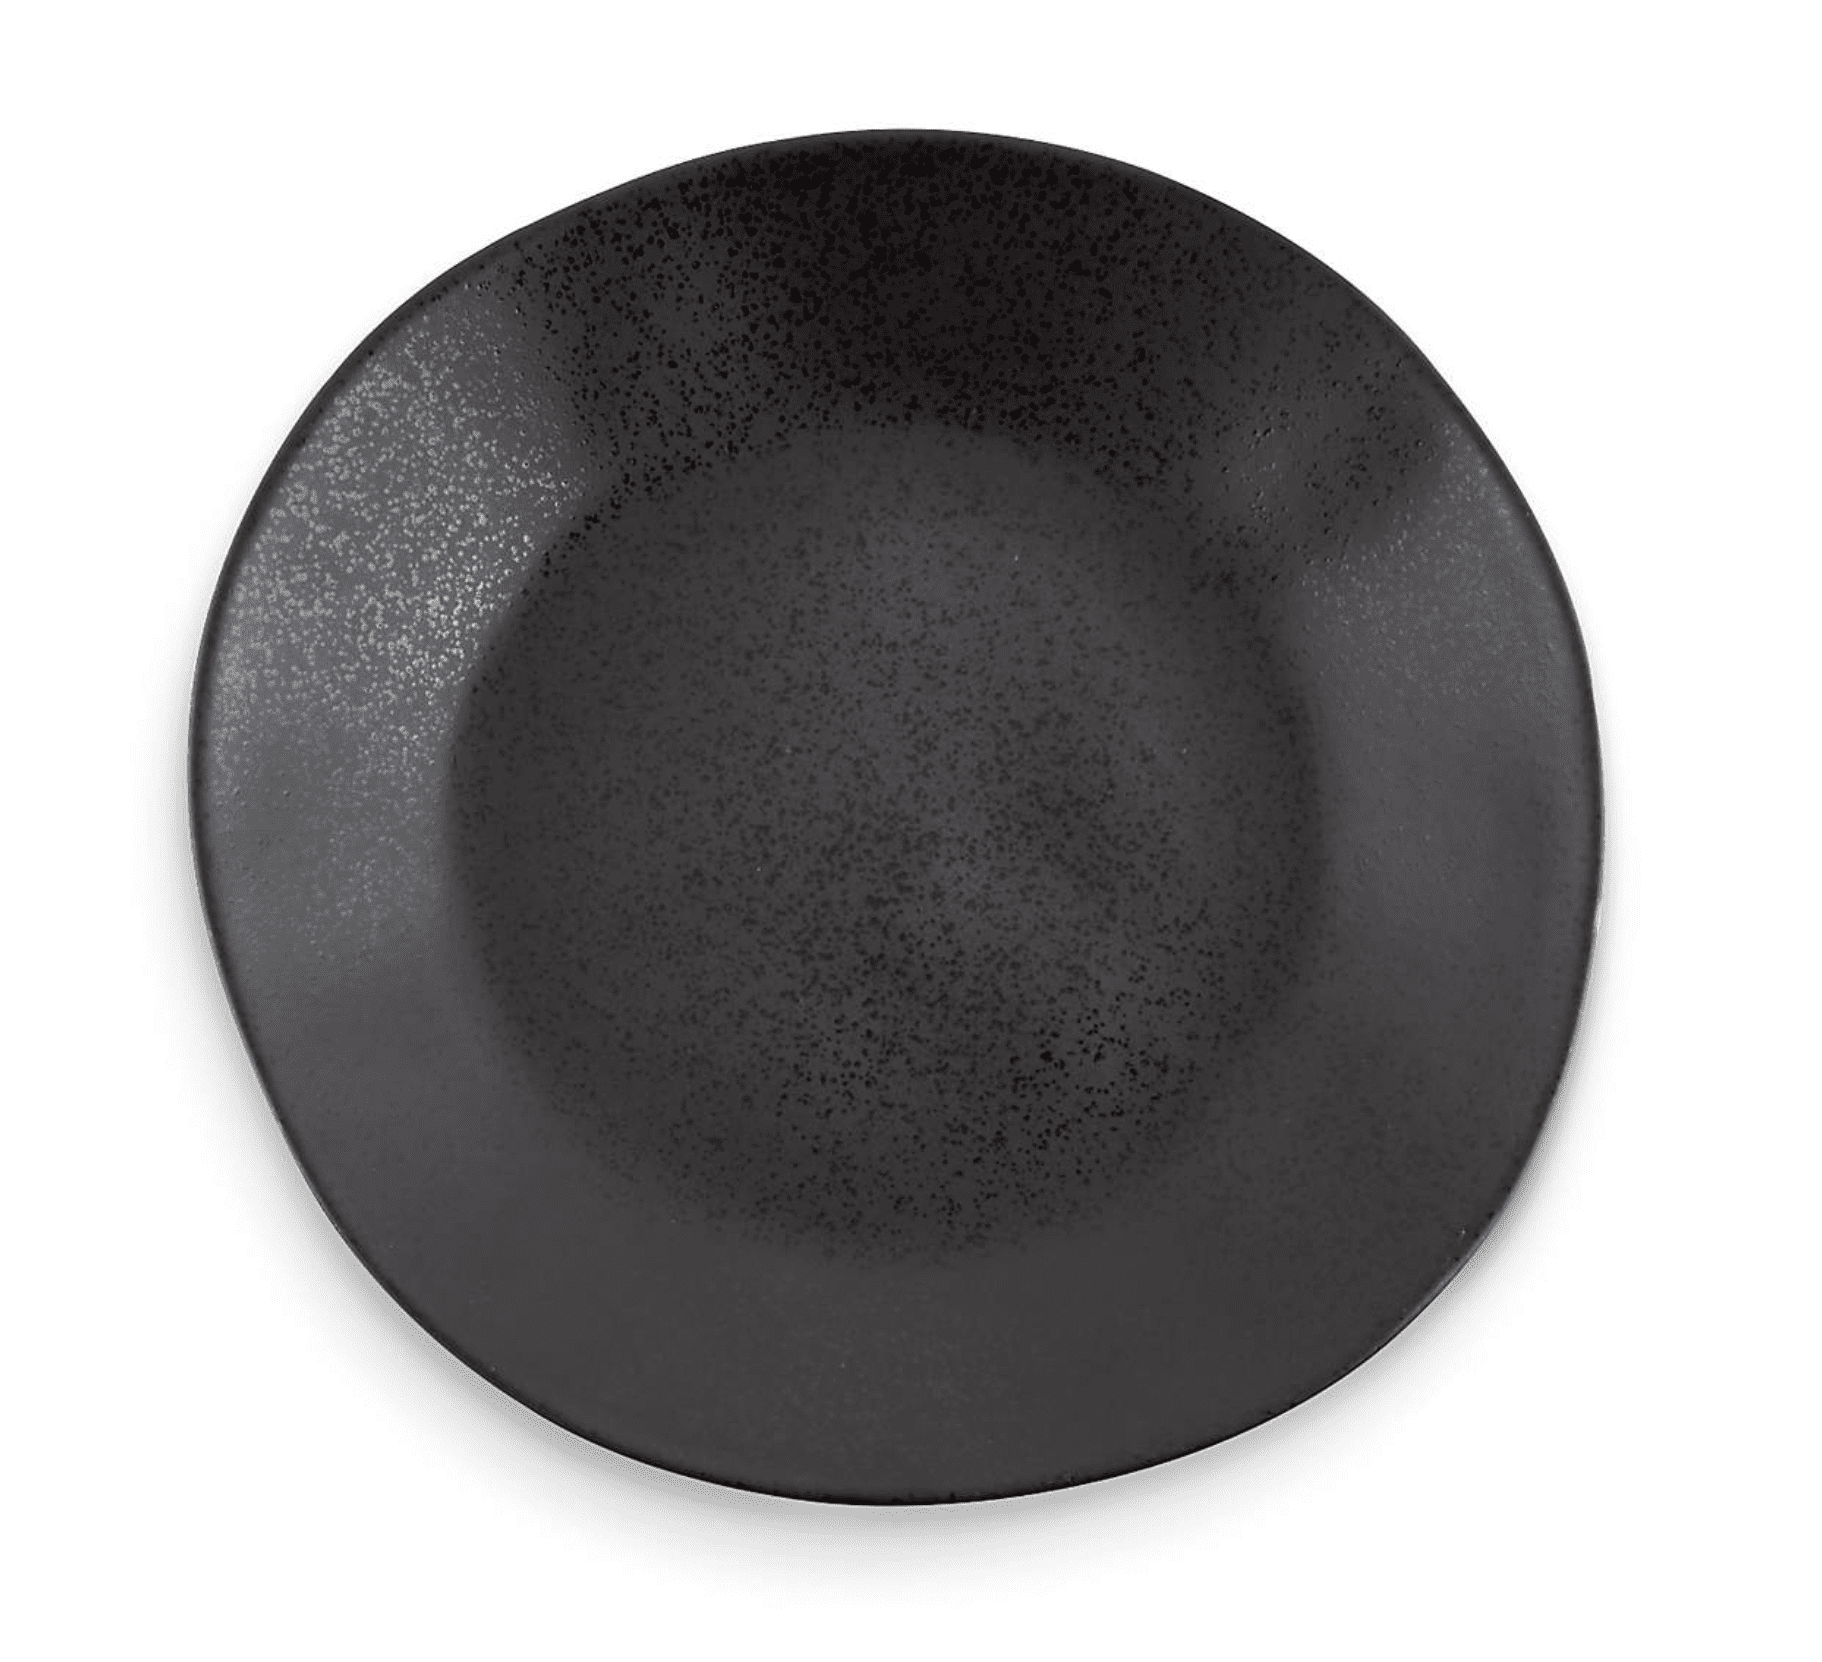
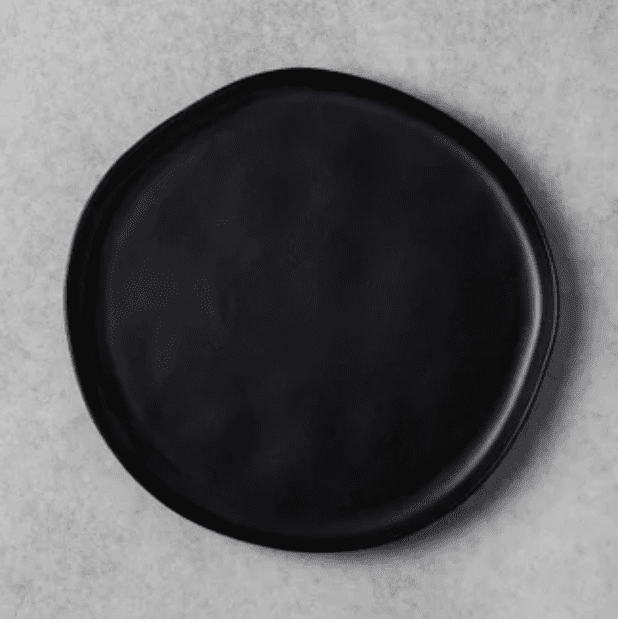
The baking soda and paint chargers are the perfect addition to our fall tablescape. They perfectly set off the black plates and I love the texture!
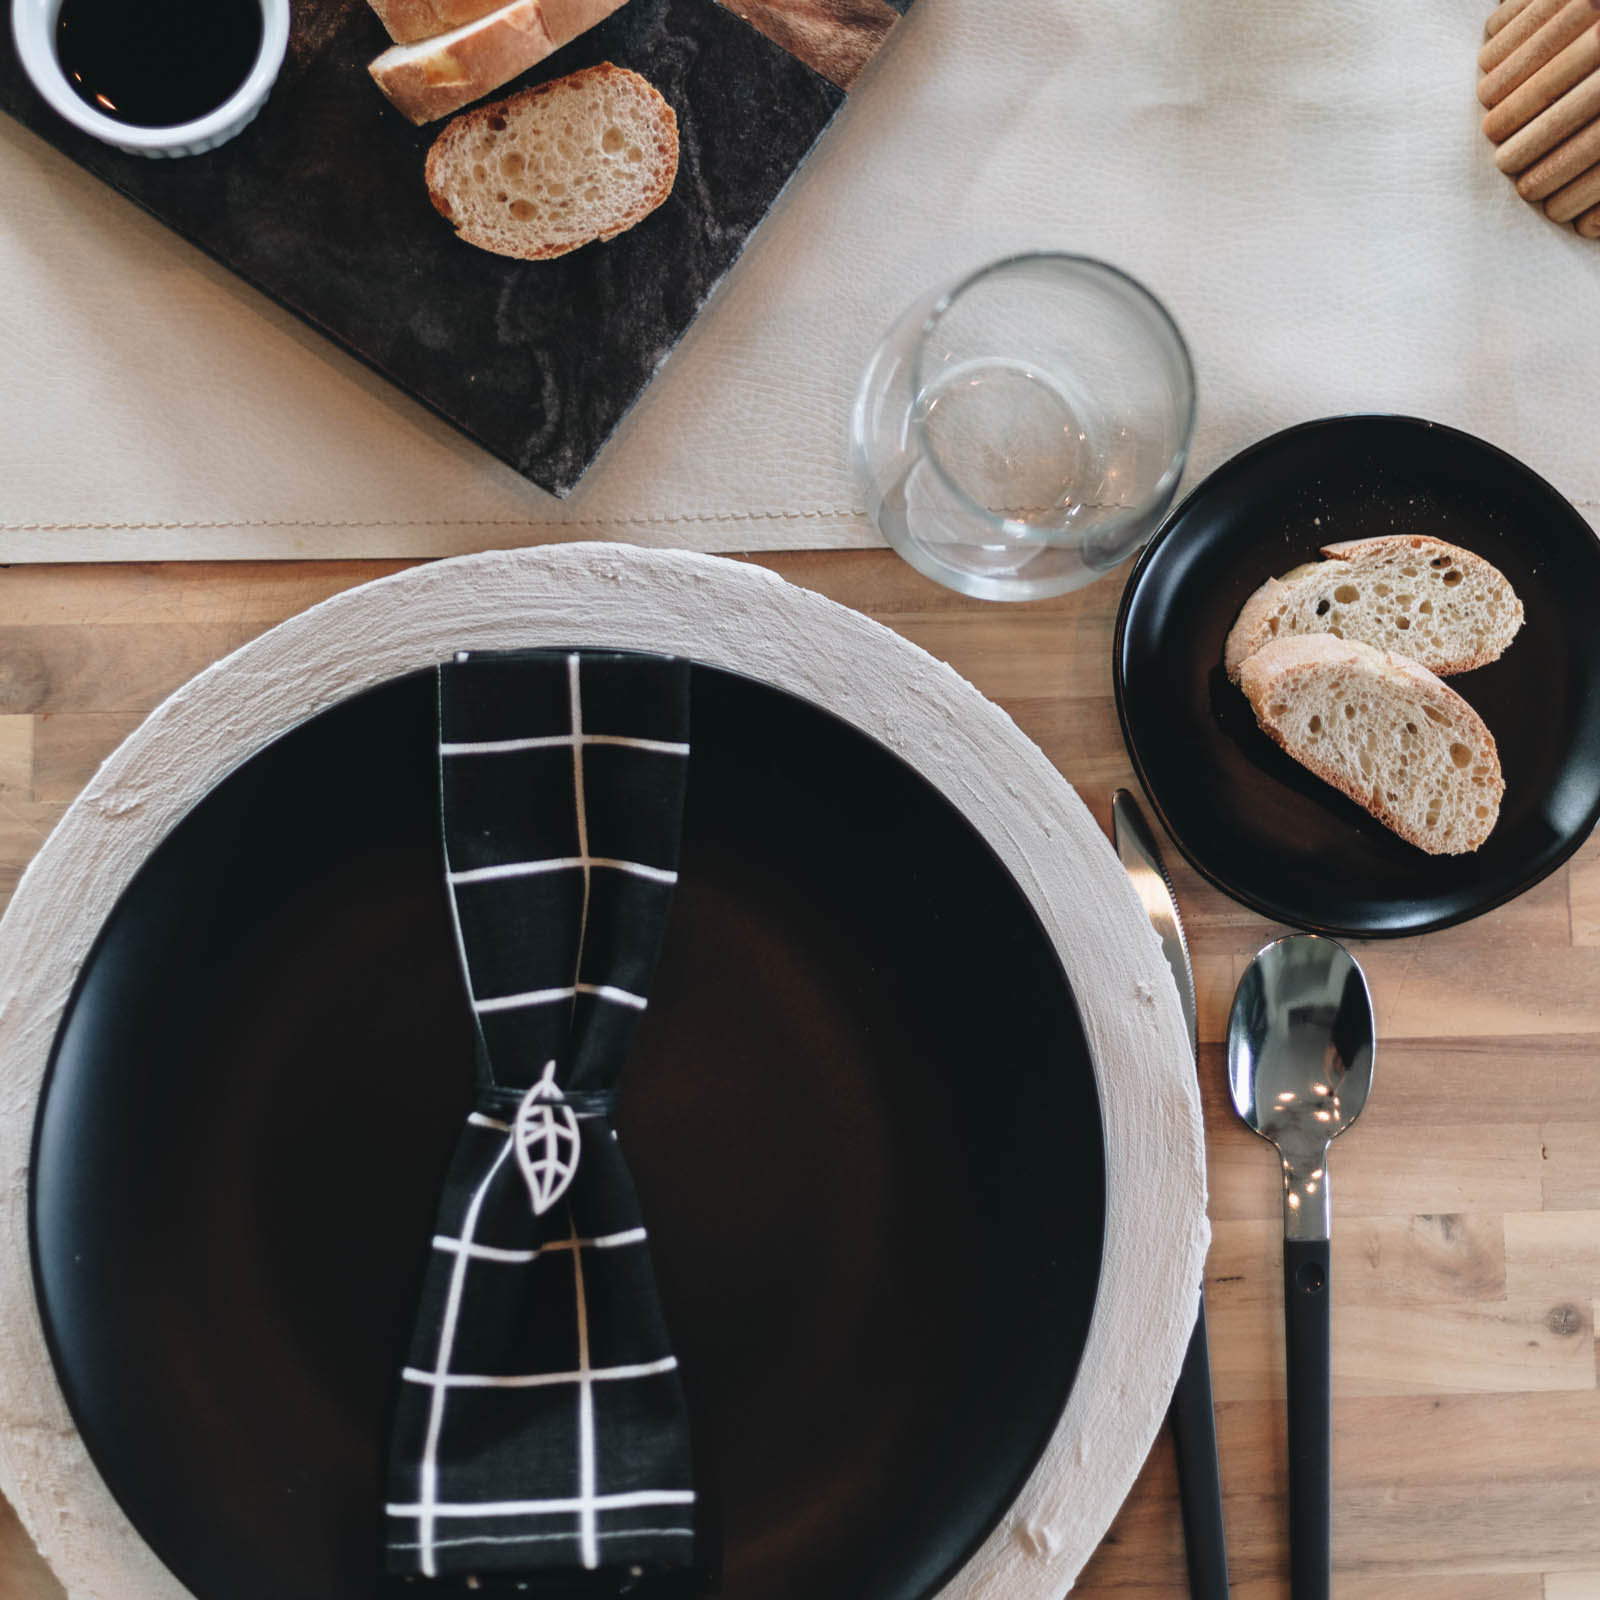
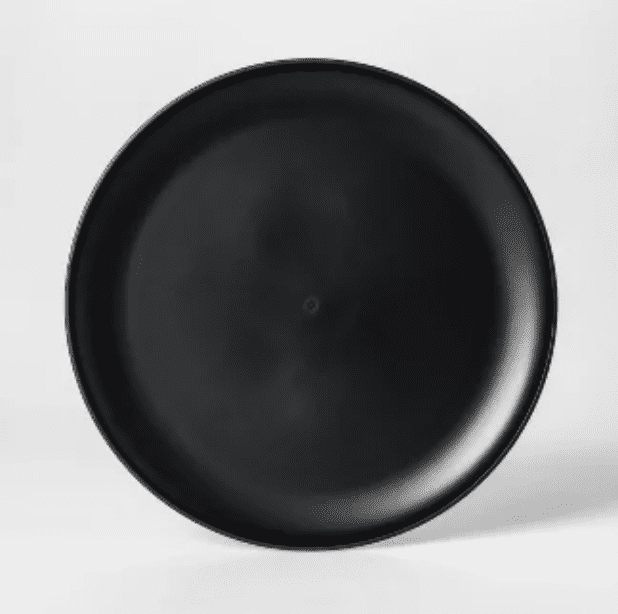
If you’re looking for some black plates for your tablescape, here are a few of my favourites!
When I do Dollar Store DIYs, I always do a bunch at once. You can see me make these Baking Soda and Paint Chargers along with a Fluted Candleholder, Pillar Candleholders, Fall Gnomes, and Napkin Holders in the video below.
DIY Charger Plates
How to make your own DIY charger plates. Makeover a set of cheap chargers to add texture and style to your holiday tablescape.
Materials
- Paint
- Baking Soda
- Plastic Chargers
Tools
- Foam Brush
Instructions
- Find plastic chargers at the dollar tree
- Mix paint and baking soda at a 50/50 ratio
- Add additional texture (such as peppercorns) if desired
- Paint chargers at least two coats and let dry
- Use in table setting
Recommended Products
As an Amazon Associate and member of other affiliate programs, I earn from qualifying purchases.
