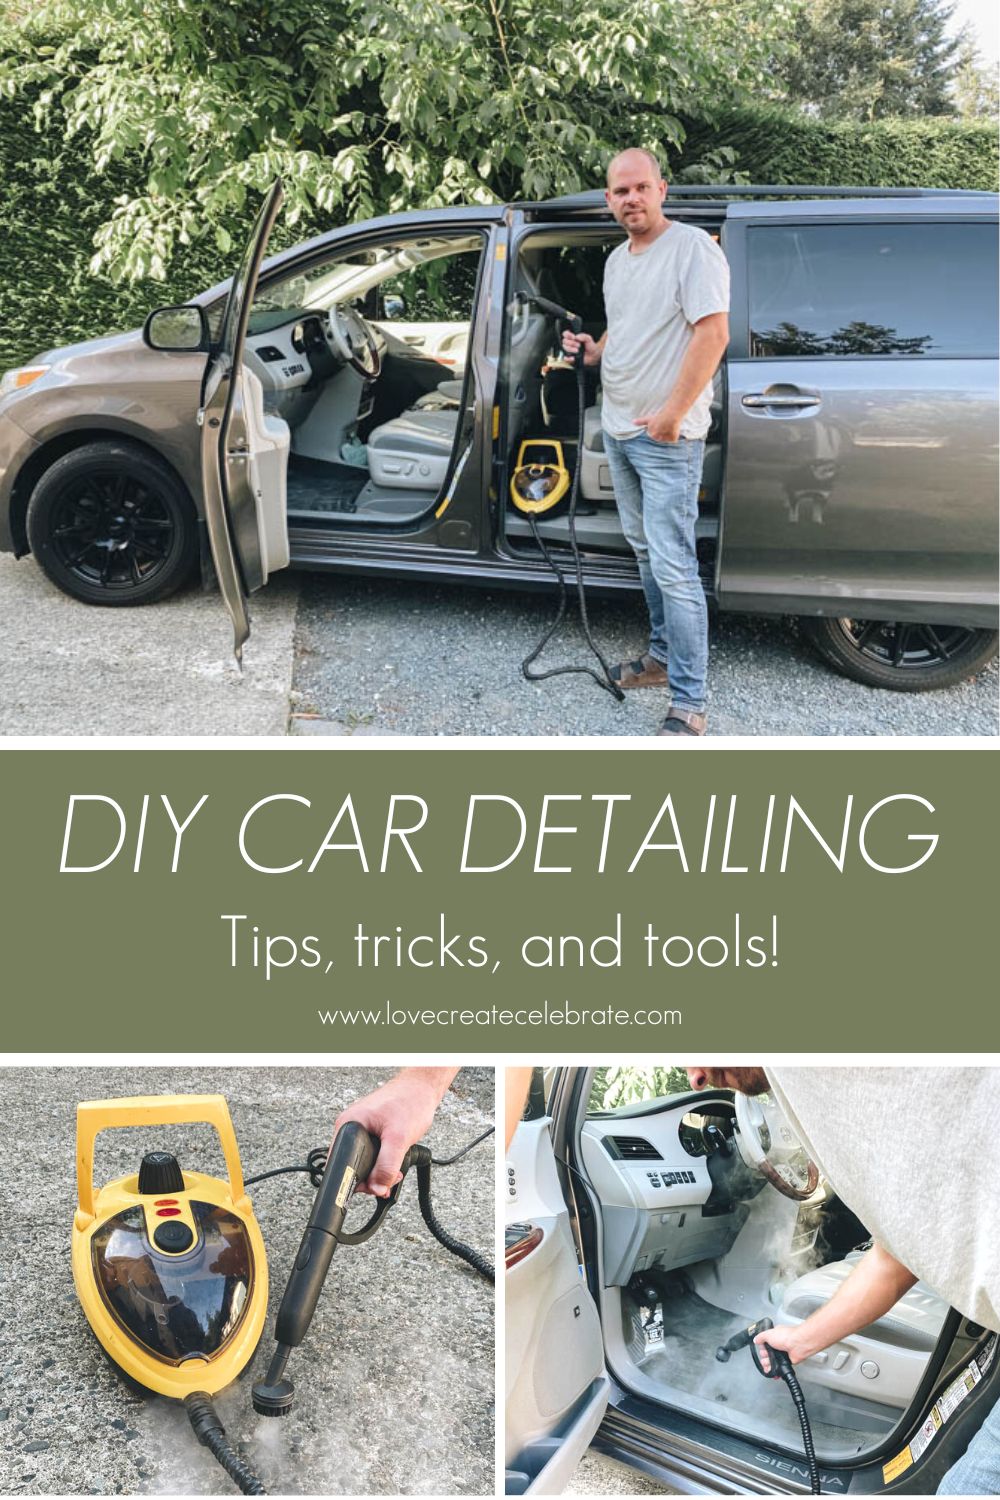
How to do your DIY car detailing at home! Learn how to clean car seats, carpets, dash, glass, and the exterior quickly and easily!
We have been busy with finishing the renovations in our home and moving our family and household items to our new location. With 3 kids, animals, and juggling our own renovations are cars are generally not on the top of the list for being cleaned or detailed. Well we were able to partner with Wagner to show our DIY Car Detailing tips and tricks to get our cars all cleaned up and looking as good as new.
*This post was sponsored by Wagner and may contain affiliate links. When you buy a product through one of our links, we get a commission at no cost to you! Thank you for supporting our blog so that we can continue to bring you posts like these. For more information, please see our disclosure page.*
Sending your vehicle into a shop to be professionally detailed can run anywhere from $200-$500 depending on the detailing level and condition of your car. We will show how to do your own DIY car detailing with similar results on a budget! We also previously shared How to Use a Steam Cleaner, be sure to check out that post to see it in use around the house!
How to do DIY Car Detailing on Your Vehicle at Home
DIY car detailing doesn’t have to be intimidating. Following these easy steps you can easily detail your car from home!
Tools for Car Detailing
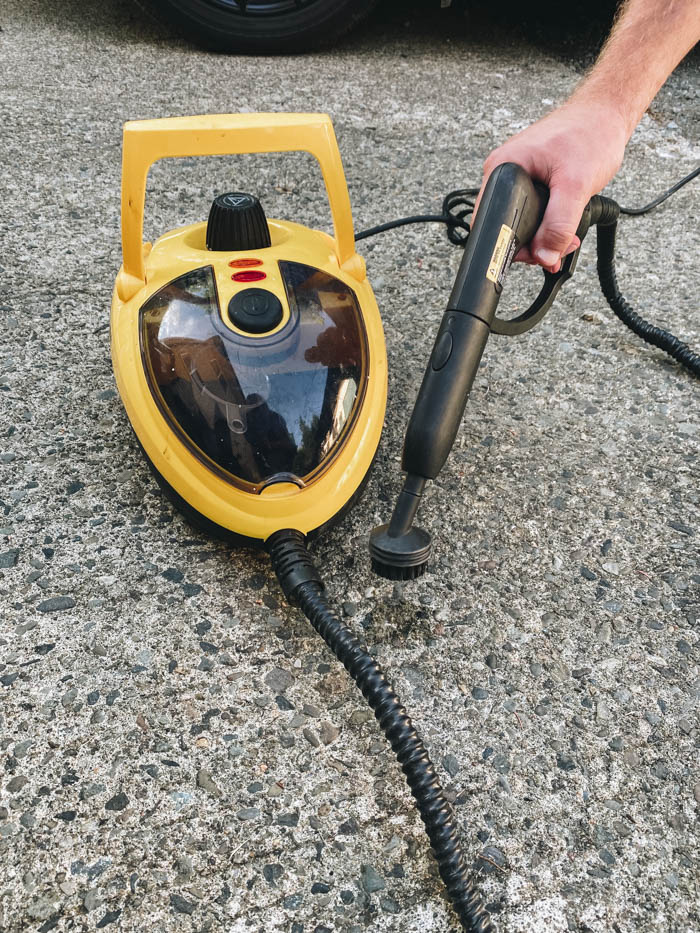
- Wagner 915e Power Steamer
- Distilled Water
- Micro-fibre cloths
- Window Cleaner
- Norwex Window Cloth
- Interior cleaning brushes
- Car wash
- Car wash mitt
- Vacuum
*Disclaimer – when washing and doing your own DIY car detailing you want to follow the manufactures recommendations for how to apply and use their specific cleaning products. Be careful when using rags/mitts/pads on your car surfaces, ensure they are clean and free of any debris to ensure you don’t create any scratches.*
Step 1 – Empty the Vehicle and Vacuum
To start detailing my cars remove any loose garbage or junk on the floor. Take out all the floor mats, and if possible remove seats to give some space to work. You can take out any loose items from the trunk/rear of the vehicle (like booster cables, first aid kits, etc.). A good shop vacuum works great to vacuum any carpet and seats.
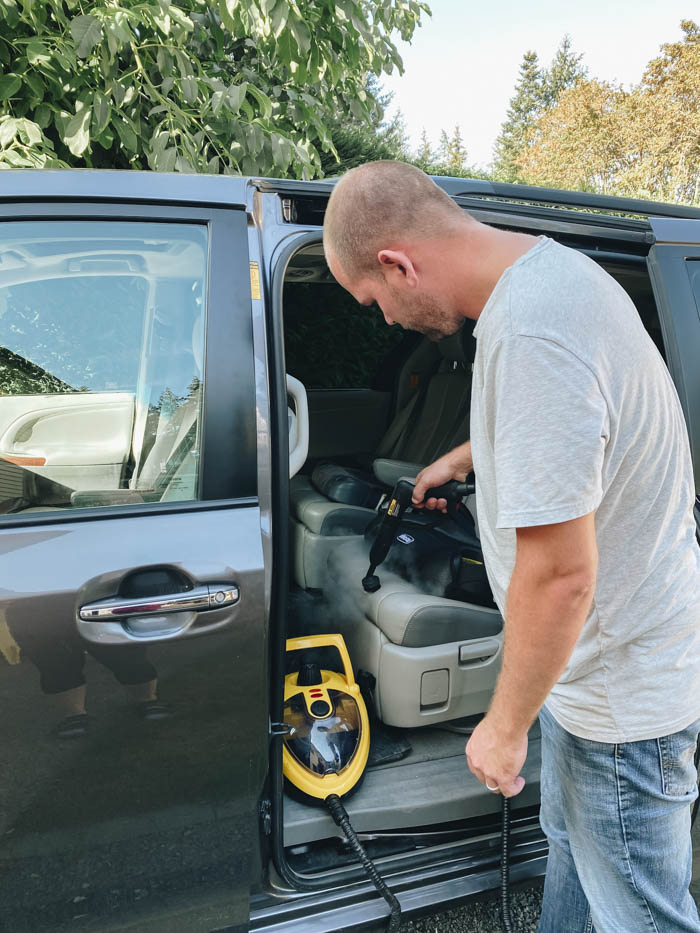
Step 2 – Clean Seats
Next give the seats a through clean. To clean leather seats the Wagner 915e power steamer works great to remove any dirt or spills from the seats. Even for fabric seats a good steam cleaners are a great way to clean upholstery.
The warm moisture lifts stains without releasing too much moisture into the fabric and padding. And as an added bonus you don’t need to use any harsh chemicals or cleaners, all you need is distilled water.
To use the steam cleaner, run the nozzle back and forth over the area you want to clean and apply the steam. Do not sit in one area for too long, as this may damage the surface that is being cleaned. You can use a micro-fibre cloth to wipe any excess moisture.
When using the steam cleaner test a small inconspicuous area first to make sure the heat won’t damage the finish or surface. The 915e Power Steamer has several options for cleaning nozzles depending on area and size of the surface you are cleaning.
Once the seats are all clean (if cleaning leather seats) use a leather conditioner to seal and protect the seats. For fabric seats if you end up using the steamer leave some doors and windows open to let them dry out or you could use a small fan to help them dry.
Step 2 – Clean Hard Surfaces and Carpets
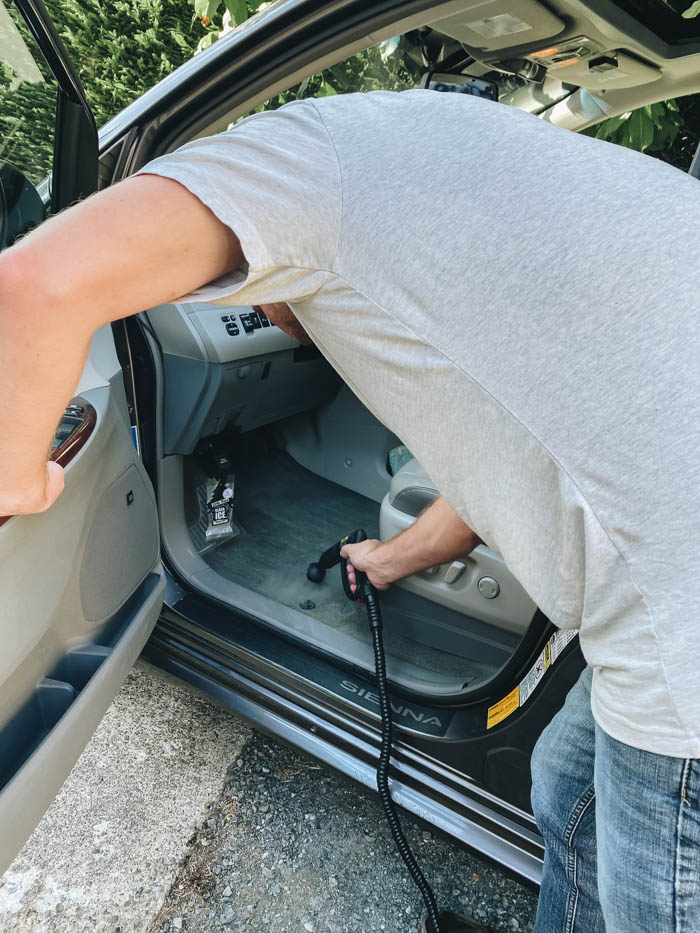
The 915e Power Steamer is a great tool to use to clean any spills on the carpet. Its the same process as on the seats, running the nozzle back and forth over the area you want to clean and applying steam, trying not to sit in one area for too long, and finally using a micro-fibre cloth to wipe any excess moisture. For bad stains on carpet, fabrics, seat belts, etc (no leather or painted surfaces) you can use a mixture of baking soda and hot water (1 part baking soda :1 part warm water), apply paste to stain area and let sit for 10-15 mins. Then to remove, steam clean and suck up excess paste with a vacuum.
Next, wipe down the dash, doors, center console, etc with some soapy water and a micro-fibre cloth. Depending on your vehicle you may have some hard to get to areas. Interior cleaning brushes are a great way to get into those hard to get to corners or small gaps in your vehicle’s interior. The steamer even works great to detail the vents on the dash and remove all the dust!
Step 3 – Clean Glass
Once the rest of the van is clean, clean all the glass in the vehicle. Use a window cleaner solution with paper towel to start. Then to get rid those hard to remove streaks, use a damp Norwex cloth to get that glass perfectly clean.
Step 4 – Final Vacuum
Go over the entire vehicle one final time once all the interior cleaning is complete, this makes sure you get any dust or dirt that was brushed onto the floor when cleaning seats or centre consoles. This way the floor is 100% clean before you reinstall the seats or mats.
Step 5 – Exterior Wash
Rinse
Once the inside is all cleaned you can clean the outside. Depending what is available to you you can just use a garden hose and tigger nozzle to rinse the car. Or if you have a pressure washer you can use that to help wash and rinse a bunch of the dirt off. You want to remove all the mud as best you can so it does not get into the wash mitt and scratch the paint.
Apply Car Wash
Once the car is rinsed you can use car wash and a car wash mitt to apply soap to the vehicle. Again if you have a pressure washer, you can use a foam cannon to apply the soap which works great. Use the mitt to spread the soap around.
Try to not use the same mitt on the painted surfaces that you would use on the tires/rims. Also be careful to not let the mitt sit on the ground so it dose not pick up any rocks or debris that may scratch your paint. Rinse the soap away and you should have a nice shinny vehicle.
Clean Tires and Rims
To get the tires on your vehicle nice and clean, can use comet and a firm brush or a tire cleaner . You can also use a rim cleaner and soft brush to remove any brake dust or dirt and grim from your rims. If your rims aren’t too bad normal car wash and a mitt will also work fine. Just be careful using the same mitt on your paint that you use on your rims – try and use two separate mitts if possible (one for paint and one for tires and rims).
Clean Mats
Rinse or wipe down my vehicles mats when washing the exterior. You can consider switching all your mats out to from the carpet to the plastic all weather mats if you live in a met/muddy/snowy area. Use the power steamer to help clean the mats too (fabric or carpet), it works great to lift off any stains or spills. If you have carpet and they are not too dirty you can just vacuum them. If your mats are really dirty you can consider pressure washing them off.
Troubleshooting
- Road Tar: you have road tar on your car you can use a product like this to help remove the built up tar.
- Tarnished chrome surfaces: You can use SOS pads to help restore the shine to brand new.
- Scratches in your paint: Consider visiting a local auto body shop to see the best route of repair. For small scratches there are some products that you can use to buff them out, just make sure you follow the manufactures recommendations.
- Sandblasted or tarnished headlamps? You can use a headlight restoration kit to help return them to their original finish and look.
DIY Car Detailing Video
You can watch us clean our car on and see the Wagner 915e power steamer in action below! And see where we are moving to and what our new area looks like!
We are so happy with how our car turned out! Now we are ready for our next adventure! If you want to see the steamer in action around the house be sure to check out our post on How to Use a Steam Cleaner [5 Amazing Uses for the Home!].