It’s getting close to that big mystery date! With a baby due sometime in the next two weeks (eek!), I asked some amazing bloggy friends if they would be willing to write some guest posts for me! Please welcome them and show them some love :) Don’t forget to follow along with me on Instagram (any and all baby pictures will appear there first!).
Today, I have the lovely and talented Ruthie, from Refashionably Late sharing an amazing DIY cake stand tutorial. I love this project and I know you will too!

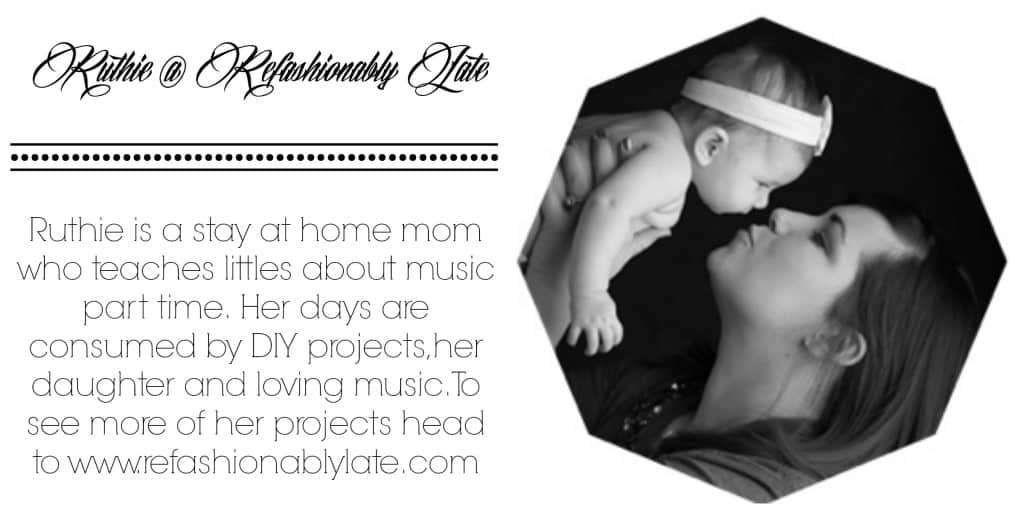
First off thank you so much Lindi for having me today and I hope everything is going smoothly at home. I’m not sure if she has had the baby yet but if not I’m sending baby wishes her way! My name is Ruthie and I blog over at Refashionably Late. I’m a wife and mother of a beautiful little girl, Lucy. My husband and I moved to Minnesota almost two years ago from California and bought a home shortly after. My blog is my journey through home ownership and my time making our house a home.
A couple weeks ago I did a post about how to decorate a beautiful, neutral fall tablescape. I also made this super, yummy recipe for the post. For the full recipe for my delicious Pecan Pie Spice Cake click here. I wanted to display my cake on the table but I did not have a cake stand. I asked all of my neighbors and no one had one either. I thought about going to Home Goods to try and find a cute one but why buy one when I can make one?!
I headed to the dollar store and got materials to make one of my own. I had seen tutorials before where you take a candlestick and plate and make your own so I thought I would give it a try. I found this candle stick and chose this white plate from Dollar Tree.

I got out my secret weapon…gorilla glue…and put a thin layer on the top of the candlestick. It’s hard to see it in the picture as the glue is clear but I outlined the candlestick. I then positioned it onto the plate and gave it a couple hours to dry.

After it was dry I took it outside and spray painted the candlestick white to match the plate. This step isn’t necessary but I wanted it to look like it was attached and not just glued on. :) Once it was dry I then had a perfectly adorable cake stand that only cost me $2!! (I already owned the spray paint.) I’m so glad I spent a whole 10 minutes on this DIY cake stand rather than going to the store and buying. It probably would have taken longer to drive to the store and back then to make it! So next time you are at Dollar Tree grab a candlestick and plate and you can make a cake stand of your own!


Would you have any idea looking at these photos that I glued a candlestick and plate together?! How fun and simple! I love a good DIY project, especially when it’s cheap and easy! Thanks again to Lindi for having me today and I hope that baby makes it’s appearance soon! Have a great week everyone and I would love for you to stop on by and give me a hello!
Recent Posts:
Pinterest ~ Instagram ~ Facebook ~ Bloglovin’ ~ Twitter ~ Hometalk ~ Google+


Laurievs
Friday 2nd of October 2015
This cake stand is lovely - and the cake looks amazing, too!
Emily
Monday 28th of September 2015
Ruthie, I love turning Dollar Tree items into cute projects that otherwise would have cost me a lot more. Your table decor is so pretty and I look forward to checking your blog out!
I hope all is going well with you and the baby, Lindi!