
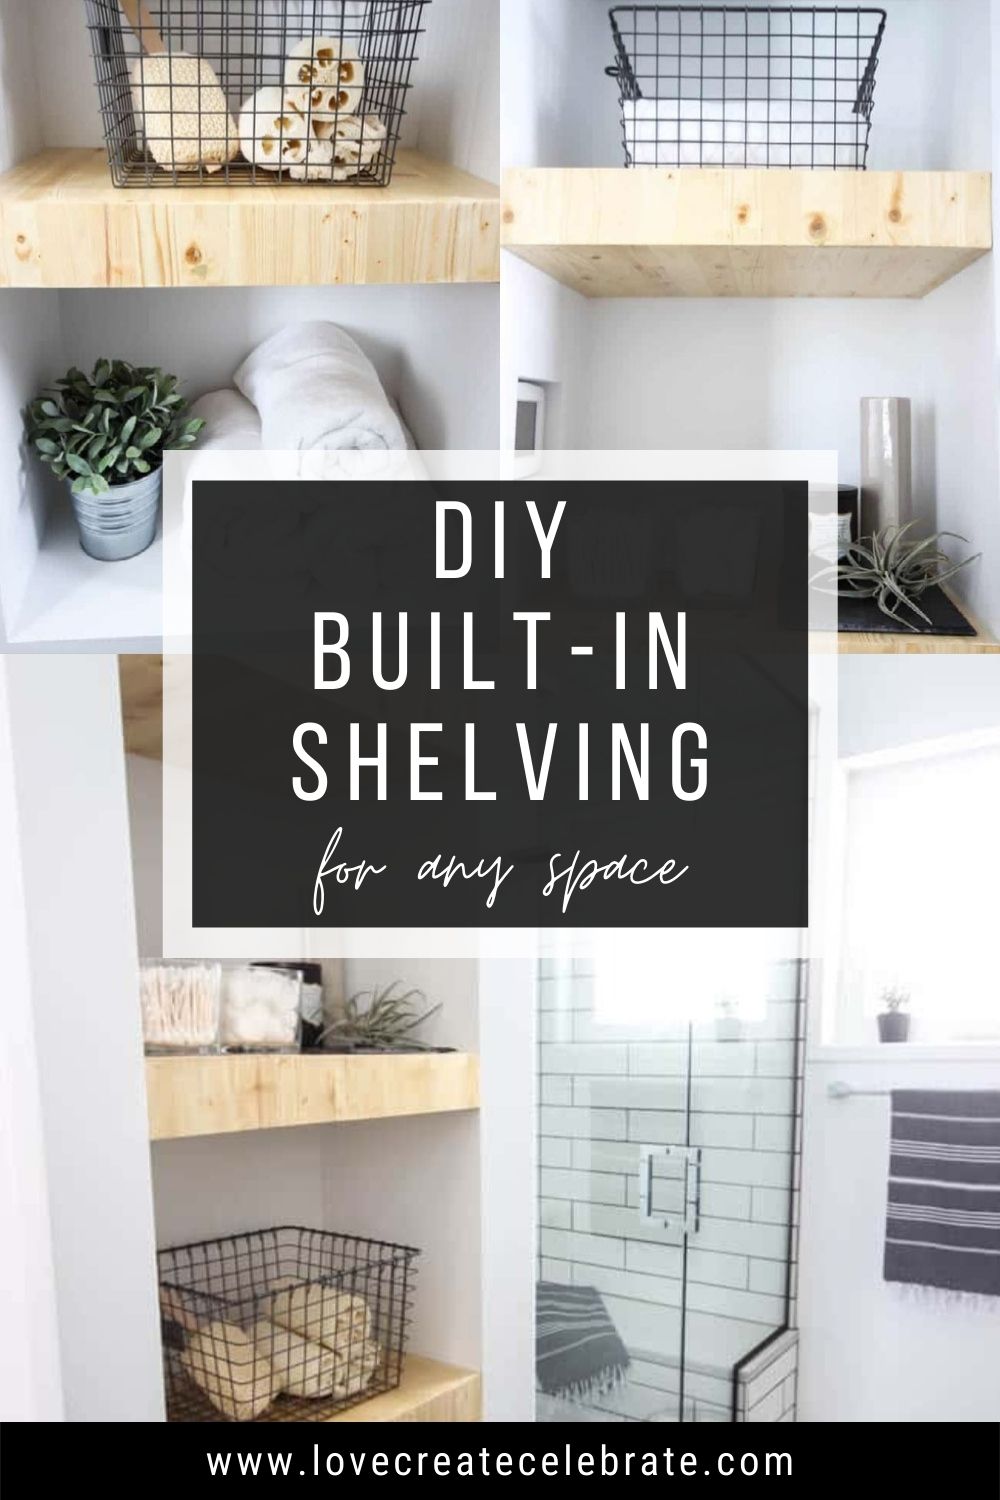
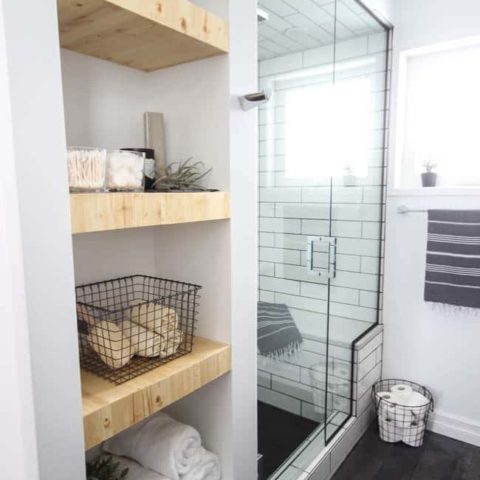
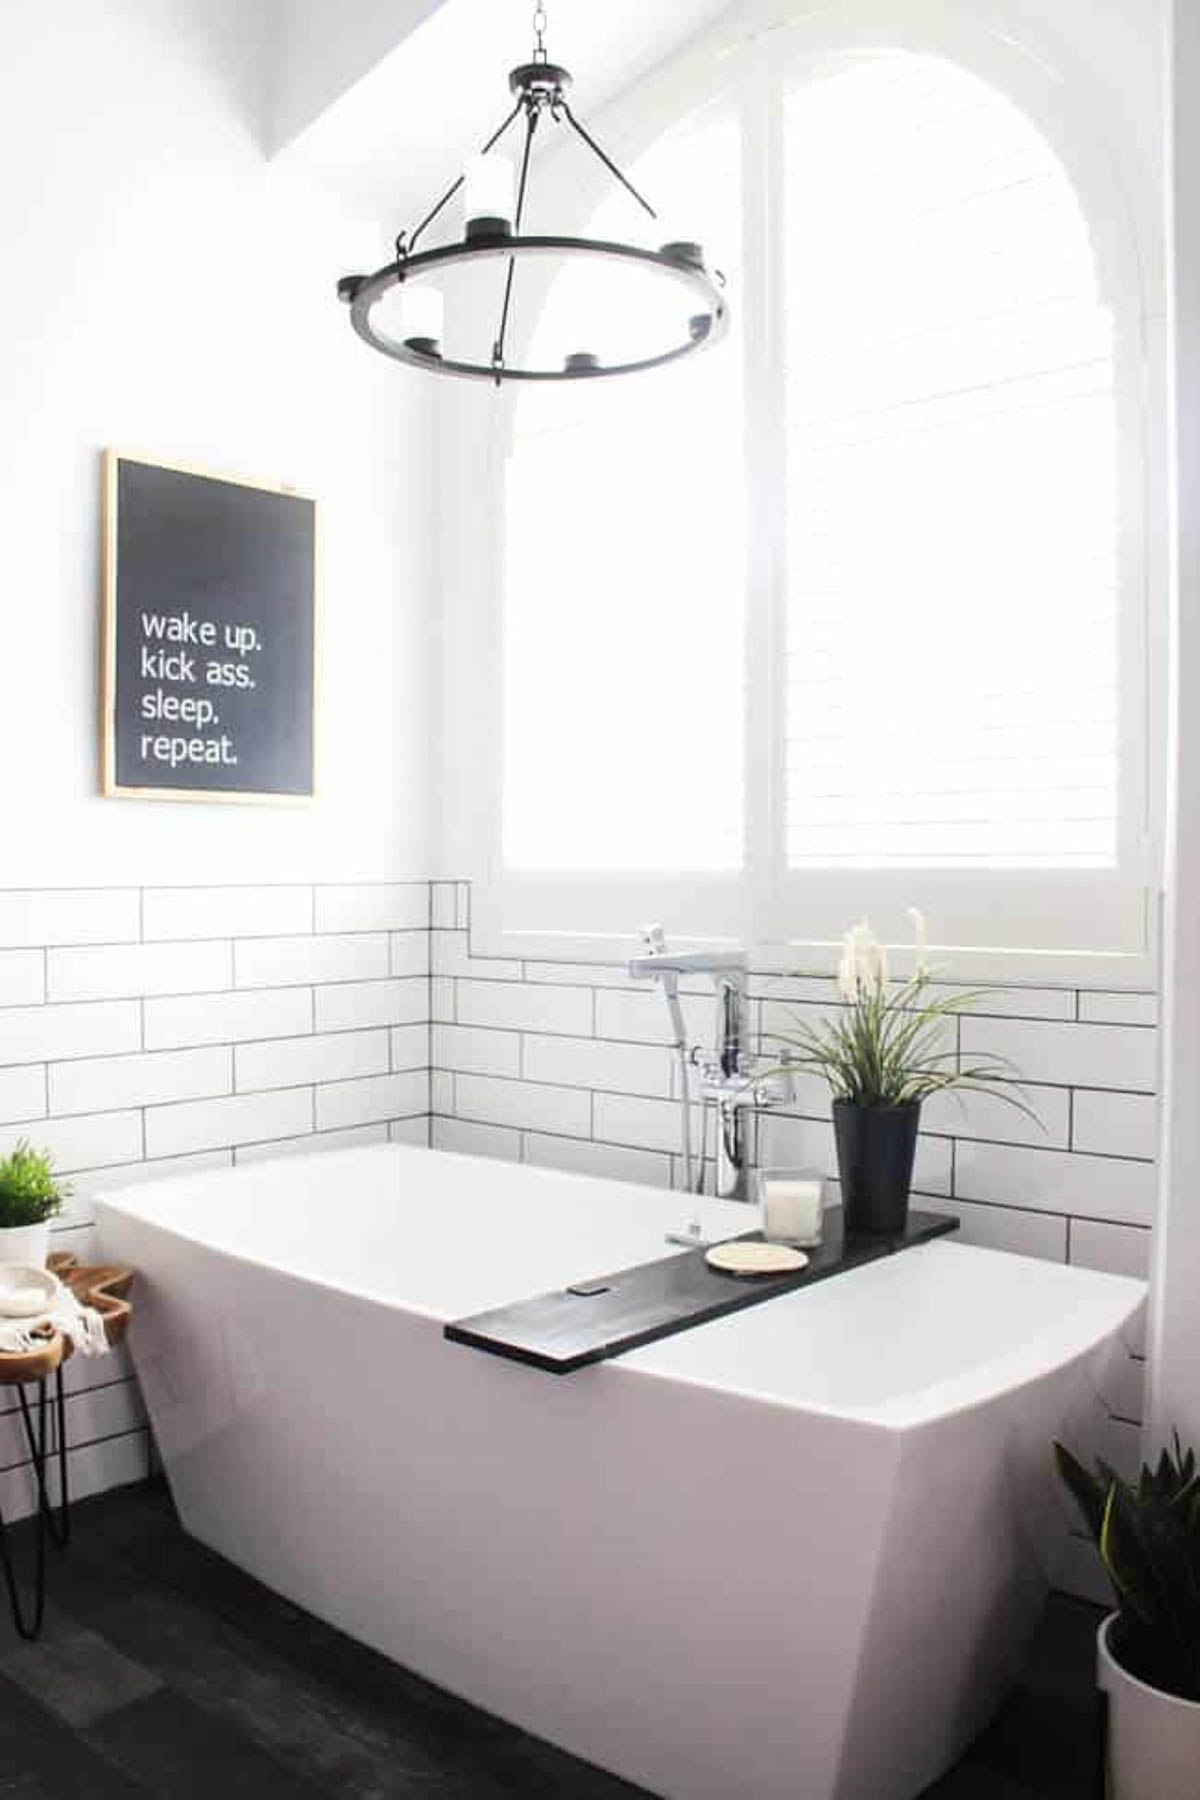
Make your own modern DIY Built-In Shelving with this simple tutorial. Love the natural wood used in this beautiful bathroom renovation!
I love these types of projects; DIY Projects that you can easily modify and recreate for any space or room. When we removed the closet doorway here, I knew we wanted to use this space for built-in shelving.
Built-in shelving is the best way to use those “wasted spaces,” like corners, hallways, and walls. This DIY Built-In Shelving turned out to be one of my favorite projects of the entire bathroom renovation!
*This post may contain affiliate links for your convenience. For more information, please read my disclosure policy.*
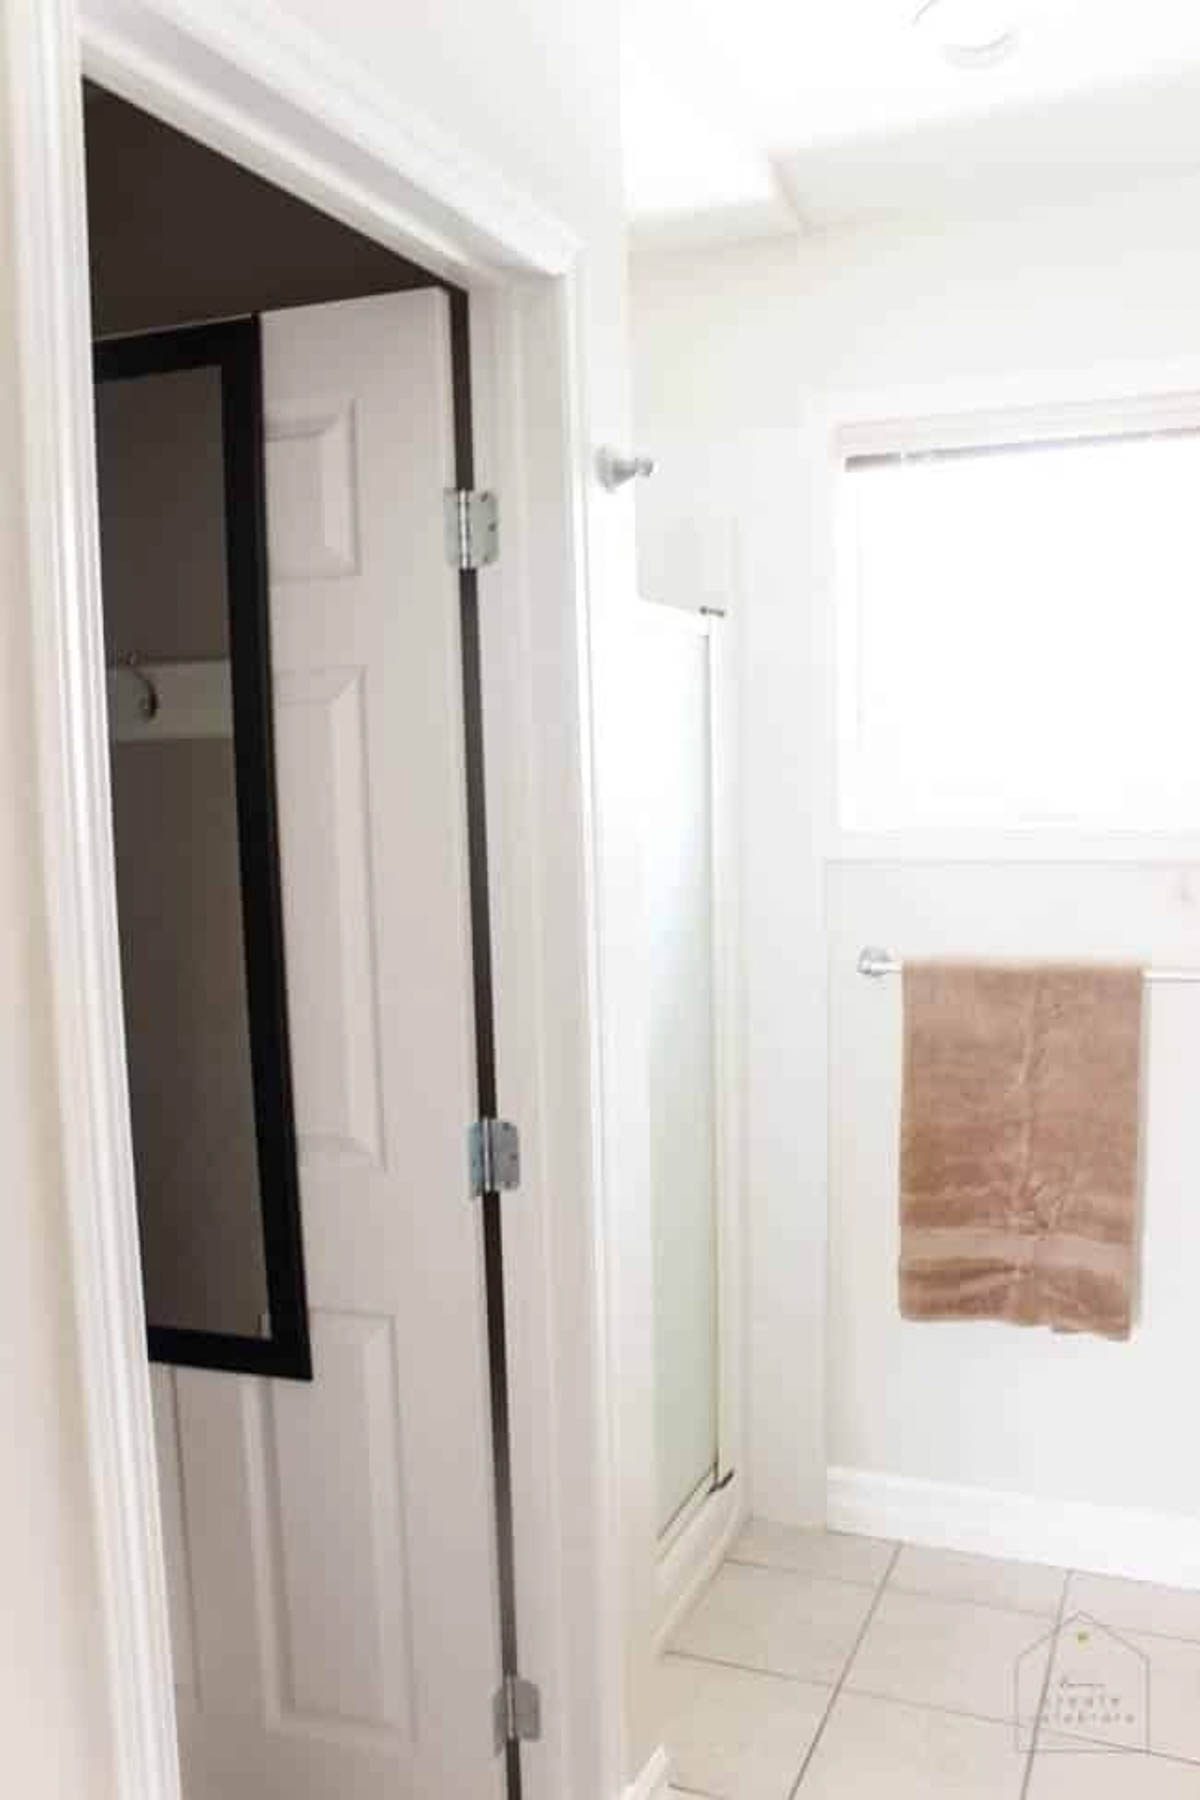
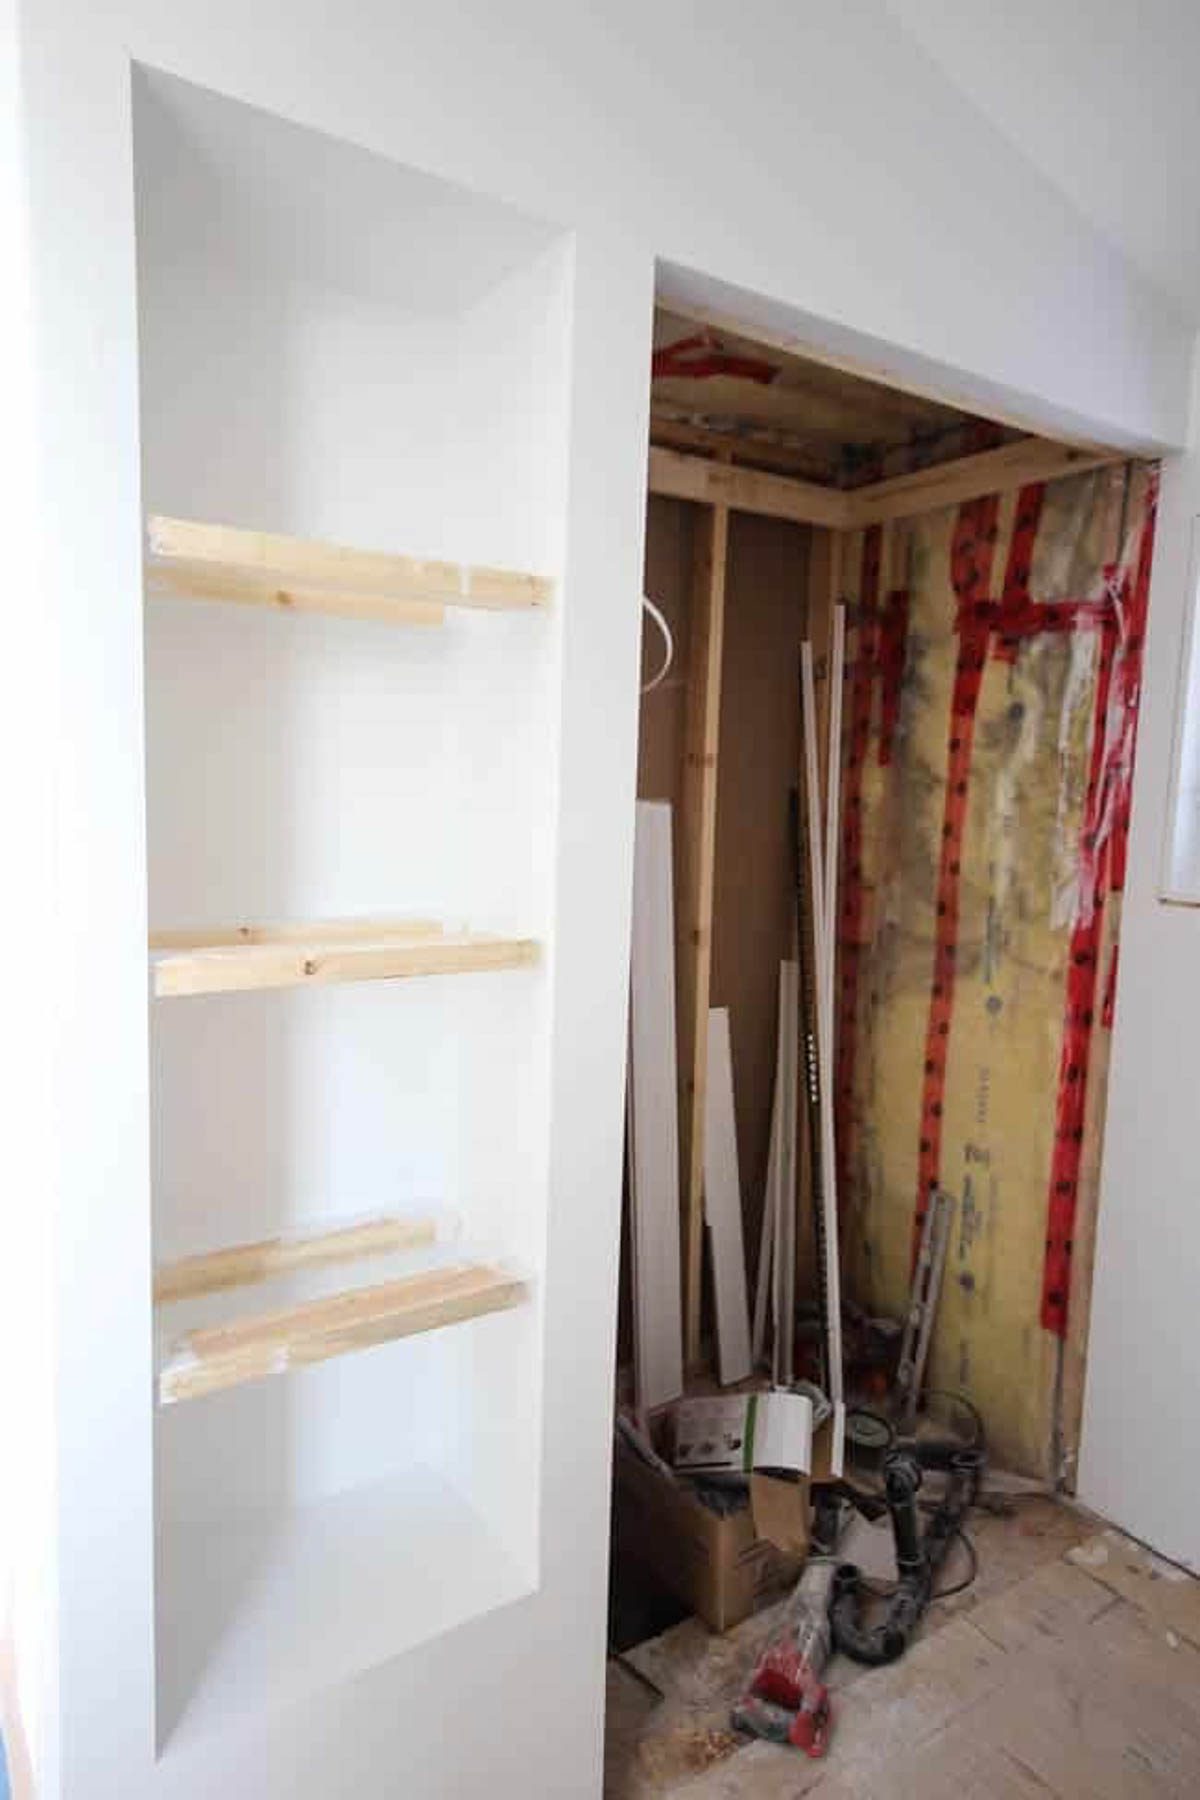
This is the “before” picture. The doorway that you see in the above photo was there before we moved it and shifted the entire layout around.
We took out the doorway and added a barn door on the other side of the wall to give a new access point for our closet. The switch left us with an open space along this wall, which was perfect for some new DIY built-in shelving!
Materials Needed:
3/4″ thick MDF boards
2×4 wood boards
Pine shelf board
Tools Needed:
Circular Saw
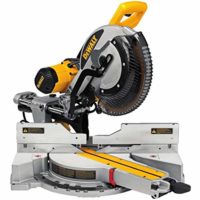
Mitre Saw
Drill
Screws
How to Make Your DIY Built-In Shelving
There are a few steps to making these built-ins fit like a glove. If you build them properly, most of your guests will wonder how you did it!
Measuring Your Opening
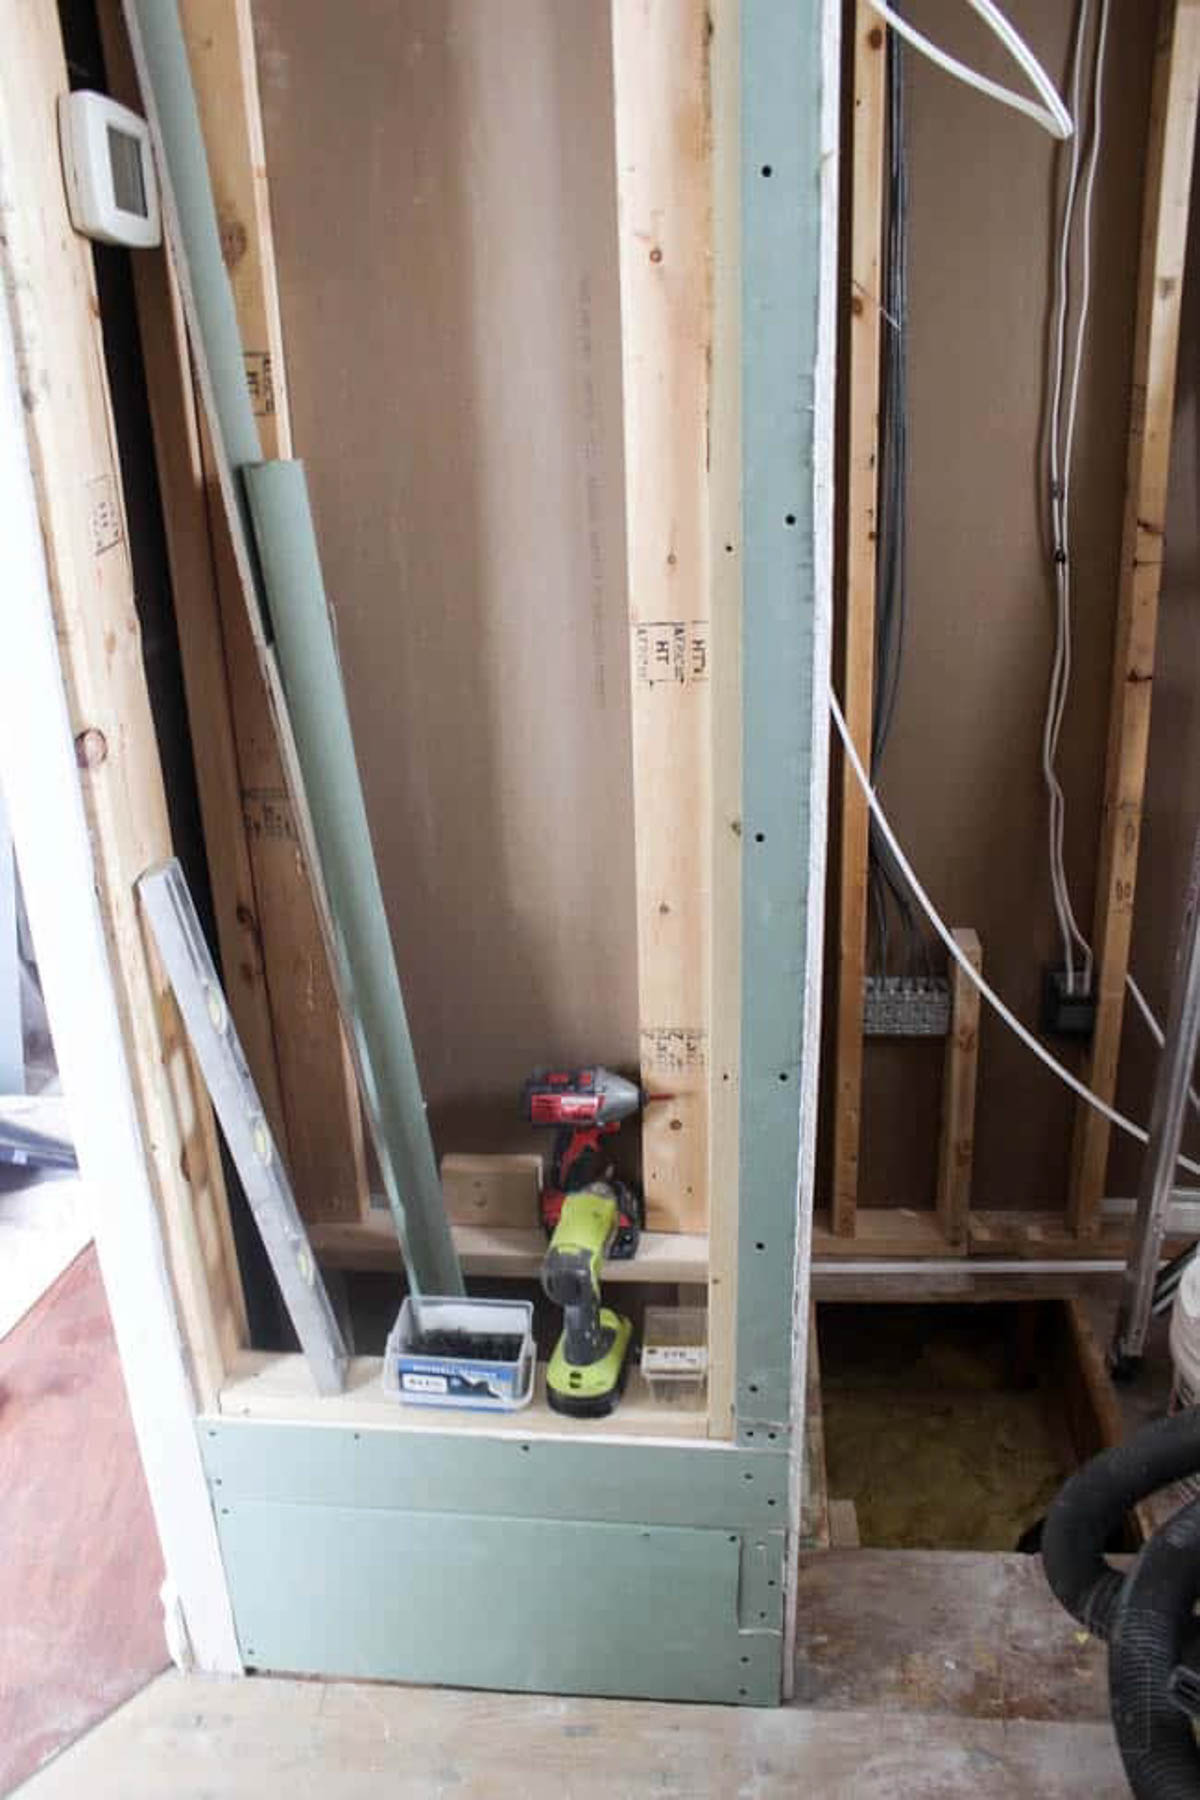
The first step is to build an MDF box that you will fill with 2×4 shelving.
Start by measuring your opening to determine your outside dimensions of your built-ins. You need to find the height, width and depth. We had framed our opening with 2x4s before starting our shelving project, so that we would have pieces to nail/screw into.
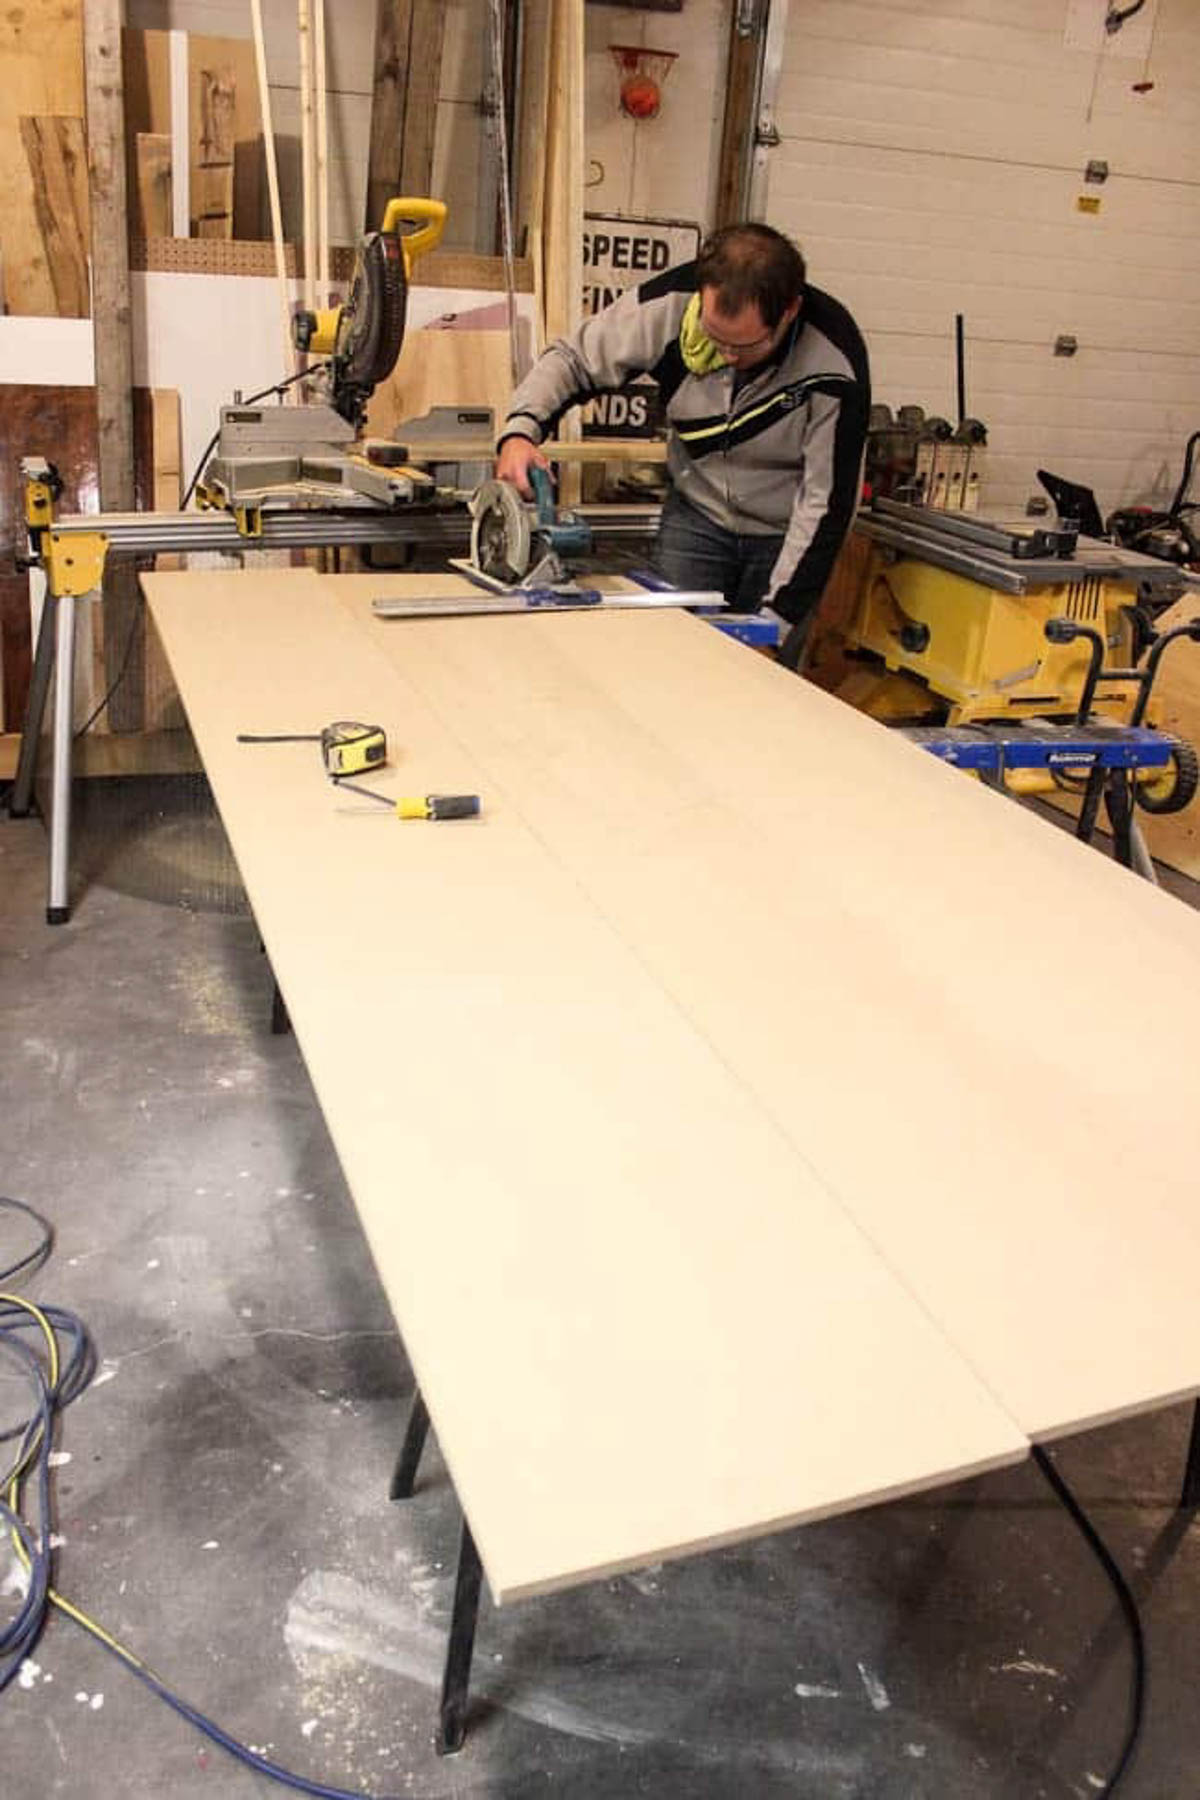
Cutting Your MDF Box
Next, cut your pieces for the box using MDF. You need to cut a back piece, two side pieces, a top and a bottom board according the measurements to collected.
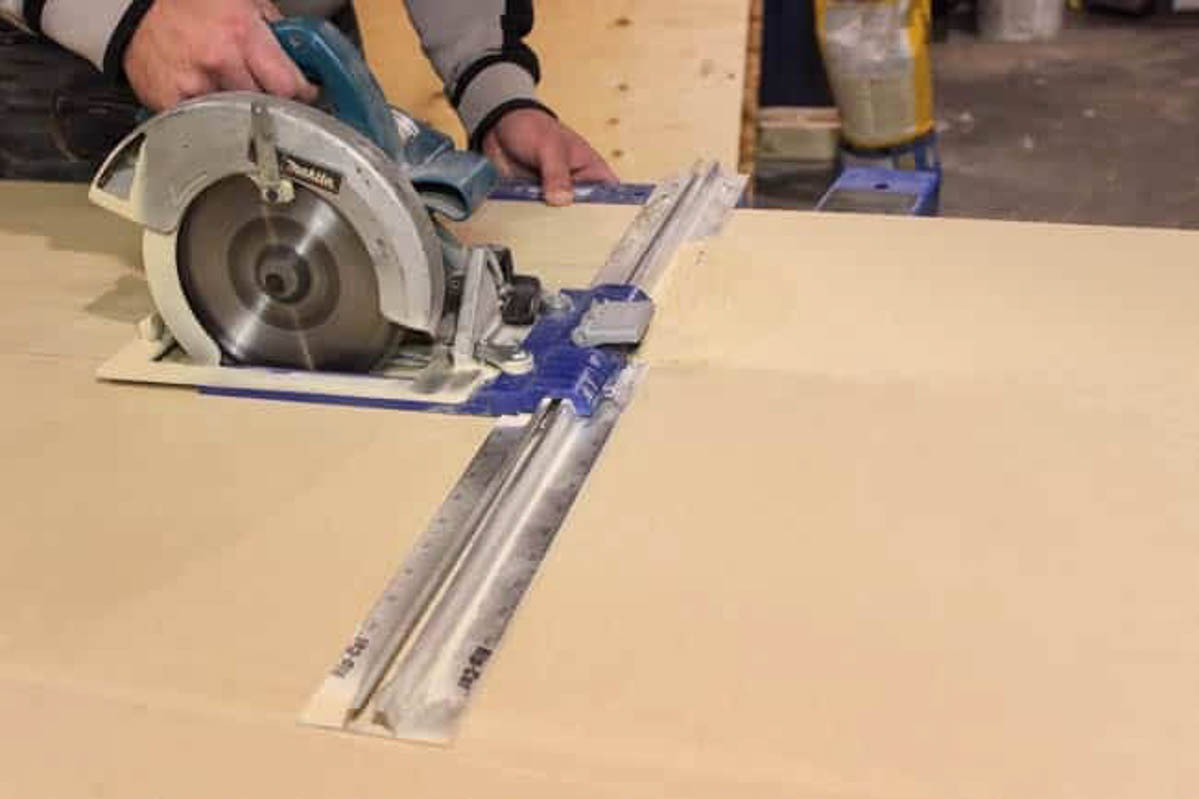
We used a rip-cut to easily make the straight cuts for this box – it connects to your circular saw to make perfectly straight cuts. Remember to consider the thickness of the material you are using when you cut your sides and back pieces.
Constructing the MDF box and Shelves
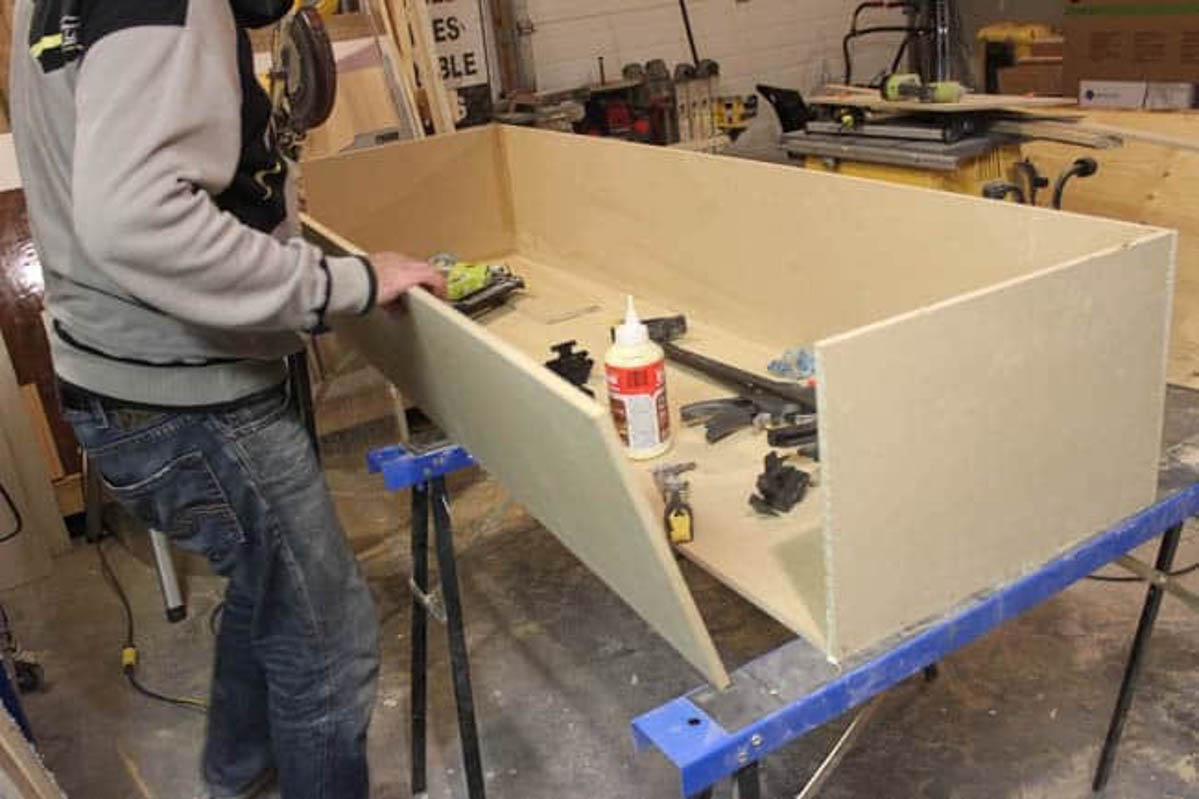
The next step is to put your MDF box together. Dry fit the four sides and back all together. We used clamps to temporarily hold all the pieces together. If you’ve able, you can bring the entire box into your space and make sure it fits perfectly into your opening.

Before assembling, we pre-drilled the holes (pilot hole and counter sunk bit) at all the joints; we did 3 holes per joint. When you’re ready and confident that everything to to size, remove the clamps, glue the edges, and screw the box back together.
Next, lay out your shelves inside the box. We divided the box into 4 equal spaces to make three shelves total.
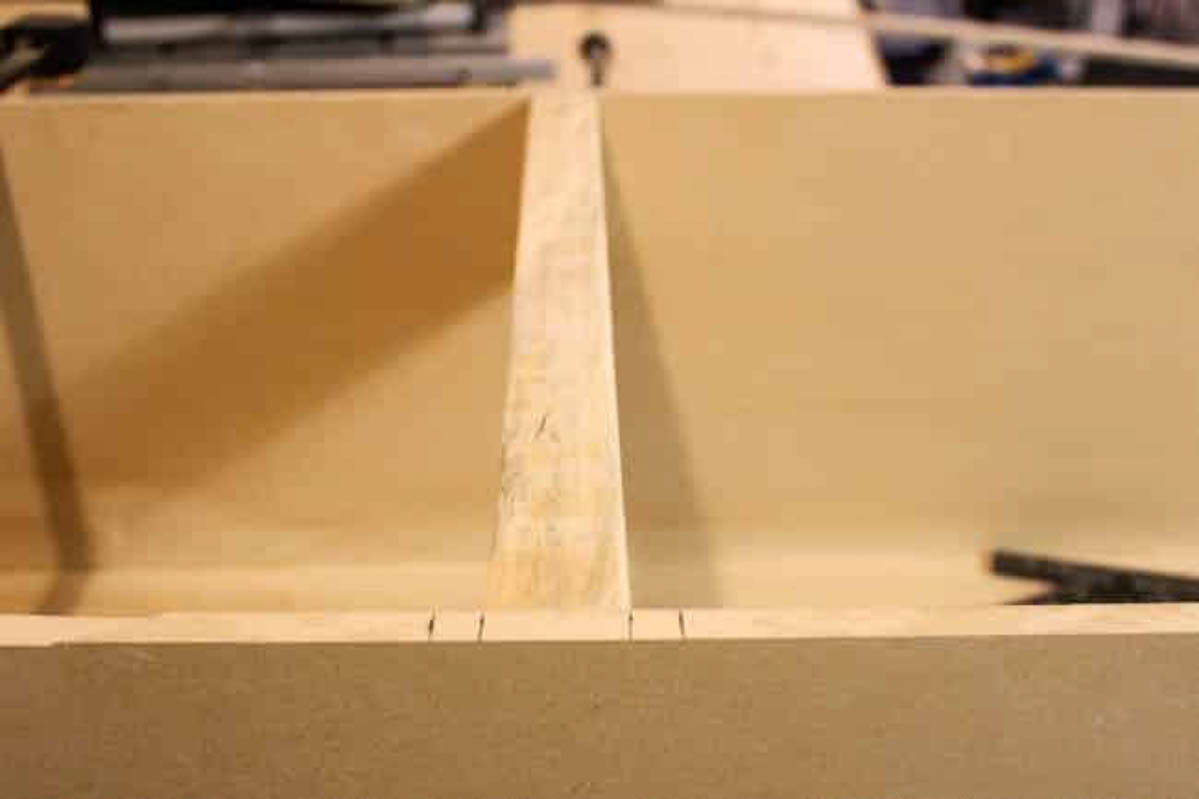
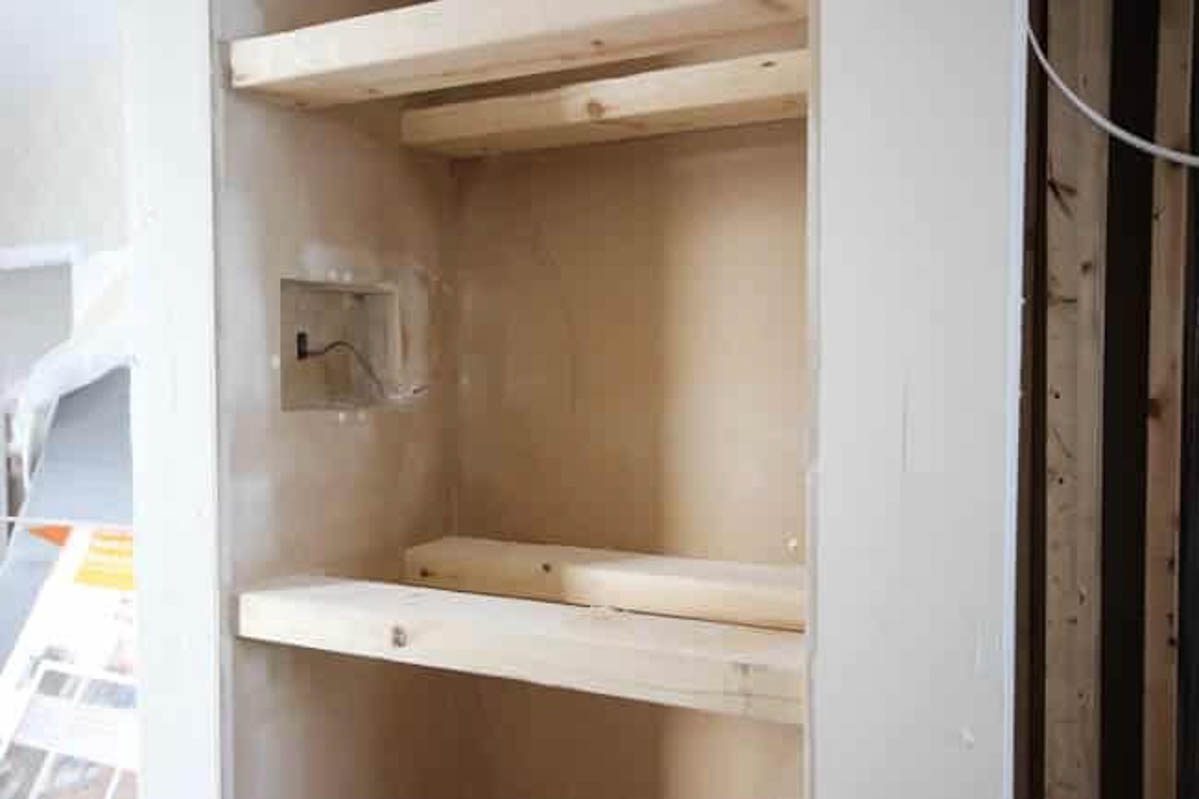
Put 2x4s at the front and back of the box where you want the shelves to sit. These boards will be used to attach your shelves. Once you have cut your shelf frames cut, glue and screw them into place.
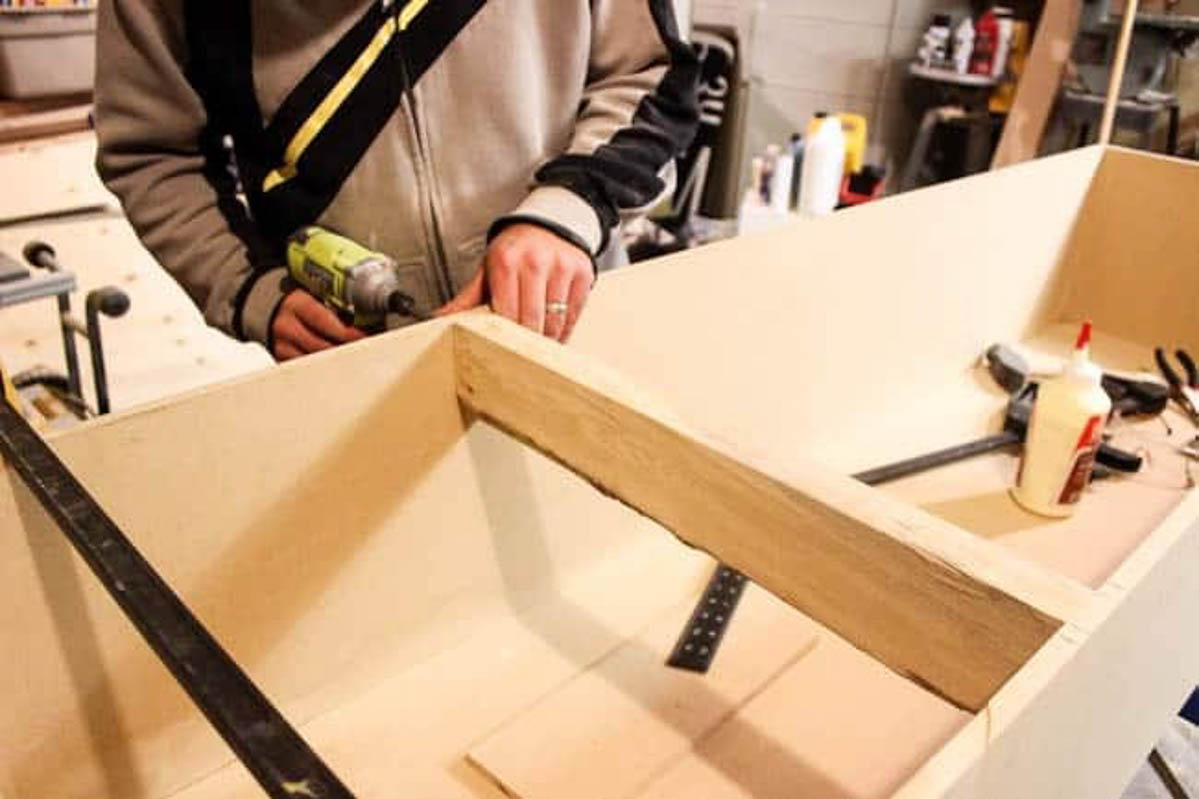
Below is what the shelf will look like with the 2x4s in place at the front and back. You can see there is a small space left at the front. That space is the width of our pine shelf board, which you are using for the actual shelf. The space is left at the front so that the shelves will be flush with the wall.
Installing the MDF Box in Place
Bring your MDF box to your space and put it in place. Install the MDF box, making sure it is level and screw to your structure. Ensure that it’s screwed into the studs and watch out for utilities in the walls (electrical, plumbing, etc). Putty and touch up finish as required.

You can install trim to finish the box (around edge of box and onto drywall), or you can tape and use drywall putty to blend it into the drywall to achieve a smooth flush transition, like we did.
If you choose to try and tape it into the drywall, router/groove the outside edge of the MDF box slightly (about 1/8″) to allow room for the drywall tape and mud. Putty any screw holes, then, sand, prime, and paint the MDF case.
Build Pine Board Shelves for Built-in Shelving
Measure the inside dimensions of your box where the shelves will go. Each shelf will require 3 pieces: a top, a front, and a bottom. The front board will have a 45 degree cut on the top and bottom, the bottom and top boards will have a 45 degree on the side facing the front board.
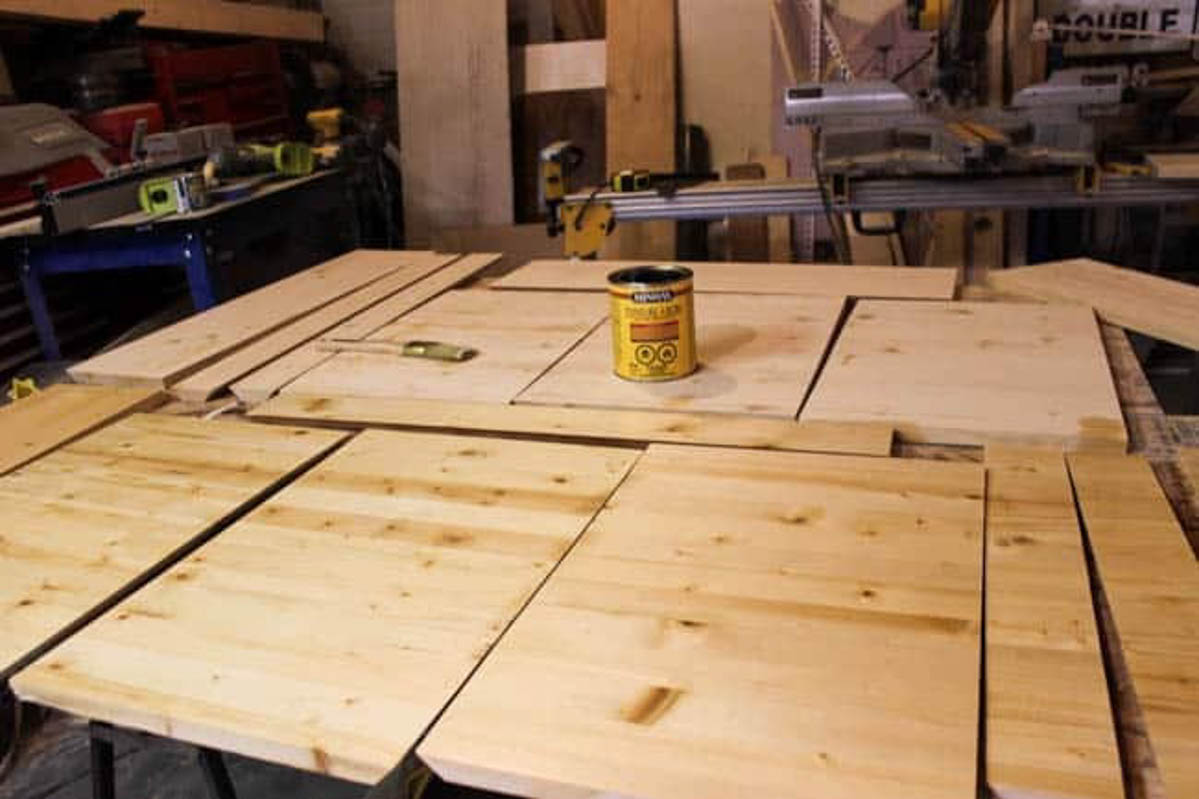
When you are measuring the front board, remember to take into account the thickness of the shelf material. Cut all of your pine boards, keep the wood grain the same for the entire shelf when possible (top, front, and bottom).
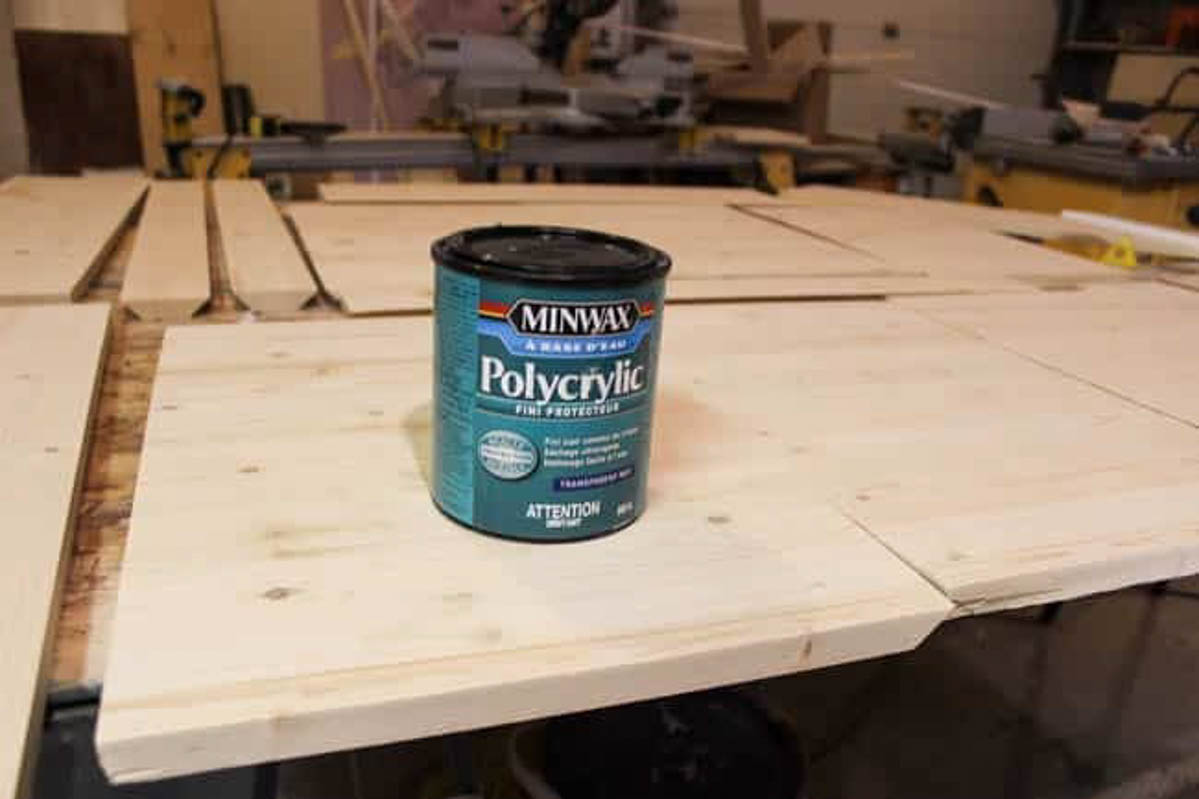
You can see the top board below (under the polycrylic) with one straight edge and one 45 degree edge.
Finishing
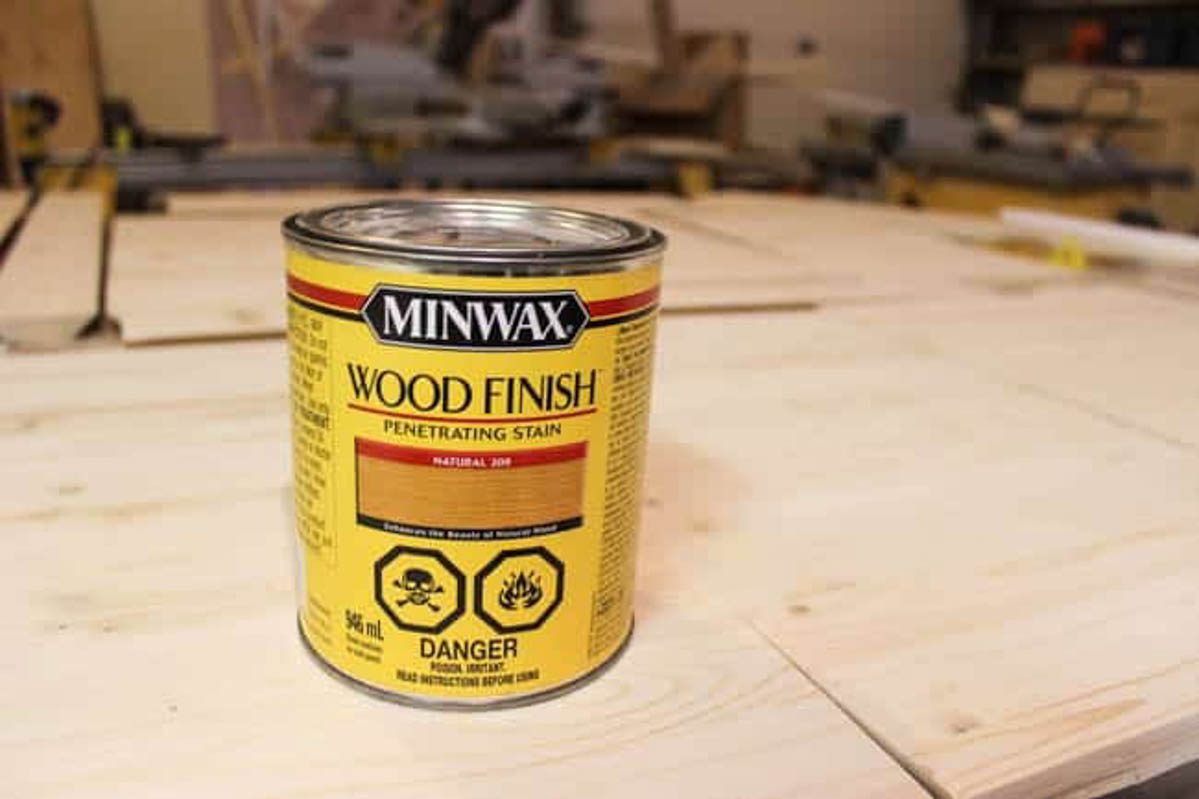
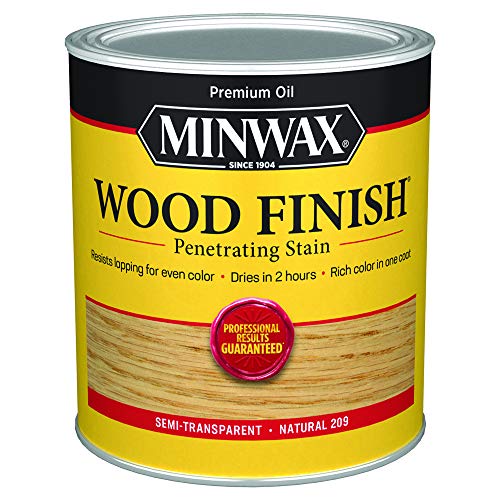
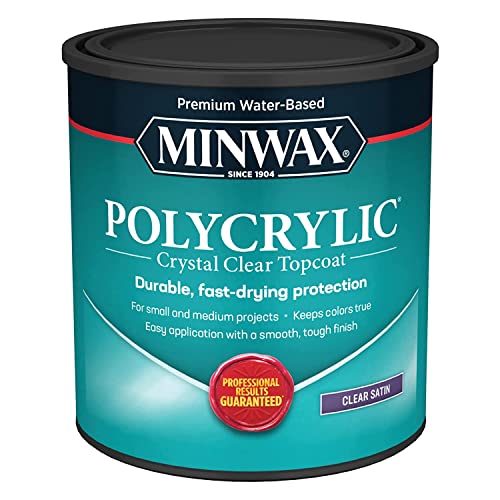
If you are using wood, stain and varnish the shelves prior to installing in the MDF case. If you are using MDF shelves, prime and paint them. I used my Natural Wood Stain from Minwax. When that was dry, I protected everything with Polycrylic.
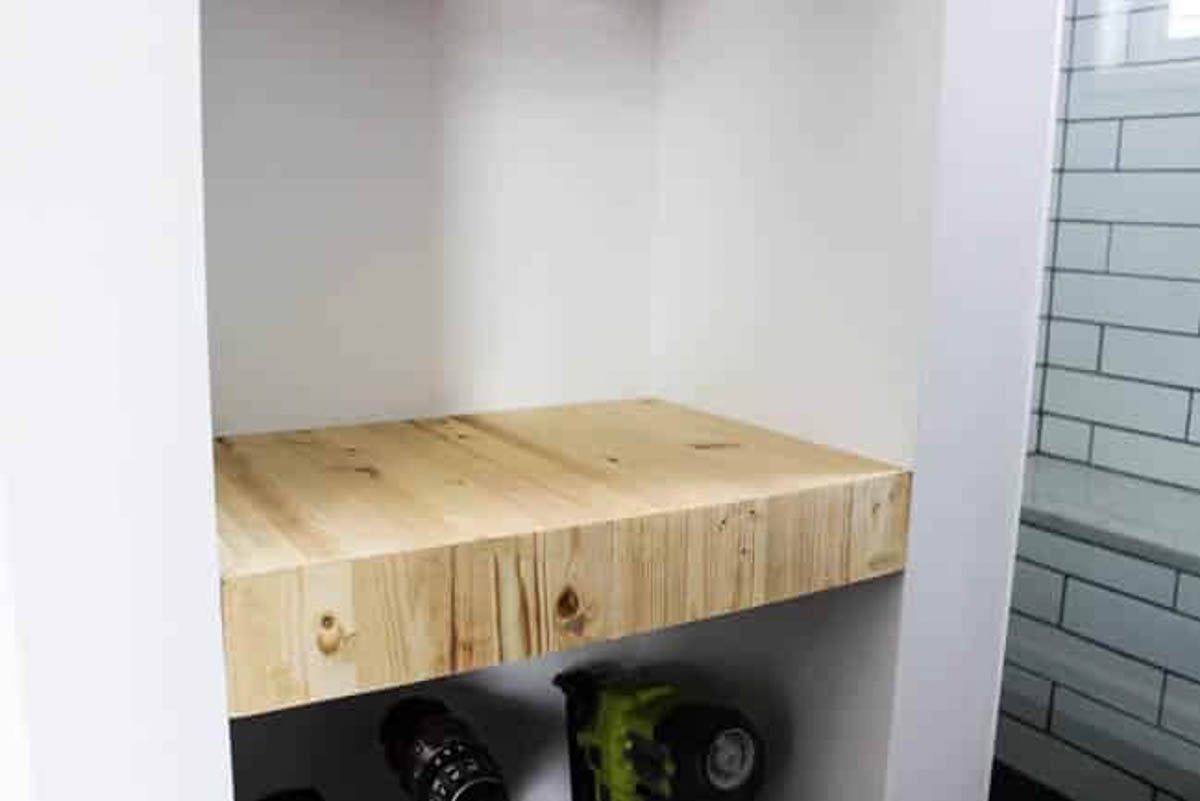
Attach the shelves to the 2x4s in the MDF case. We used glue and finish nails. You can see how the grain of the wood remains the same across the top and front pieces of the shelving.
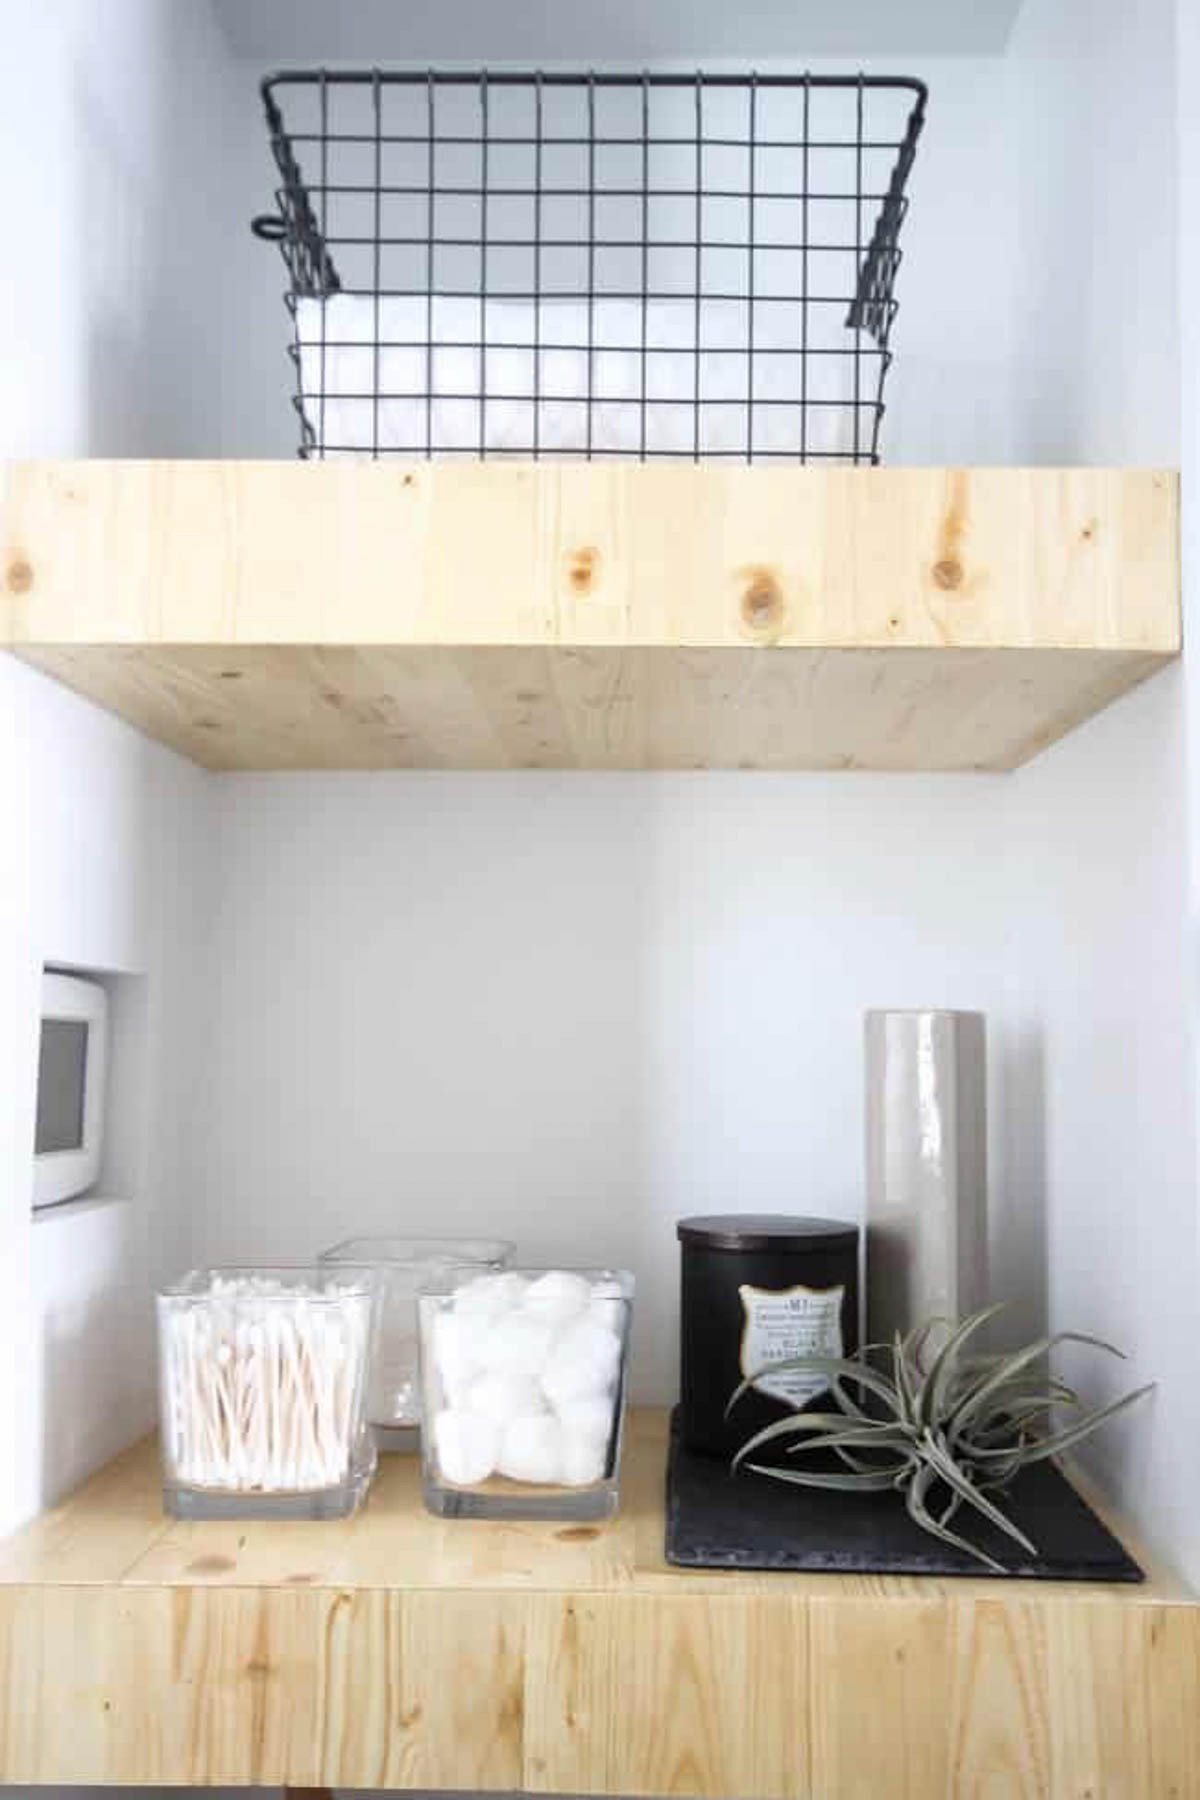
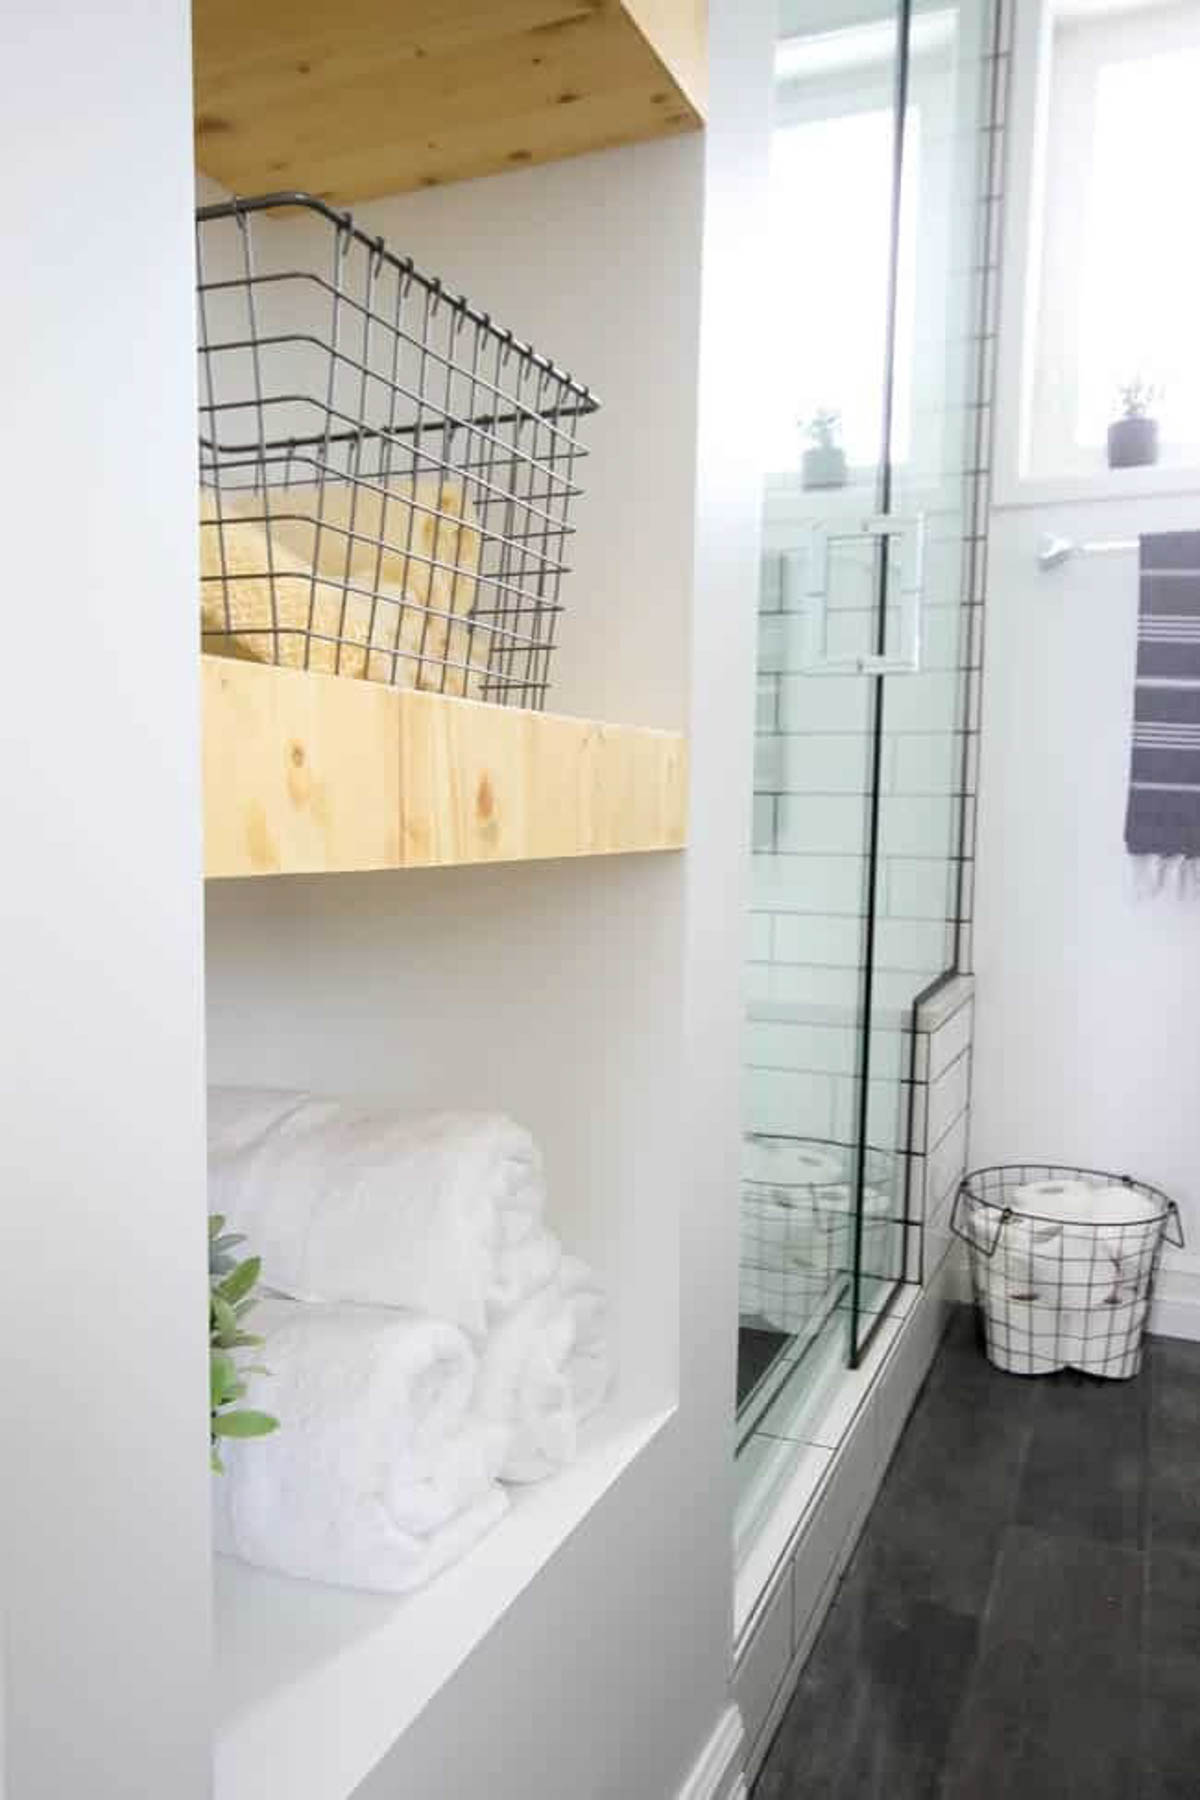
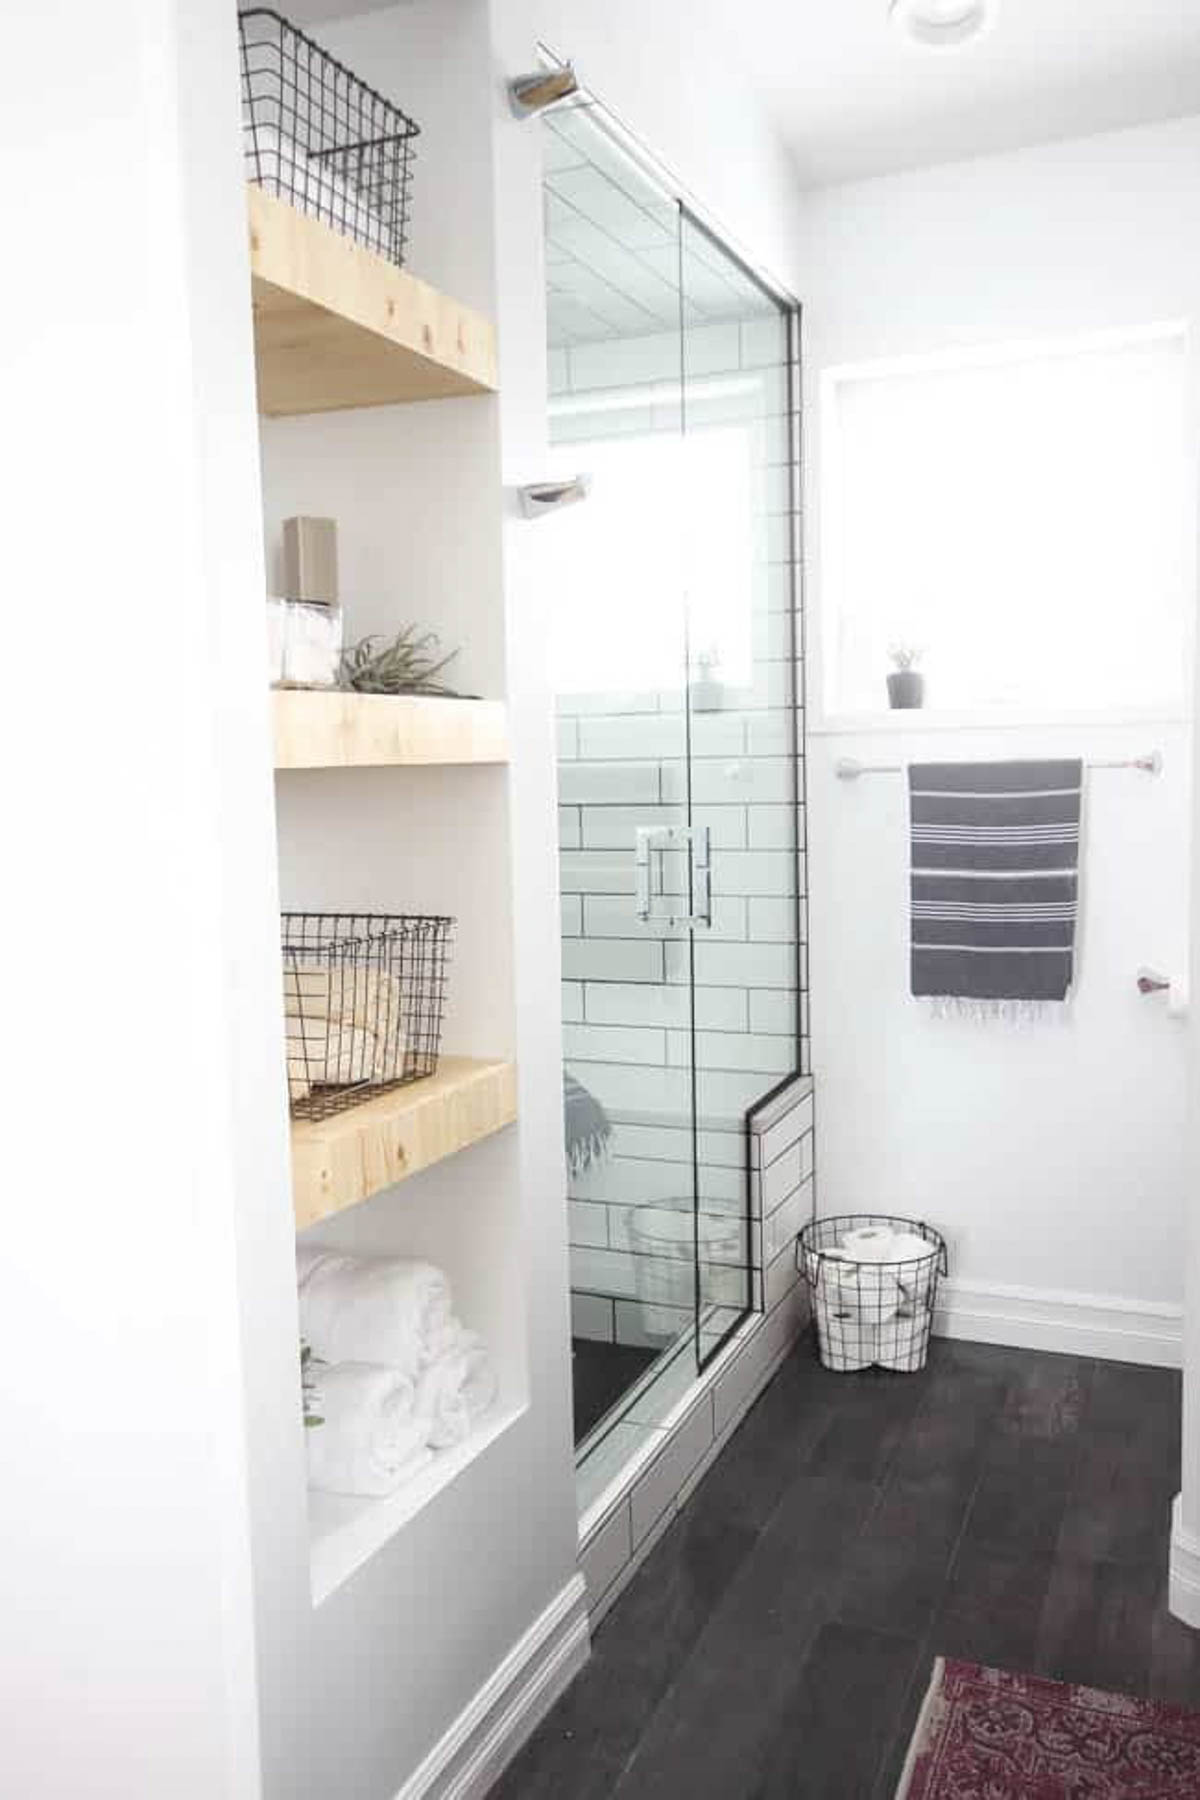
Our Finished Built-In Shelving
Now, enjoy your new DIY built-in shelving! I LOVE the look of these shelves in our renovated ensuite!
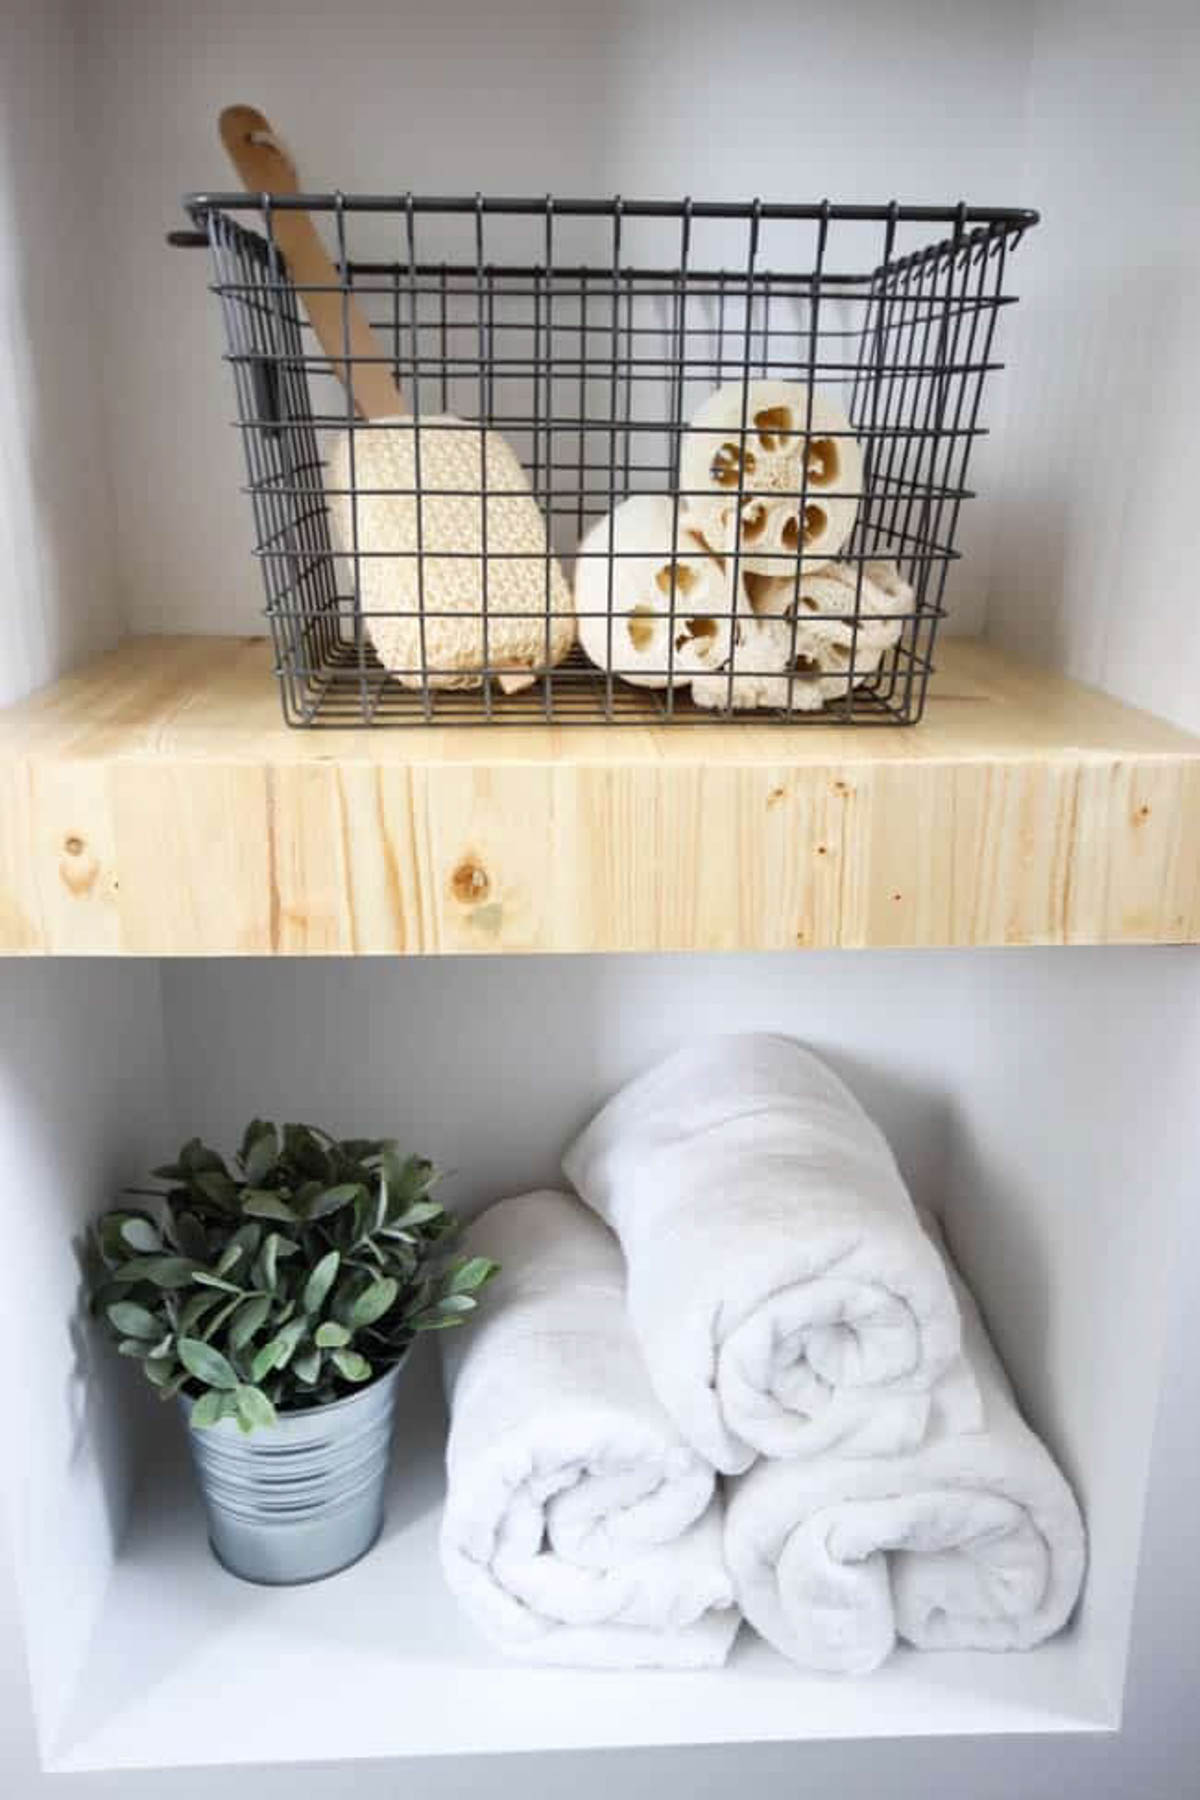
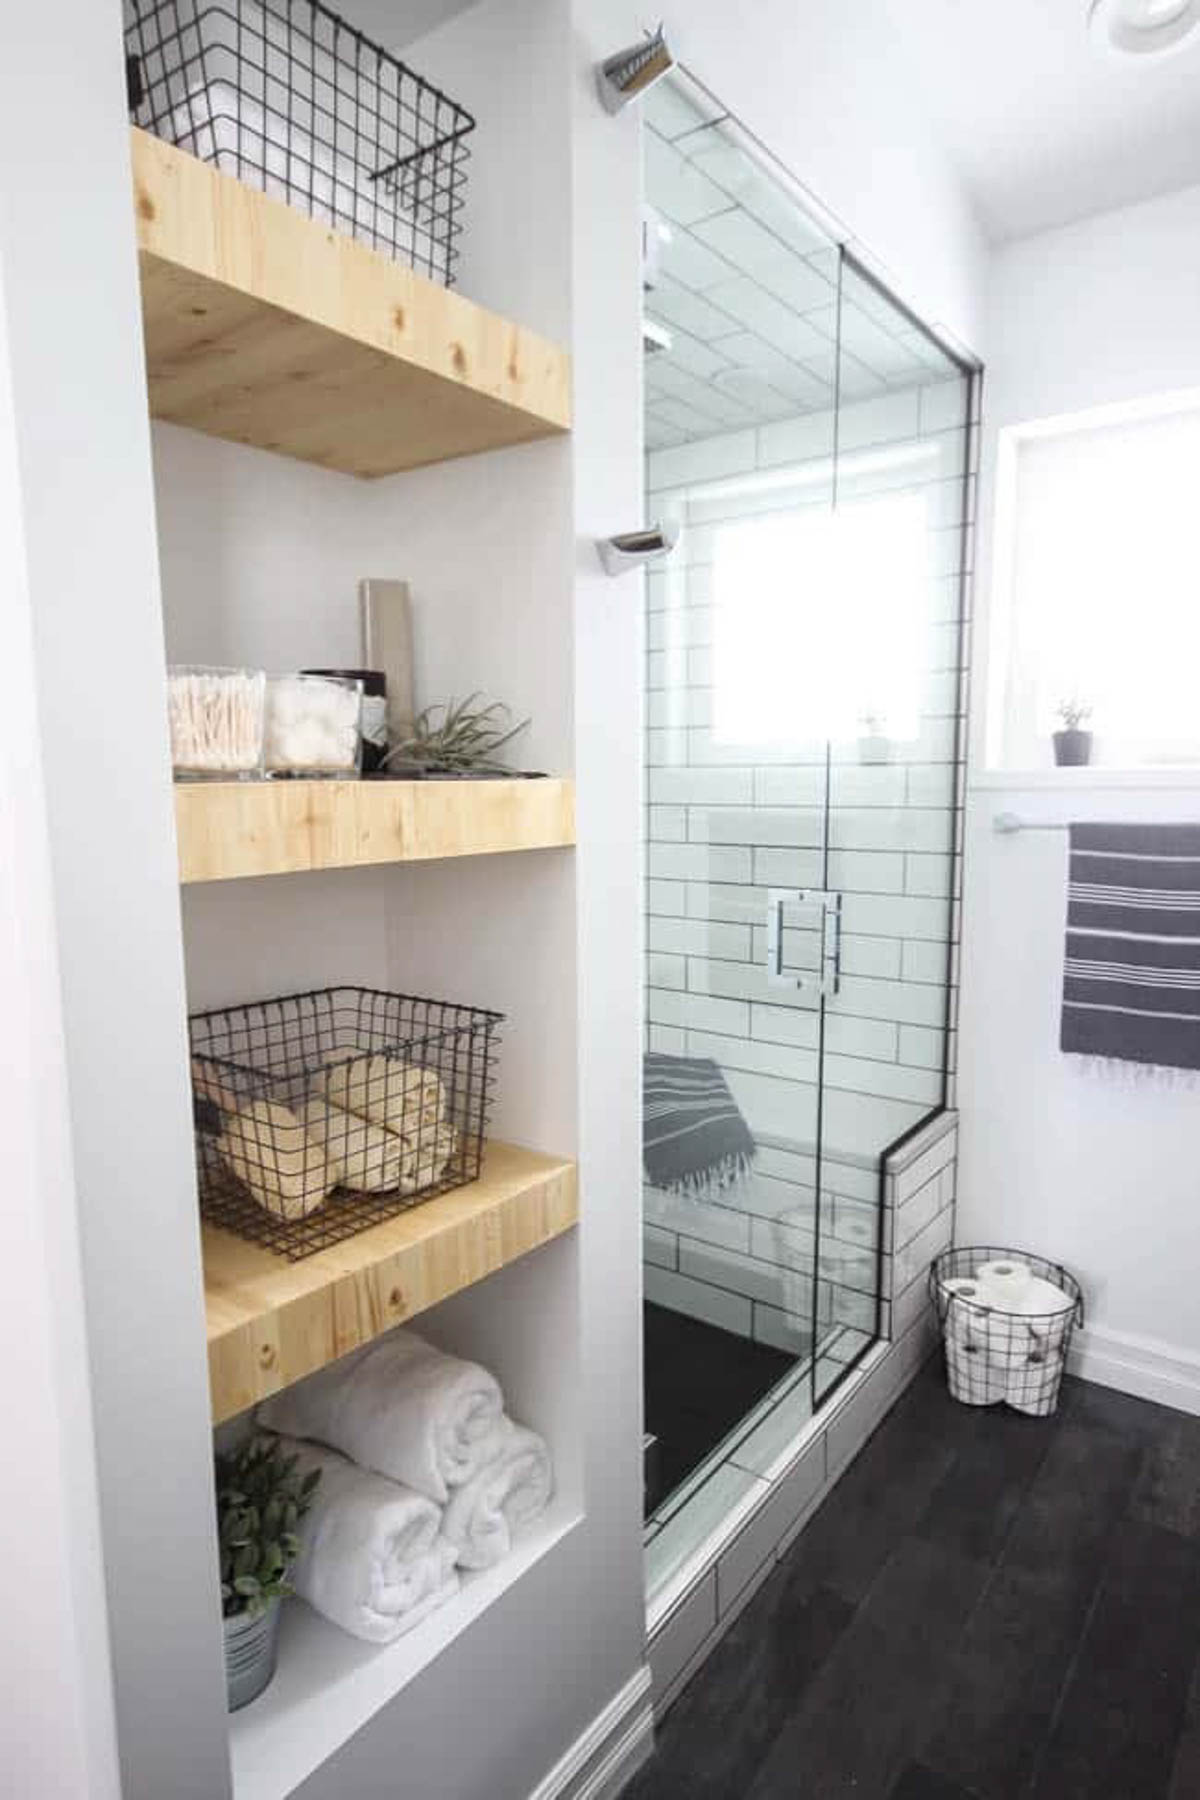
I’m really happy that we chose to go with a natural wood stain. I love the look of the natural wood against our white paint. The shelves are not only practical, but also beautiful.
DIY Built-In Shelving
Make your own modern DIY built-in shelving with this simple tutorial. Love the natural wood used in this beautiful bathroom renovation! Great tutorial for shelving in the bedroom, living room, or any room!
Materials
- 3/4" thick MDF boards
- 2x4 wood boards
- Wood Stain of Your Choice
- Polycrylic
- Pine shelf board
Tools
- Kreg Rip Cut
- Circular Saw
- Mitre Saw
- Drill
- Screws
Instructions
- Start by measuring your opening to determine your outside dimensions (confirm outside width, height, and depth) of your built-ins. (i.e. measure the box you are filling up with shelving
- Next, cut the pieces for the box using MDF (the back portion, 2 sides, a top and a bottom board). We used a rip-cut to easily make the straight cuts. Remember to consider the thickness of the material you are using when you cut your sides and back piece.
- Construct your MDF box and dry fit the four sides and back all together.
- Before assembling, we pre-drilled the holes (pilot hole and counter sunk bit) at all the joints. When ready, remove the clamps, glue the edges, and screw the box back together.
- Lay out your shelves inside the box. We divided the box into 4 equal spaces. Put 2x4s at the front and back of the box where you want the shelves to sit. Once you have cut your 2x4s, glue and screw them into place.
- Leave space at the front for the width of your pine shelf board so that the shelves will be flush with the wall.
- Bring your entire MDF box up to your space and put it in place.
- You can install trim to finish the box (around edge of box and onto drywall), or you can tape and use drywall putty to blend it into the drywall to achieve a smooth flush transition (this is what we did). If you choose to try and tape it into the drywall, router/groove the outside edge of the MDF slightly (about 1/8") to allow room for the drywall tape and mud. Putty any screw holes, then, sand, prime, and paint the MDF case.
- Install the MDF box in place. Level and screw to structure. Ensure that it's screwed into the studs and watch out for utilities in the walls (electrical, plumbing, etc). Putty and touch up finish as required.
- Measure the inside dimensions of your box where the shelves will sit. Each shelf will require 3 pieces of wood: a top, a front, and a bottom. The front board will have a 45 degree cut on the top and bottom, the bottom and top boards will have a 45 degree on the side facing the front board.
- If you are using wood, stain and varnish the shelves prior to installing them onto in the MDF case. If you are using MDF shelves, prime and paint them.
- Attach the shelves to the 2x4s in the MDF case. We used glue and finish nails.
Recommended Products
As an Amazon Associate and member of other affiliate programs, I earn from qualifying purchases.


See the full, beautiful Modern Bathroom Renovation!

Stephanie Knific
Saturday 1st of January 2022
Wow. This looks great. And, I love your metal baskets for storage. I am doing something similar in my bathroom. Do you recall where you purchased the wire baskets? They are very nice and I'm having a difficult time finding just the right kind - which you have!
Lindi
Thursday 6th of January 2022
Hey! I couldn't find the exact baskets again, but there are some options on Wayfair that may work, including these ones: https://rstyle.me/+PgwzksoFGoOwZVEobGBu_w
John K
Saturday 13th of March 2021
Good morning......love, love, love this idea. I have 16 inches of dead space behind our toilet and I am looking to build this exact unit (wish me luck)....possible you could also send me the diagram you mentioned above? Would be very much appreciated. If [email protected]
Lindi
Thursday 18th of March 2021
Sent it to you!
25 Brilliant Built-in Bathroom Shelf and Storage Ideas to Keep You Organized with Style - WordPress Web Sitesi
Sunday 26th of January 2020
[…] Source: lovecreatecelebrate.com […]
Warren
Monday 5th of November 2018
This is awesome. I want to do this!
You mention a routered edge in the mdf. I’m just curious on how you made the mdf to drywall corner so seamless, without causing a mud build up that throws off the pine edge
Lily
Sunday 27th of December 2020
Could you please send me the same diagram! Love this project - going to give it a shot. [email protected]
Lindivs
Tuesday 6th of November 2018
Hey! If you send me an e-mail, I can send you a quick diagram! It's easier than writing it out, lol. Send it to lindi (at) lovecreatecelebrate.com
27 Brilliant Built-in Bathroom Shelf and Storage Ideas to Keep You Organized with Style – My Decor – Home Decoration
Monday 19th of March 2018
[…] Source: lovecreatecelebrate.com […]