
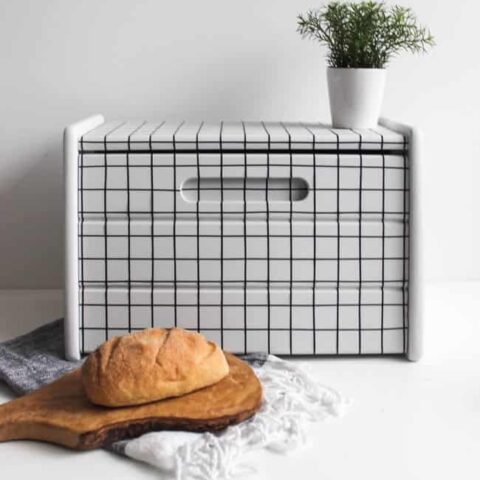
Looking for an amazing and easy DIY project? This bread box transformation is stunning. Amazing modern makeover with just a few simple steps.

Did you catch my kitchen makeover post? We are renovating our kitchen in a weekend! It’s going to be a huge job and we still aren’t sure if it’s all going to work, lol. But renovating the kitchen means that we need to update a few of our accessories too. Enter the battered old bread box for the DIY bread box makeover…

I don’t even know where we originally got this bread box, but it now looks like something you could pick up in a thrift store. It wasn’t hard to convince myself that it needed some love.

Materials
Homeright Finish Max paint sprayer
Paint
Measuring tape
Optional Materials
Sharpie or black paint, OR
Cricut Machine and black outdoor vinyl

How to update your bread box:
Start by setting up your spray shelter. We just popped ours up in the garage to avoid getting paint on any of our tools. I opted for a paint sprayer for this project instead of paint brushes because the piece has so many edges and crannies—I didn’t want to spend a ton of time digging in and painting and getting paint all over my arms, lol.


Next, fill your paint sprayer‘s pot with the paint of your choice.

Before you start using your paint sprayer, use an old piece of cardboard to experiment with. You can adjust the the volume of paint you release, and the spray patterns (horizontal, vertical, and circular). We used the vertical setting. Once you’re ready, spray your piece.

When the exterior is dry, open up your paint sprayer and paint the inside of the bread box as well. Each time you stop, make sure to follow the directions and clean your sprayer well.

It hardly took any time at all to paint this guy! And given the number of corners, nooks, and crannies, I have no doubt that a brush would’ve taken a lot longer! Now I’m itching to use it on a bigger piece… lol.
Now, we can add our pattern!

How to add the pattern:
When I was planning out this project, I honestly thought the easiest thing to do would be to cut vinyl using my Cricut machine and and stick it on to make my pattern! The best vinyl for the job is the outdoor vinyl. It sticks very well and is wipeable (which is perfect for the kitchen).
If you want to use your Cricut, you can access my Cricut Design File HERE!!
(you can check out this post to see how to print your Cricut Design Space File!)

Once you have your vinyl strips cut out, measure all sides of your bread box and put a pencil tick at one inch increments.

Add your cut vinyl pieces across the face and top of your bread box.

Cut the edges of your strips of vinyl so that they don’t hang off.

Once all of your horizontal strips are done, you can add the vertical ones.

I just used a pencil to help me tap the vinyl into any of the divots or cracks. Finish the front and the top, and you’ve got a brand new modern bread box with this DIY bread box makeover!
I didn’t think I was talented enough to use a sharpie or paint, but if you have a steady hand, that’s another great affordable option for adding the modern design!

What do you think of our new modern bread box makeover? I’m so in love with the crisscross pattern, I want to add it to everything.


I can’t wait to have this guy on the counter in my new kitchen! What’s the first thing that you would use your paint sprayer on??

DIY Bread Box Makeover
Looking for an amazing and easy transformation project? This DIY bread box makeover is stunning and easy to accomplish with just a few simple steps.
Materials
- Paint
- Sharpie
- Vinyl
- Measuring tape
Tools
- Paint sprayer gun
- Spray shelter
- Cricut machine
Instructions
- Put up spray tent to protect your space
- Fill spray painter with paint
- Paint the bread box as desired
- Use Cricut to cut out vinyl strips(if using vinyl)
- Measure one inch width for each line and mark with pencil
- Apply vinyl(or use sharpie) line
- Use pencil to push vinyl into crevices
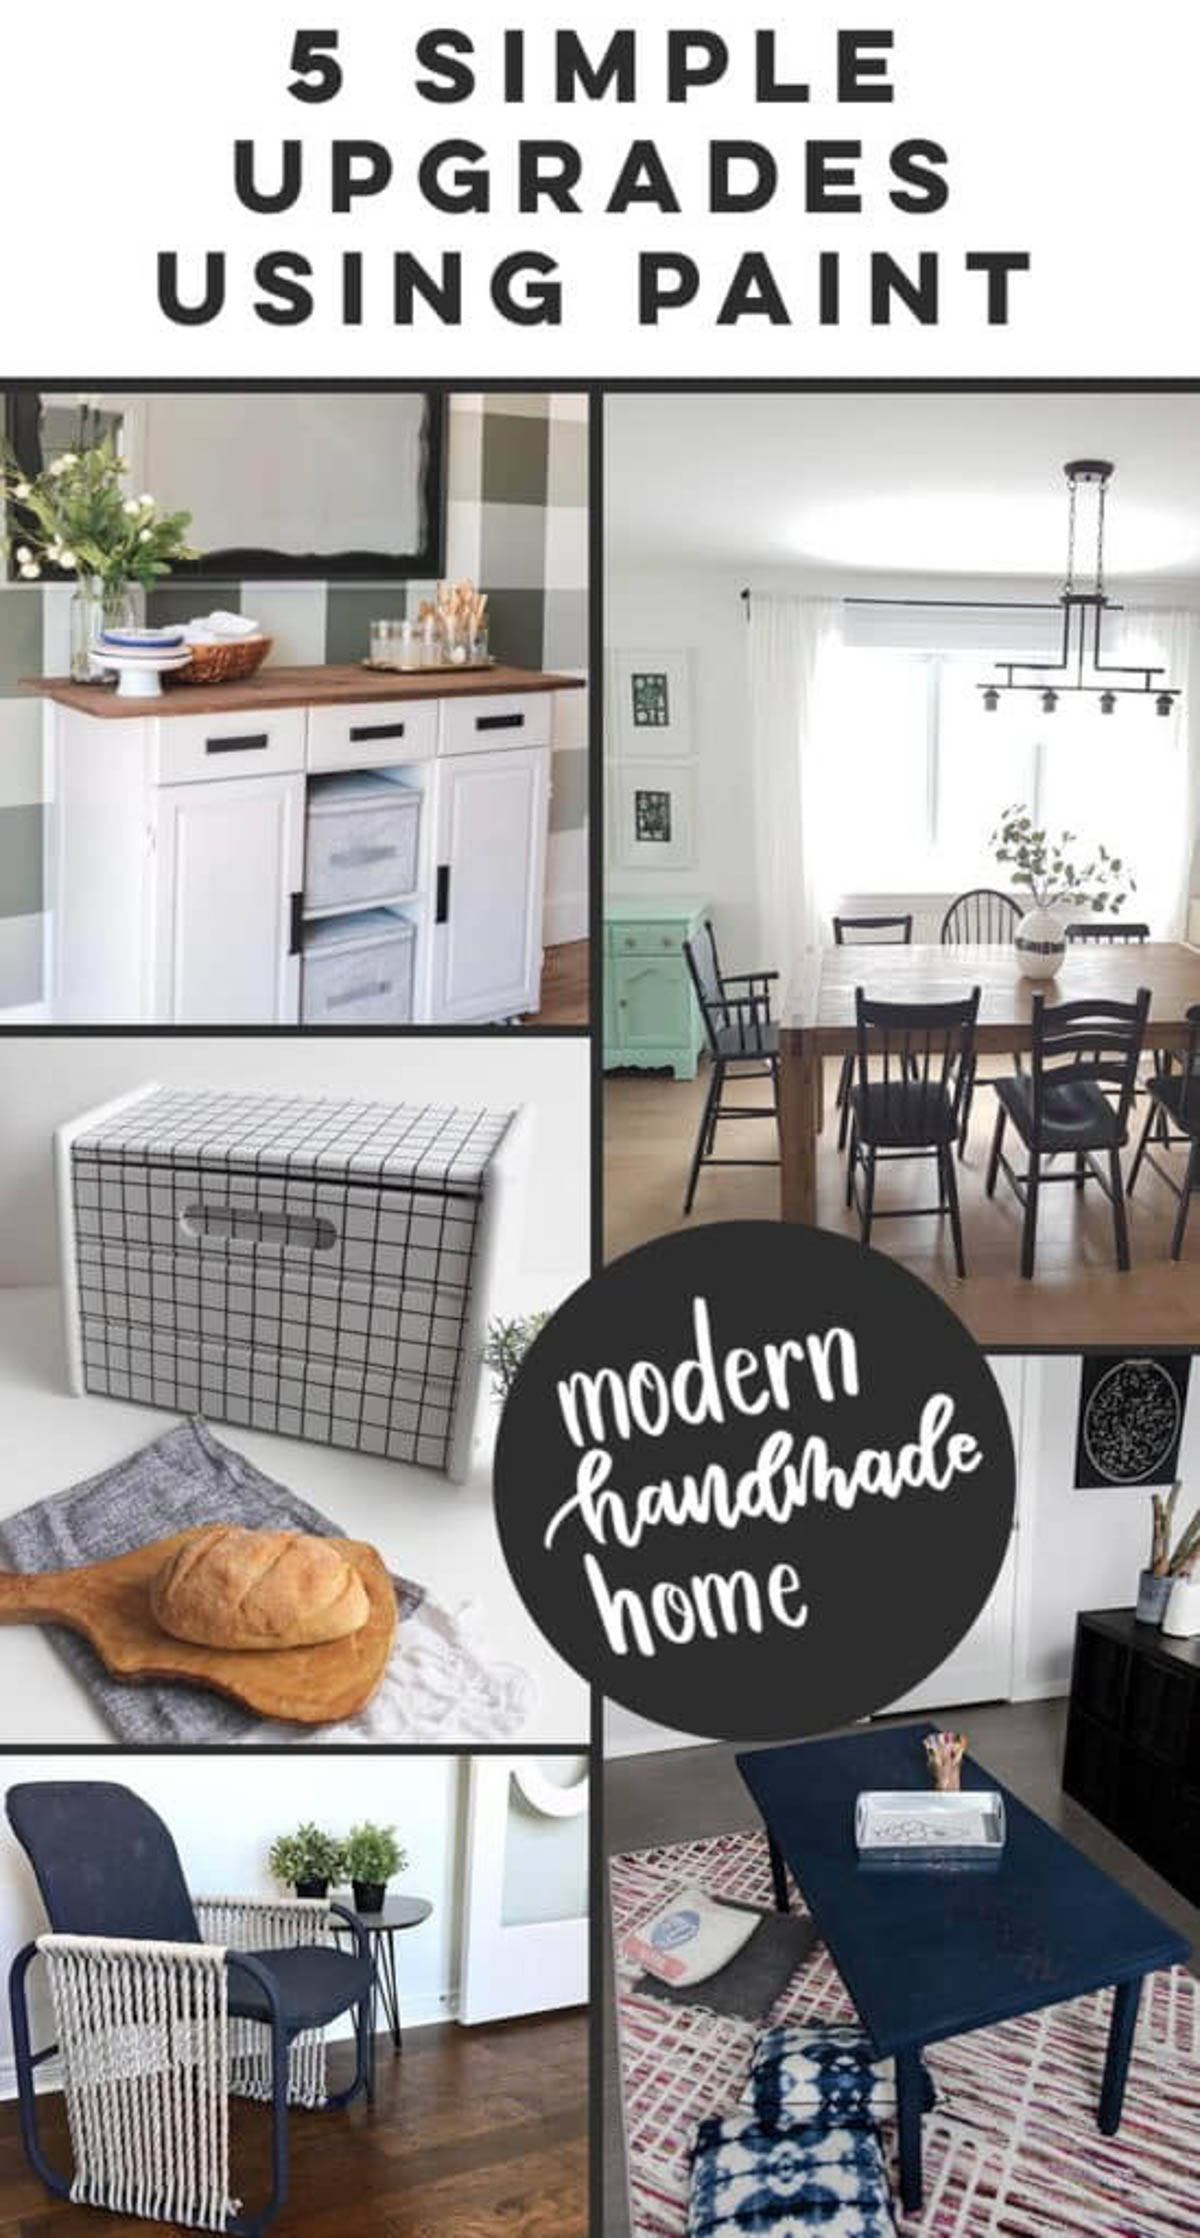
You won’t want to miss what these MODERN HANDMADE HOME bloggers did with their paint sprayers!
The Sweetest Digs
The Learner Observer
Lemon Thistle
Harlow and Thistle
Love Create Celebrate


*This post was sponsored by Homeright and may contain affiliate links. As always, opinions are 100% my own. For more information, please see my disclosure page.*
Jaime
Saturday 8th of September 2018
Did you have to thin the paint for the paint sprayer?
Jaime
Friday 7th of September 2018
Did you water down the fusion paint at all to use it in the paint sprayer?
Lindivs
Sunday 9th of September 2018
We didn't, but you definitely could if you think it's too thick when you try to spray! Or you could use a larger nozzle :)
Bread BoxesVintage Bread Boxes - Best Selling Yard Sale Items Bread Boxes
Sunday 22nd of July 2018
[…] one from Love Create Celebrate has to be my all time favorite. Isn’t it […]
Print My Boxes
Friday 30th of March 2018
I really Love a Breadbox. hahaha wow wonderful!
Lindivs
Friday 30th of March 2018
Aww, thank you so much!
net worth
Friday 30th of March 2018
Love how the breadbox turned out. Thank you for sharing!
Lindivs
Friday 30th of March 2018
Thank you!!