
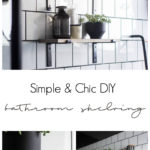
Learn how to drill into tile! Looking to hang a picture or a shelf onto tile? Here’s some quick and easy tips & tools for drilling into tile.
Did you catch our newest renovation reveal?! We shared our modern bathroom a few weeks ago, and I cannot believe how beautiful it is! I still walk in there and think, “Do I actually live here?!” While we were hanging our bathroom shelves, we were frequently asked how to drill into tile, so we thought we’d quickly share the process for building our shelves.
Just like every other renovation we do, there are always a few DIY projects thrown in. These DIY bathroom shelves were easy to make, easy to hang, and they look beautiful!
*This post may contain affiliate links. When you buy a product through one of our links, we get a commission at no cost to you! Thank you for supporting our blog so that we can continue to bring you posts like these. For more information, please see our disclosure page.*
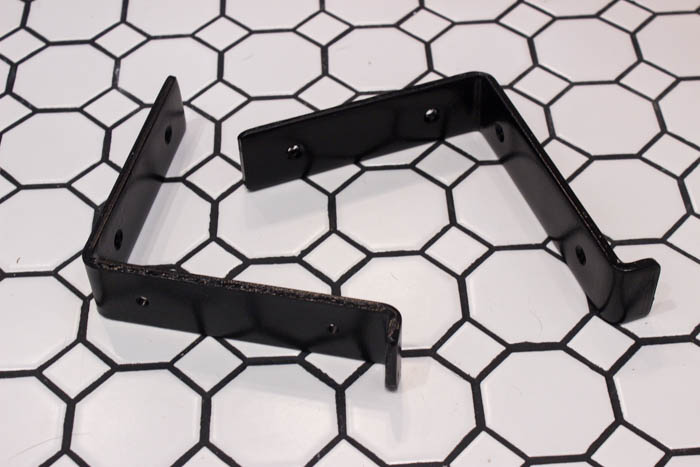
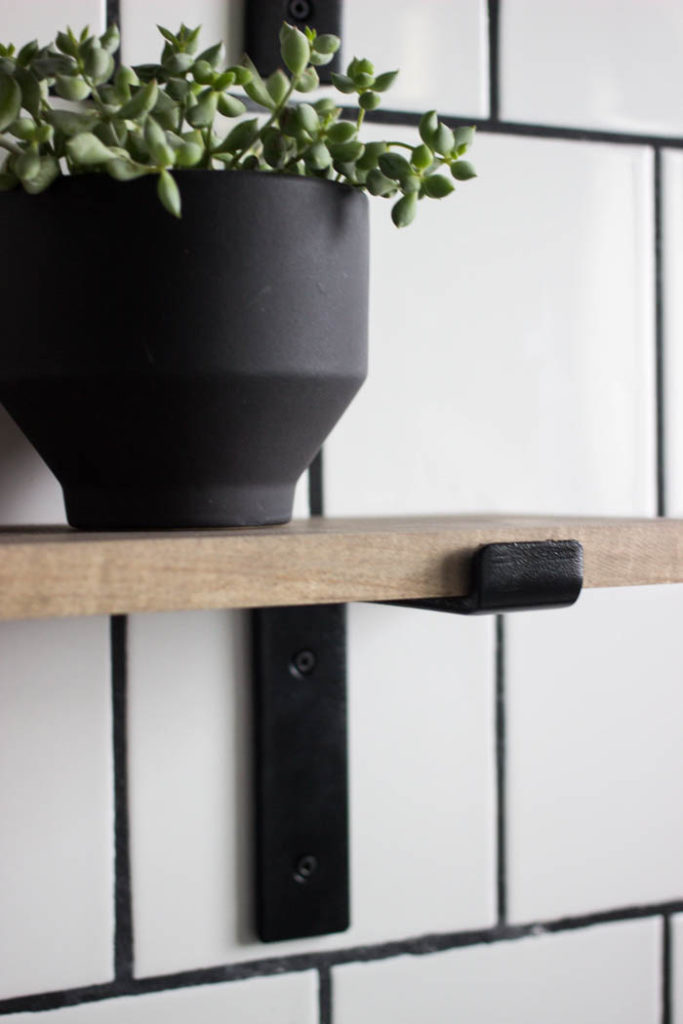
We used beautiful 6″ black steel brackets. Six inches was the perfect size for a bathroom shelf! All I wanted was a couple of shelves to add some visual interest and to do a bit of gorgeous styling. These are minimal, modern, and functional.
Tutorial for Drilling into Tile
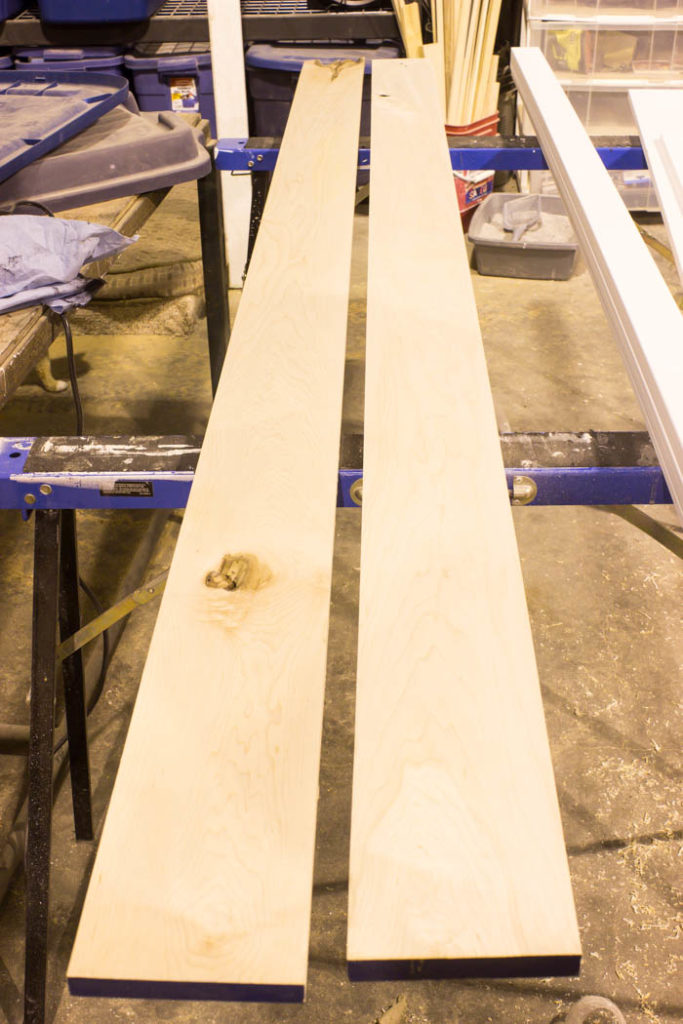
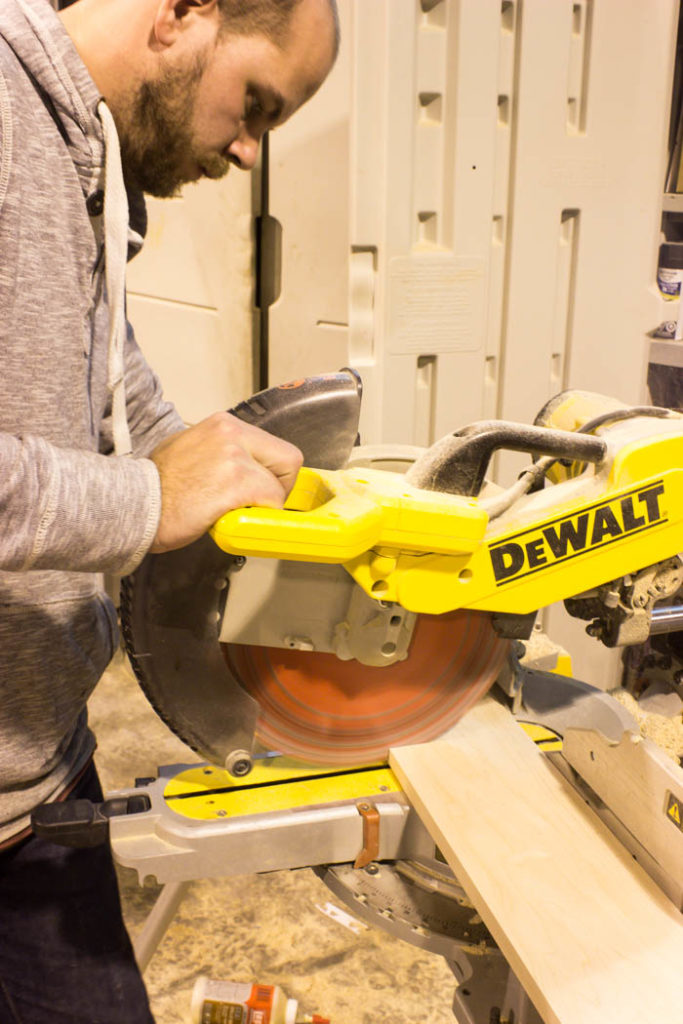
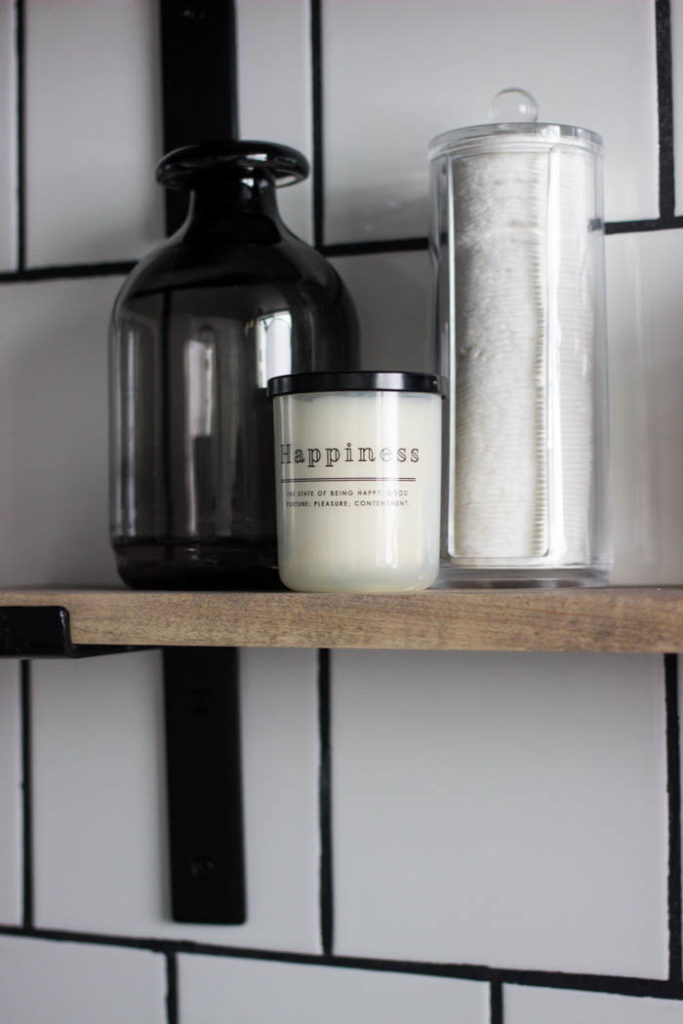
We made our shelves out of maple because it’s a beautiful wood, and it’s fairly light so we thought it would be easier to stain it and get a colour similar to our vanity.
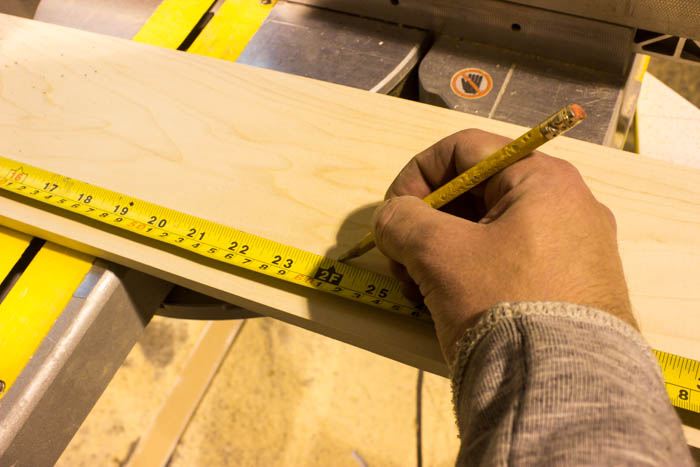
We measured exactly 2 feet for our shelves, and cut them to size on the mitre saw.
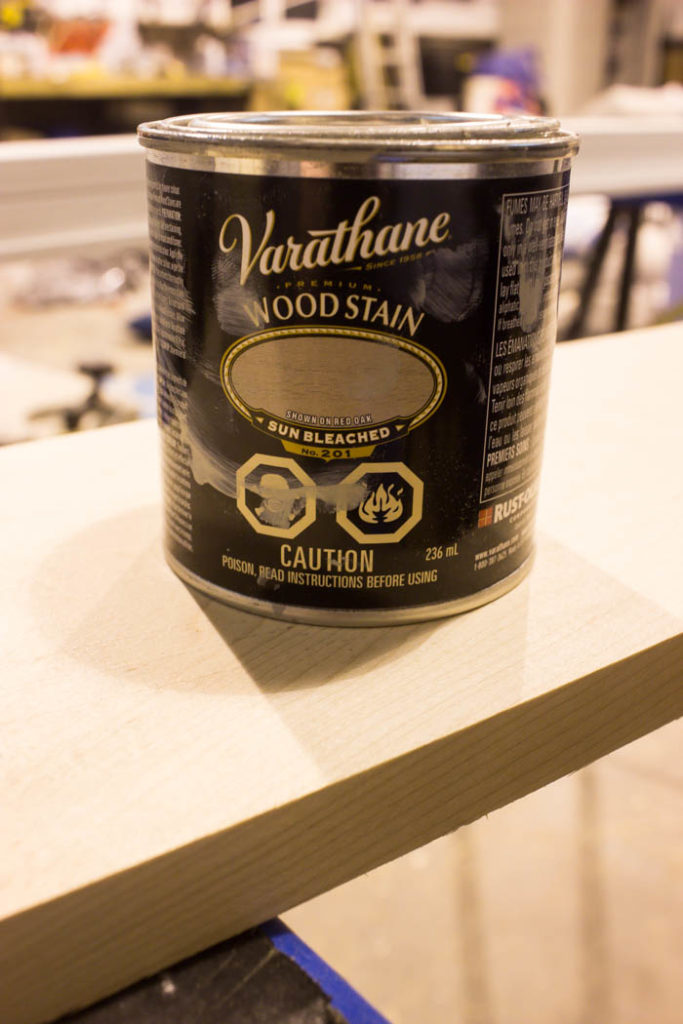
I found this amazing stain colour called “sunbleached” by Varathane. I had never used this colour before but I thought it may be the perfect light browny-grey for our shelves, and I was right!
We covered the shelves with this stain, and then used a walnut stain veeeery lightly. I’m talking put it on, and rubbed it off immediately. Just to give it a slightly more brown colour. Perfect!
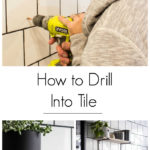
Drilling into tile can be intimidating for a lot of people, but it’s actually very easy!
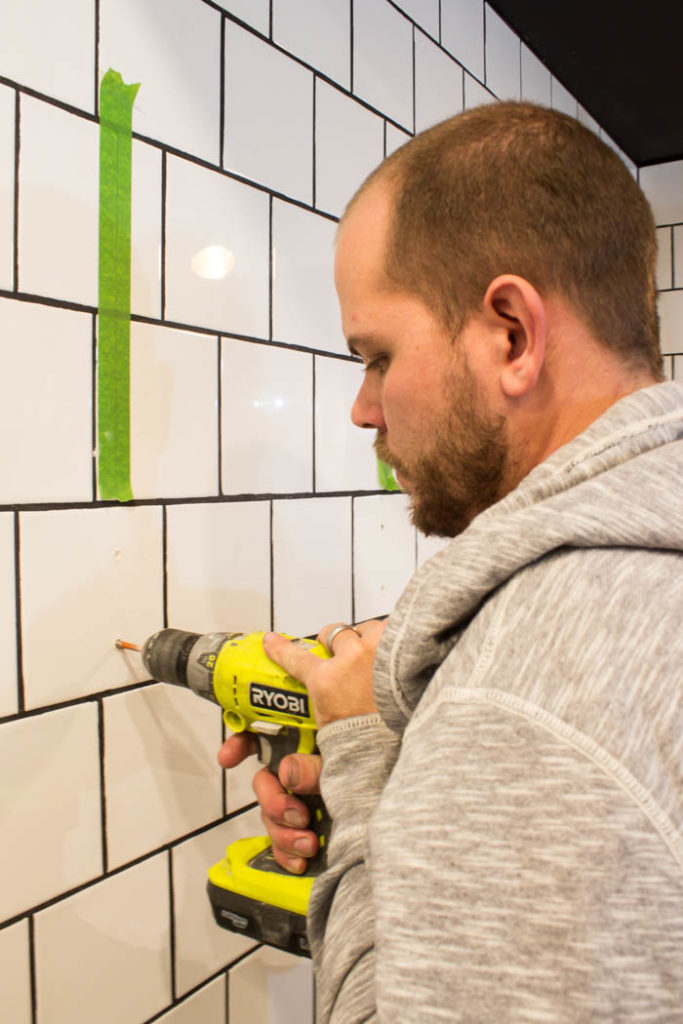
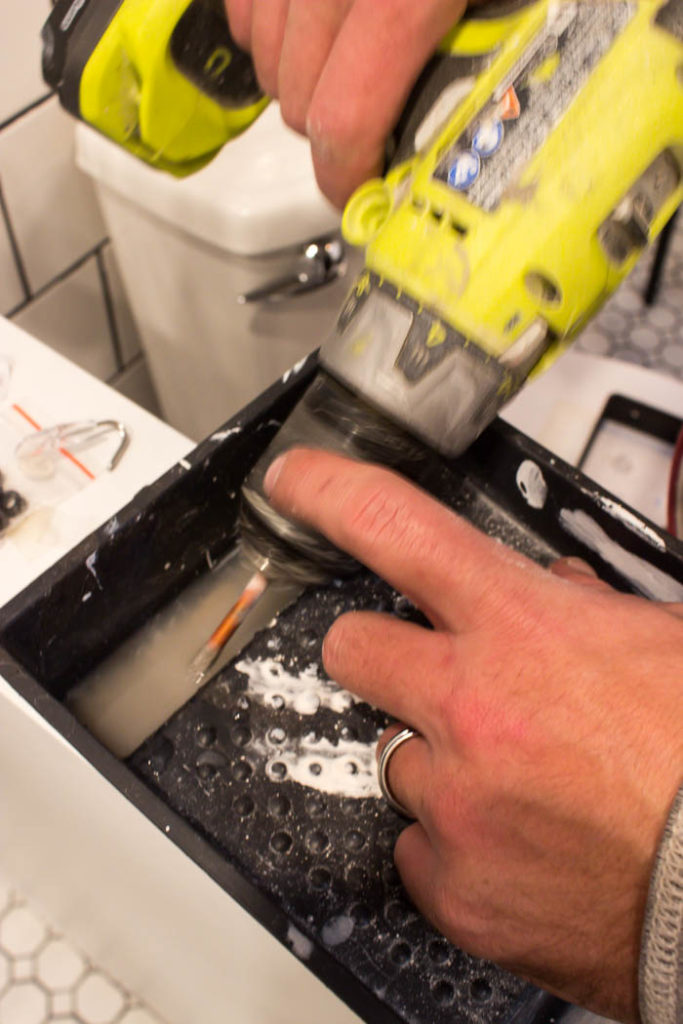
You need a diamond drill bit (we used a 1/4″), a drill and some water. The biggest thing is making sure that your drill bit doesn’t overheat.
Use painters table and a level to mark exactly where you want to drill. You have to make sure your drill bit is continuously wet so it doesn’t get too hot. Start drilling to make a small mark, then remove the tape and continue to drill, stopping every few seconds to dip your drill bit into the water again.
That’s it! Then attach your 6″ black steel brackets to the wall, and attach your wooden boards to the brackets.
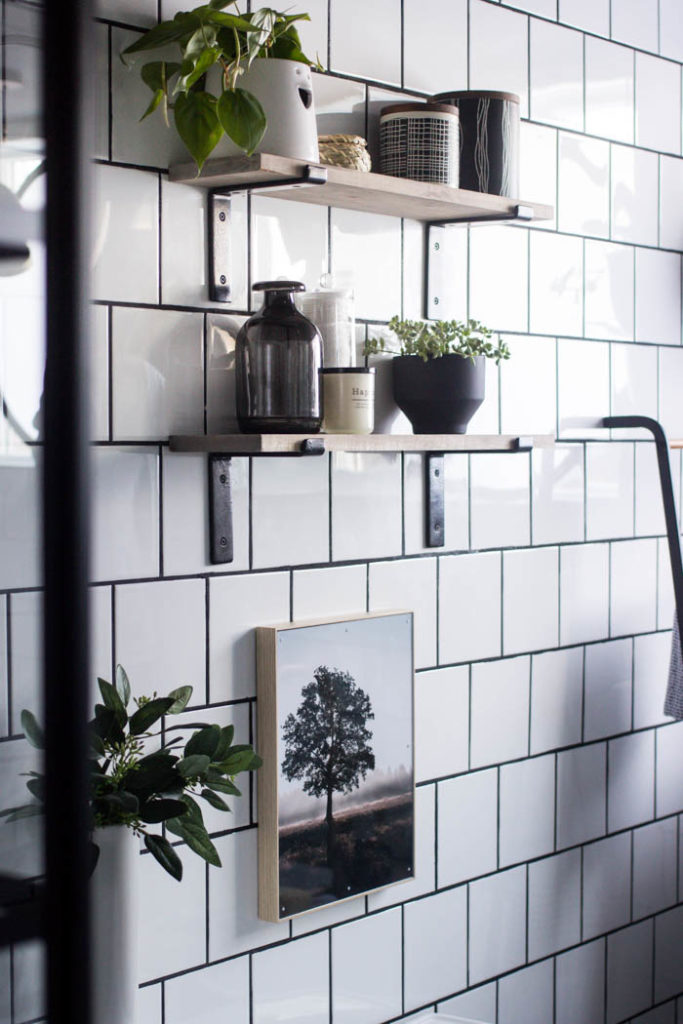
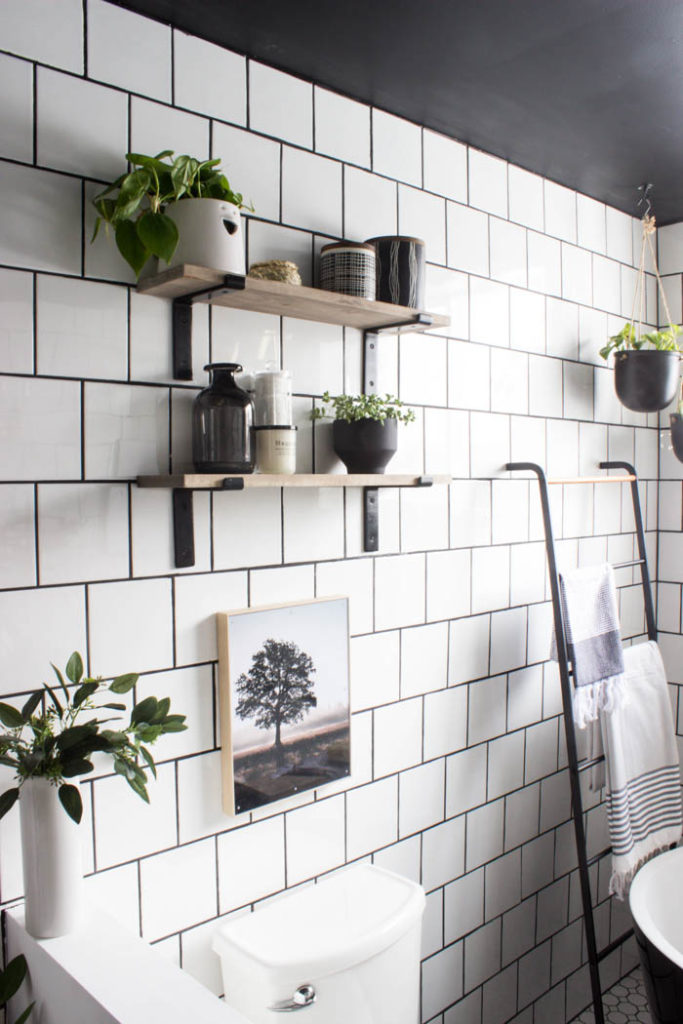
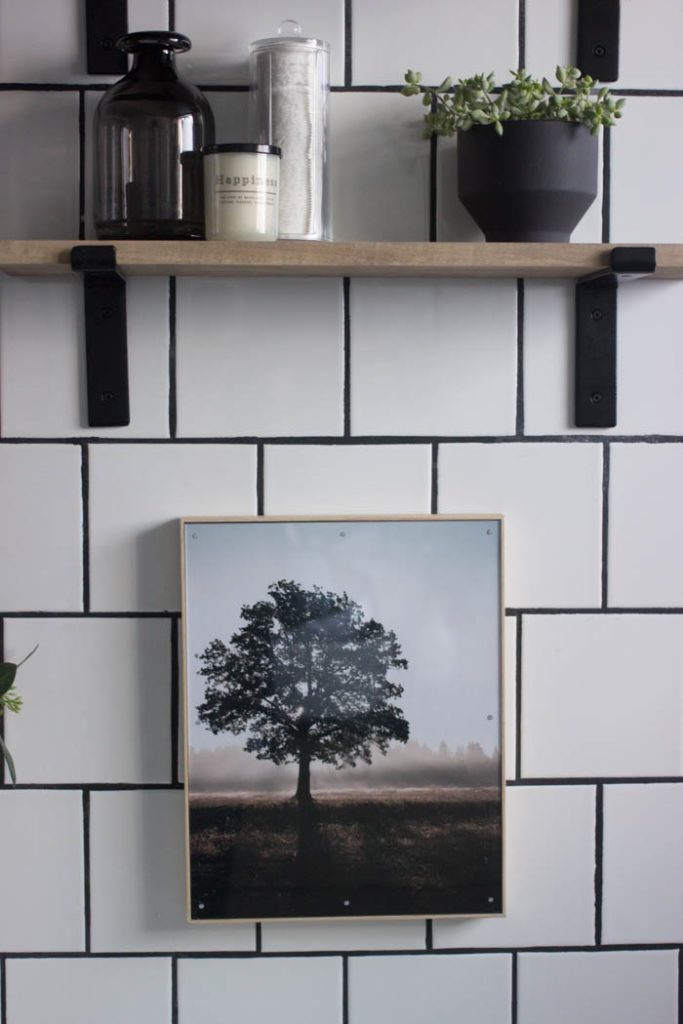
Our Finished Bathroom Shelves
I love everything about our new bathroom shelving! This space definitely would not be the same without these gorgeous shelves to style. Once you learn how to drill into tile, you’ll never question putting a mirror or shelves or art into your tiled rooms again!

If you haven’t seen it yet, don’t forget to check out the entire MODERN BATHROOM REVEAL!
If you’re interested in hanging some shelves, make sure you check out our 30 Amazing DIY Shelf Ideas.


This post was originally published on November 23, 2018.
DIY Bathroom Shelves: 15 Clever Ideas for Bathroom Storage - DIY Decor Mom
Tuesday 12th of March 2019
[…] Love Create Celebrate showed how chic mimialist bathroom shelves can be. […]
How To Decorate Shelves - Making Manzanita
Thursday 14th of February 2019
[…] why we’re on the topic of bathroom shelves, here’s how you can drill into tile to add DIY bathroom shelves. Love this look from Lindi at Love Create […]