
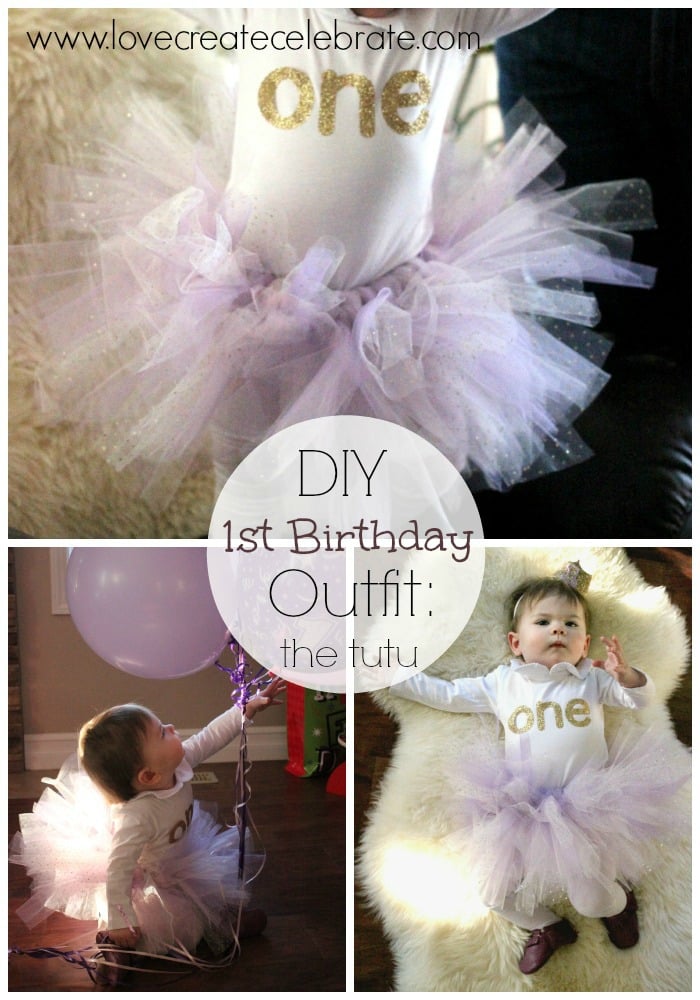
I’m SO excited to be continuing my series on the PERFECT first birthday outfit for your baby girl. Today I’m sharing how I made an adorable DIY baby tutu. I whipped up this tut one afternoon while my mom watched the baby :) I made a few mistakes, and still finished in no time! Hopefully you can learn from my errors, and learn how to make a baby tutu in no time! 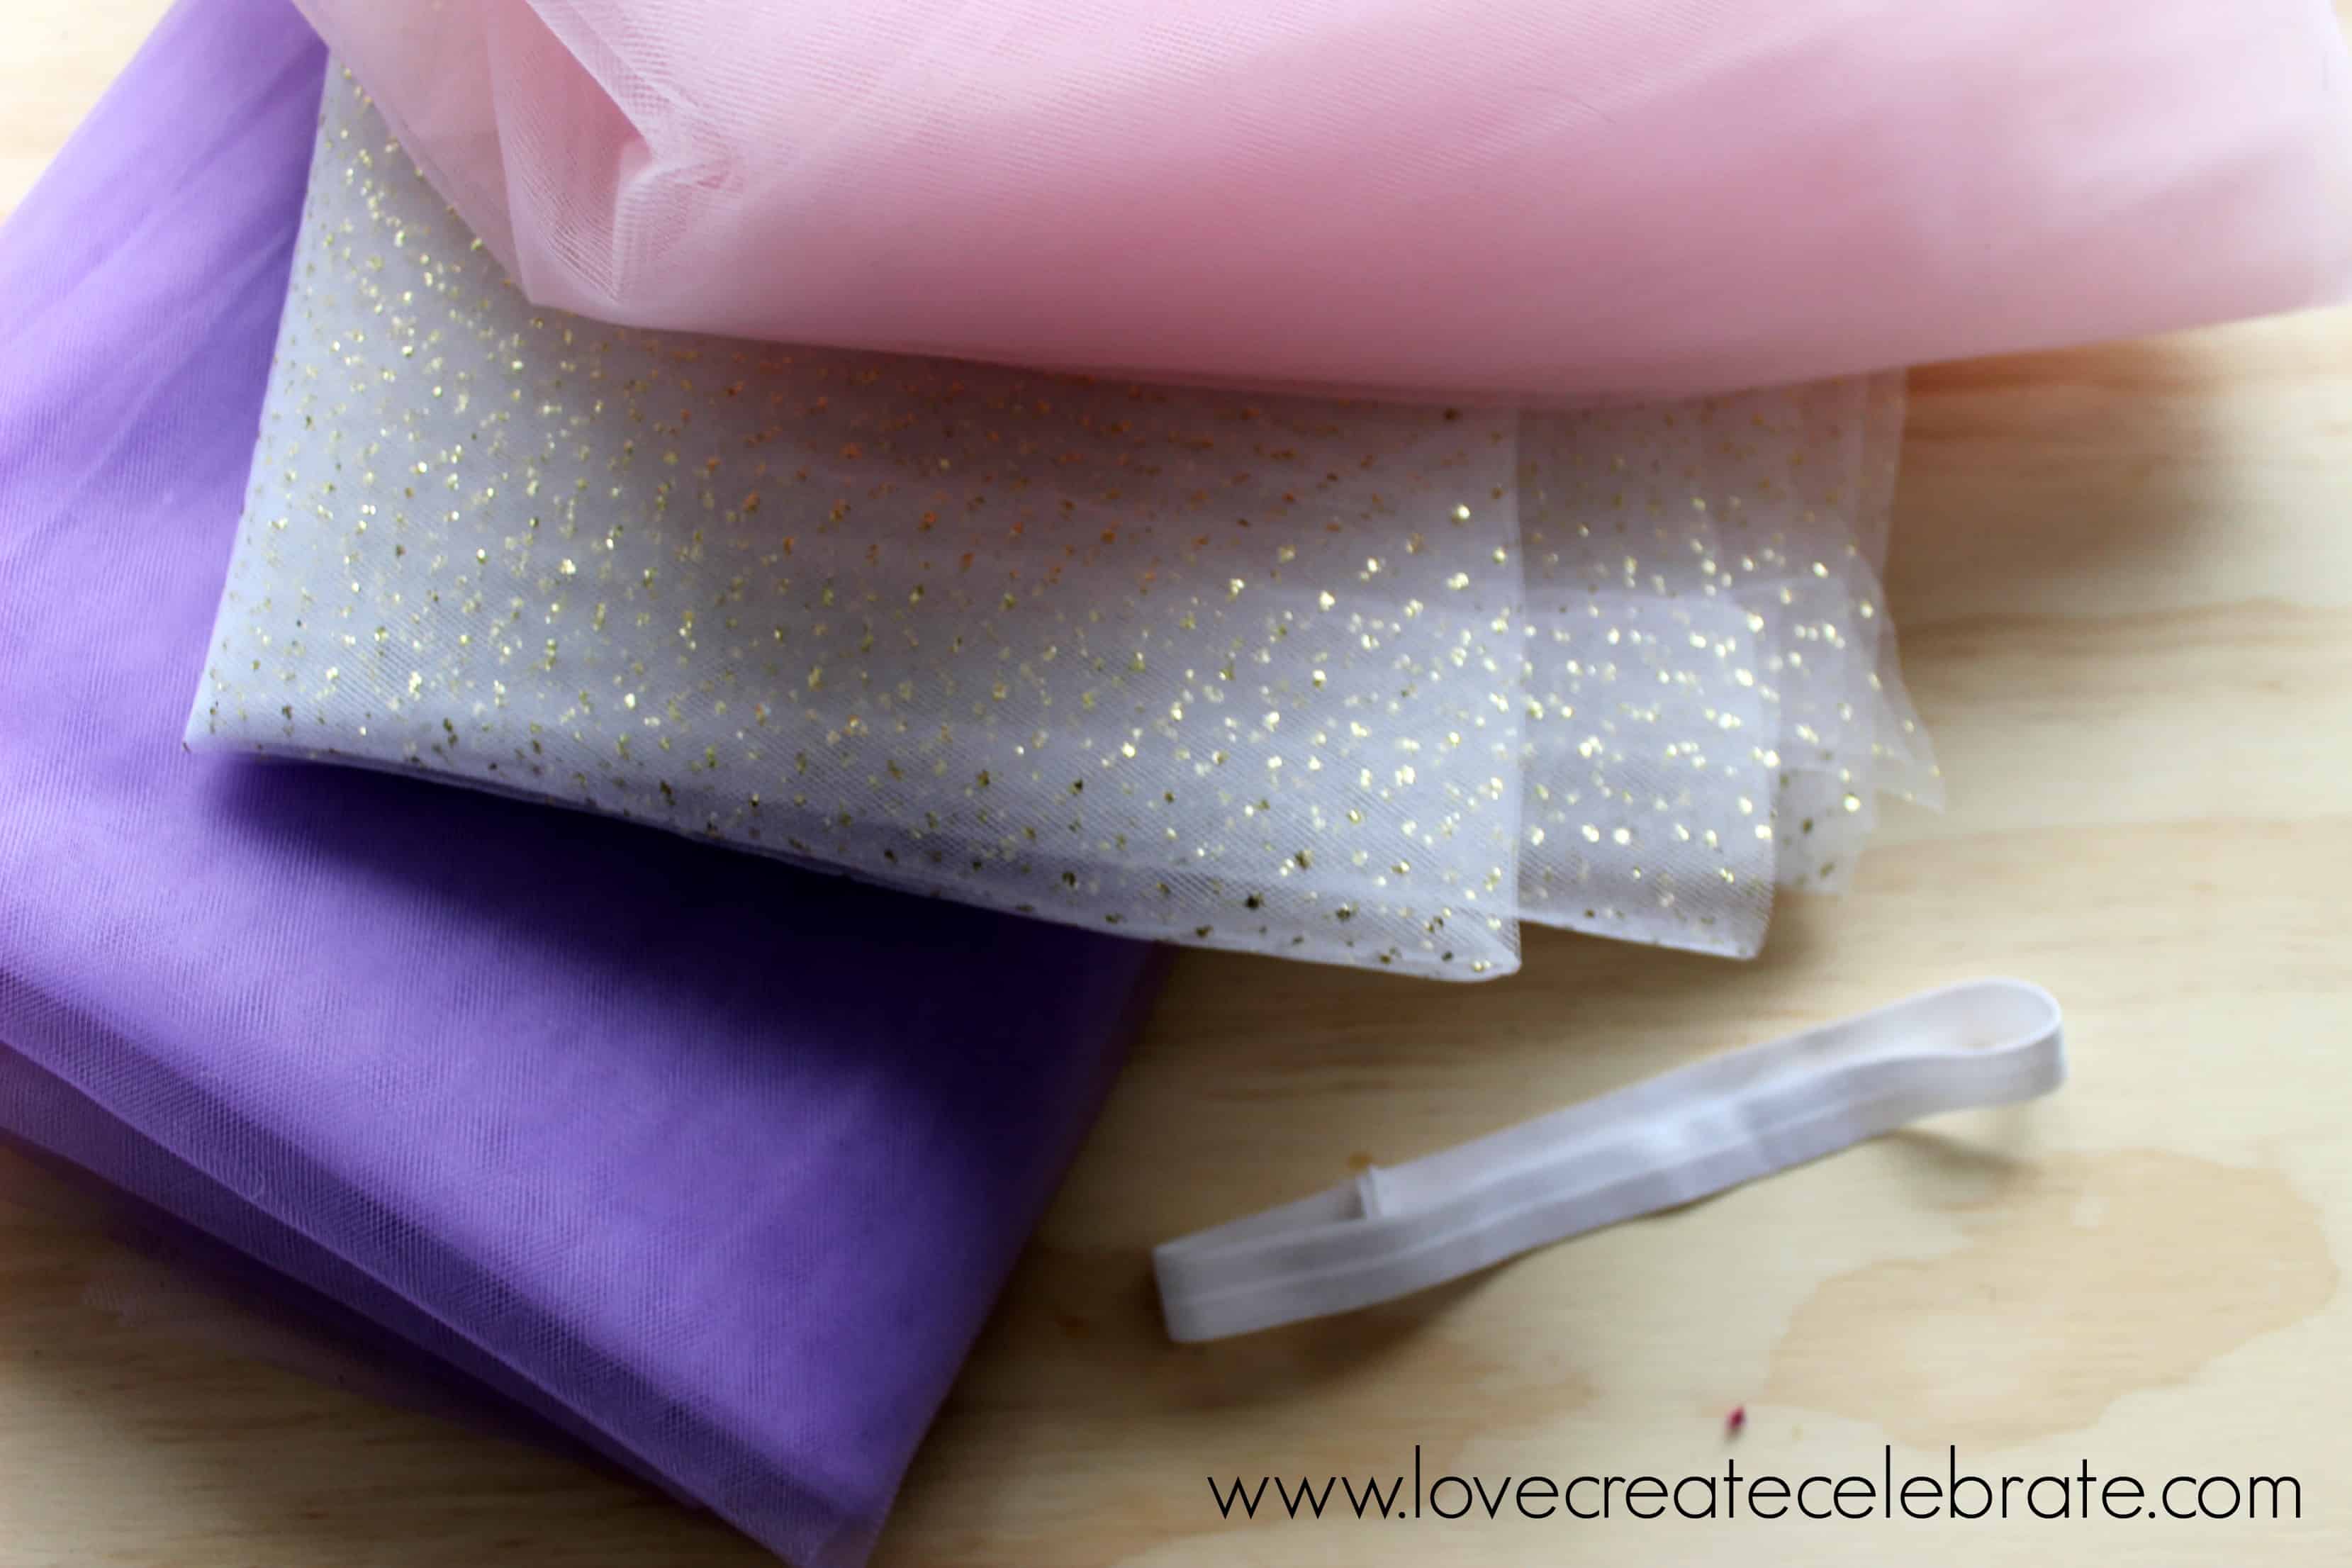
Materials:
Three different colours of tulle – at least 4 meters
[I used gold sparkle, light pink, and light purple]
15″ of 1″ Thick elastic (not pictured)
Scissors and a ruler
How to Make a DIY Baby Tutu:
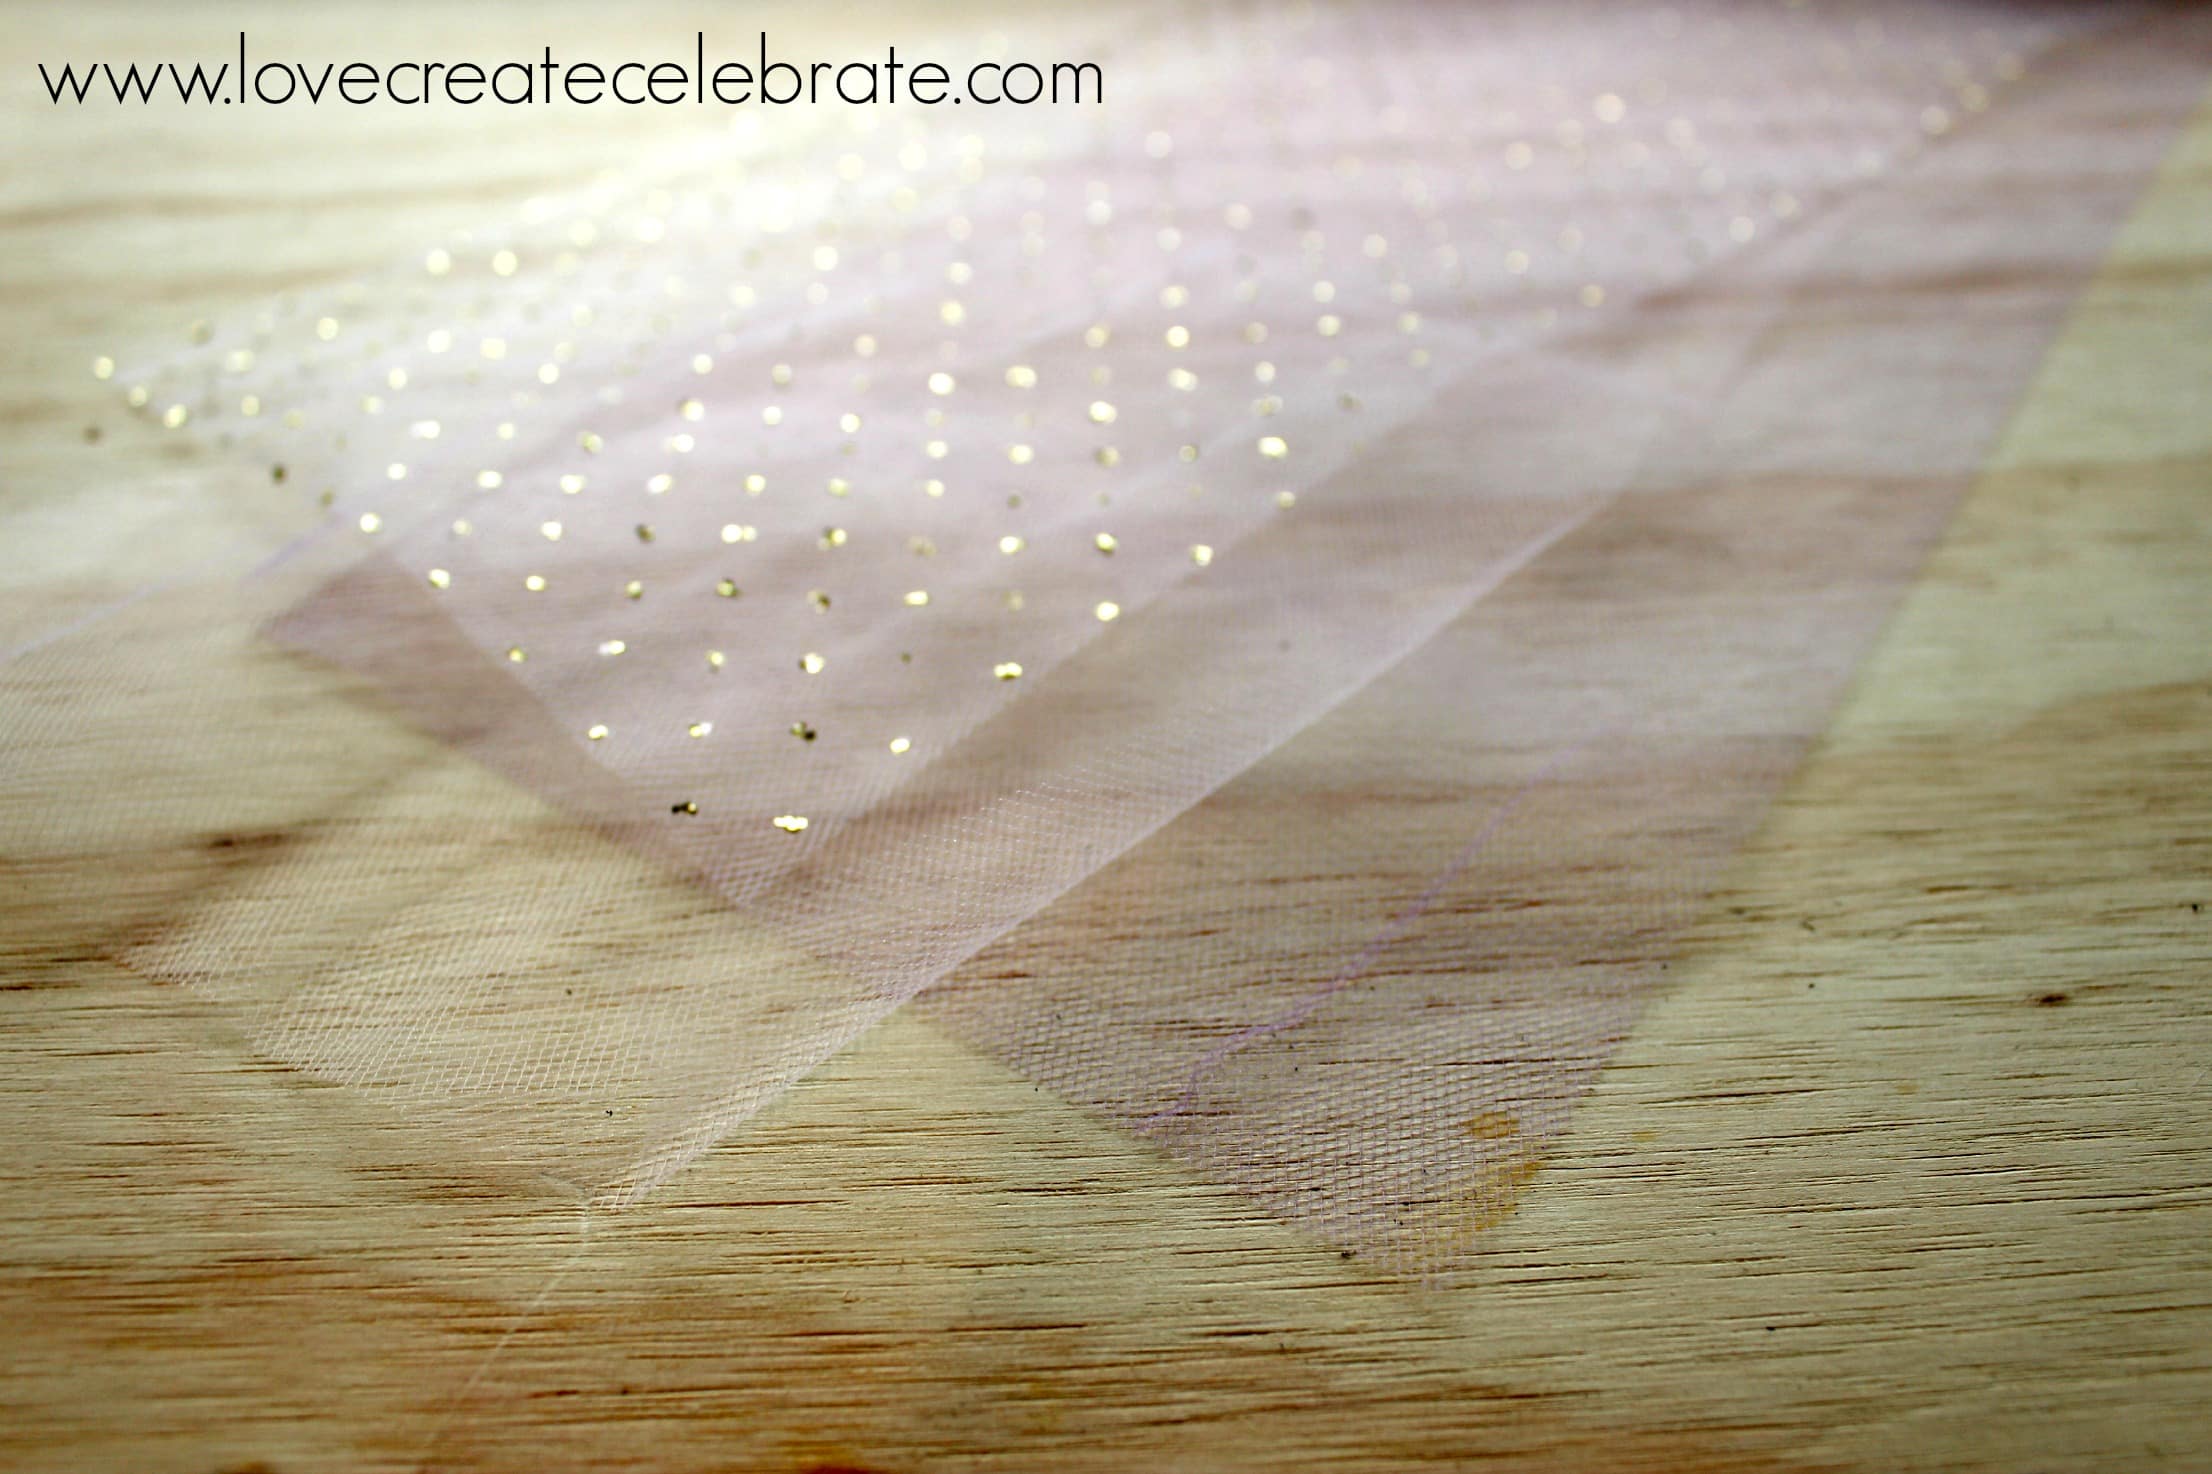
To begin, you want to cut all of your strands of tulle. You need about 25 of each colour. I cut them all 6″ wide, and 20″ long.
I originally cut only 18 of each, but I felt that they didn’t fill out the skirt enough, so I went back and made more. I also originally cut my strands to be 16″ in length, but thought the skirt was too short for my baby girl. The 20″ length looks much better! I’m glad you can learn from my mistakes!!
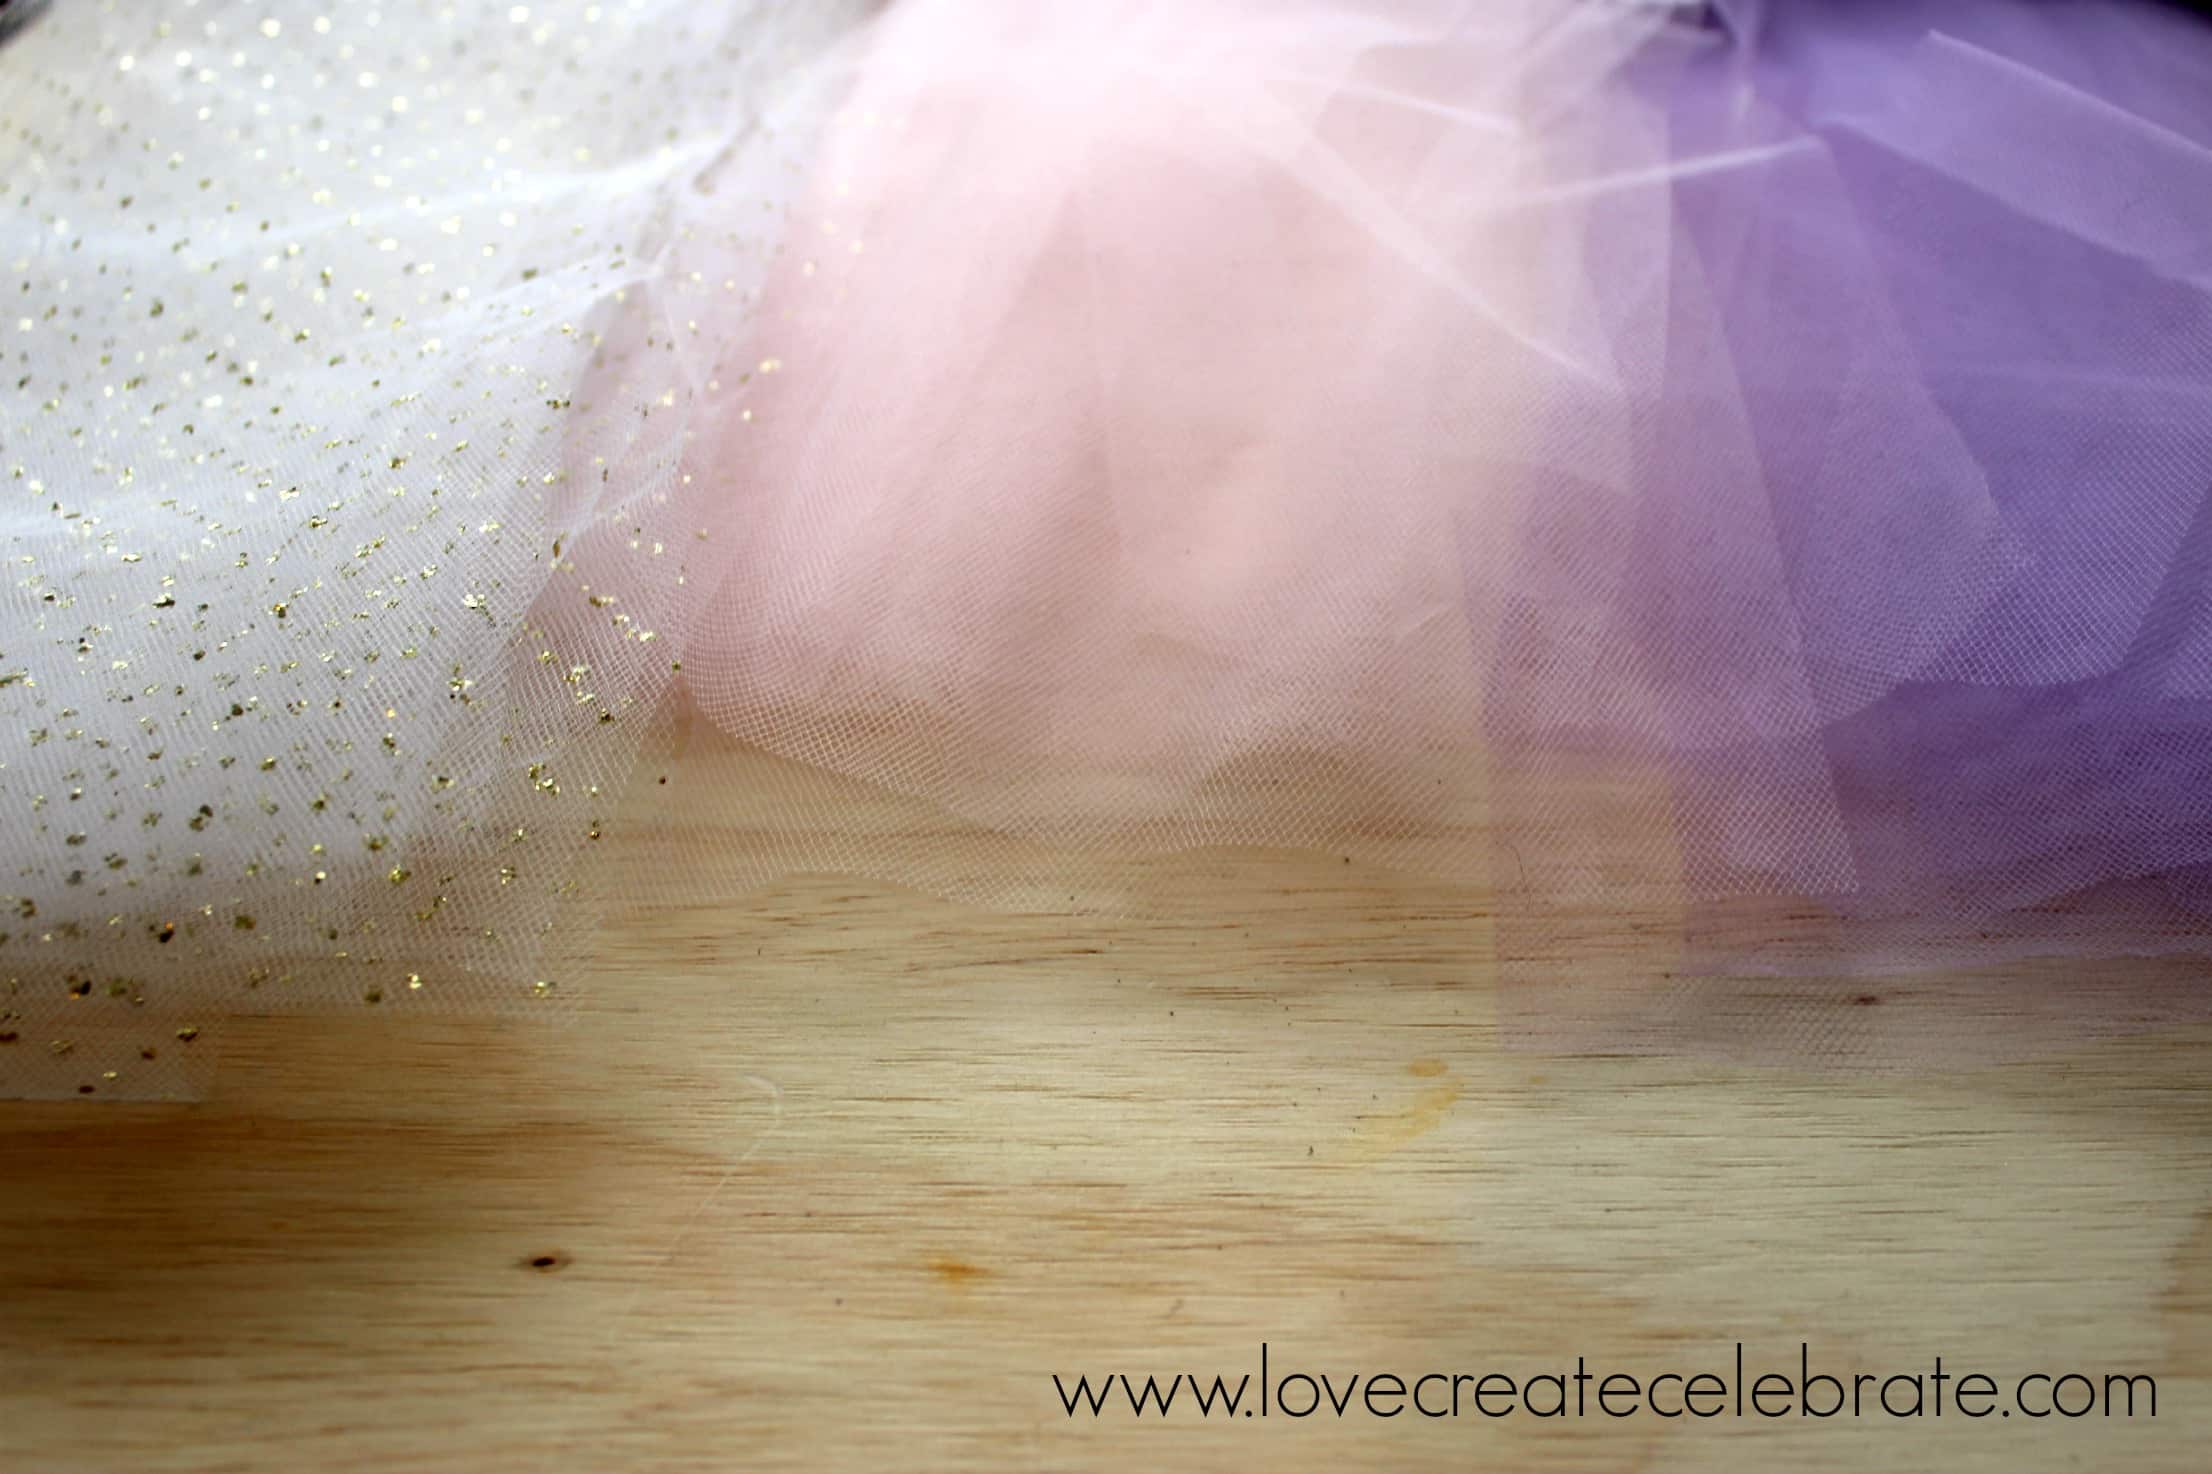
Next, you want to take one strand of each colour (be careful! They are so light, they can be hard to see and separate!), and bundle them together. When this is done, you should have 25 bundles of 3 strands each.
Next, you want to attach the two ends of your elastic. I sewed them together, with my machine, but you could hand sew them, or even glue them! I originally used a thin hair elastic for the skirt, but I soon realized that it was FAR too flimsy to keep the shape of the skirt, so I switched to a thicker elastic, but sorry, I forgot to take pictures of the proper one!
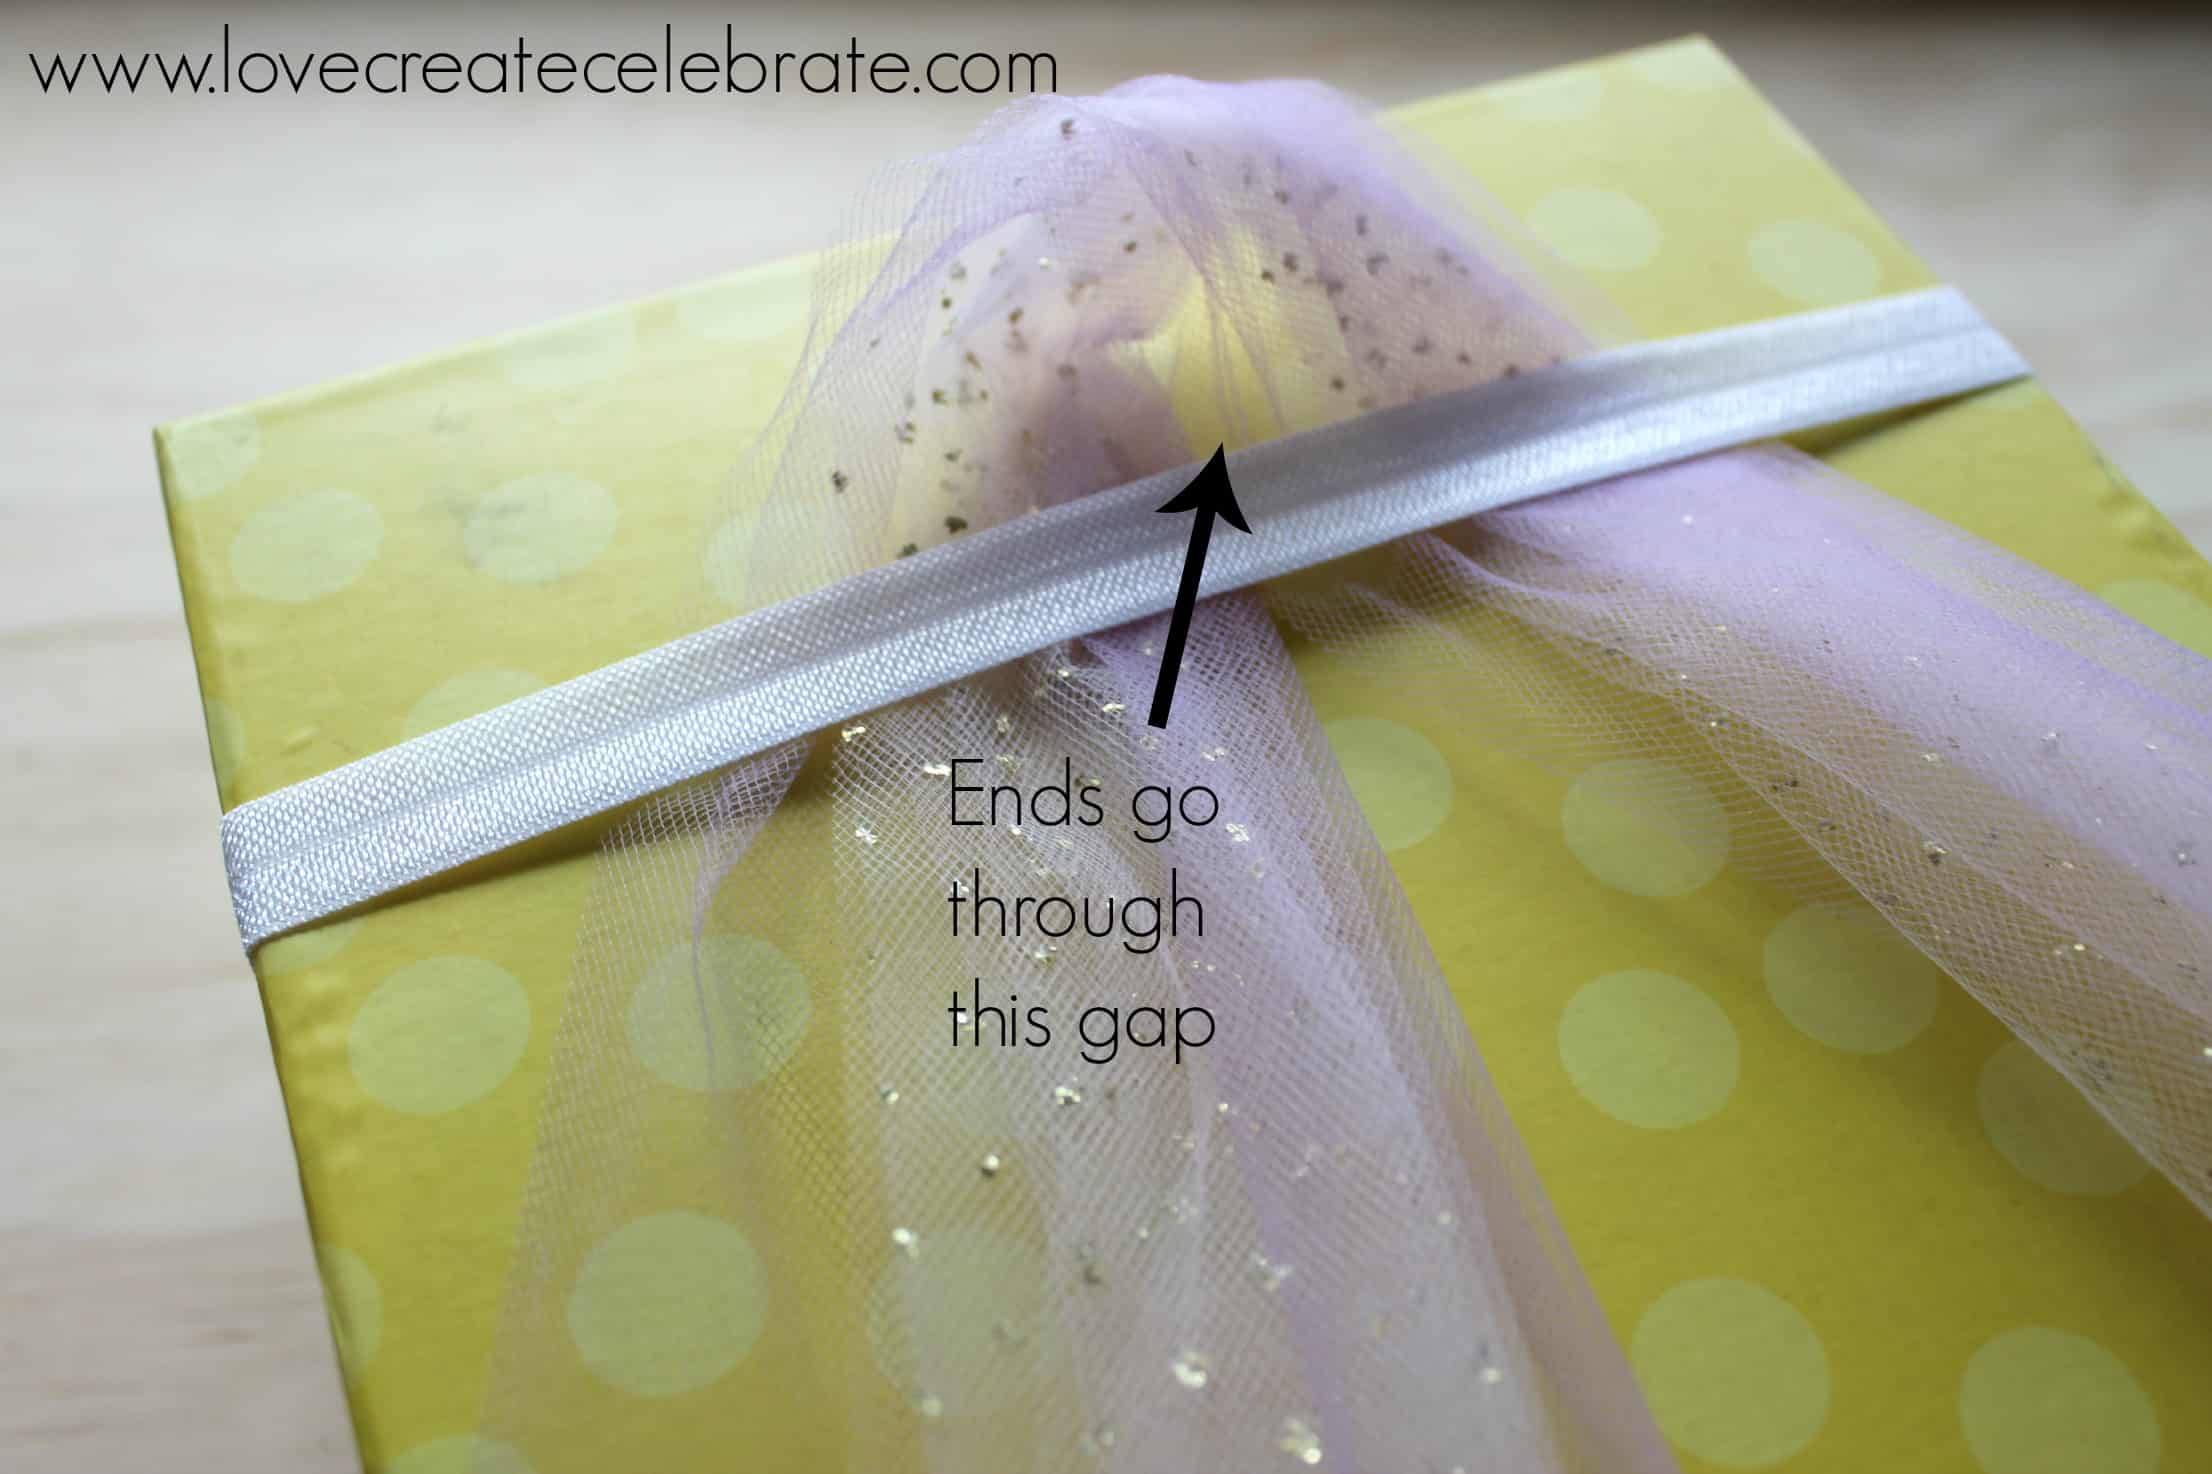
Then, find a material to stretch your elastic and keep it in place. I used a photo box, but you could use a piece of cardboard or a book as well. Fold your bundle (of three strands) in half, and slide the middle underneath your elastic, as shown above. You are forming a loop to slide the ends through.
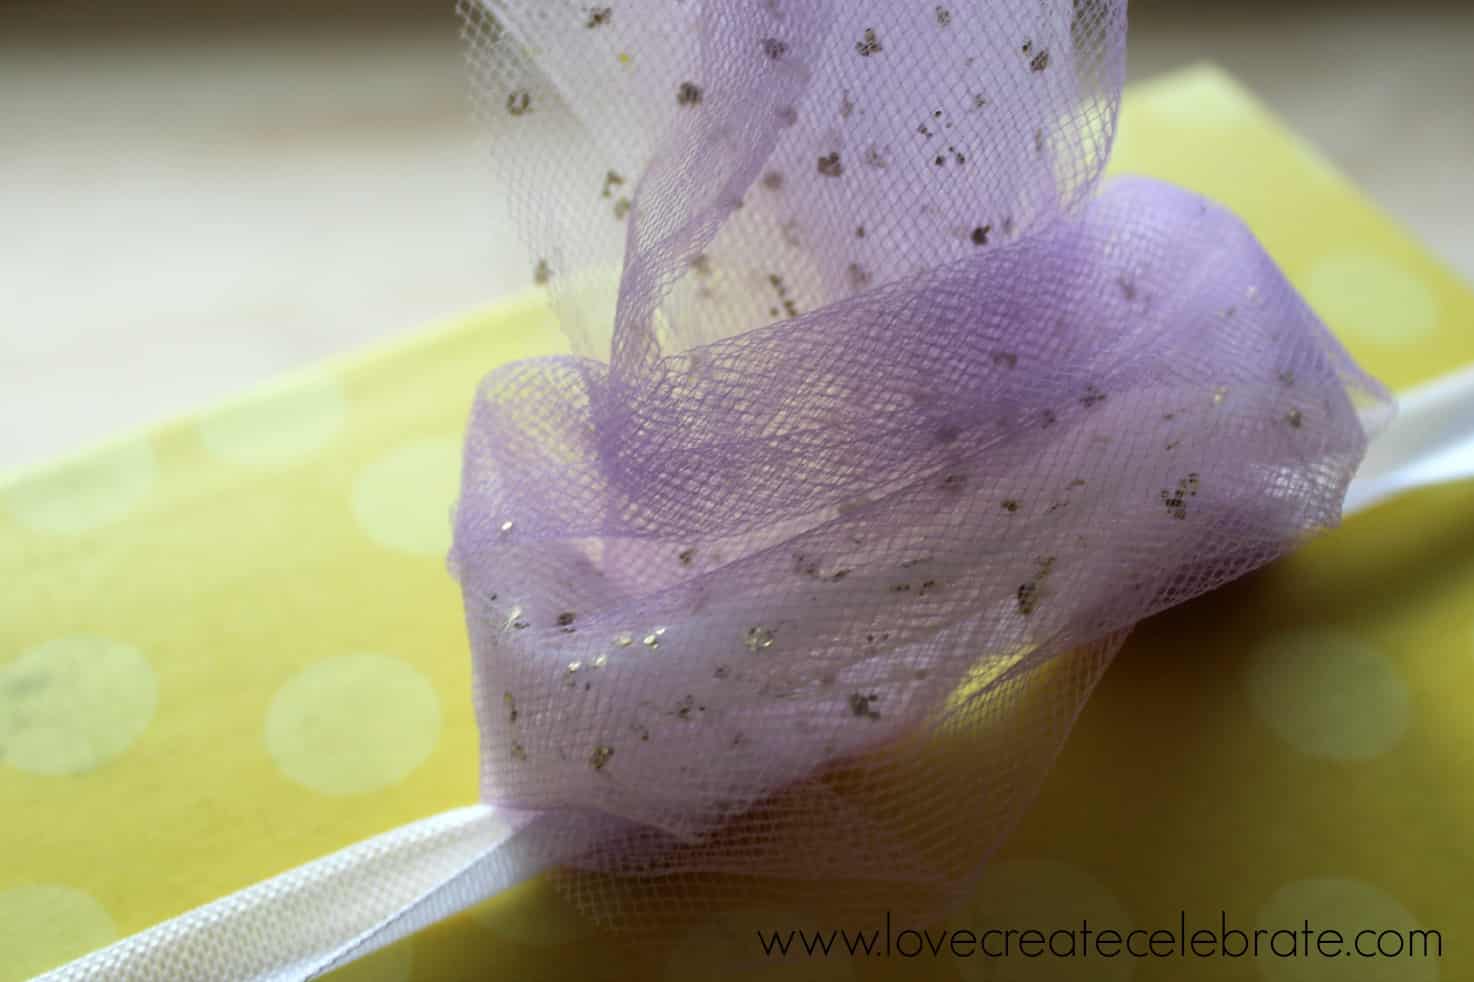
Pull the ends of the bundle, through the loop, and pull the ends tight, so that they flow down naturally (i.e. why you need a stiffer elastic!).
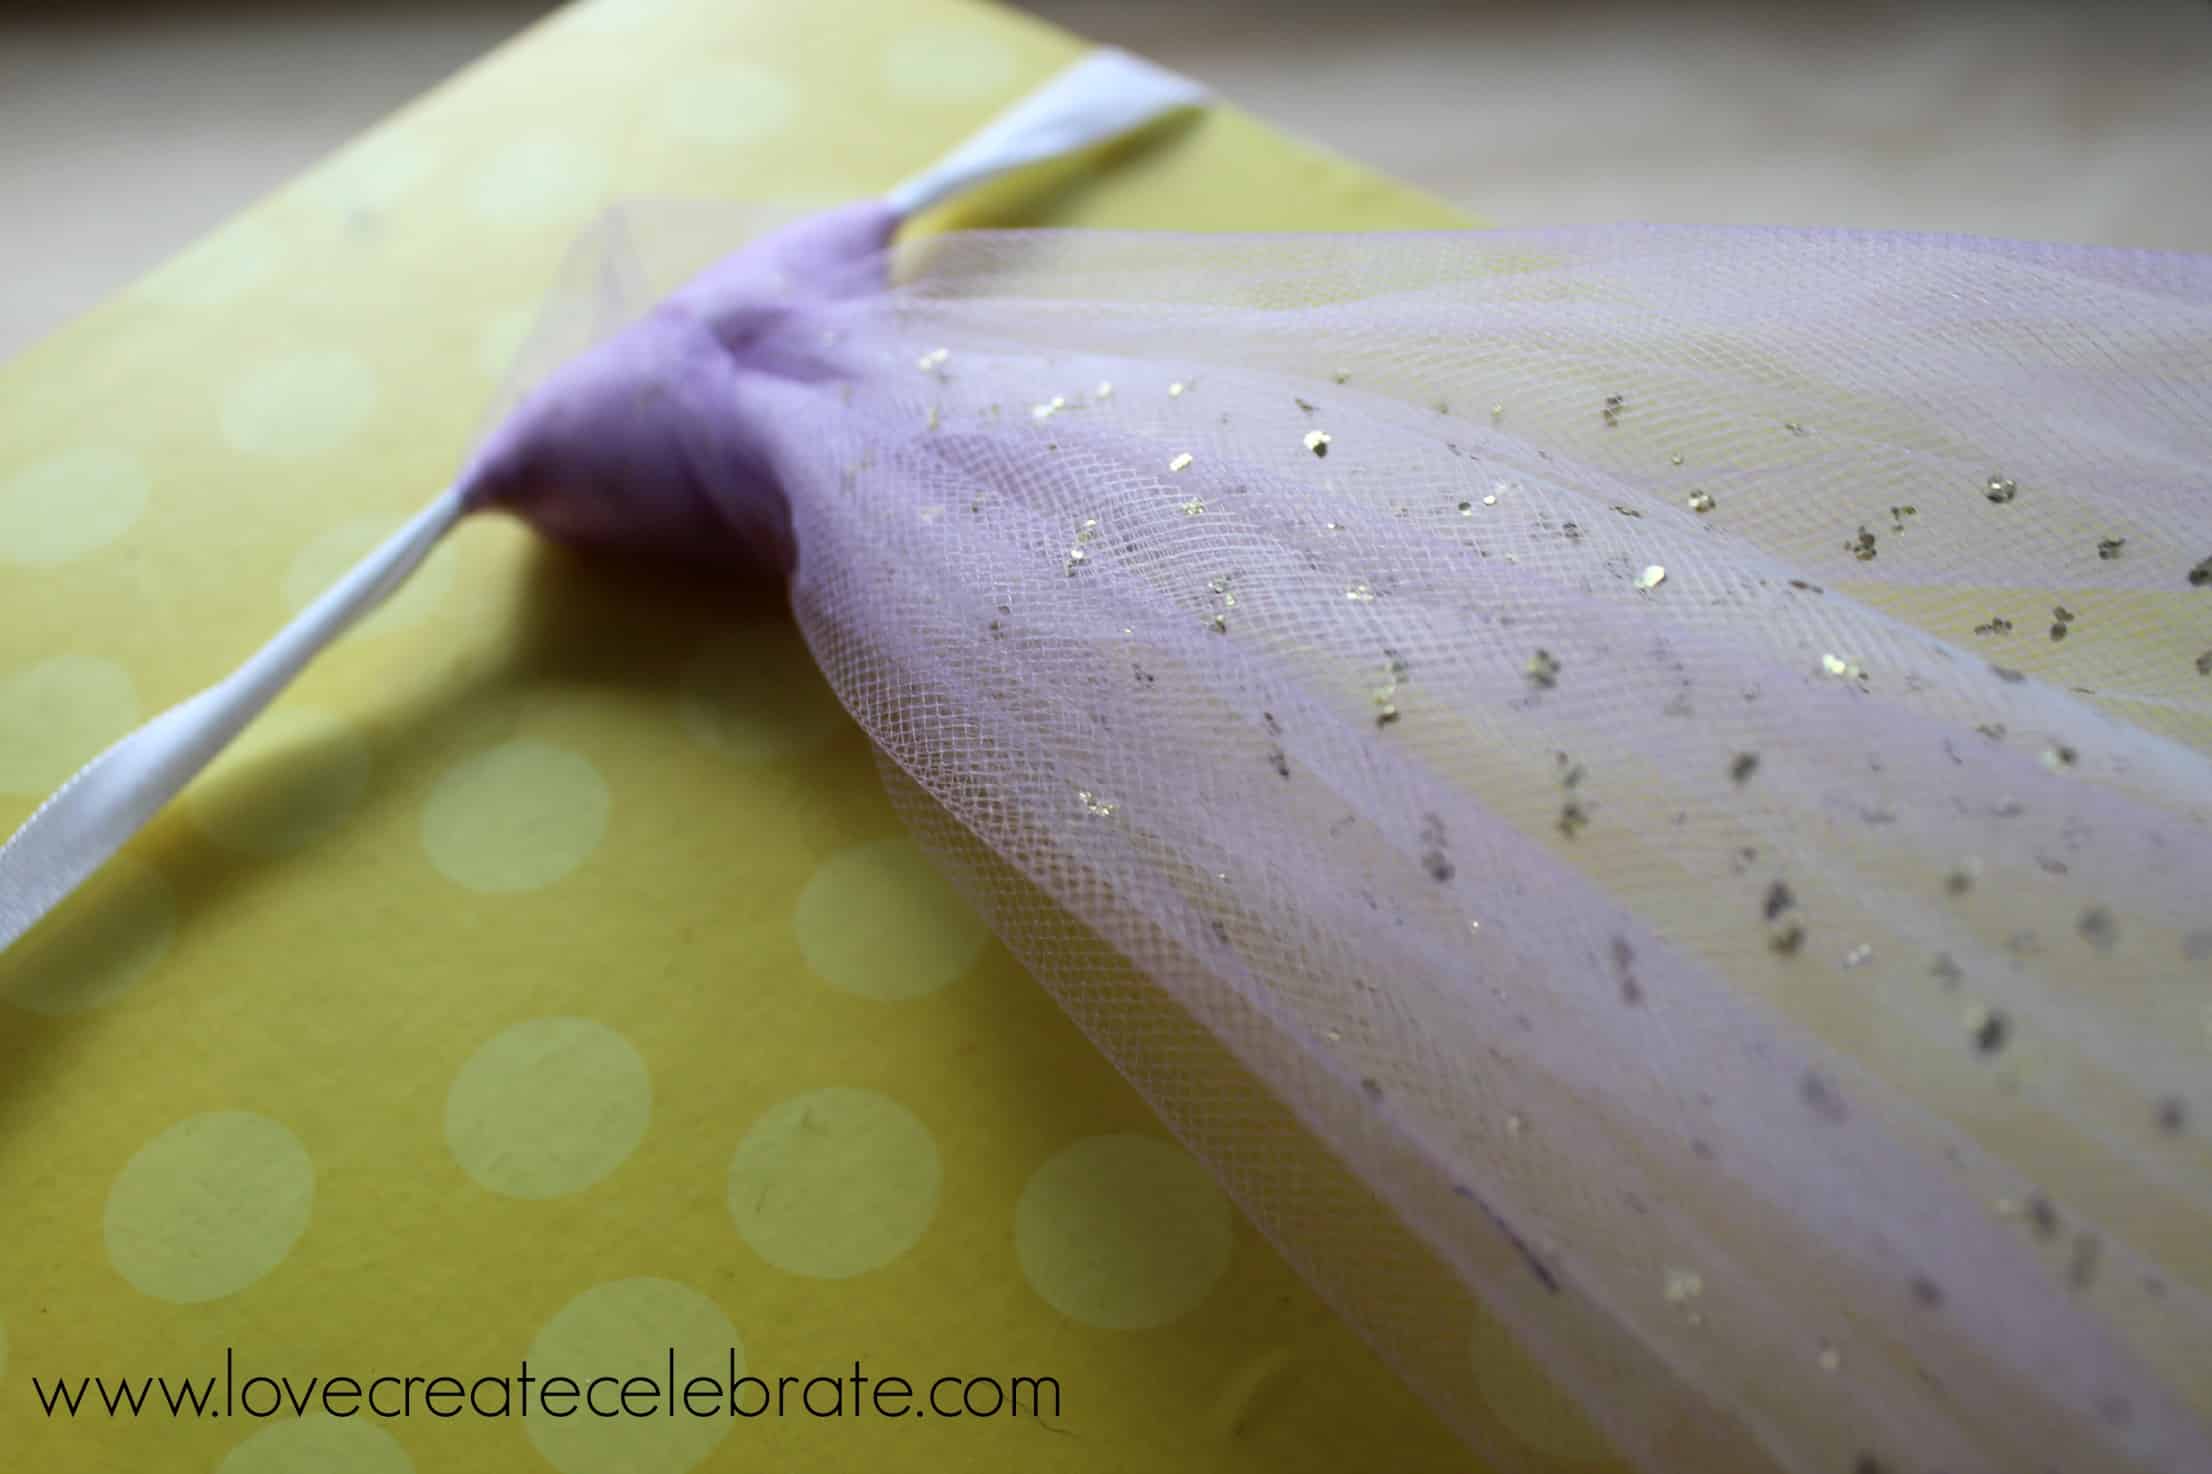
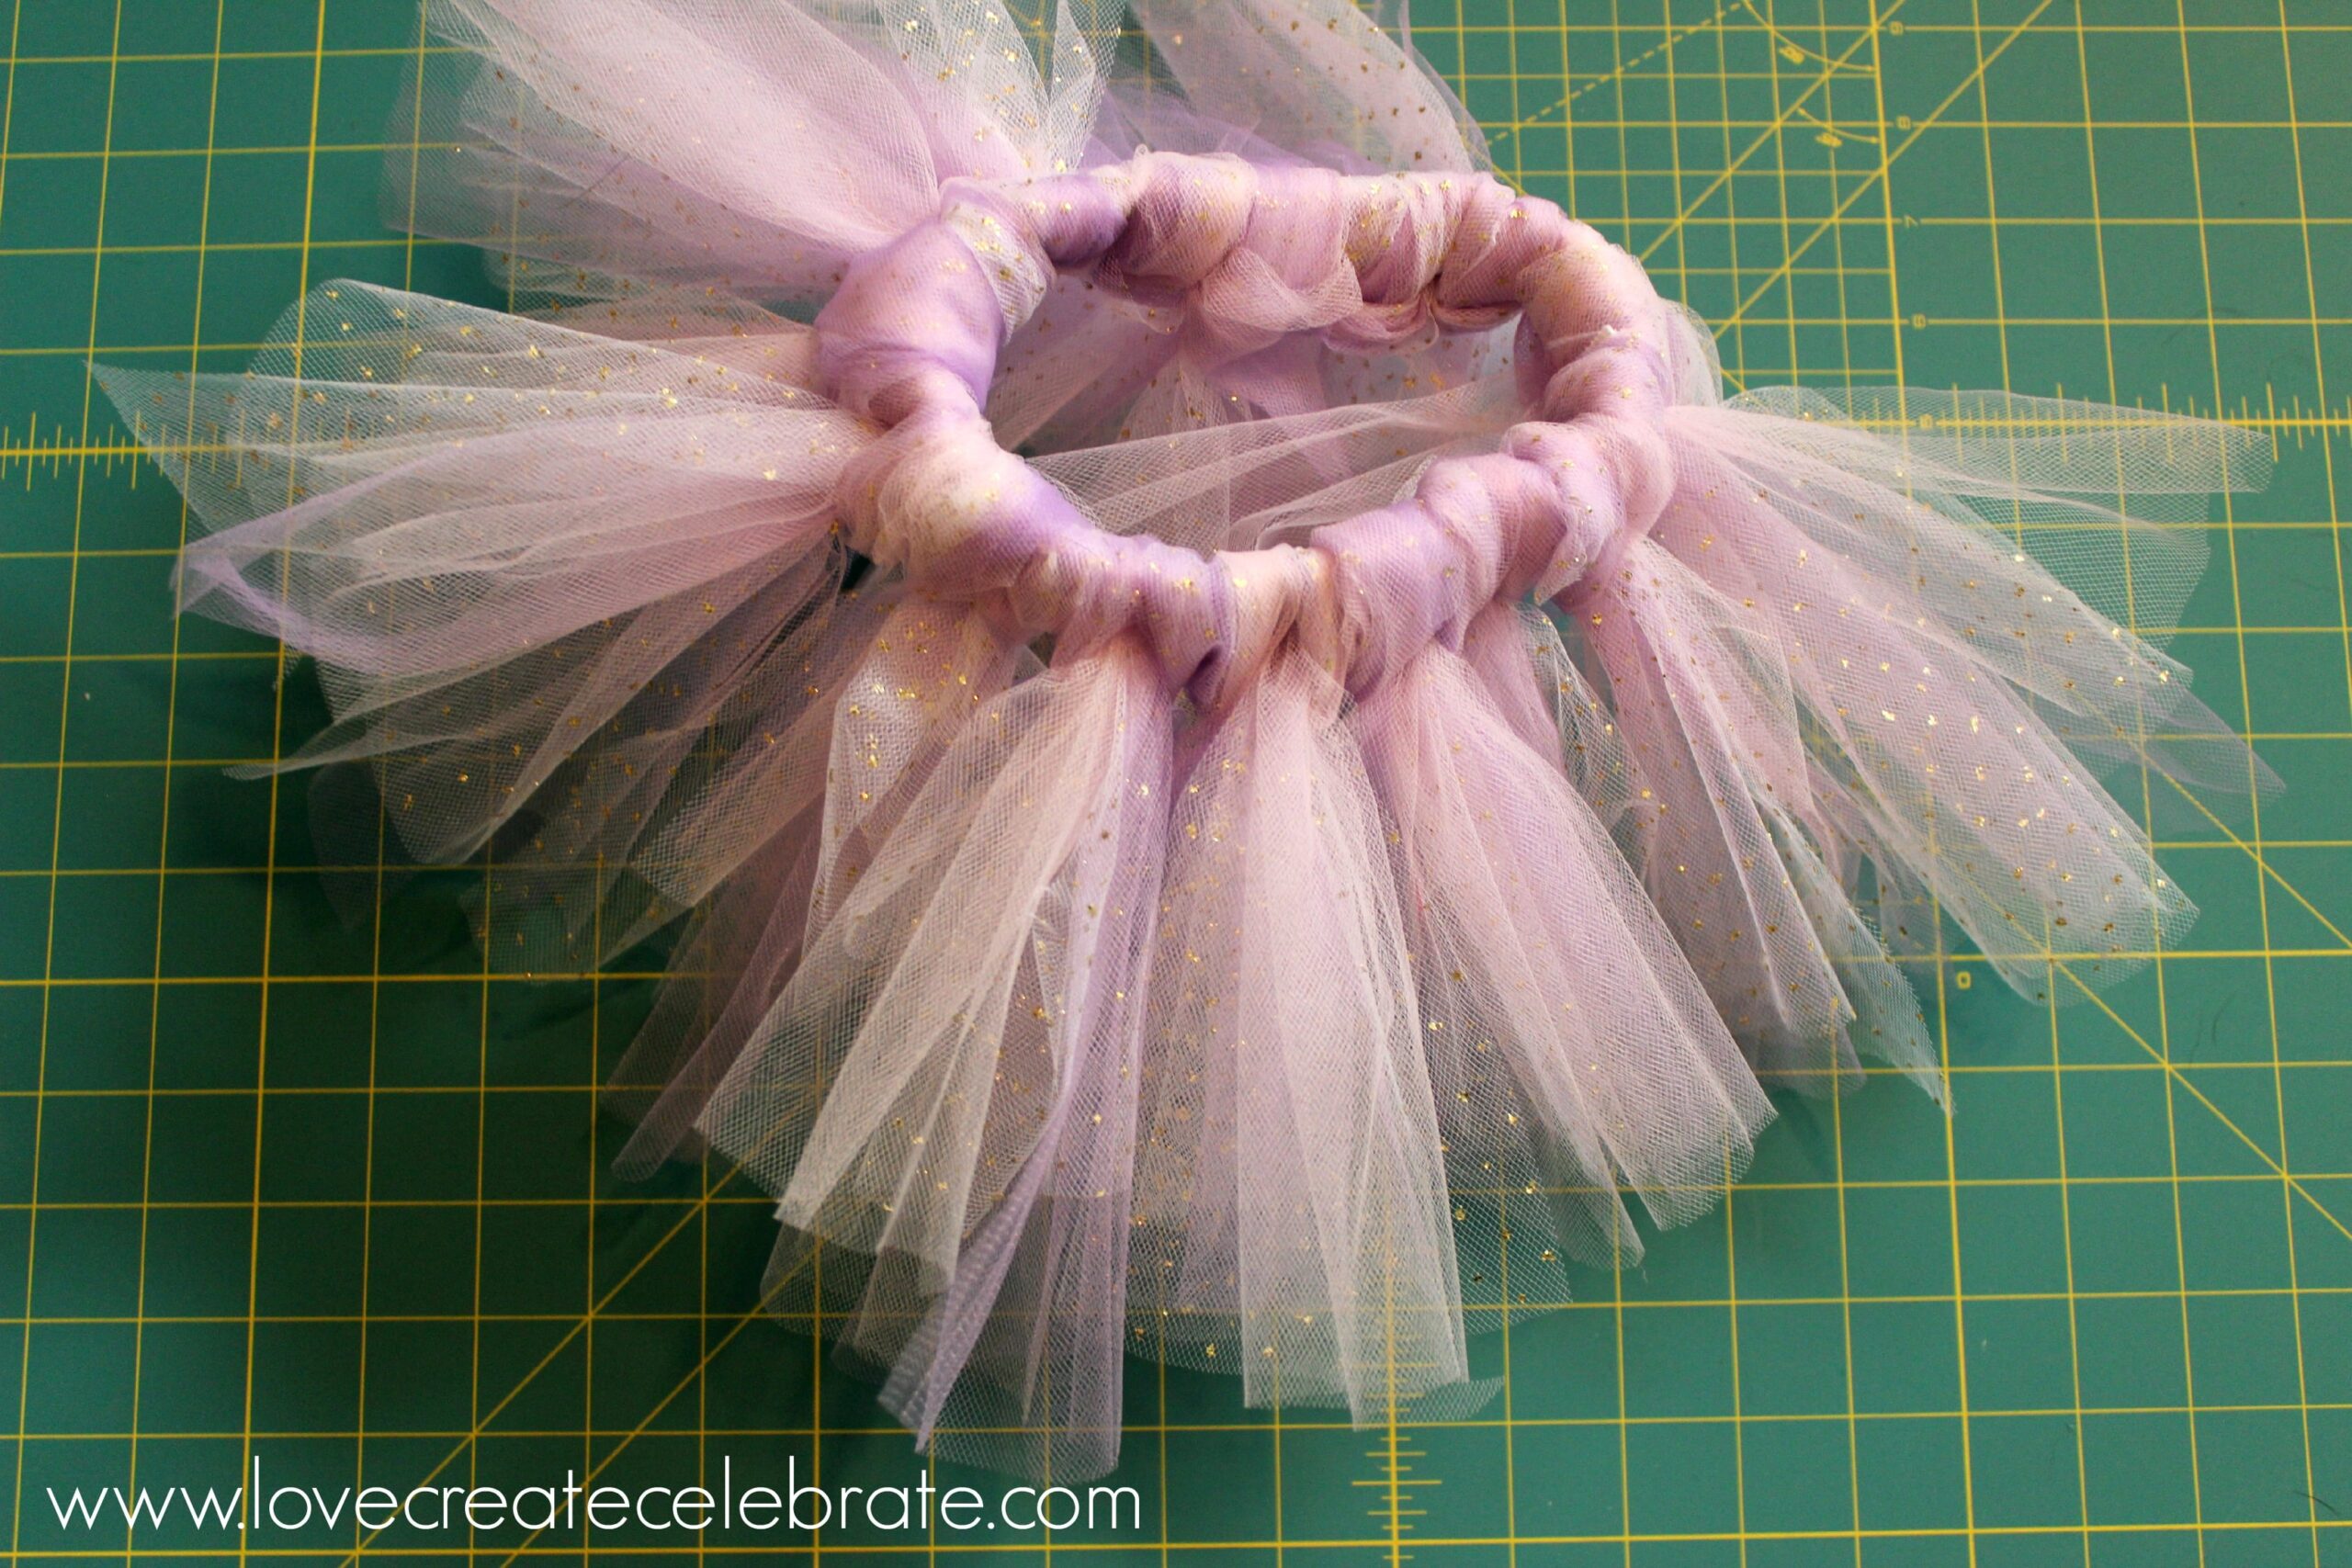
Do this all the way around, until you have filled the loop with tulle bundles.
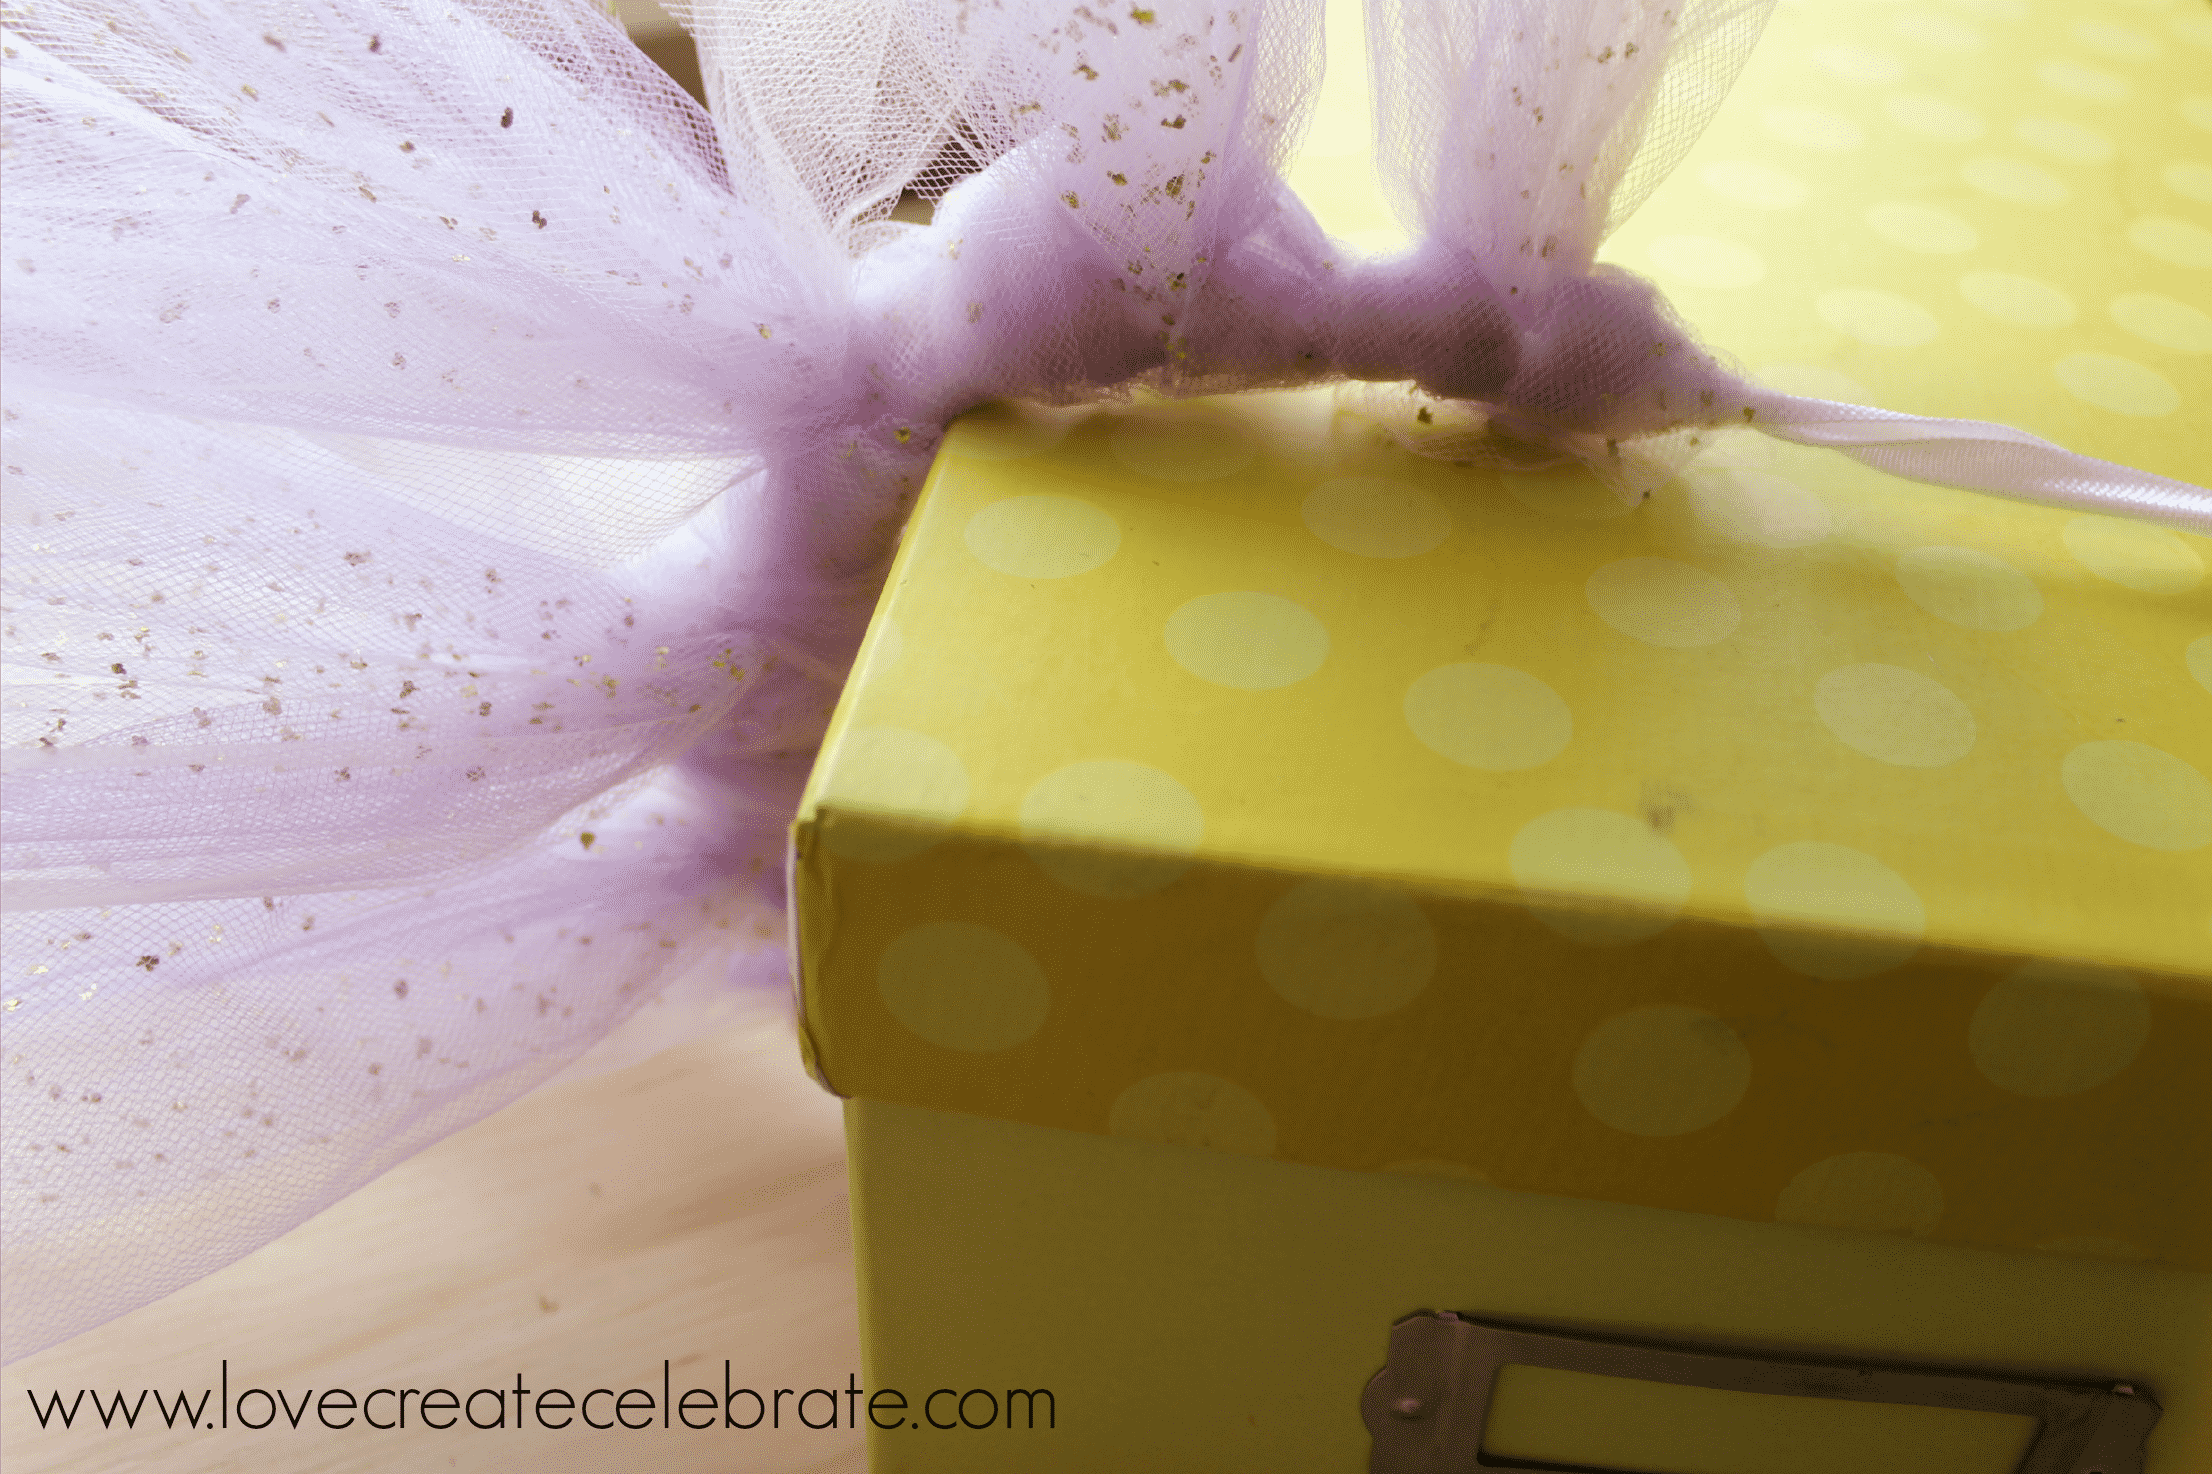
The photo below shows a single row of tulle (18 bundles). I found that my DIY baby tutu wasn’t quite full enough for what I wanted, so I used my remaining tulle to cut more strips and fill in the gaps. I used the same process to add a second row of tulle between the other bundles.
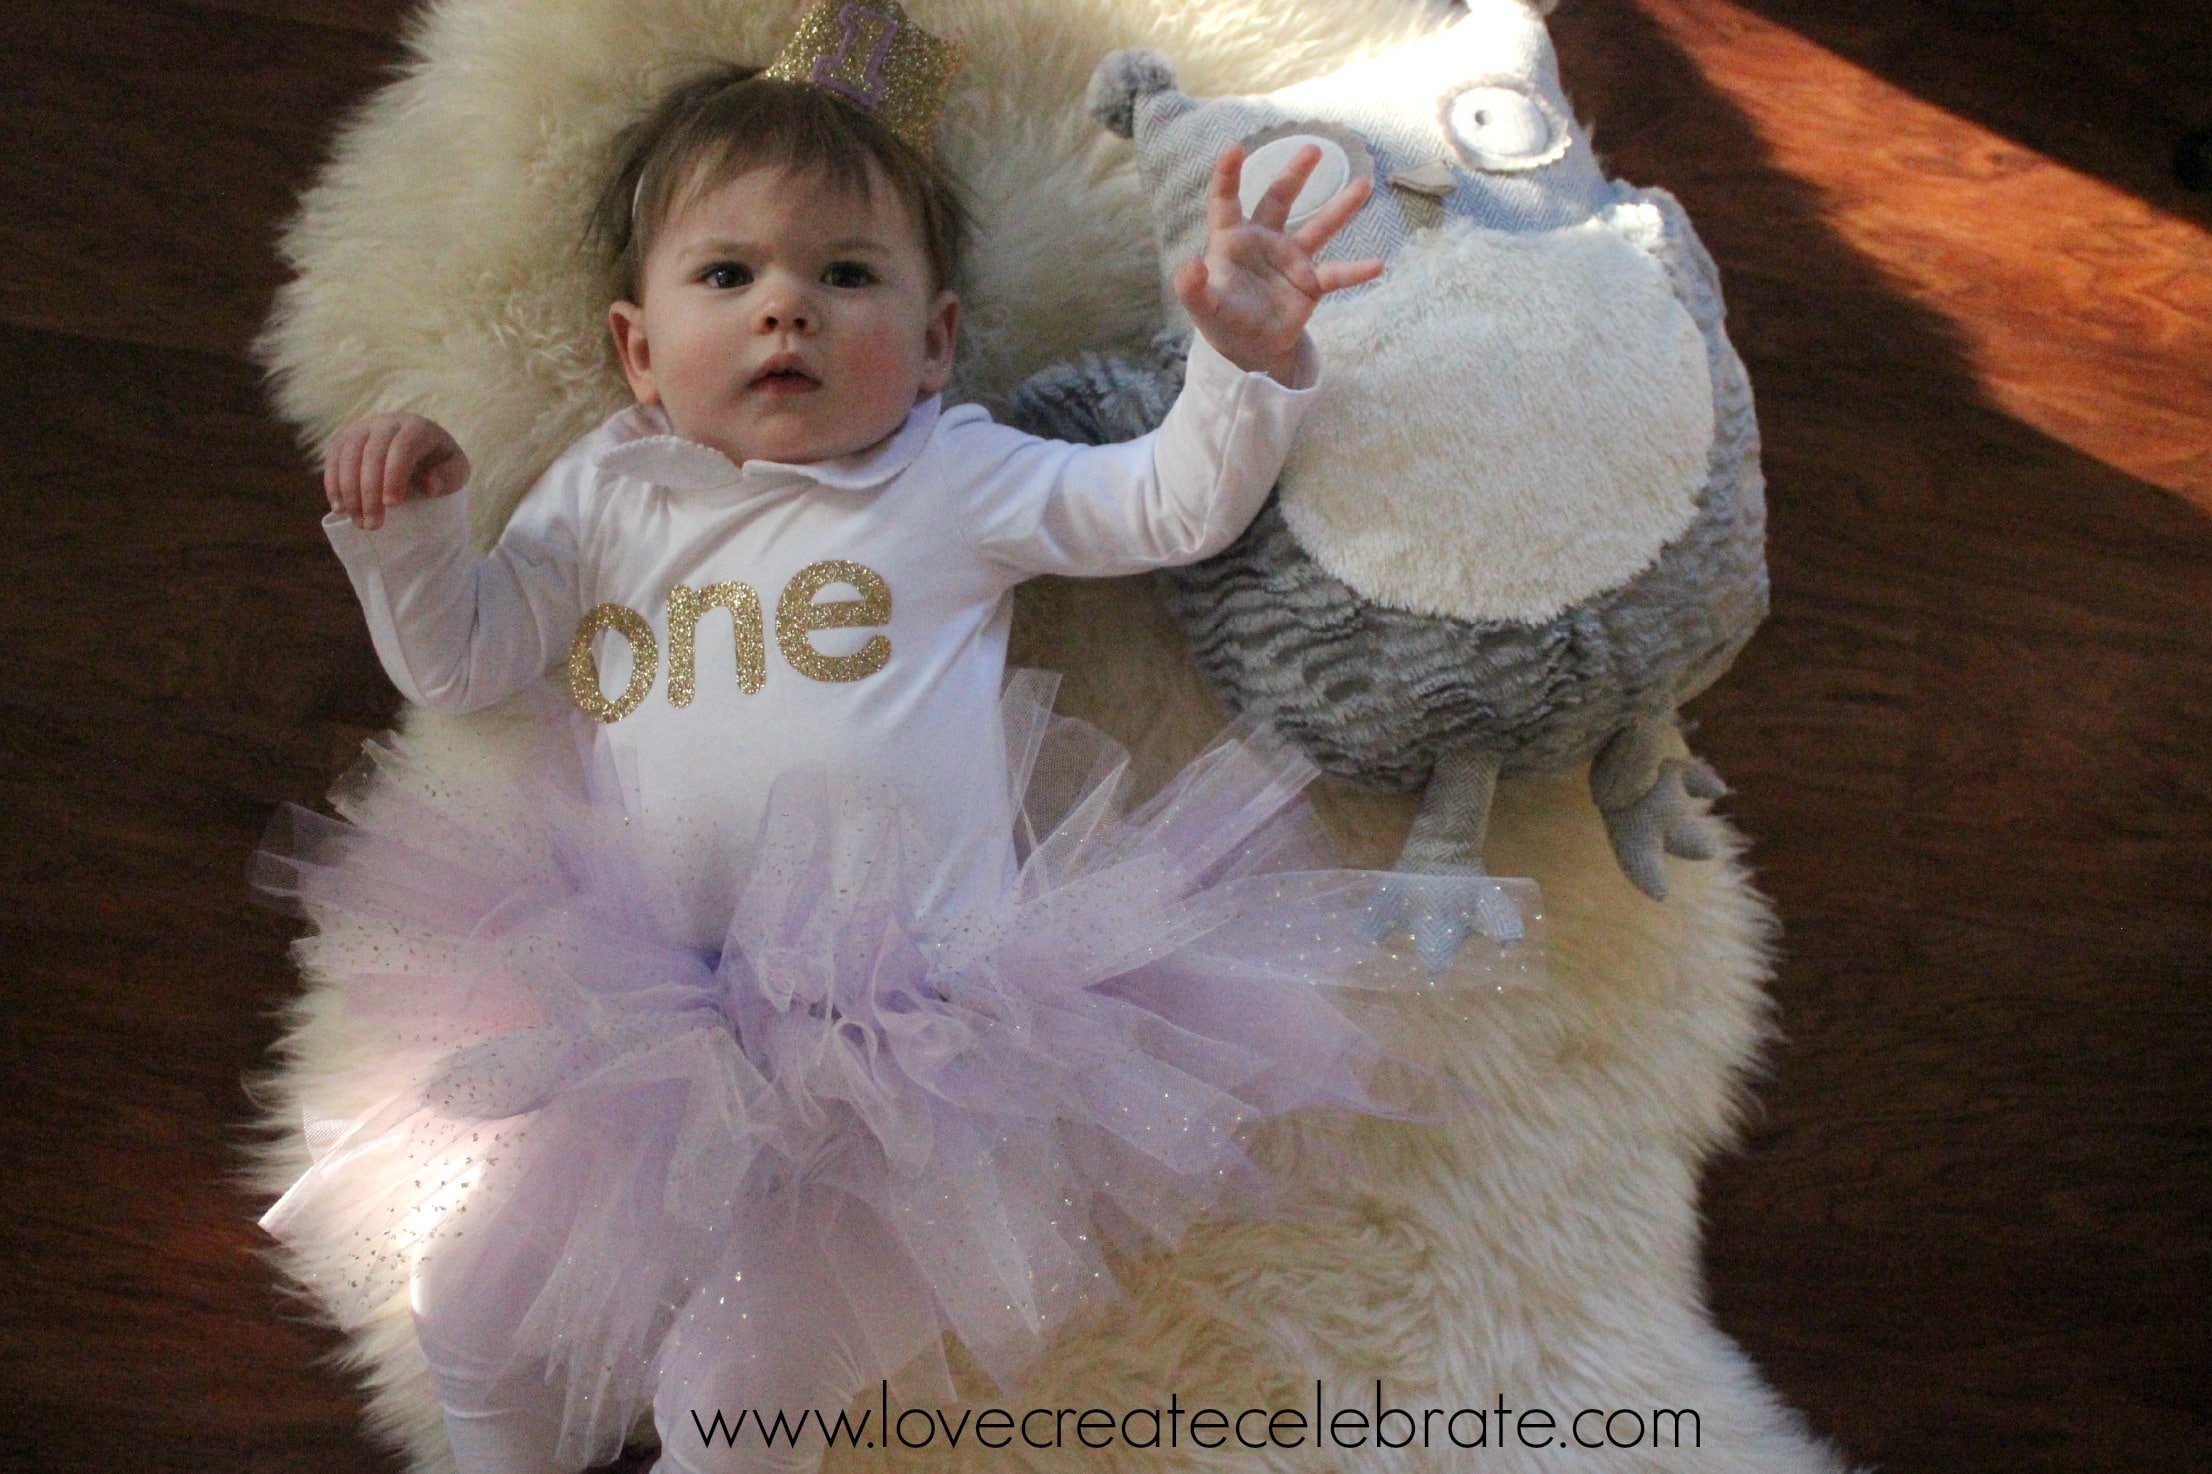
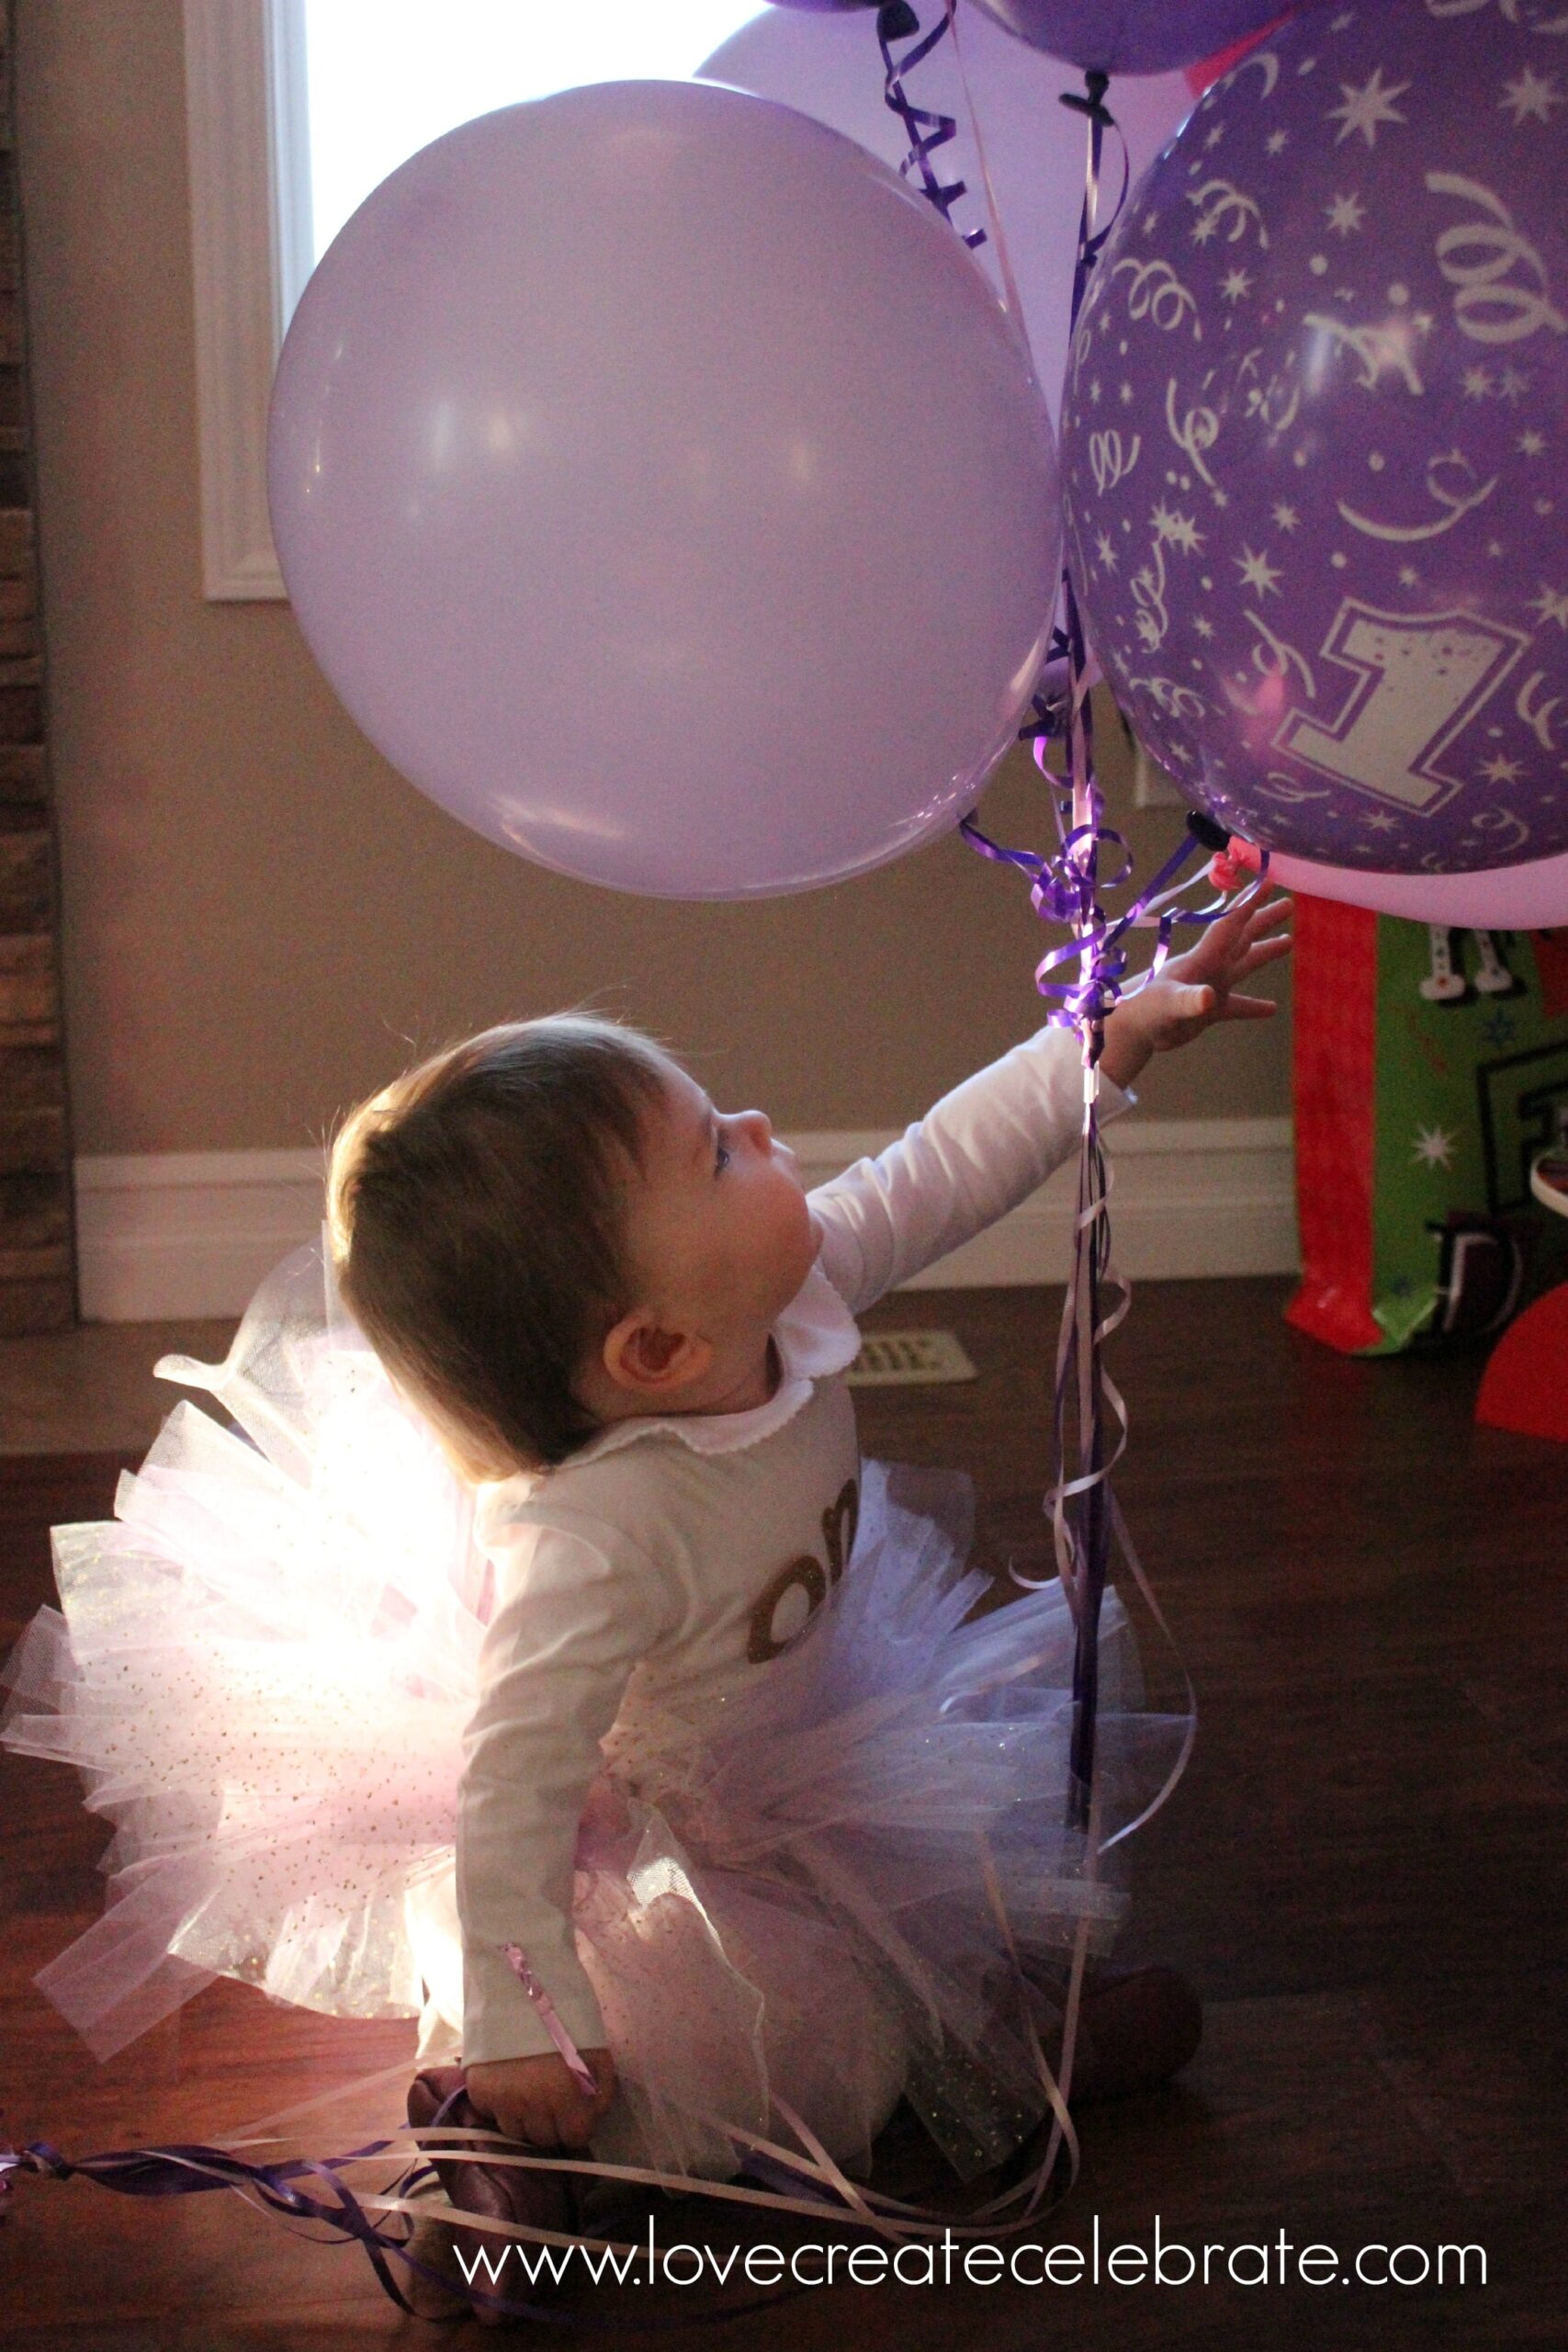
When you are all done, you will have an adorable DIY baby tutu for your daughter to wear!I was so pleased with how it turned out! Our baby girl had LOTS of compliments on her birthday outfit :)
Word of warning: your tutu may be full of cake by the end of the day!
Hope you enjoyed the tutorial!
After you’ve learned how to make a baby tutu, check out the DIY Birthday Onesie post!

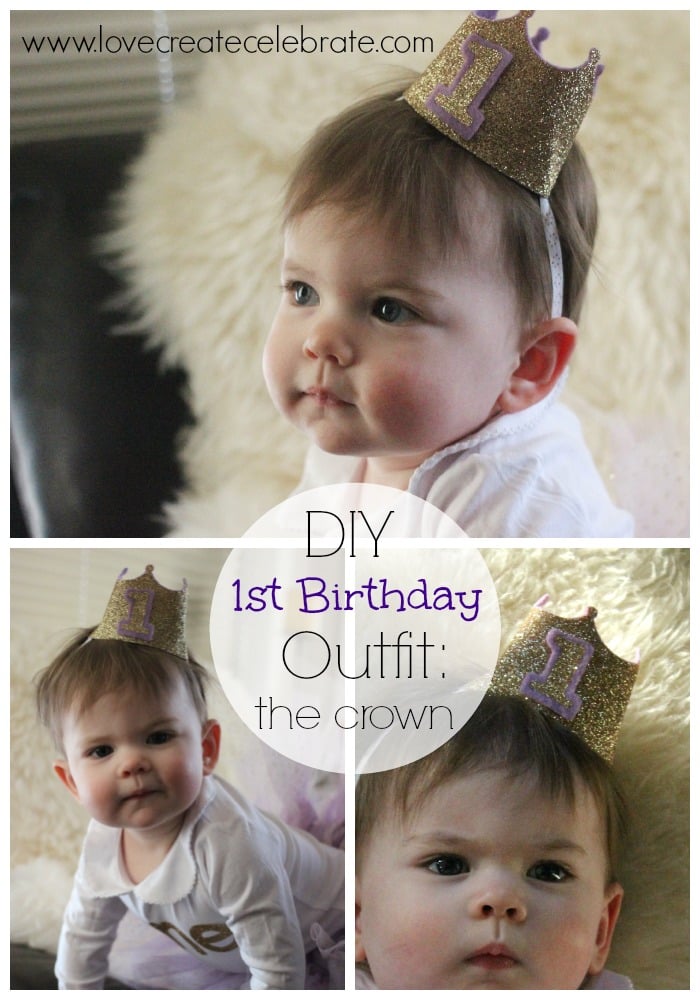
Or this adorable DIY Birthday Crown :)
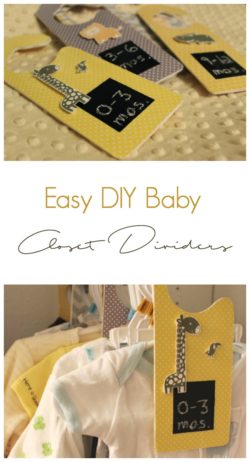
If you’re getting a baby room ready, you may love these customizable DIY Baby Closet Dividers too!
Melanie
Sunday 8th of February 2015
What a beautiful tutu for the birthday girl! I love the pink and gold. Thanks for linking up with us at Motivational Monday! I hope you'll join us again this week :) http://makingitinthemitten.blogspot.com/2015/02/motivational-monday-february-8th.html
Lindivs
Sunday 8th of February 2015
Thank you :) I thought gold was a good colour for a little princess! lol.
Brandi @ penguinsinpink.com
Friday 6th of February 2015
I used a similar process to make my daughter's tutu too. Thanks for linking up the the Bloggers Brags Pinterest Party. I have pinned to the Bloggers Brags Board.
Lindivs
Saturday 7th of February 2015
Thanks! I was surprised by how easy it was. Anyone could easily make one!
Rachel
Wednesday 4th of February 2015
I had no idea how easy these were to make. I missed out on so much girl stuff since I have a son but now I have an adorable niece to spoil! Thanks for sharing on Merry Monday!
Lindivs
Wednesday 4th of February 2015
Thanks Rachel :) I know! Girls are so much easier to dress up :) lol
Lorelai @ Life With Lorelai
Sunday 1st of February 2015
This would make a really fun project for a dress-up kit as well. Thanks for sharing at the #HomeMattersParty :)
~Lorelai Life With Lorelai
Lindivs
Sunday 1st of February 2015
That's such a great idea! I'll definitely be saving it for her to play with in the future!
Amy | Canary Street Crafts
Saturday 31st of January 2015
Cutest thing ever!! She's adorable and so is her birthday outfit!
Lindivs
Sunday 1st of February 2015
Thank you Amy! I think she's pretty cute in it ;)