
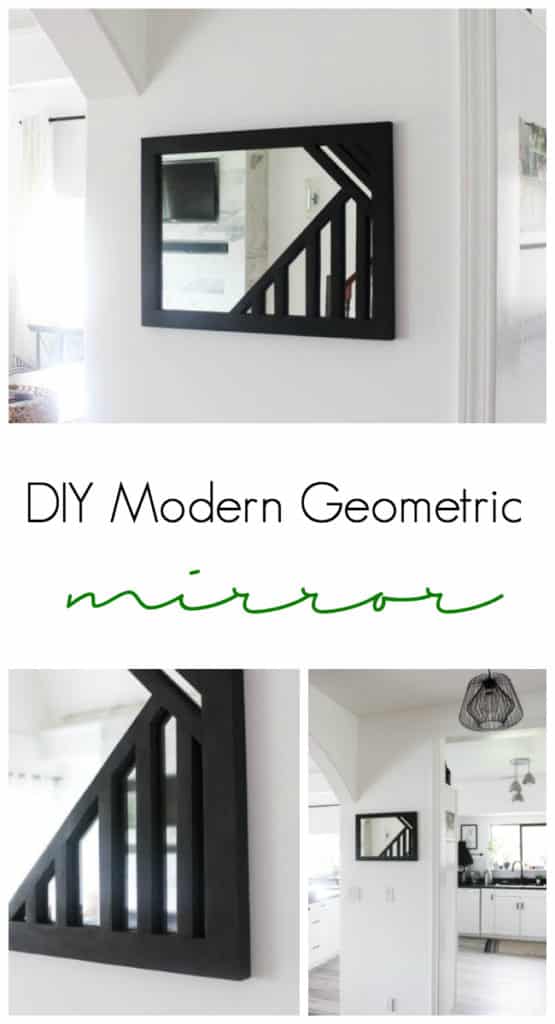
Beautiful DIY Mirror! Make your own custom framed mirrors with this simple tutorial. The perfect modern mirror for any hallway, bedroom, or bathroom wall!

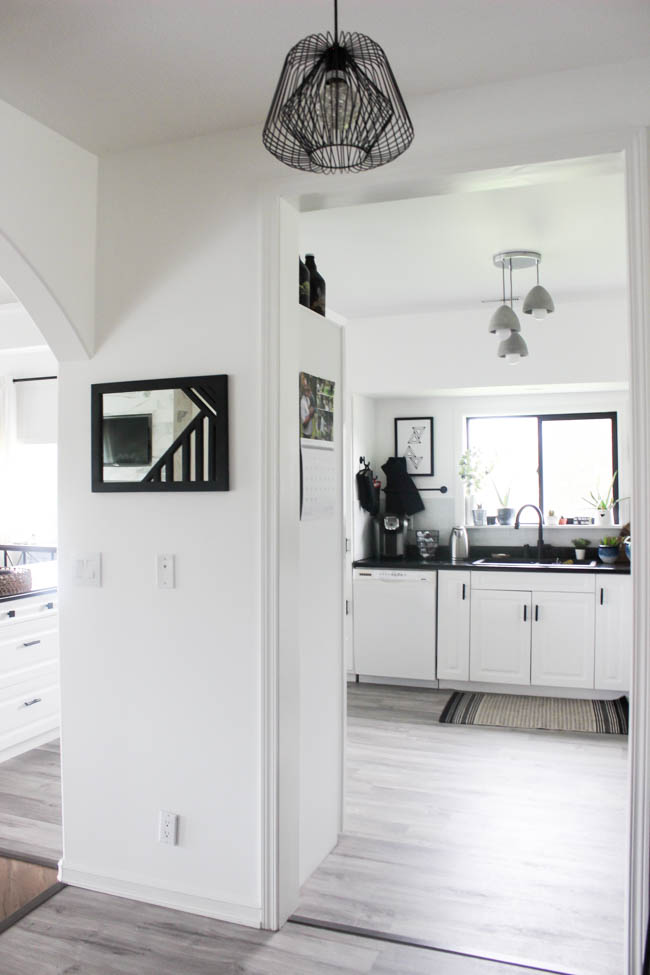
A few months ago we didn’t have any mirrors on the entire main level of our home. Who knows what kind of food (courtesy of my kids of course!) was in my hair when I left the house. We had guests come and stay that had to run upstairs to do their makeup in the morning. Well, we’re making up for it now! We already added a mirror in our beautiful entryway, and now we have a beautiful custom framed mirror in the hallway!
*This post was sponsored by Ryobi. As always, opinions are 100% my own. For more information, please see my disclosure page.*
Sometimes I dream up or draw project ideas in my head and both my husband and I are skeptical. Ok… Russel is usually skeptical, lol. This time, however, I had an idea, sketched it out, and both of us loved it, but neither one of us was sure if it was going to turn out. Luckily, it looked amazing and I didn’t have to go with plan B!
Here’s what you need to make your own mirror:
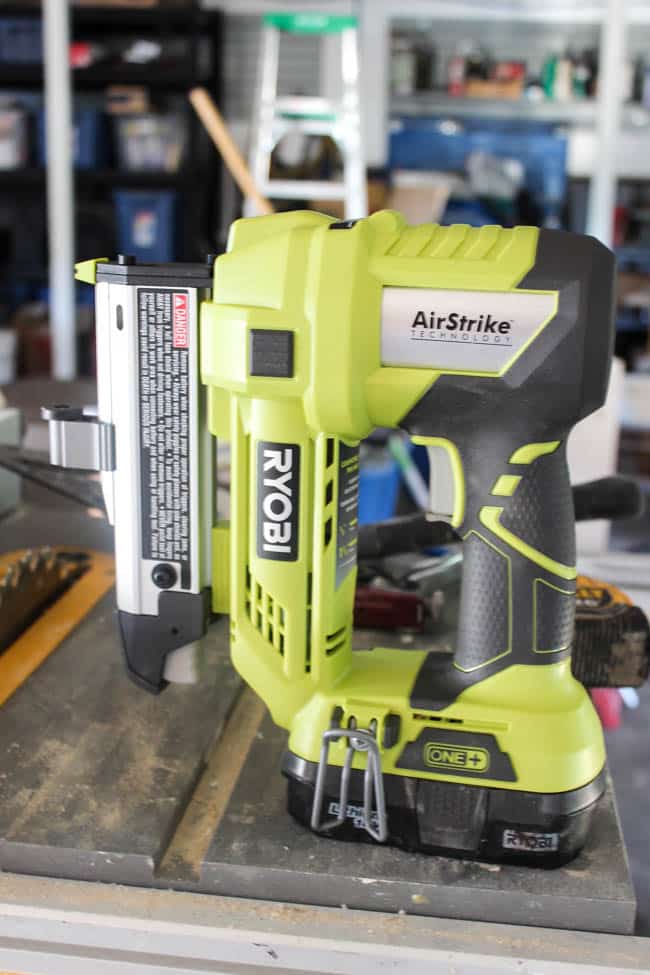
- Ryobi Pin Nailer
- 1 x 1/2″ strips of pine
- 1/4″ x 1/2″ strip of pine
- A rectangular piece of mirror
- Speed square
- A router table
- A mitre saw
- Wood putty
- Sander
- Paint or wood stain
(we used Black Coal paint)
How to make your DIY Custom Mirror:
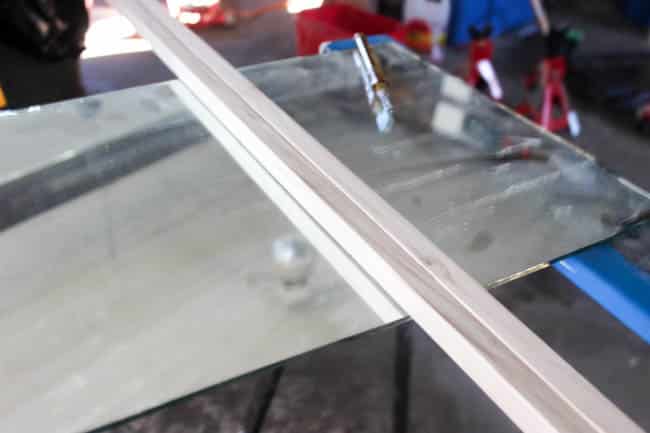
How to Cut Glass
You need a piece of mirror glass to start. You can buy a plain rectangular piece if needed.
Ours was the leftover piece from the mirror we removed in our old bathroom renovation. If you have a large piece of mirror and want to learn how to cut glass, use this tutorial.
How to Frame Your Mirror
The first thing you need to do is build the frame for your mirror with your pine boards.
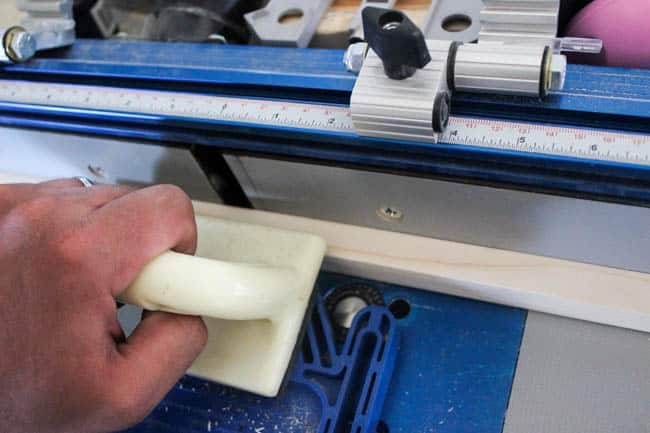
In order for the mirror to sit inside the frame nicely, we made a 1/4″ indent in the side of the wood that we were using the build the frame.

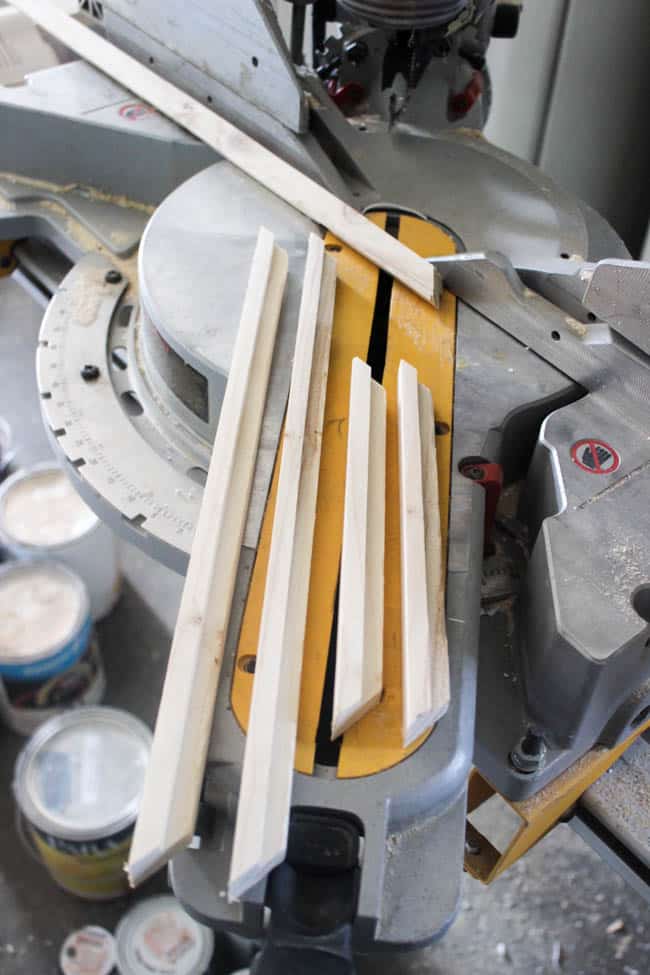
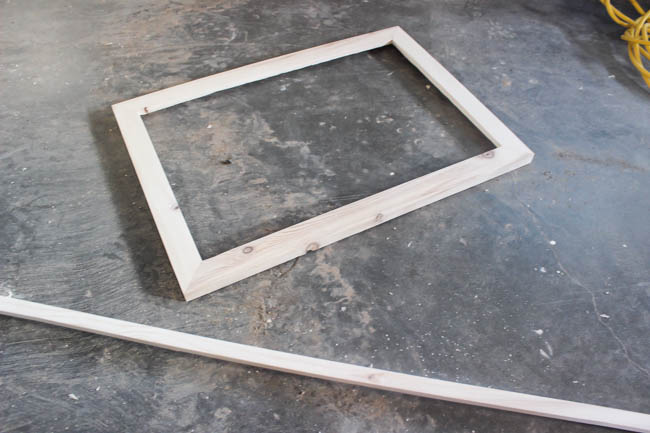
Next, measure your mirror to determine the length of frame you need. We wanted all of the frame edges to be nicely mitred at 45 degree angles. The photo below shows what the four frame pieces should look like after they are all cut.
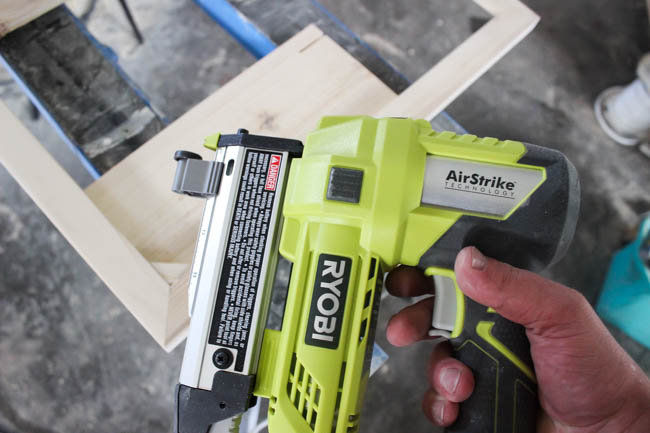
Using the pin nailer
This is where the beautiful pin nailer comes into play! If you don’t know what it is, it’s a tool that shoots out pin nails. They are small nails and aren’t as strong as brad nails (from your typical nail gun). They are perfect for a project like this where we don’t need a lot of strength, and just want to hold objects in place.
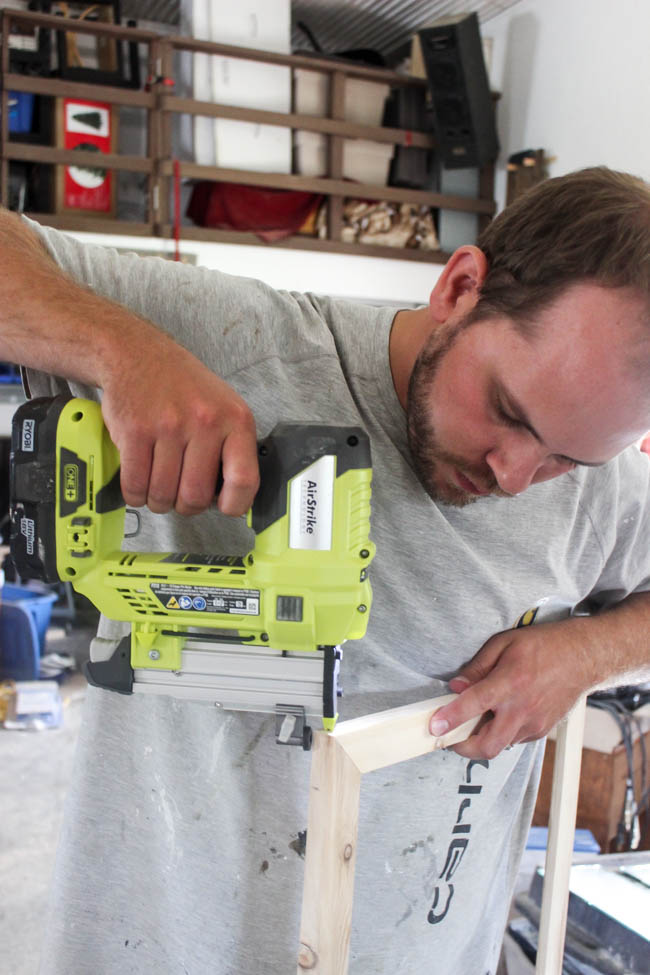
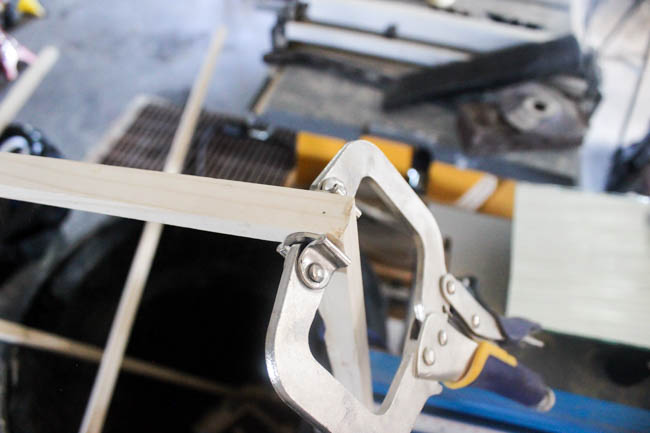
To finish building the frame, we added wood glue between all of the joints, shot a pin nails through, and then clamped them until they were set.
Once the frame is clamped and set, your mirror should fit perfectly inside.
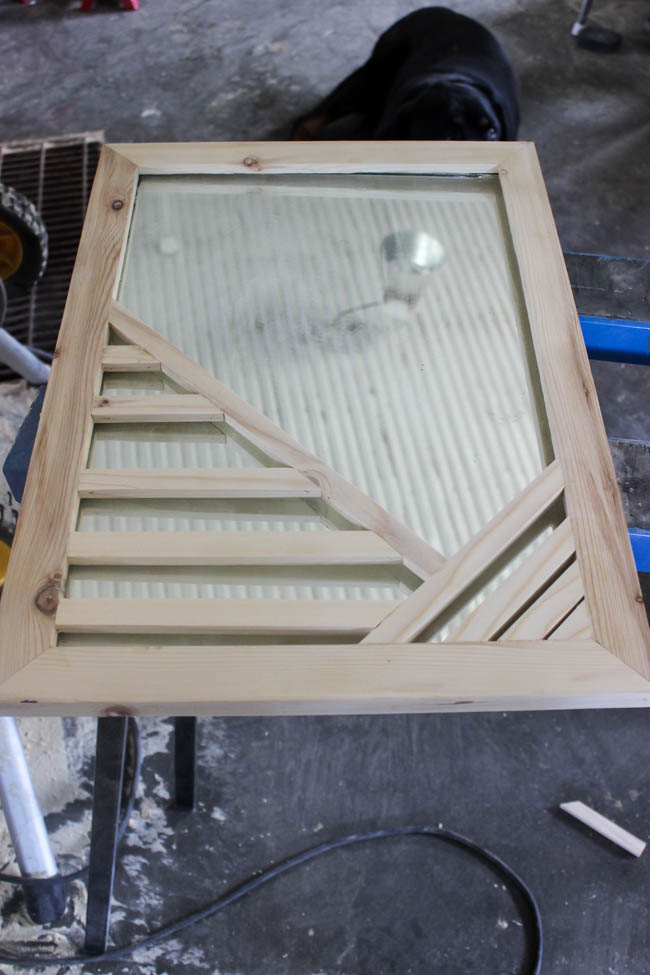
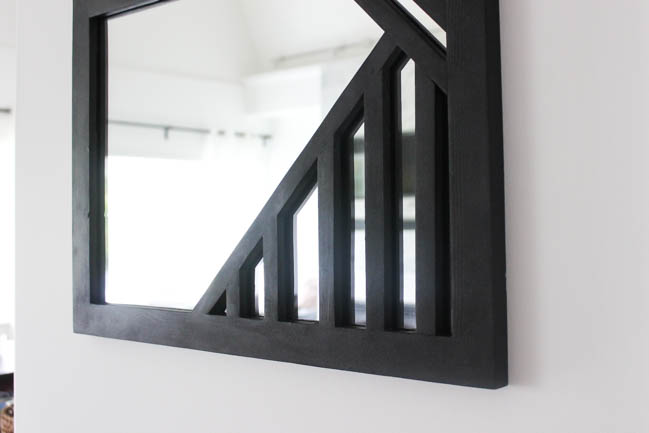
Make a Custom Design for Your Mirror
If you want your mirror to have a modern, custom design, grab a thin piece of pine board. Use the mitre saw to cut pieces at various lengths—starting with opposing 45 degree angles.
You can always draw out your design first, so that you aren’t wasting scrap wood, but I wanted to physically move the pieces around.
We also cut some pieces with straight cuts on one side, and 45 degree cuts on the opposite side.
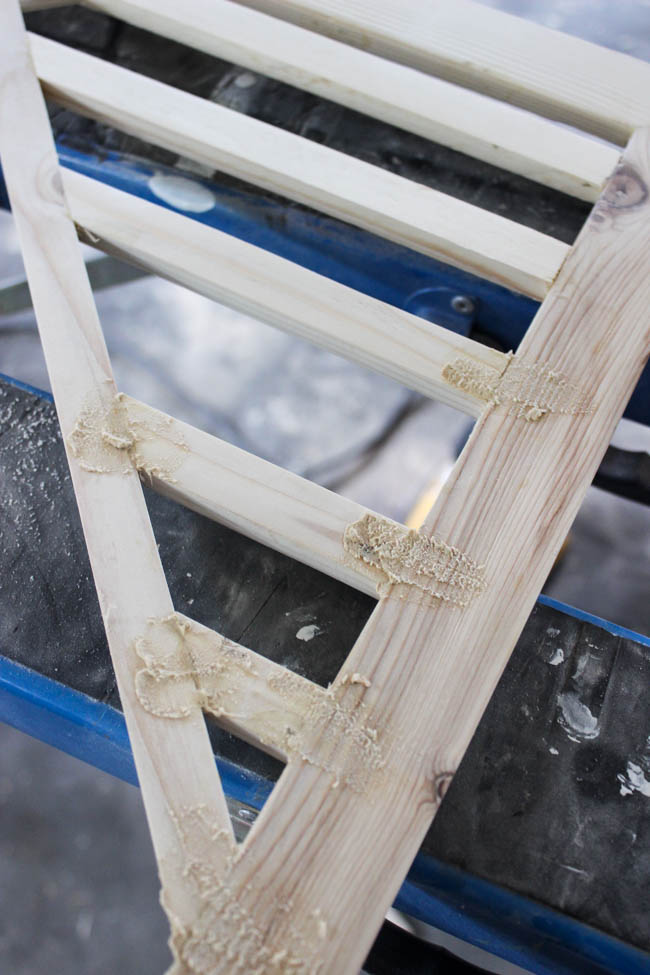
We laid out all of the pieces until we were happy with the design. We did cut down a few of the pieces until they fit nicely in the frame.
Again, the Ryobi Pin Nailer was perfect for this job, because we just needed something to grab and hold the wood pieces in place.
Finish your wood properly, but puttying and sanding any joints that need it. The pin nail holes are so small, you likely don’t have to putty those at all.
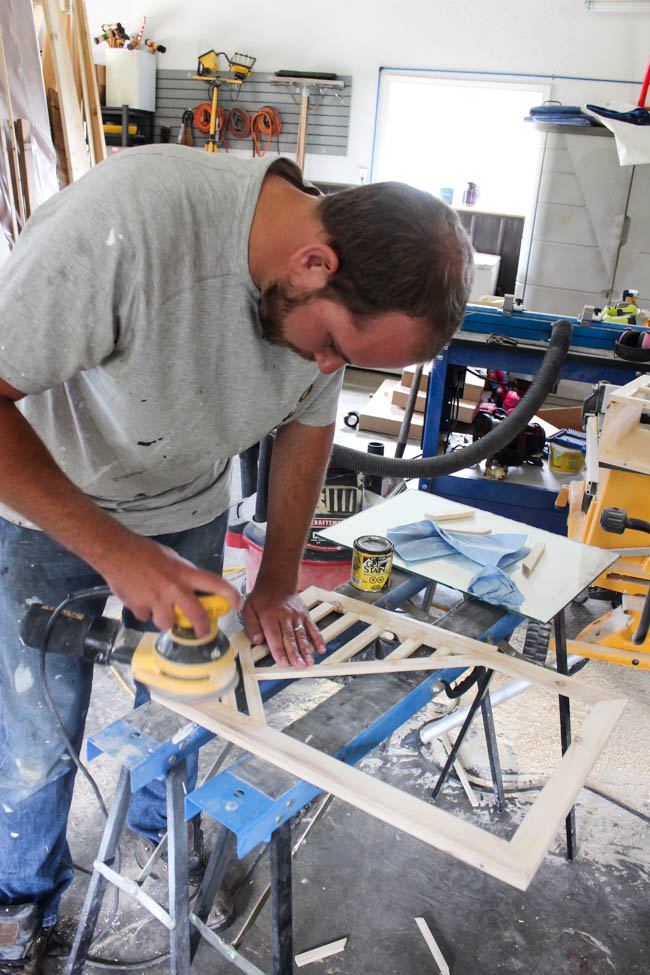
You can paint or stain your piece to give your custom framed mirror just the final look you’ve always wanted. I wanted a deep black colour, so we chose to use black paint on ours.

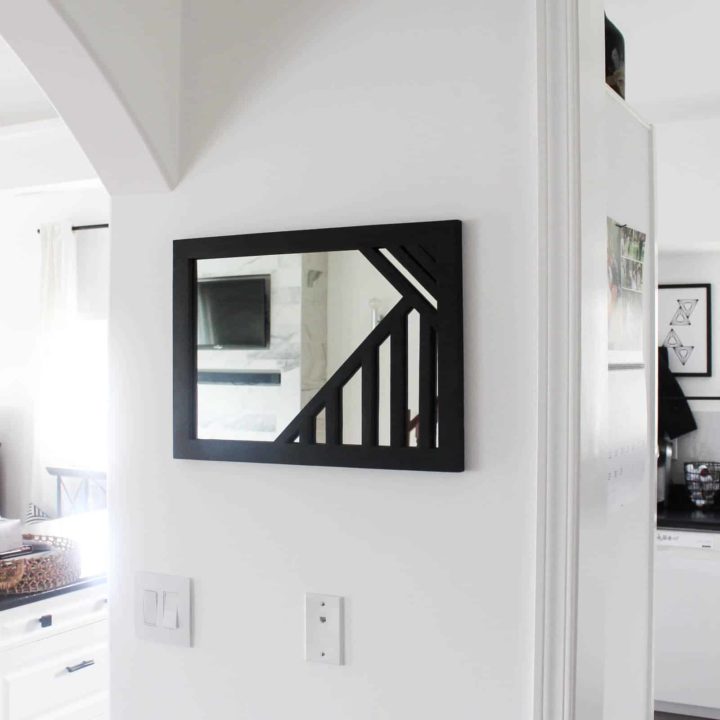
Our Finished DIY Custom Framed Mirror
What do you think of the finished custom framed mirror? I LOVE the design in real life so much more than I liked it on paper.
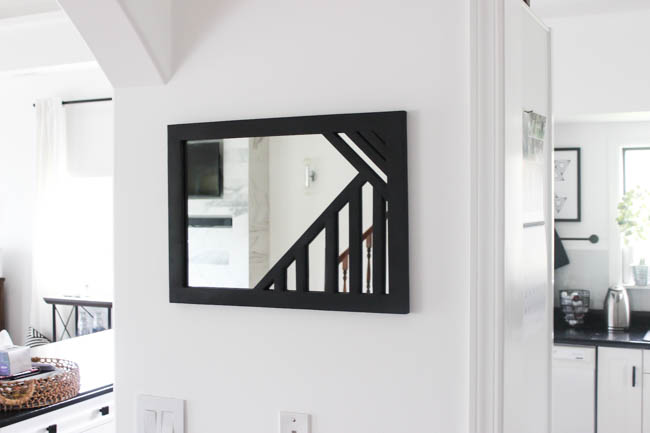
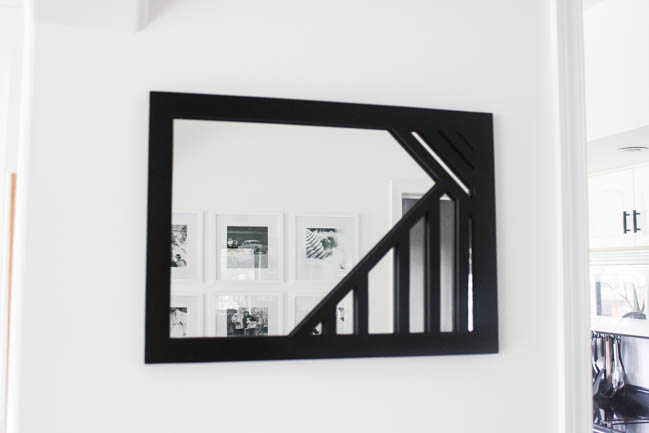
Perfect place to check your hair before you leave the house!
DIY Custom Framed Mirrors
Beautiful DIY Mirror! Make your own custom framed mirrors with this simple tutorial. The perfect modern mirror for any hallway, bedroom, or bathroom wall!
Materials
- 1 x 1/2" strips of pine
- 1/4" x 1/2" strip of pine
- A rectangular piece of mirror
- Wood putty
- Sander
- Paint or wood stain
- (we used Black Coal paint)
Tools
- Ryobi Pin Nailer
- Speed square
- A router table
- A mitre saw
Instructions
- If needed, start by cutting your glass piece. If you need steps for how to do this, follow the instructions in the "notes" section below.
- The next thing you need to do is cut part of your 1 x 1/2" wood strips for the glass to sit in. The easiest way to do this is to set up a router table so that it cuts a 1/4" indent into the side of each wood piece.
- Measure your mirror to determine the length of frame you need. Cut the first edge of your frame at a 45 degree angle, then measure the length of your frame on the inside edge and make another 45 degree cut on the other side, in the opposite direction. The inside edge should be the length of your mirror (say it's 12") and the outside edge should be the length plus 1" because it's a 1" board and you've added mitres to extend it (so it would be 13"). See photo in post.
- We added wood glue between all of the joints, shot a pin nail through each corner, and then clamped it until it was set.
- Grab a thinner piece of 1/2" x 1/4" pine and use the mitre saw to cut pieces at various lengths—starting with opposing 45 degree angles.
- We laid out all of the pieces until we were happy with the design. When we went to do the pieces with one straight edge, we just laid the wood piece on top and drew a mark onto the wood telling us where to cut.
- Use the pin nailer to attach these pieces to the frame.
- Use wood putty between all of the joints and sand them down when they are dry.
- Paint or stain your frame.
Notes
Tutorial on how to cut glass: https://lindiandruss.com/how-to-cut-glass-to-make-your-own-modern-mirrors/
Recommended Products
As an Amazon Associate and member of other affiliate programs, I earn from qualifying purchases.


CHECK OUT THESE OTHER GREAT WEEKEND PROJECTS BELOW!
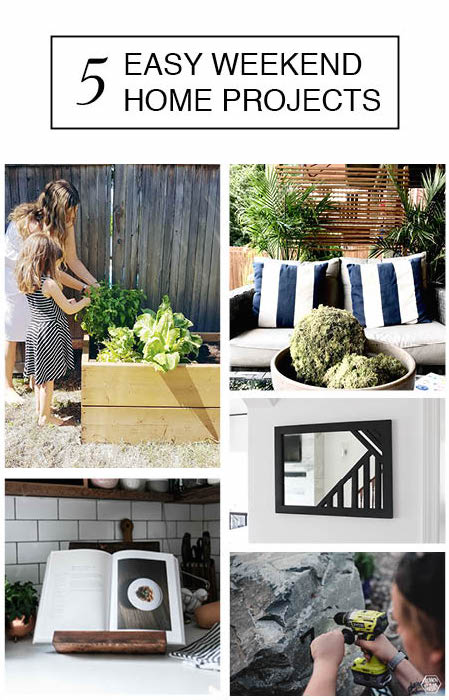
Raised Garden Bed by The Sweetest Digs
DIY Privacy Screen by Harlow and Thistle
Cook Book Stand by The Learner Observer
Modern Address Sign by Lemon Thistle


DIY Cookbook Stand (Using Scrap Wood) - The Learner Observer
Monday 30th of July 2018
[…] this raised garden by The Sweetest Digs, a privacy wall by Harlow & Thistle, a modern mirror by Love Create Celebrate, and how to install house numbers onto a rock by Lemon […]
Gemma Bonham-Carter
Monday 30th of July 2018
I love this! Something you wouldn't be able to find anywhere else. Goes so well with your kitchen, too!
Modern Address Sign | How to Drill into Rock - Lemon Thistle
Monday 30th of July 2018
[…] DIY Custom Framed Mirrors – Love Create Celebrate […]