
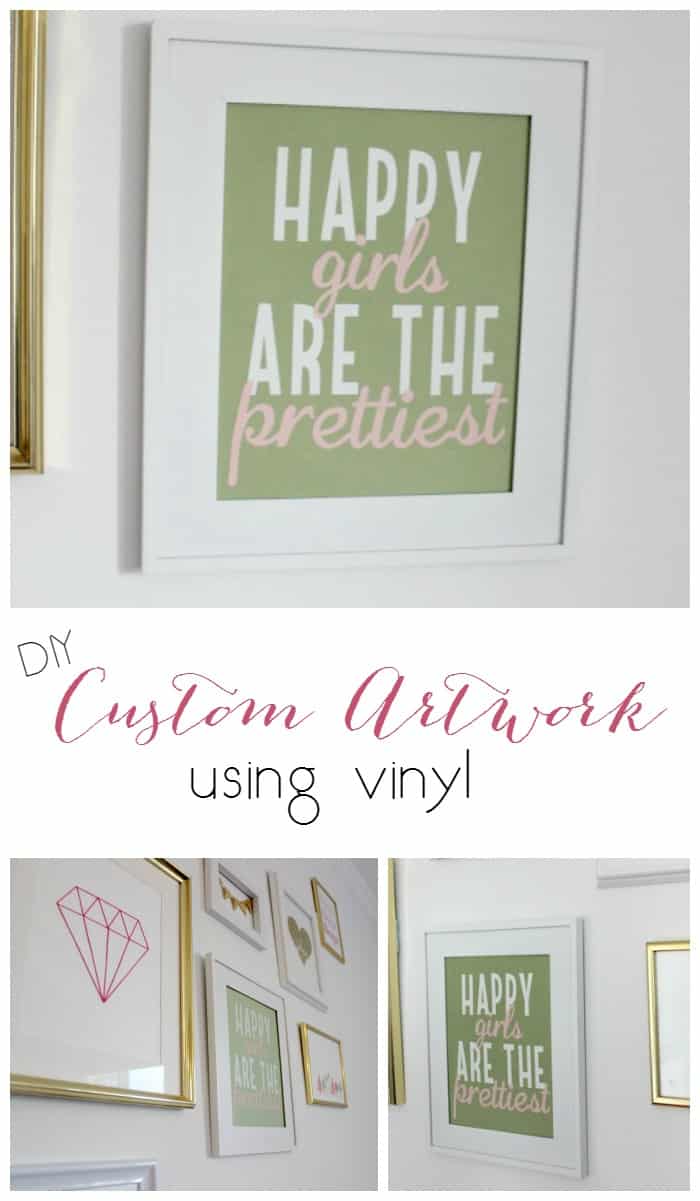
I’m continuing my week of custom artwork, by sharing another quick DIY piece I put together for my daughter’s Big Girl Bedroom! Yesterday, I shared by Diamond String Art, and today, I’m showing you how to make some quick custom artwork using vinyl!
All you need for this project is cardstock, vinyl (in two colours), and a Cricut Explore Air 2!
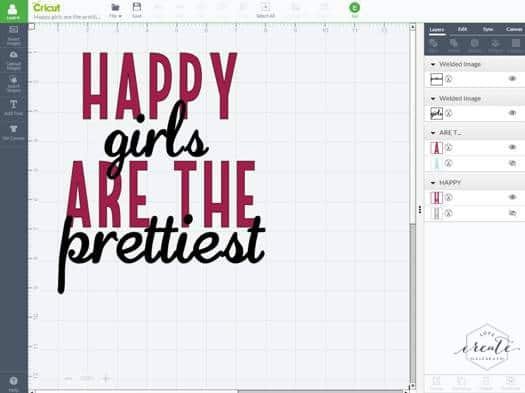
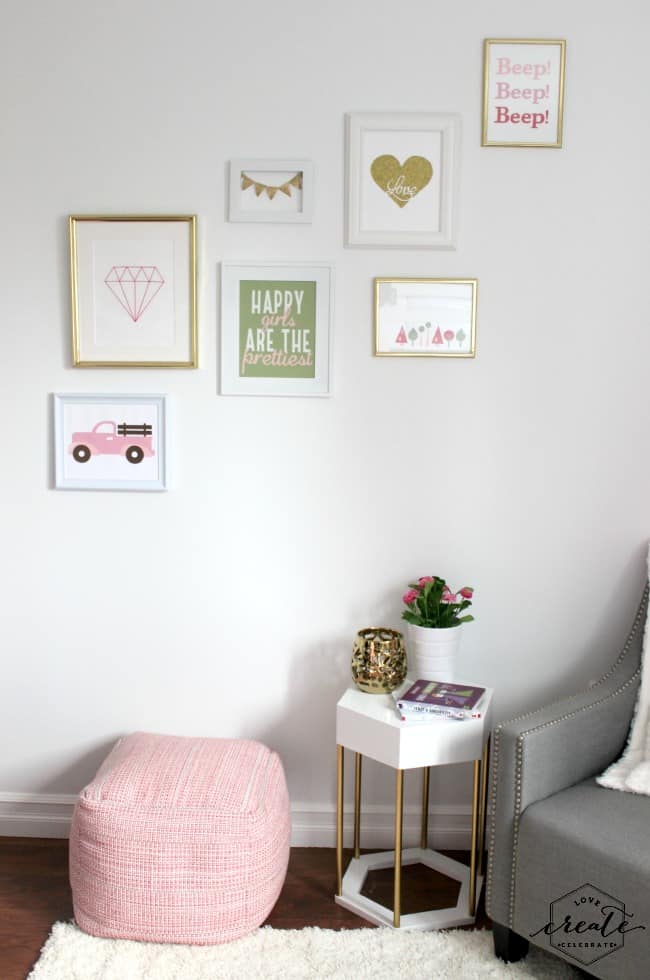
What I did was SO easy! I typed text I wanted to use into my Cricut Design Space. I used the font “Cricut Stretch” for “HAPPY” and “ARE THE”, and I used the font “Quarter Note” for “girls” and “prettiest”. Then I synced the colours, so that they would print one one piece of vinyl, and I set-up the layout [above] so that I would know exactly what it looked like in my frame. I set the dial on my Cricut Explore Air 2 and I cut it out on white and pink vinyl.
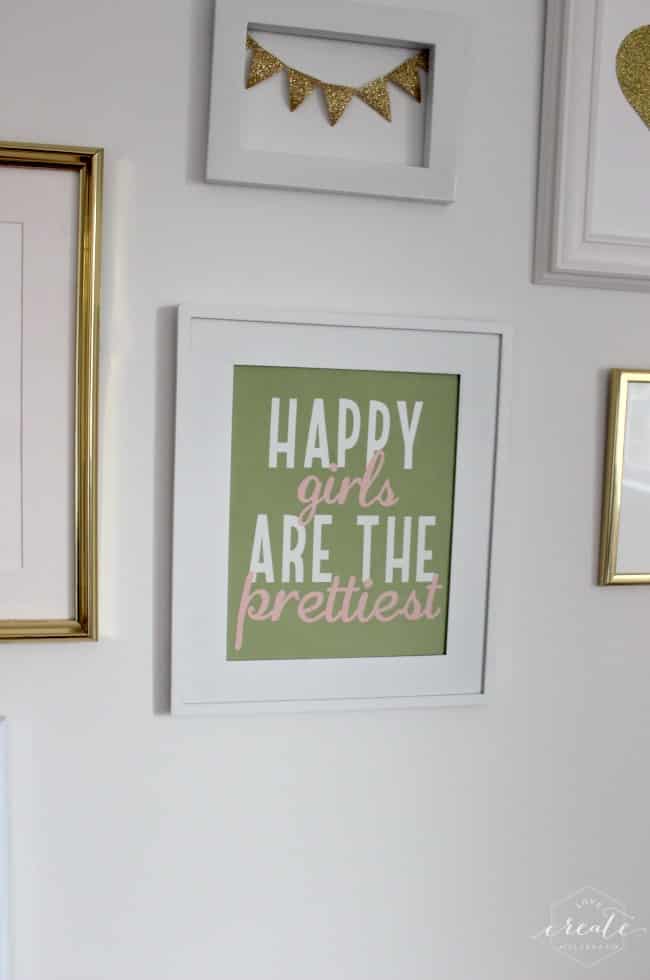
That’s really all there is to it! Vinyl is SO easy to use, you just cut it, and then stick it to the cardstock. The whole project takes no time at all! I used a ruler to line-up the text when I stuck it down so that it would match my design.

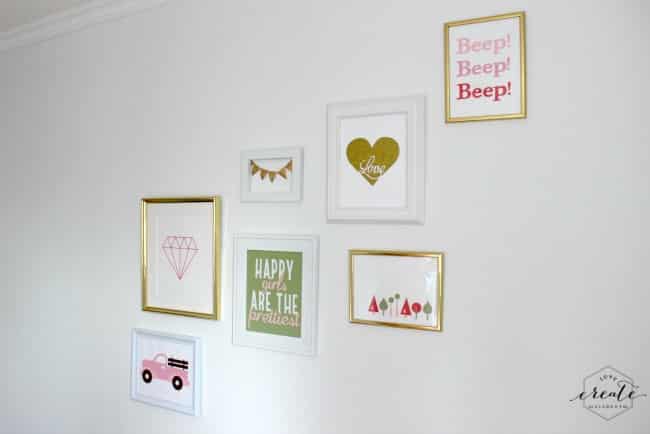
If you are curious about other pieces in my daughter’s gallery wall, take a look at this beautiful Gold Heart Art!

Make sure to also check out her entire, completed Big Girl Bedroom.

*This post contains affiliate links. Thank you for supporting Love Create Celebrate. For more information, please read my disclosure policy.*
Sonja @Sustainmycrafthabit
Tuesday 23rd of August 2016
The wall art is so soft and pretty and all the other pieces work so perfectly together. Really lovely!
Joann @ Woman In Real Life
Tuesday 23rd of August 2016
What a lovely project! The whole wall is beautiful.
dani@lifeovereasy
Wednesday 17th of August 2016
Love your gallery wall, and this piece is the perfect touch! Good advice for her, too ;)
Dannyelle @ Life is a Party
Wednesday 17th of August 2016
Such a pretty gallery wall, love all your art!
How to Make Custom Text Cloth Napkins
Wednesday 17th of August 2016
[…] Custom Artwork Using Vinyl from Love Create Celebrate […]