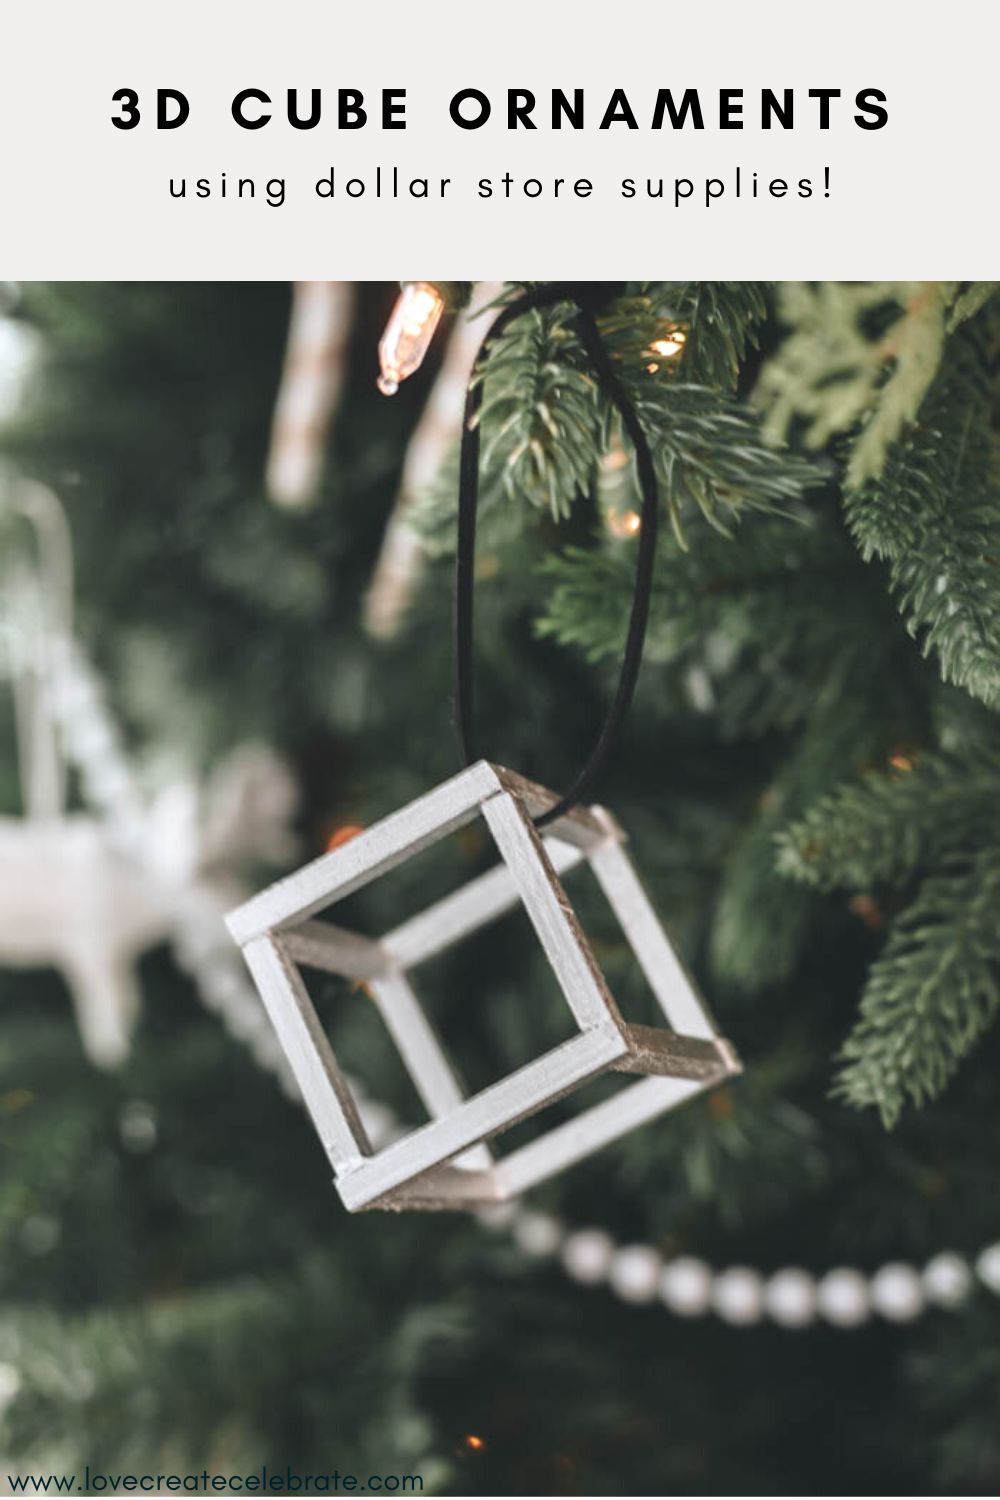
Beautiful DIY 3D Cube Ornaments! Try these quick and easy wooden Christmas ornaments using dollar store supplies!
If I had to guess, I would say that 50% of our holiday ornaments are handmade. I love making ornaments, and as my holiday themes change or I add new holiday trees (yes, I have two of them now, lol), I’m always looking to add more! These geometric 3D cube ornaments were one of the many additions this year.
This project is one of six holiday decorations we made, and it’s a quick and inexpensive DIY that we did along with other dollar store projects to get ready for the holiday season!
*This post may contain affiliate links. When you buy a product through one of our links, we get a commission at no cost to you! Thank you for supporting our blog so that we can continue to bring you posts like these. For more information, please see our disclosure page.*
How to Make your 3D Cube Ornaments
Materials Needed
Step-by-step Tutorial for your 3D Cube Ornaments
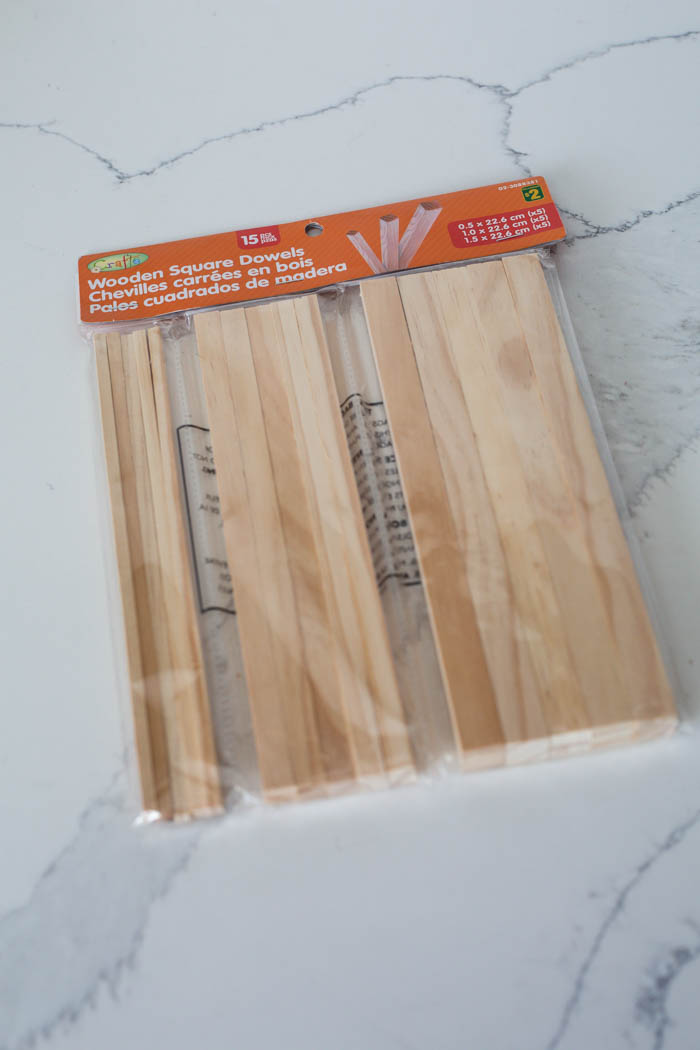
To make these 3D cube ornaments I used this pack of wooden craft sticks. I’ve used the large ones for a previous sculpture home decor project but this time I used mini, thinner pieces.
Start by measuring out the pieces and marking the dowels. We’ll be making a 3D cube shape with the wooden dowel pieces. To do this, cut four pieces that are two inches long and eight pieces just over an inch and a half long. This way when they are glued together, the cube is 2″ all the way around.
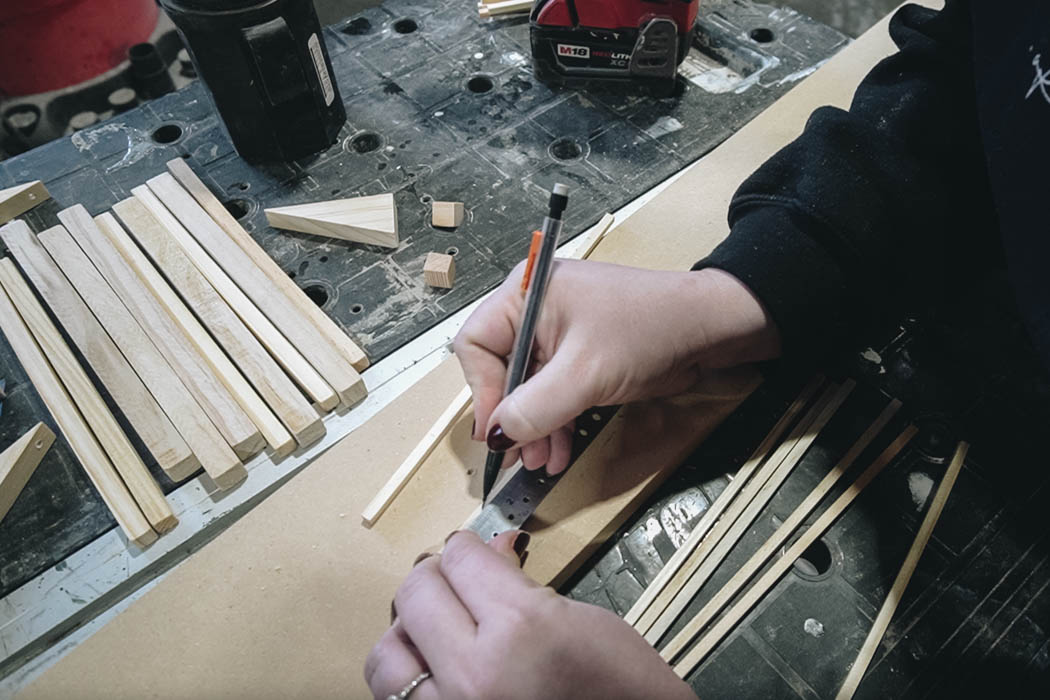
You can cut these with a utility knife, or a hand saw, but because I had access to a scroll saw, I used that instead, carefully cutting each dowel 3 or 4 times to get as many cuts I could out of one.

Since we’ll spray these paint cube ornaments anyway, I don’t have to worry about using something that will stain nicely. That’s why I decided to just use craft glue to attach the wood pieces.
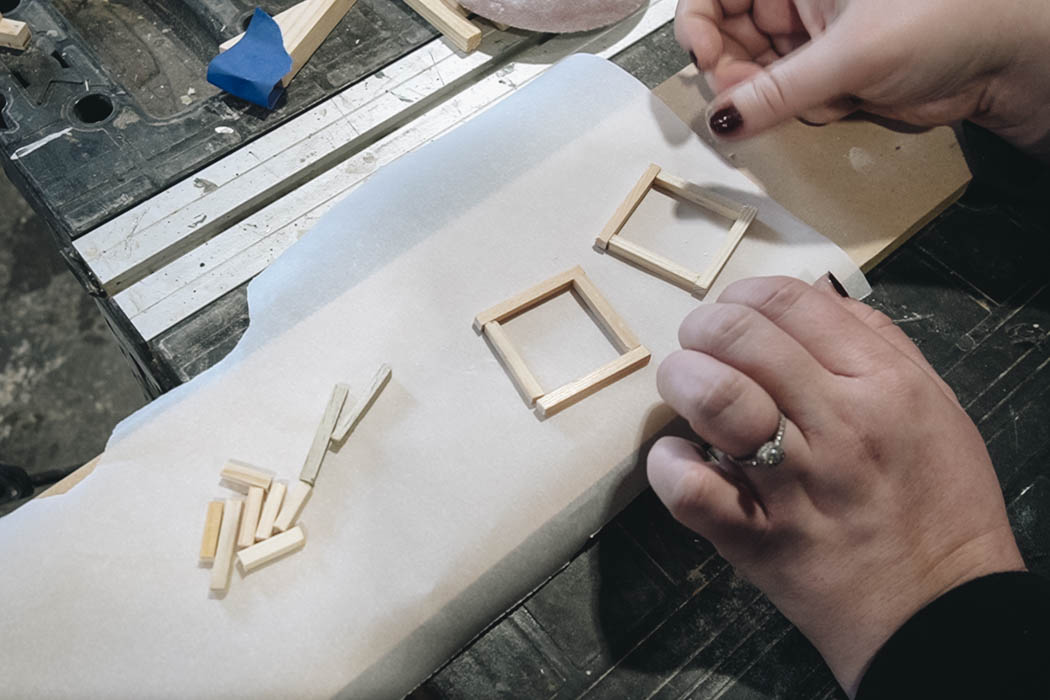
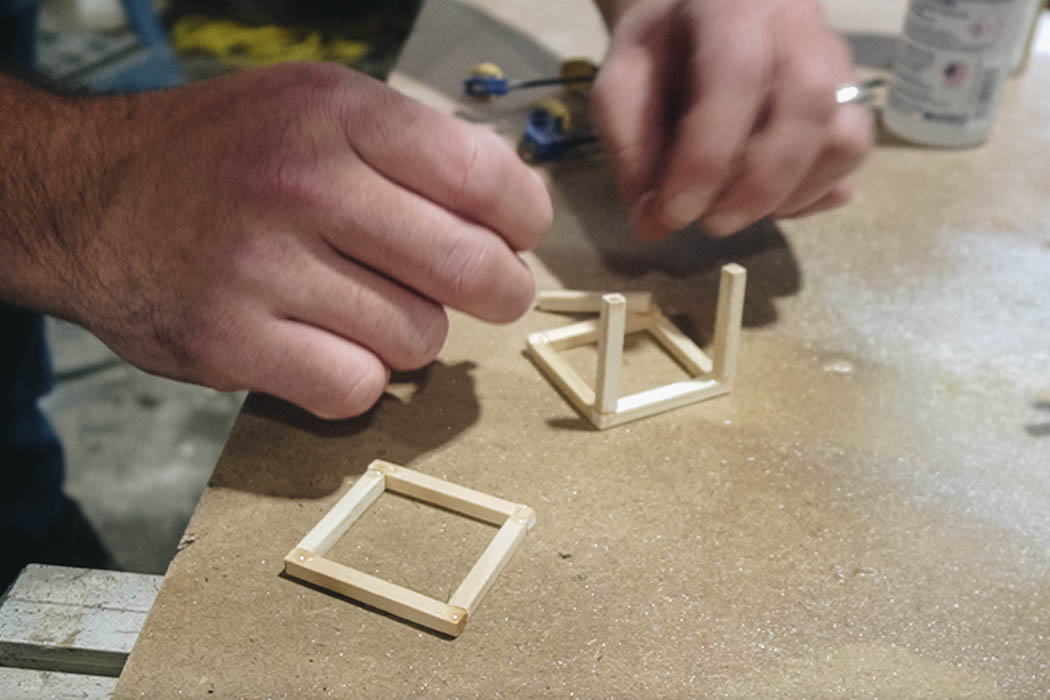
Glue together the bottom layer and the top layer of the cube frame. Each layer uses two longer pieces and two shorter pieces.
Now glue all of the upward pegs on the corners. Use the remaining 4 shorter pieces.

Finally, glue the top layer of the cube frame on top of the upward pieces.
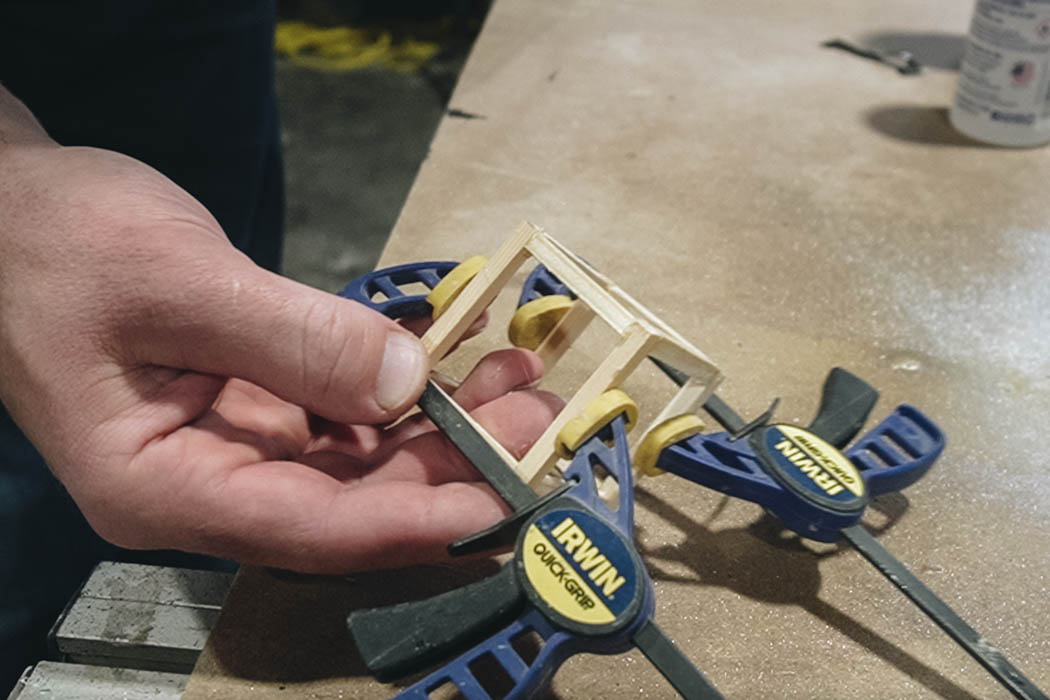
You may need to use some mini clamps to help hold everything together while the glue sets. Once the glue is set, give everything a coat of spray paint. You can use any colour, but I used a silver and I love the way it shines against the evergreen Christmas tree!
Finished 3D Cube Ornaments
Here’s how my 3D cube ornaments ended up looking!

I’m so happy with these! I love the three-dimensional element this adds to my Christmas tree. In a world where geometric elements never go out of style, these ornaments are perfect! They would go beautifully with modern, farmhouse, or scandinavian decor, & more!

The silver spray paint color makes it look really beautiful with the rest of the tree as well!

More Dollar Store Holiday Season Projects
These 3D Cube Ornaments were one of 6 projects I did to get ready for the holiday season using dollar store supplies. Check out the video below to see how I made the other 5 quick and easy projects!
Don’t forget to subscribe to our YouTube channel for more great holiday season DIYs!
For more great easy holiday season DIY ideas, check out these beautiful Mini Wooden Christmas Trees!


3D Cube Ornaments
Beautiful DIY 3D Cube Ornaments! Try these quick and easy Christmas ornaments using dollar store supplies!
Materials
- Dollar store wooden square dowels (mini version)
- Craft glue
- White spray paint
- Ornament string
Tools
- Scroll saw
Instructions
- Cut dollar store mini square dowels - 4 pieces in 2 inch lengths and 8 pieces that are just over 1.5 inch lengths
- Glue together the bottom layer and the top layer of the cube frame. Each layer uses 2 longer pieces and 2 shorter pieces.
- Glue the 4 remaining smaller pieces vertically on the corners of the bottom frame
- Glue the top layer on top of the vertical pieces to create the cube.
- Once the glue has set, spray paint the ornaments white
- Tie on the ornament string