

It’s December!!
The big holiday month is upon us!
This is my first year blogging and sharing my ideas with the people besides my mother and best friends (although I LOVE you guys for following!!).
I was SO excited to be asked to participate in a Christmas Home Tour (coming up on Dec 9th!!!), that I set my mind to making a few projects to spruce up my Christmas home decor!
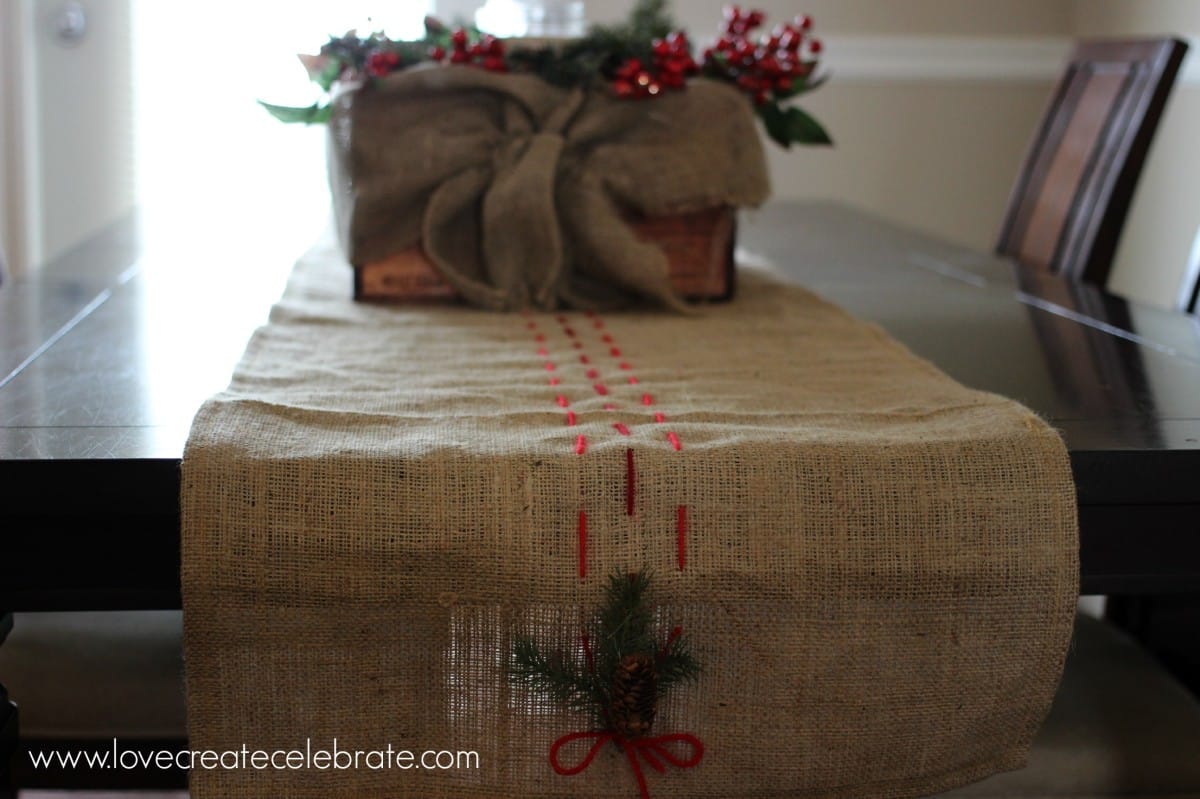
This burlap and yarn table runner, is the first of eight projects that I will be sharing with you – stay tuned EVERY DAY for a new project as I lead up to my Christmas Home Tour :)
I chose to start with a table runner, because you can’t show off a kitchen without a lovely table runner and centrepiece, can you?! lol. #bloggerproblems
Materials:
Burlap
(mine was 8 ft by 20 inches to fit my table and centerpiece)
Measuring Tape
Pins
Thread
Sewing Machine
Yarn (I chose two shades of red)
Tapestry Needle
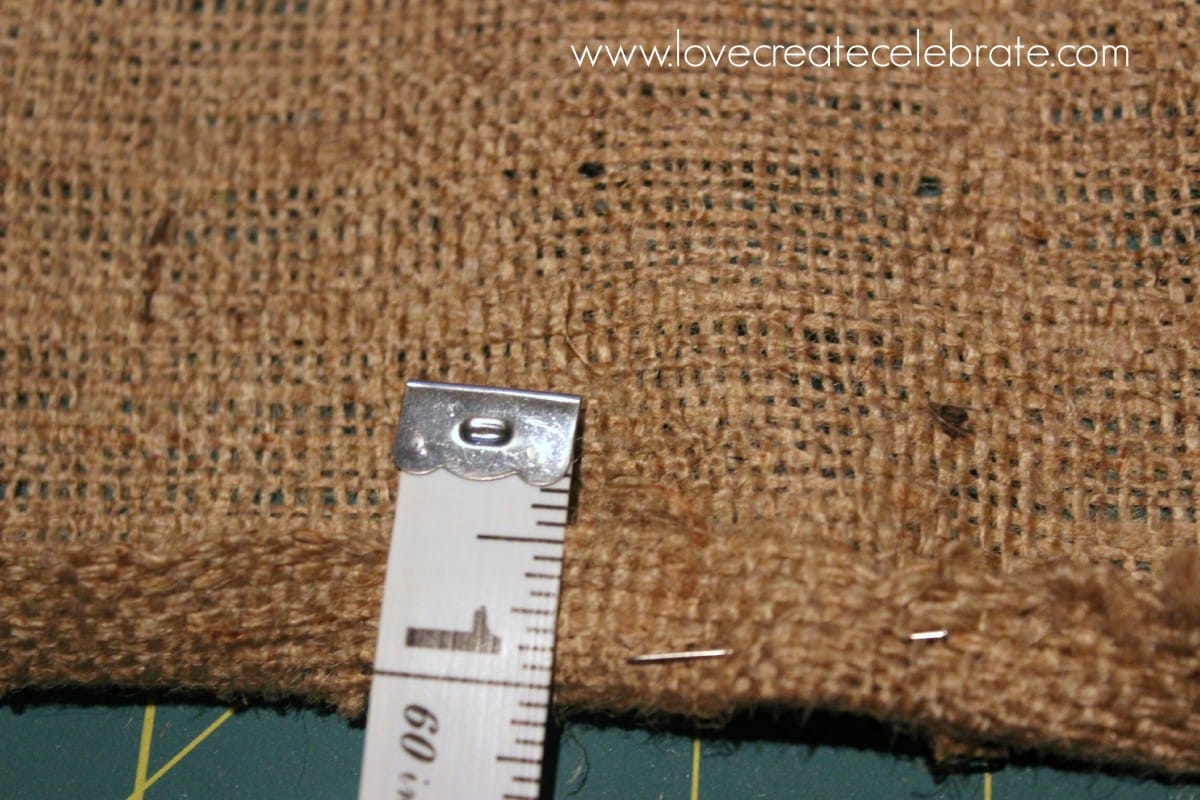
You start by measuring out a half-inch border ALL the way around your rectangle of burlap and pinning it in place.
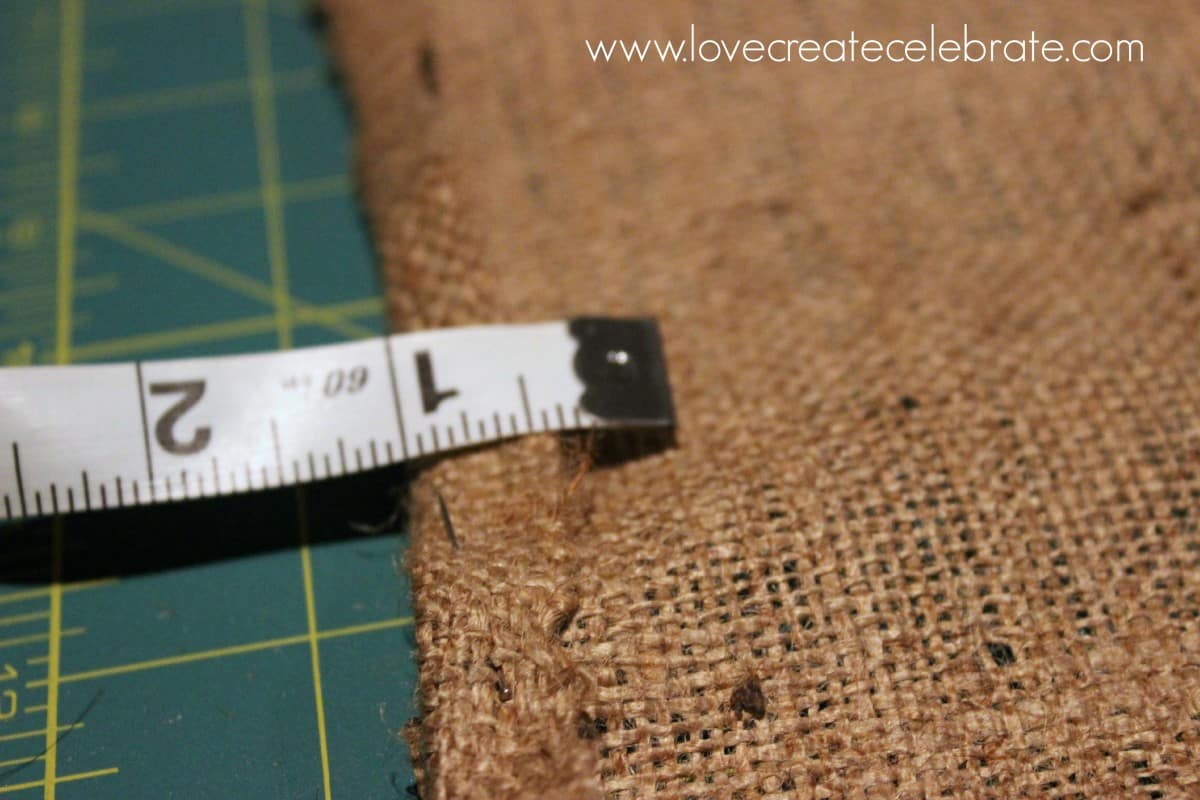
Then you repeat this process. Folding every edge over by a 1/2 inch again, and re-pinning in place. When you are finished this step, all the borders will be folded over twice, and there will be no frayed edges showing.
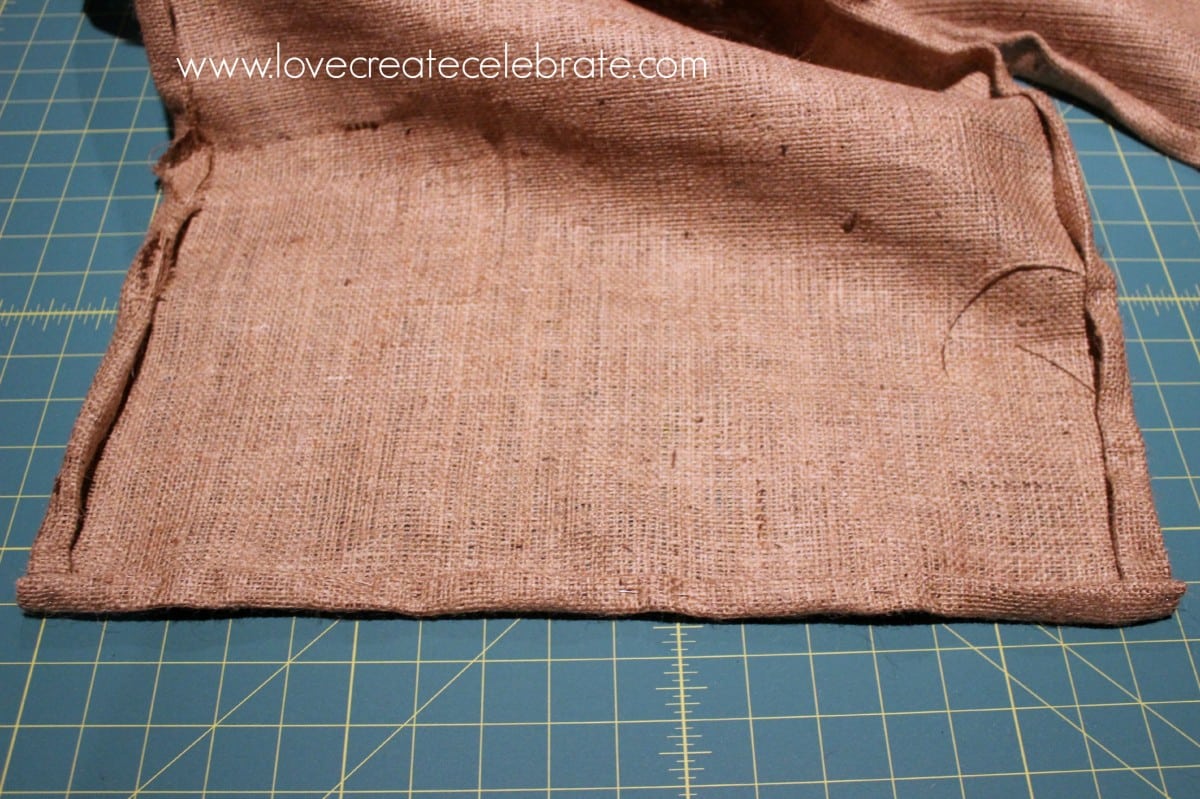
Here’s a picture of the edges folded in the corner.
(Sorry for the awful picture!).
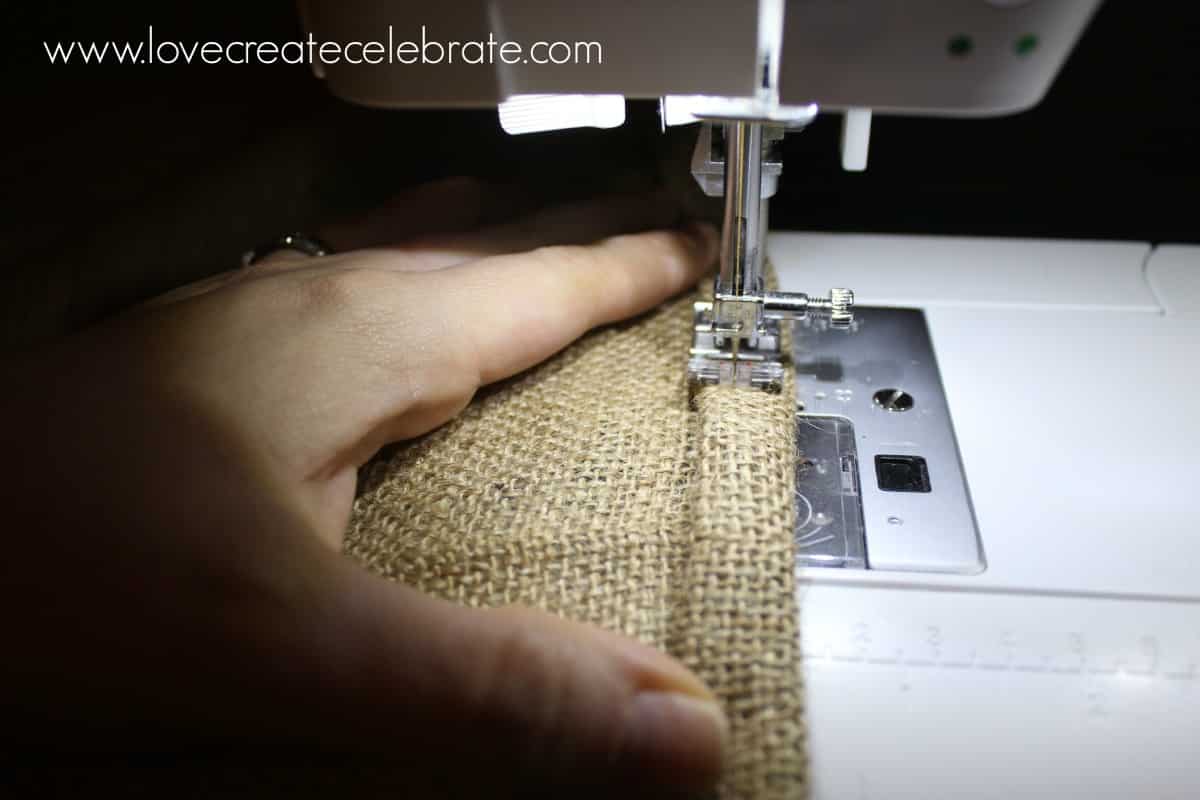
Next, you sew the burlap with a 3/8 seam allowance. I sewed the entire runner with a straight stitch, and then went back and sewed over the entire runner again with a zig zag stitch to prevent fraying.
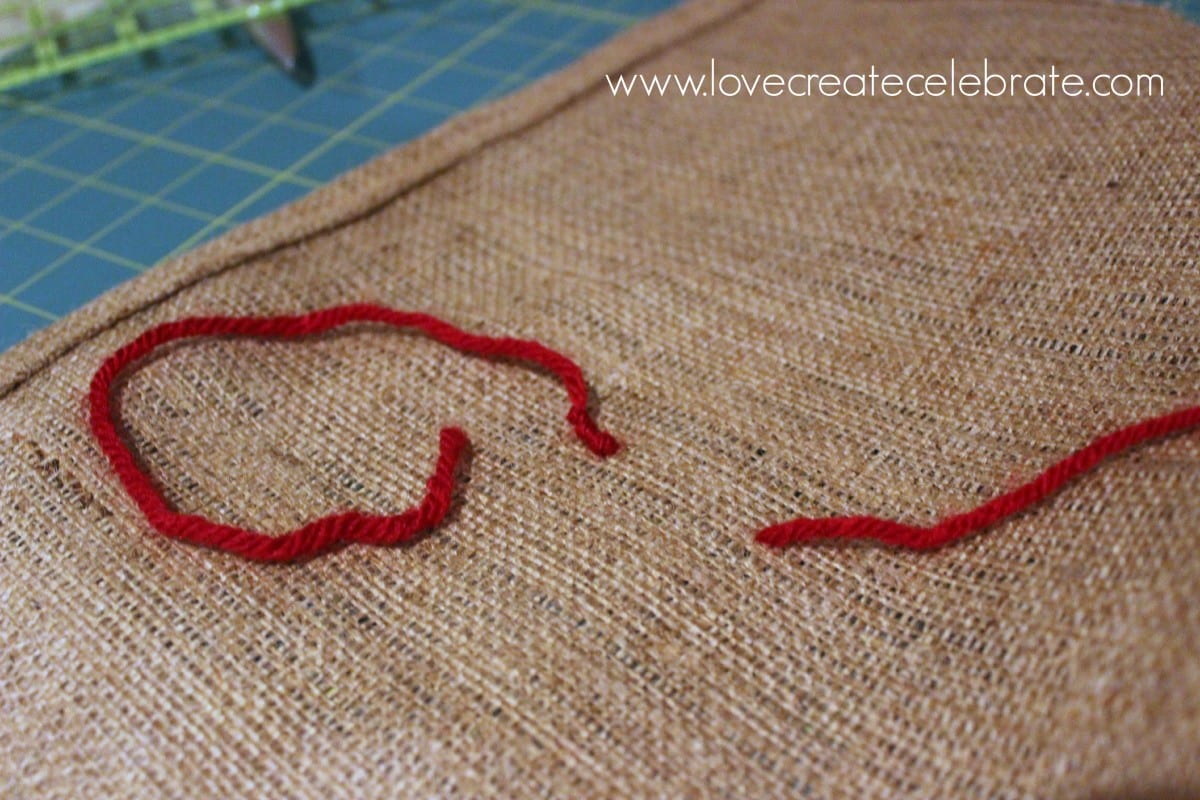
And now it’s time to get your yarn out! This is the most tedious part of the project…
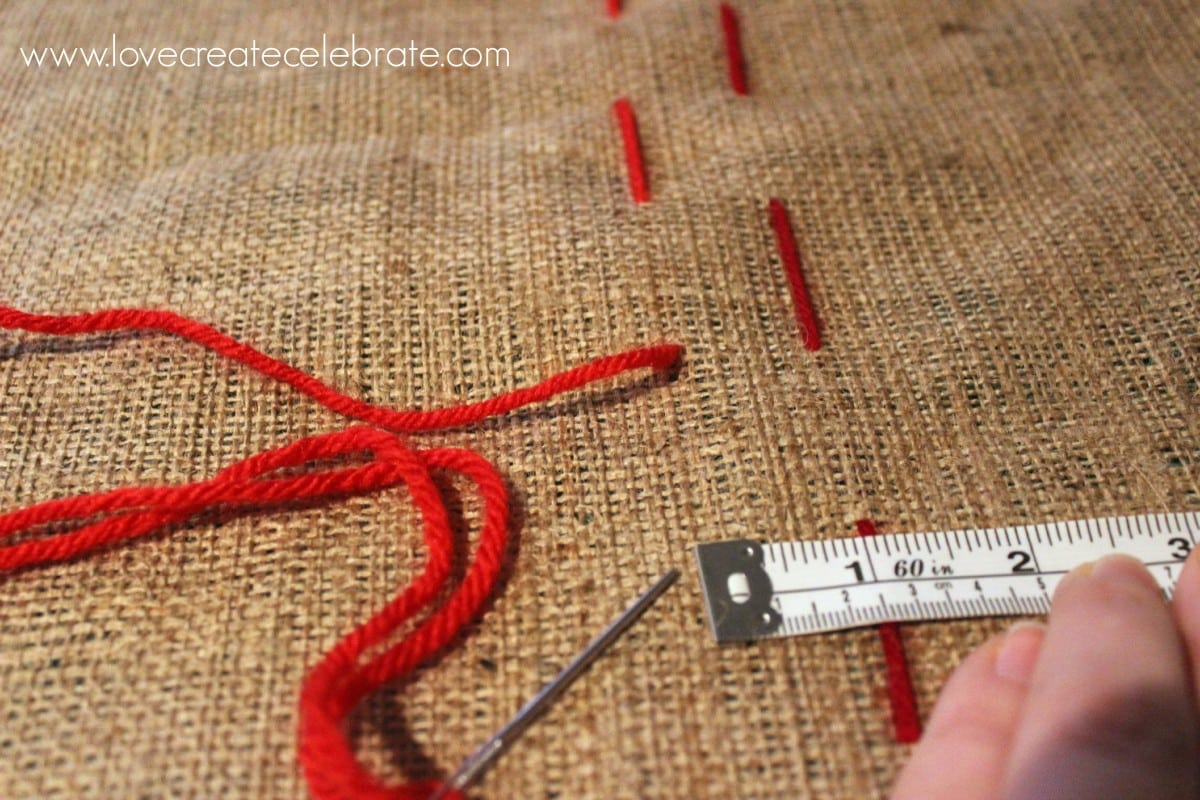
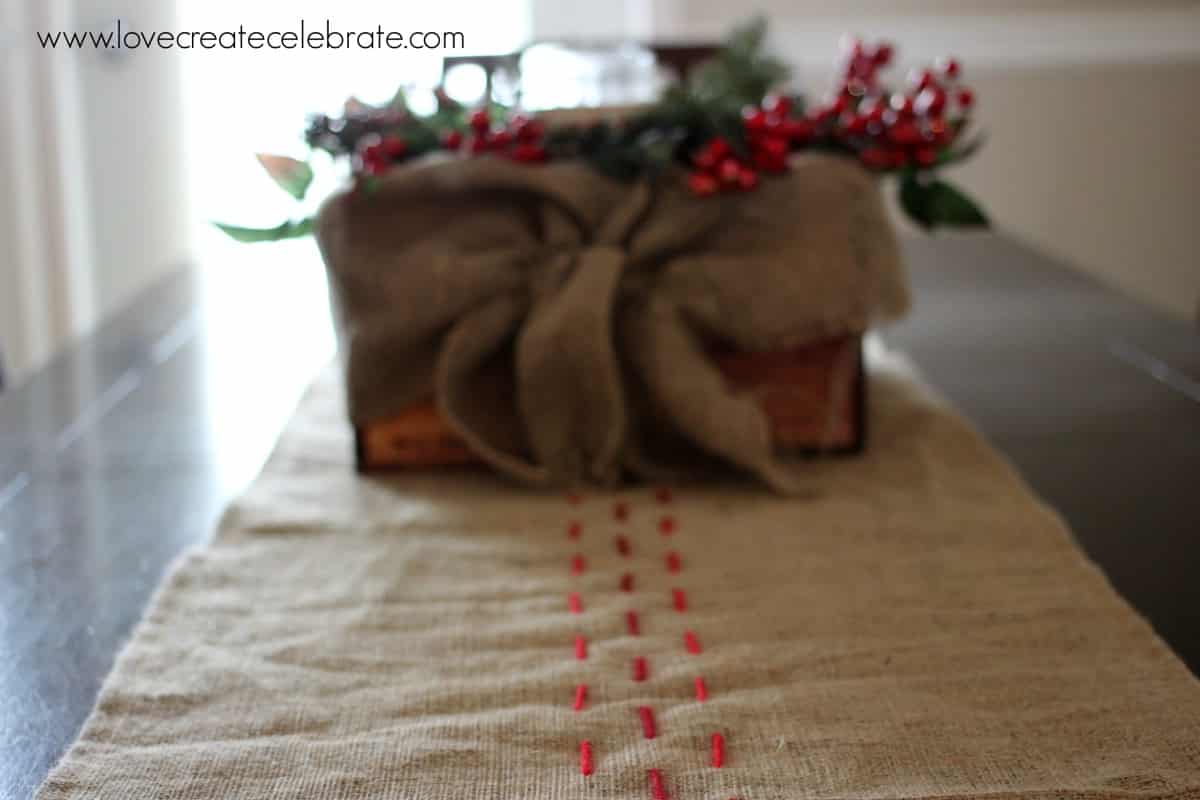
You start by knotting a piece of yarn (about 1.5 times the length of your runner), and pulling it through the exact centre of the runner (widthwise). I chose to start 5 inches up from the bottom of the runner lengthwise. I pulled the first thread from the underside of the runner (as you can see below).
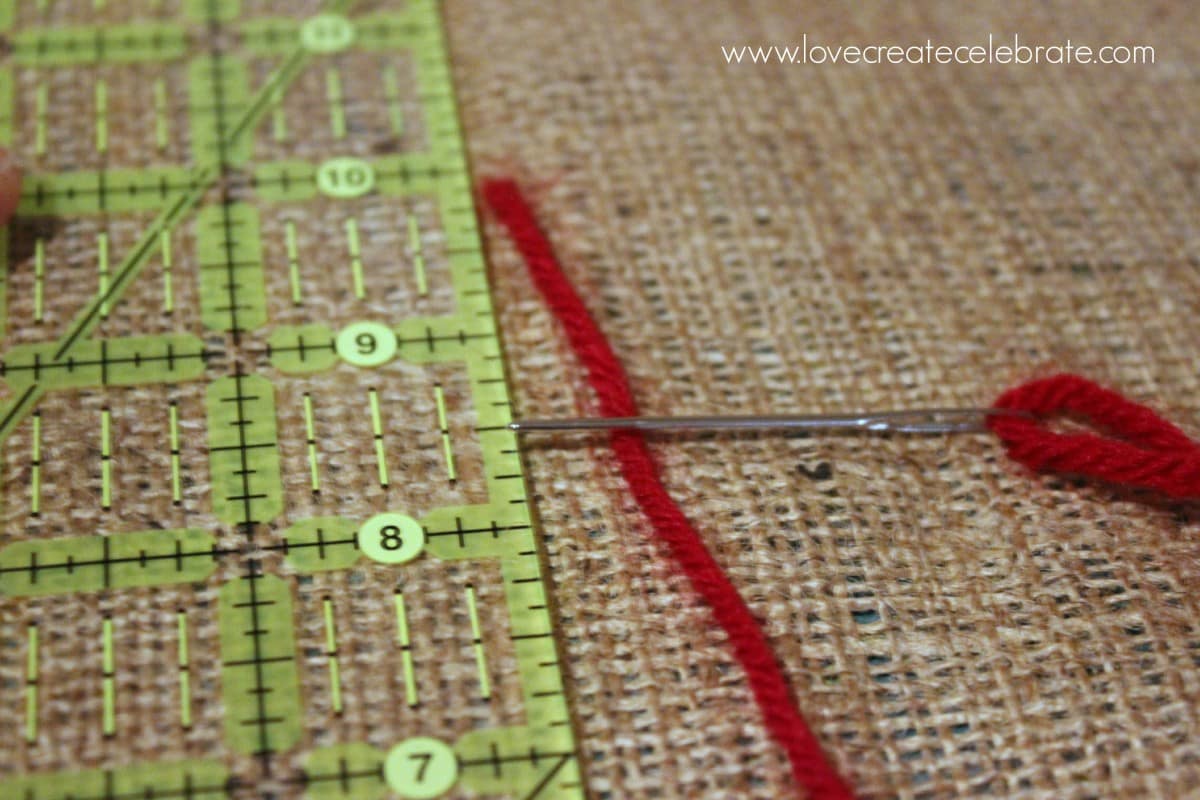
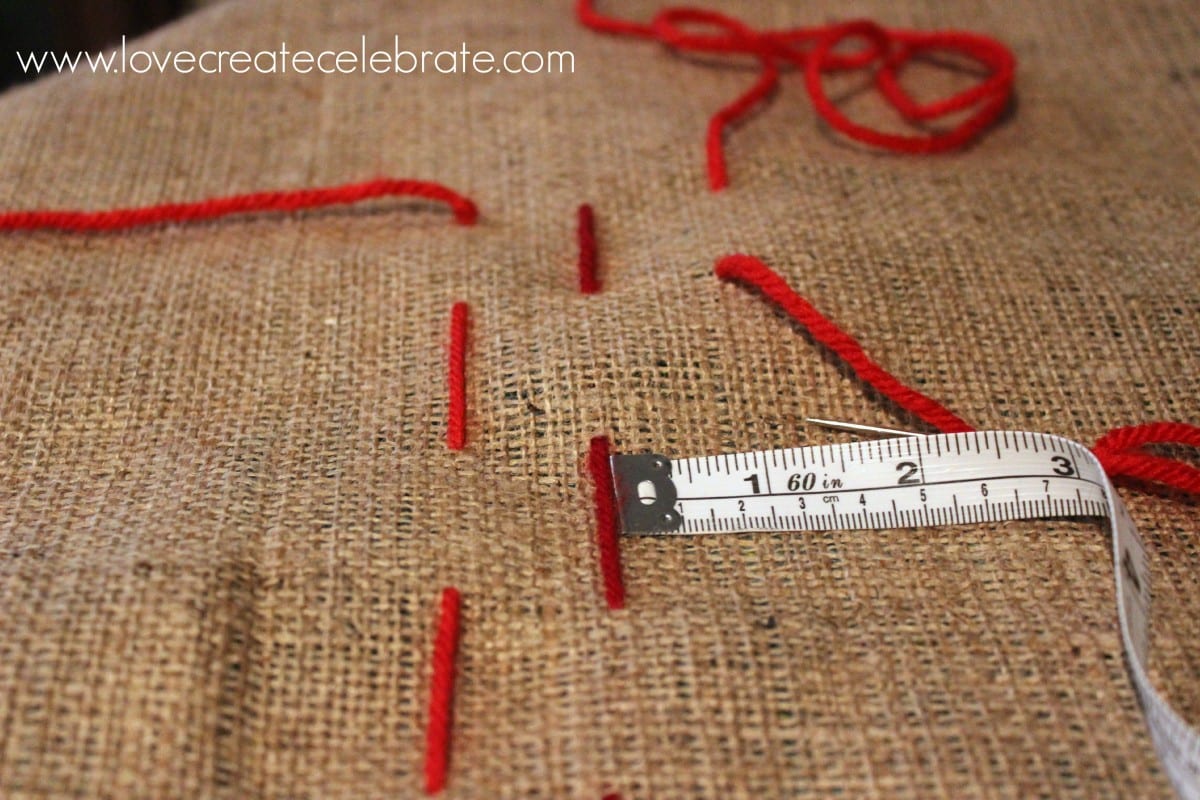
Next, you measure 1.5 inches forward and sew through the burlap, making sure that you are in the exact centre widthwise too. This is the tricky part because if you are like me, the grain of your burlap will not be straight all the way down the runner, meaning you can’t just line up the burlap lines.
I used rulers lengthwise and widthwise to make sure I was constantly at the centre.
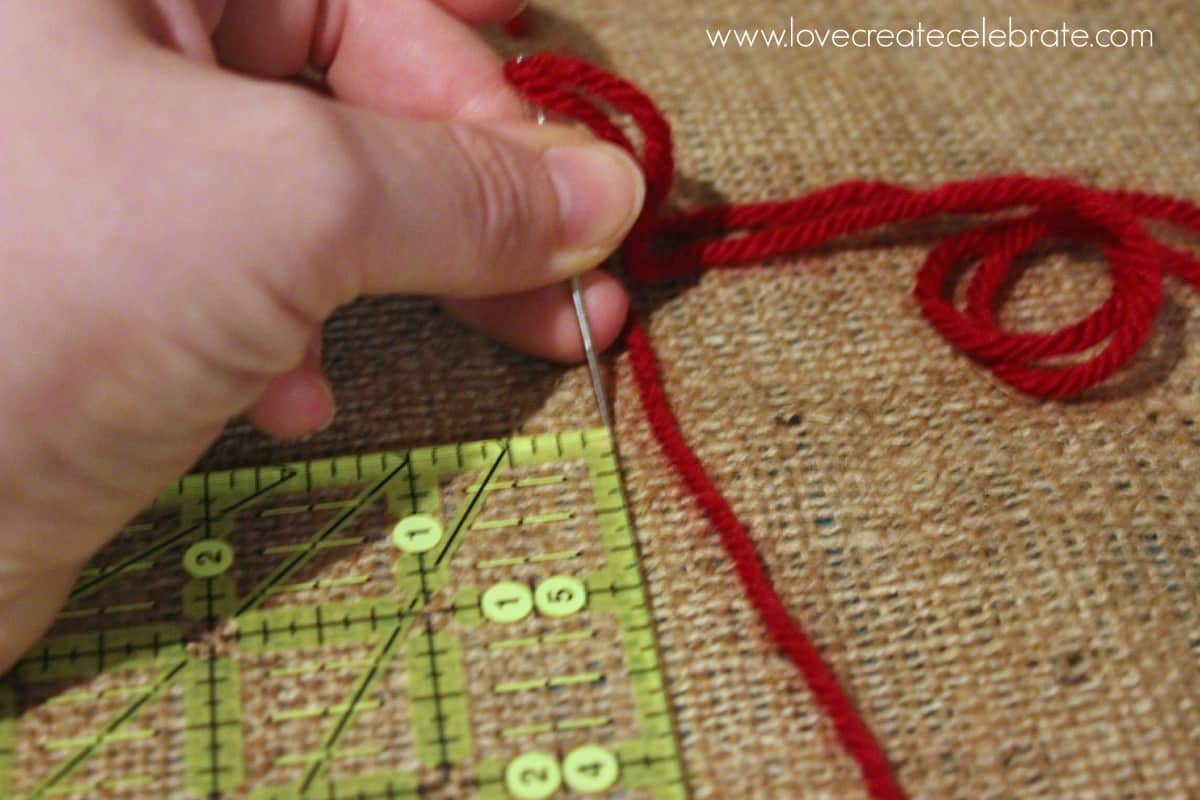
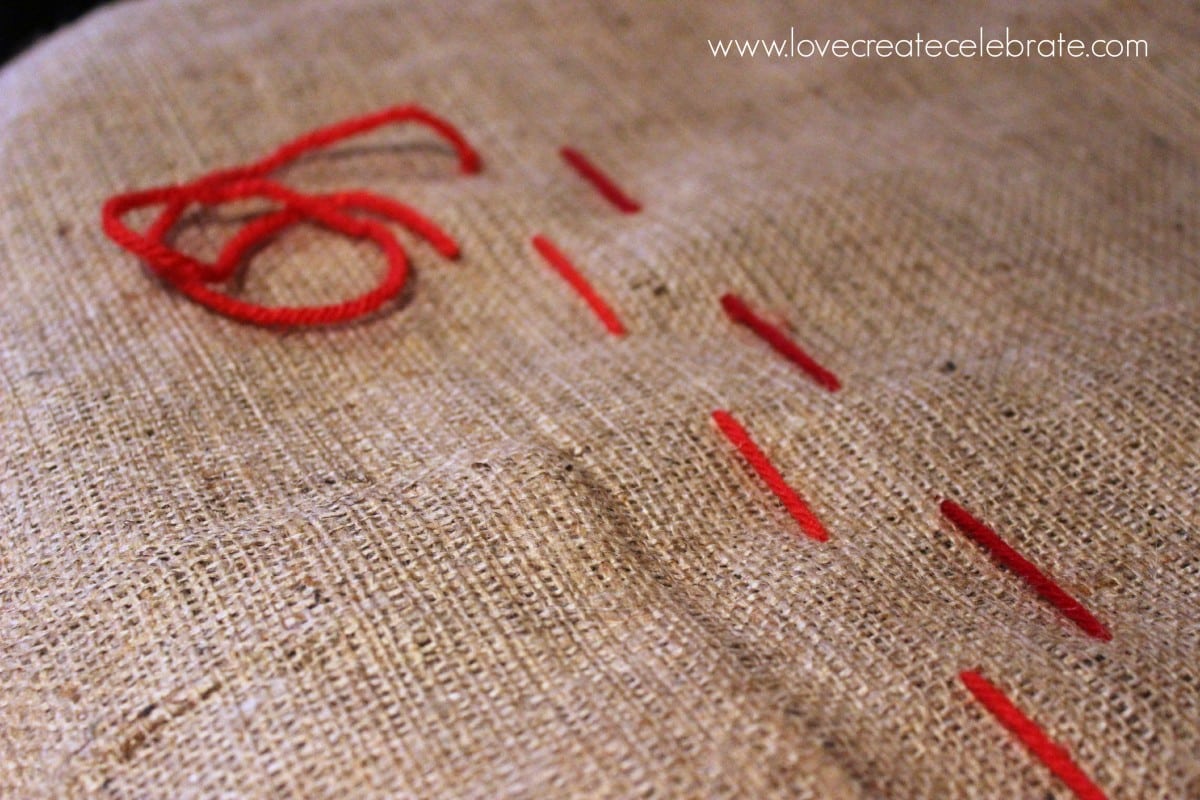
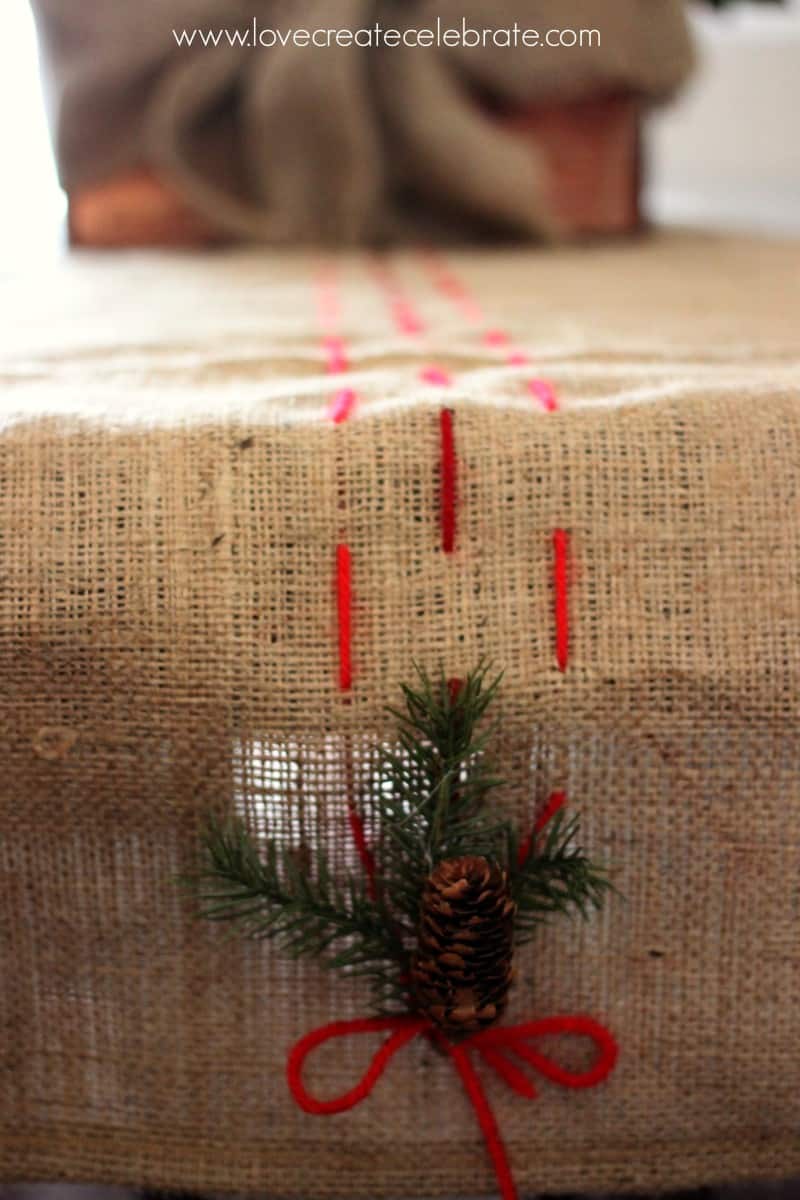
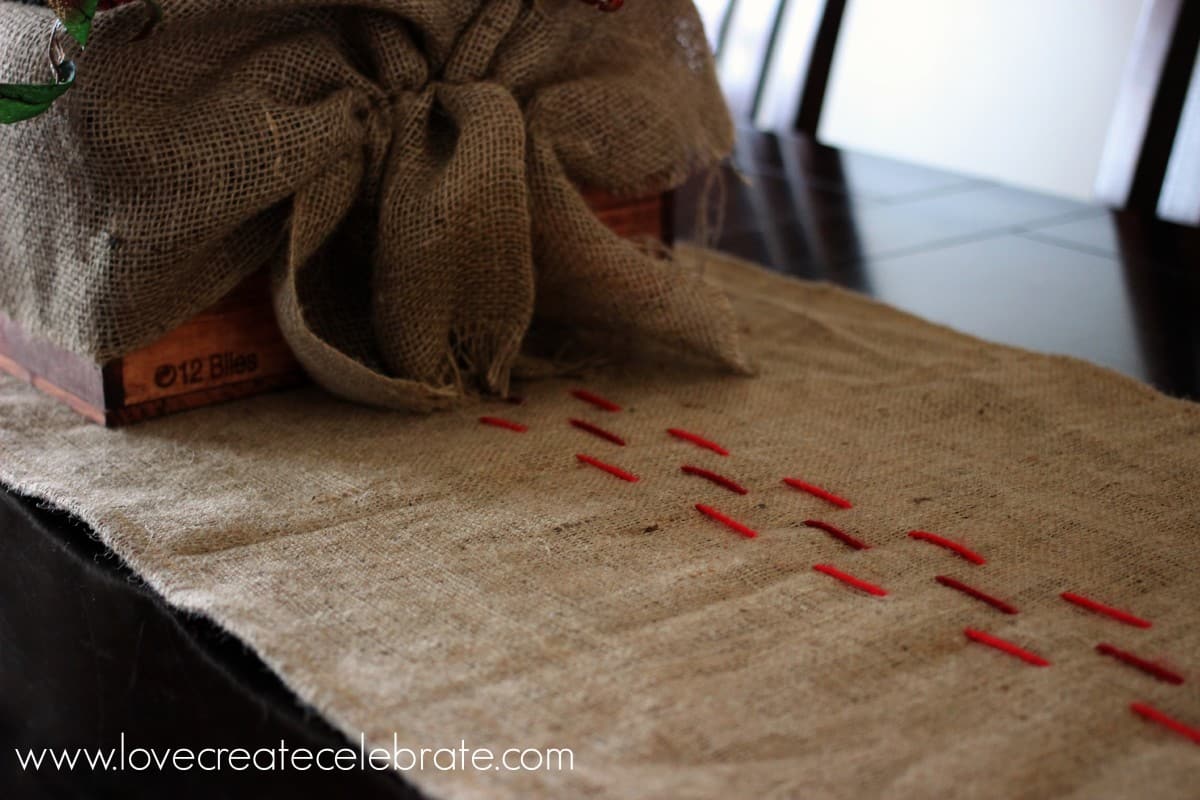
When you are done that row, the other rows go MUCH faster! All you have to do is line up your yarn 1 inch away on either side of the centre yearn line and thread it through the burlap all the way down the runner. I alternated when the thread came up and went down, so that my pattern alternated on the top of the runner.
And you’re done!! You have a nice long Christmas burlap and yarn runner for the table!
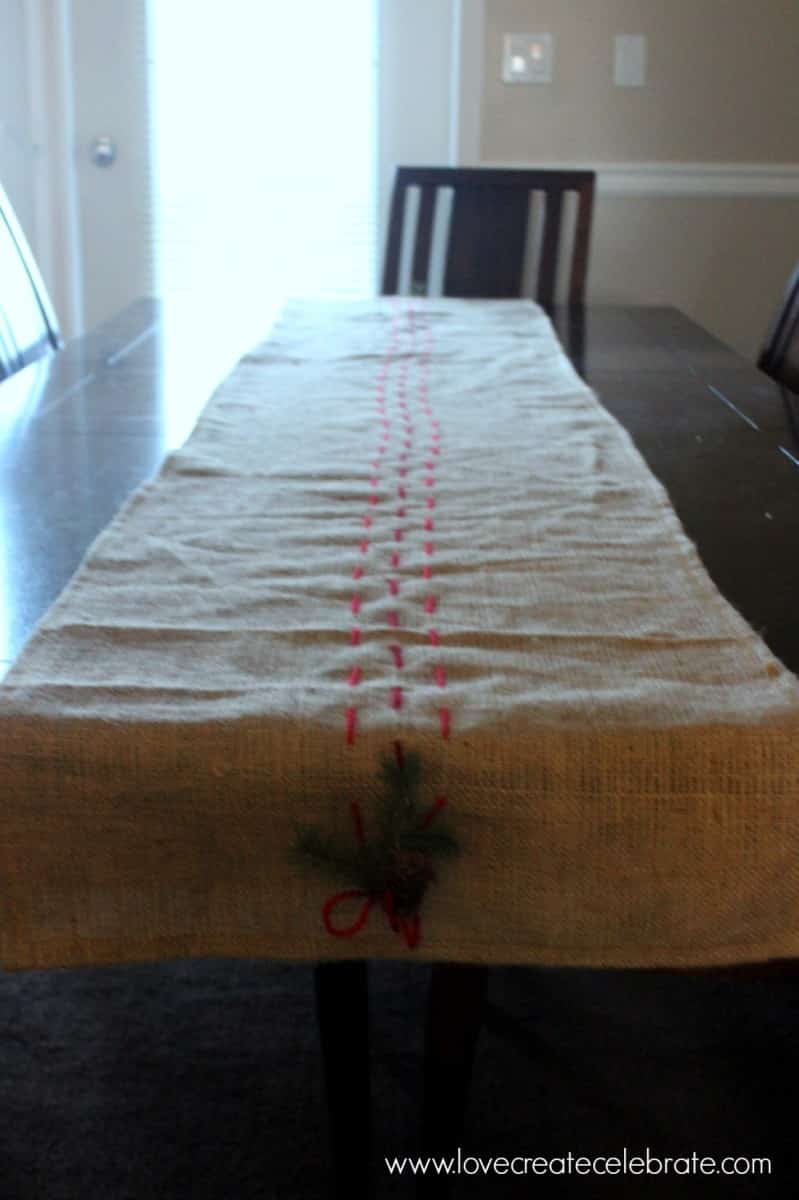
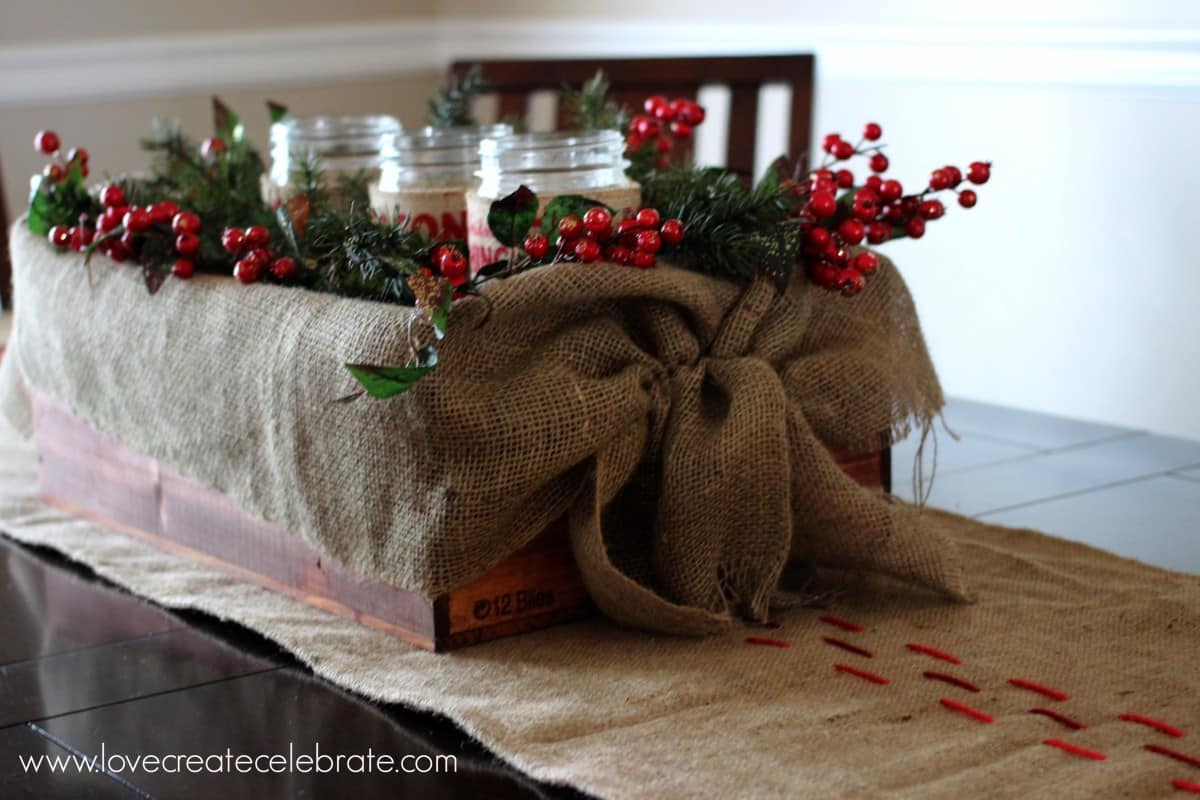
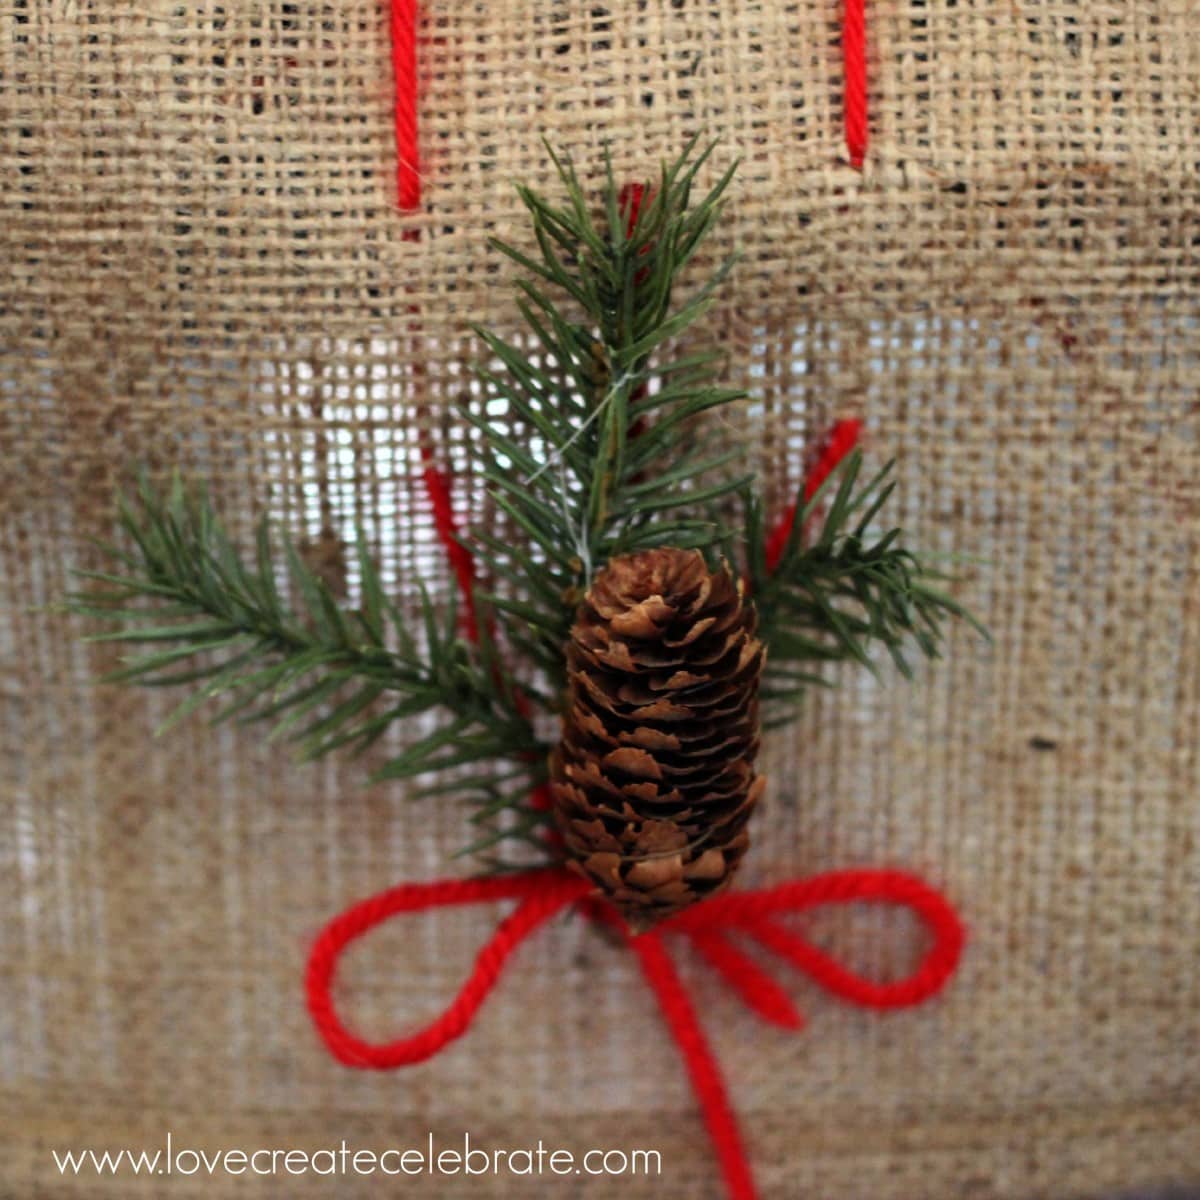
I finished off the ends of mine by adding a sprig of pine, and a pinecone, and then tying the ends of the yarn around it.
There are endless possibilities for ending the runner though – get creative!
As always, please share any questions or comments!
Stay tuned tomorrow for another great Christmas project!
{xoxo}
On Display Thursday No. 23 - Table and Hearth
Thursday 25th of February 2016
[…] Burlap and Yarn Christmas Table Runner from Love, Create, CelebrateI always have such a hard time finding table runners that are long enough for our dining room table and this one would be perfect! I love how rustic it is! […]
On Display Thursday No. 23
Wednesday 31st of December 2014
[…] Burlap and Yarn Christmas Table Runner from Love, Create, CelebrateI always have such a hard time finding table runners that are long enough for our dining room table and this one would be perfect! I love how rustic it is! […]
Grace @ The Big Reveal
Saturday 13th of December 2014
So lovely!
Lindivs
Saturday 13th of December 2014
Thanks Grace!
Audra @ Renewed Projects
Tuesday 9th of December 2014
Absolutely beautiful! I adore the pine cone and evergreen sprig at the end, a lovely touch!
Lindivs
Tuesday 9th of December 2014
Thank you so much :) I think it added to the rustic feel!
Carole West - Garden Up green
Sunday 7th of December 2014
I Love this project, thank you for sharing on Tuesdays with a Twist last week. I will be featuring this at Garden Up green this week. Hope you stop by to link up! Carole
Lindivs
Monday 8th of December 2014
Awesome! Thank you so much for the feature :)