
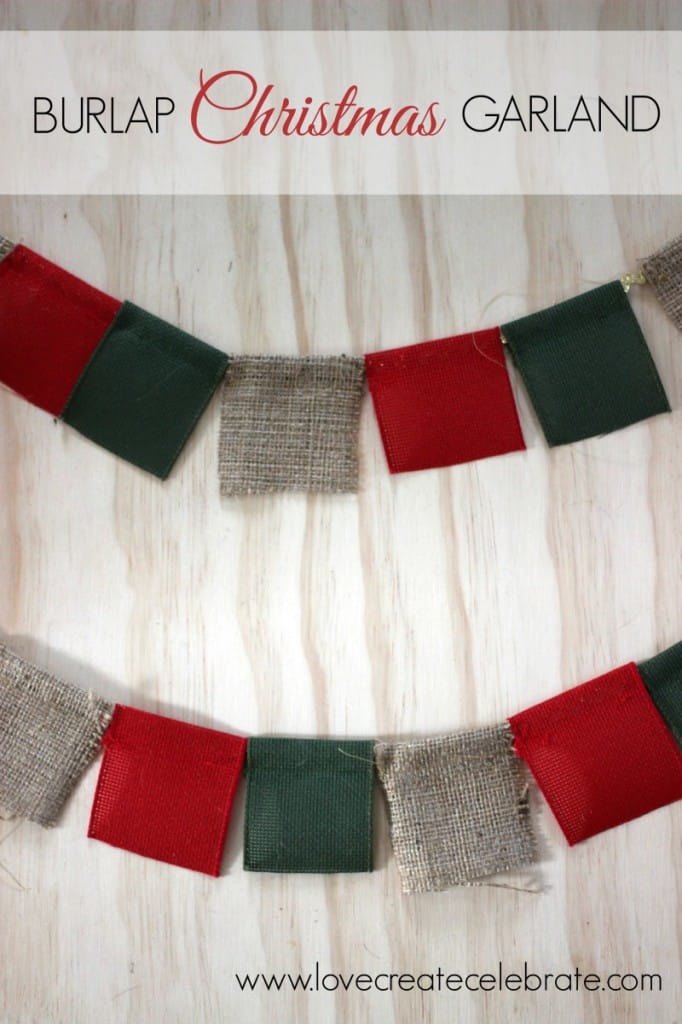
Easy DIY Burlap Mitten Garland! Try this Christmas sewing craft to add that rustic farmhouse element to your holiday decor!
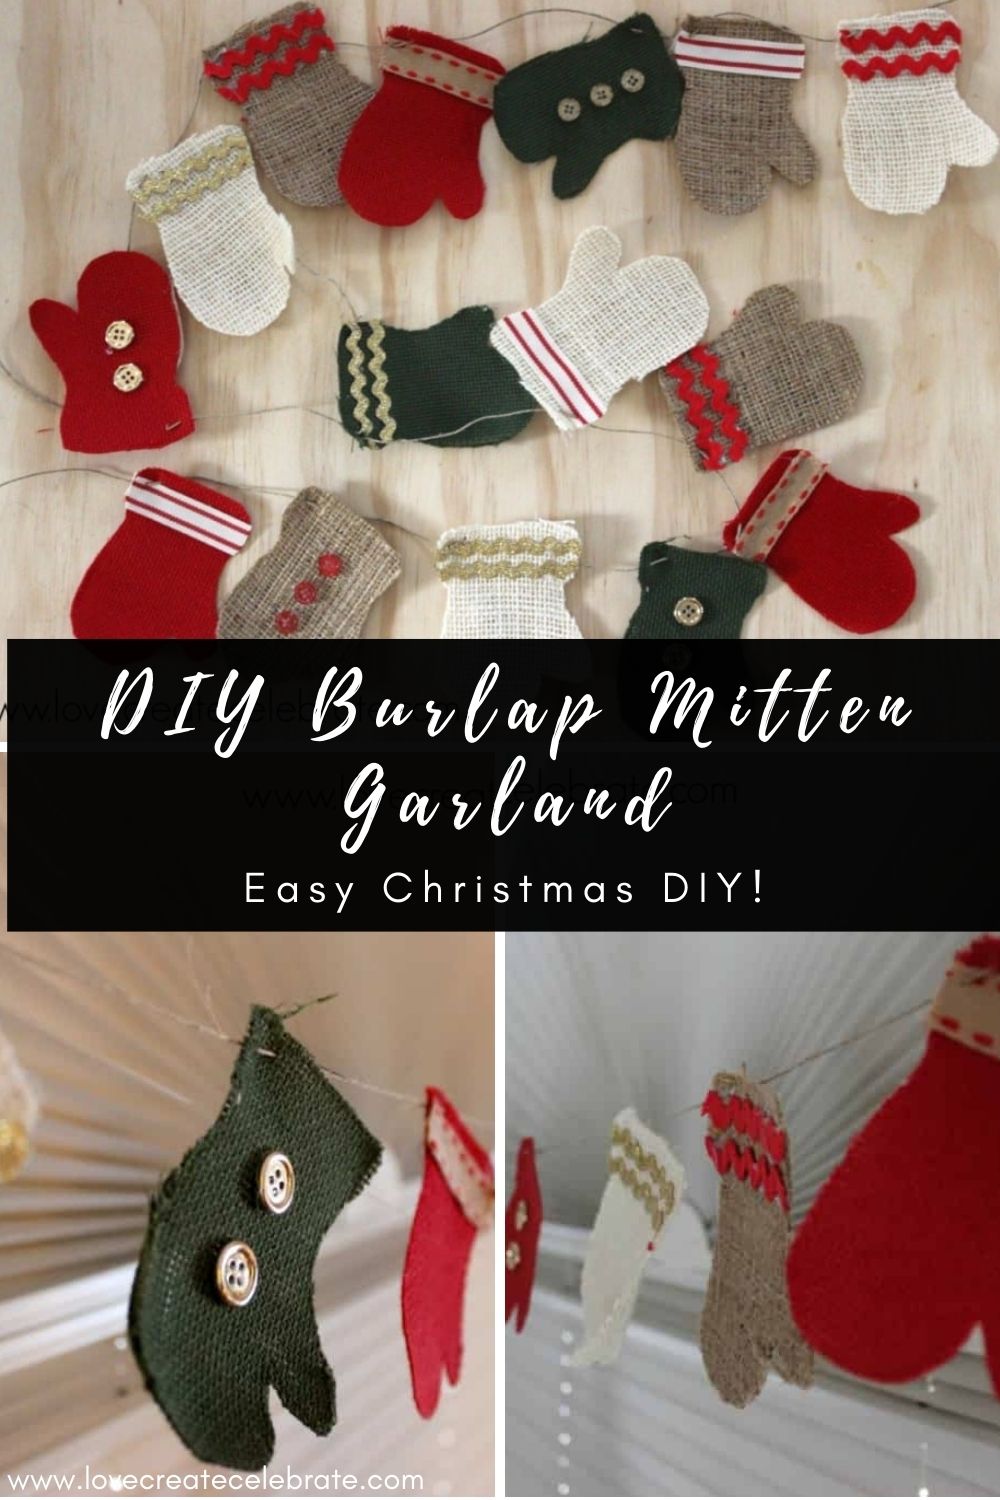
Today is the last day of my 8 days of Christmas crafts! I’ve saved the BEST for last. This burlap mitten garland is one of my favourite homemade decorations.
*This post may contain affiliate links. When you buy a product through one of our links, we get a commission at no cost to you! Thank you for supporting our blog so that we can continue to bring you posts like these. For more information, please see our disclosure page.*
How to Make Your Burlap Mitten Garland
Burlap is everywhere in my home this Christmas season. I’ve been experimenting with new ways to use and display the extremely versatile material, and I couldn’t be happier with how this adorable holiday mitten garland turned out!
Materials
Note: you want a tight weave burlap so that it doesn’t fray as easily
- Natural Burlap
- White Burlap
- Red Burlap Ribbon
- Green Burlap Ribbon
- Coordinating, red, green, white, and brown thread
- Sewing machine
- Any ribbons, buttons, Red Ric Rac
or Gold Ric Rac
you want to decorate your mittens with!
- Glue gun
Step-By-Step Tutorial for Your Burlap Mitten Garland
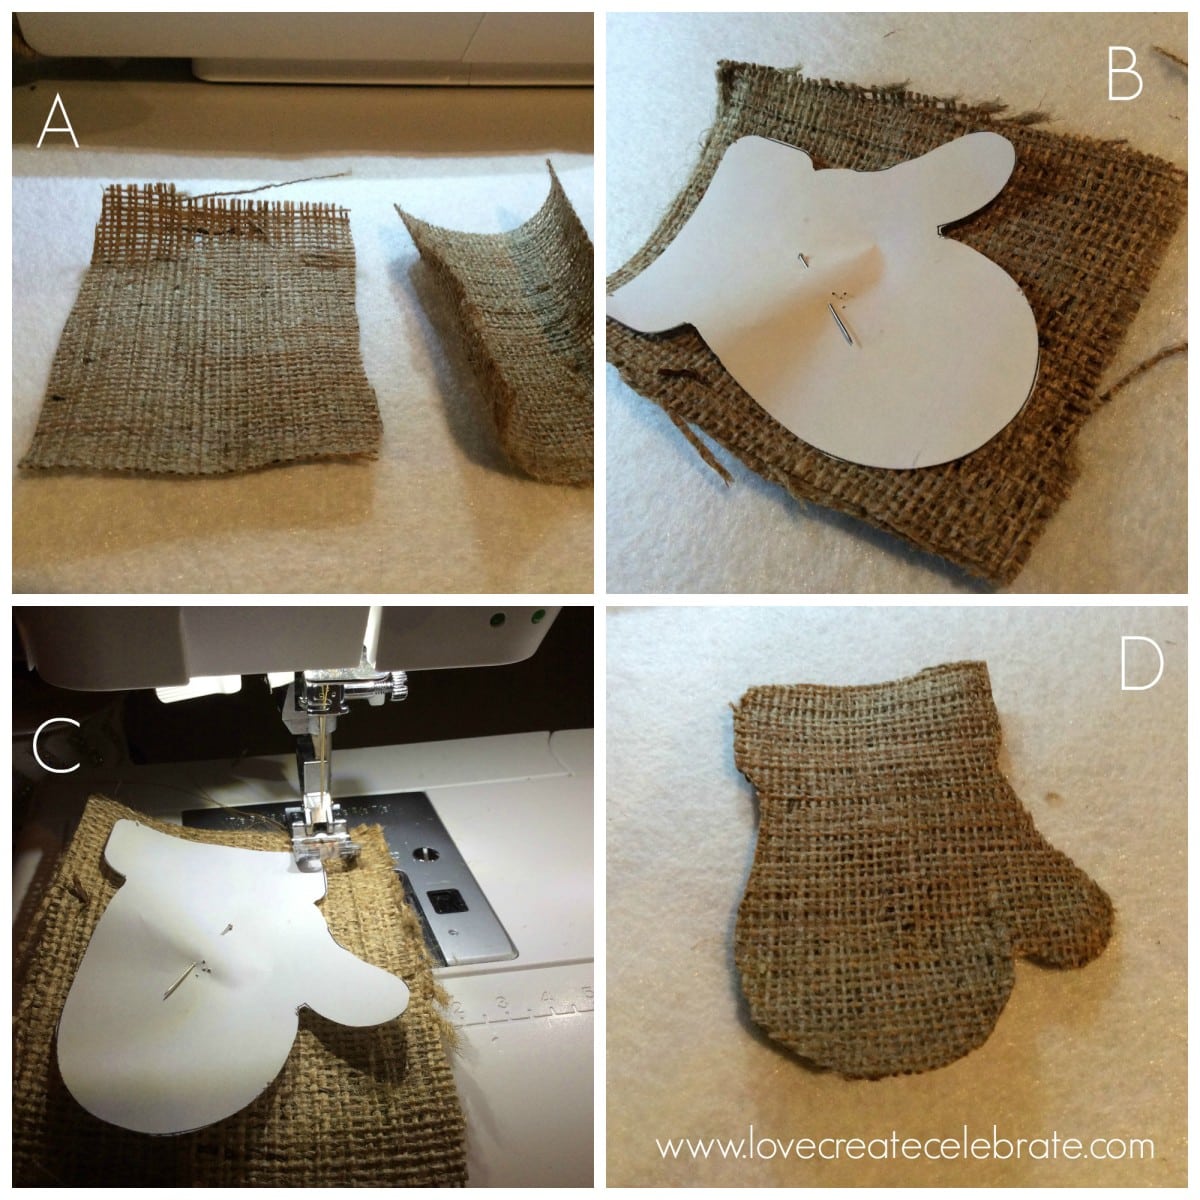
To begin, I cut my burlap into 3″ x 4.5″ rectangles. Then I found an outline of a mitten on Google that I liked (just search “mitten”!), copied it into a word document, and resized it so that it would fit within my fabric rectangles when printed.
I pinned the printed mitten print to the top two pieces of burlap, and sewed around the mitten print, using a coordinating thread. This will sew the two pieces of burlap together. I used two pieces because I wanted the mittens to be thick, and I didn’t want to be able to see through them.
Once they are sown together, cut just outside of the sewn thread line to reveal a perfect burlap mitten!

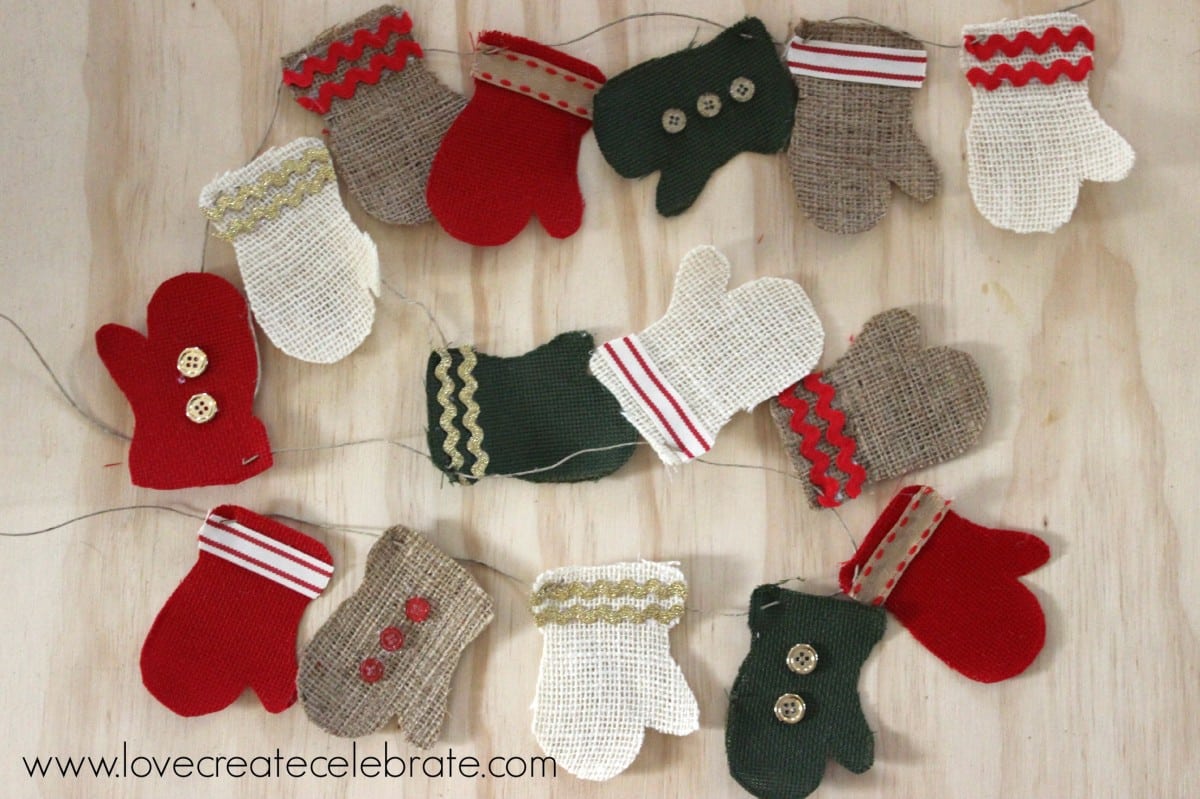
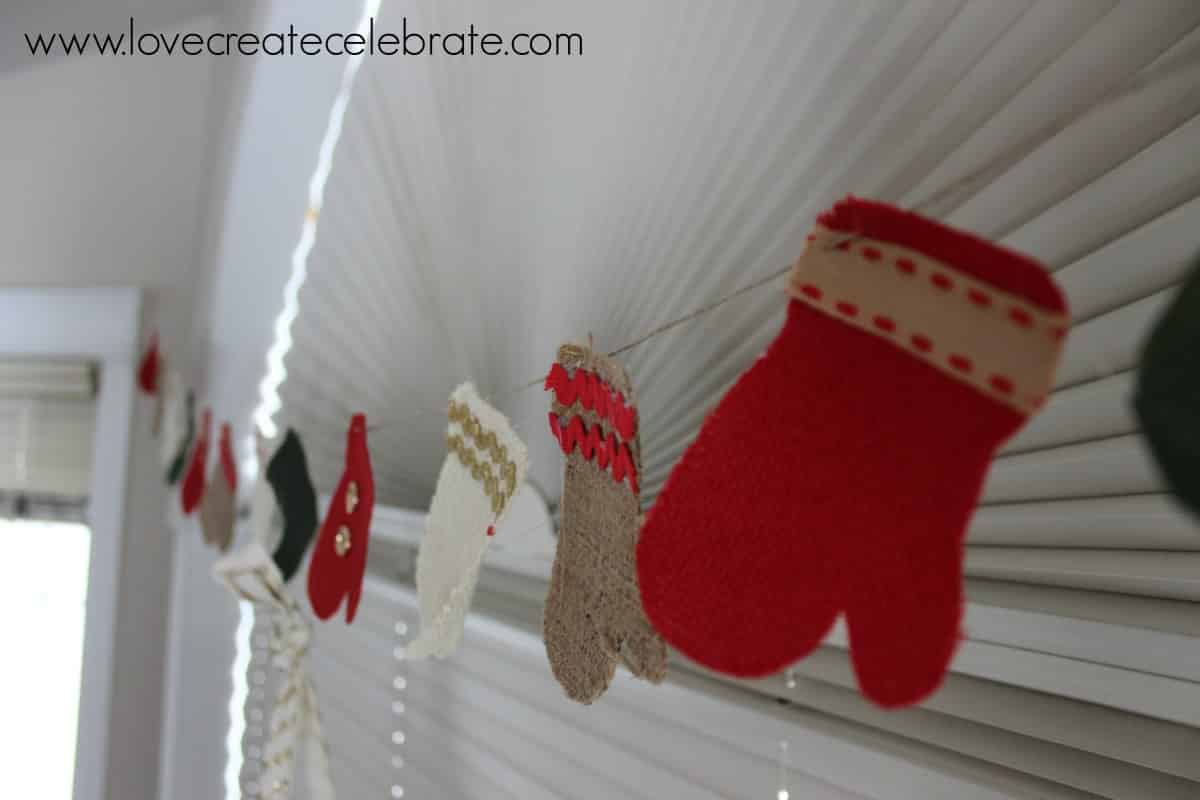
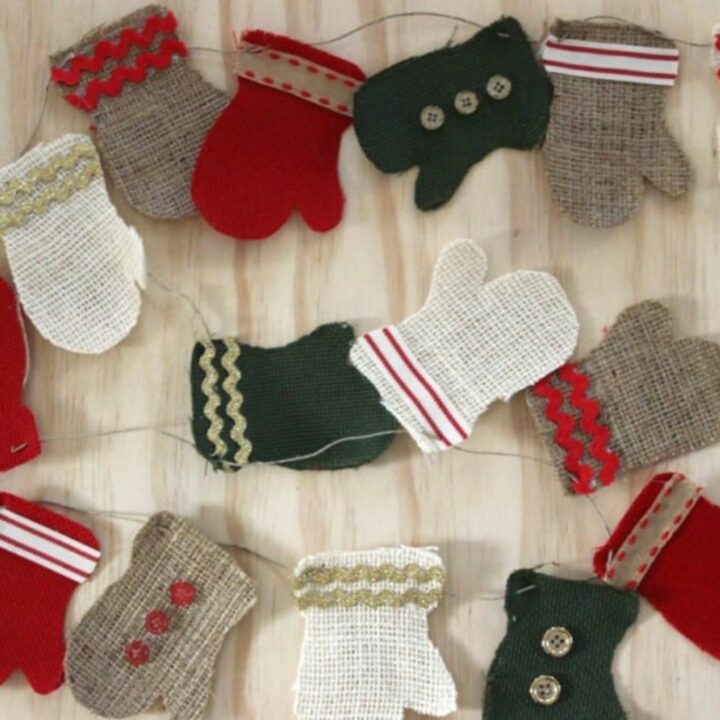
This is the fun part – decorate those mittens however you like! Since I have a lot of red, gold, and burlap decorations in my home this Christmas, I wanted to incorporate a lot of those elements. I added gold and red buttons to some mittens, and gold and red ric rac to others. Finally, I added strips of decorative burlap ribbon to the remaining ribbon.
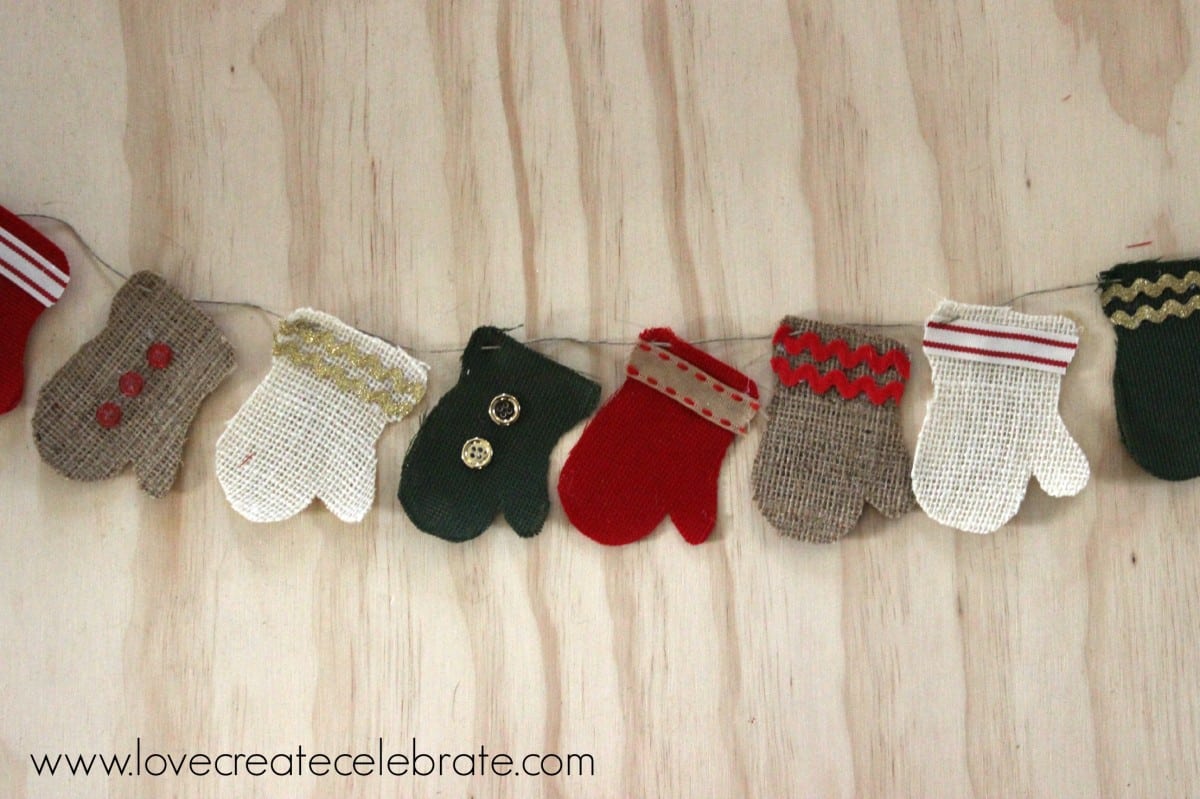
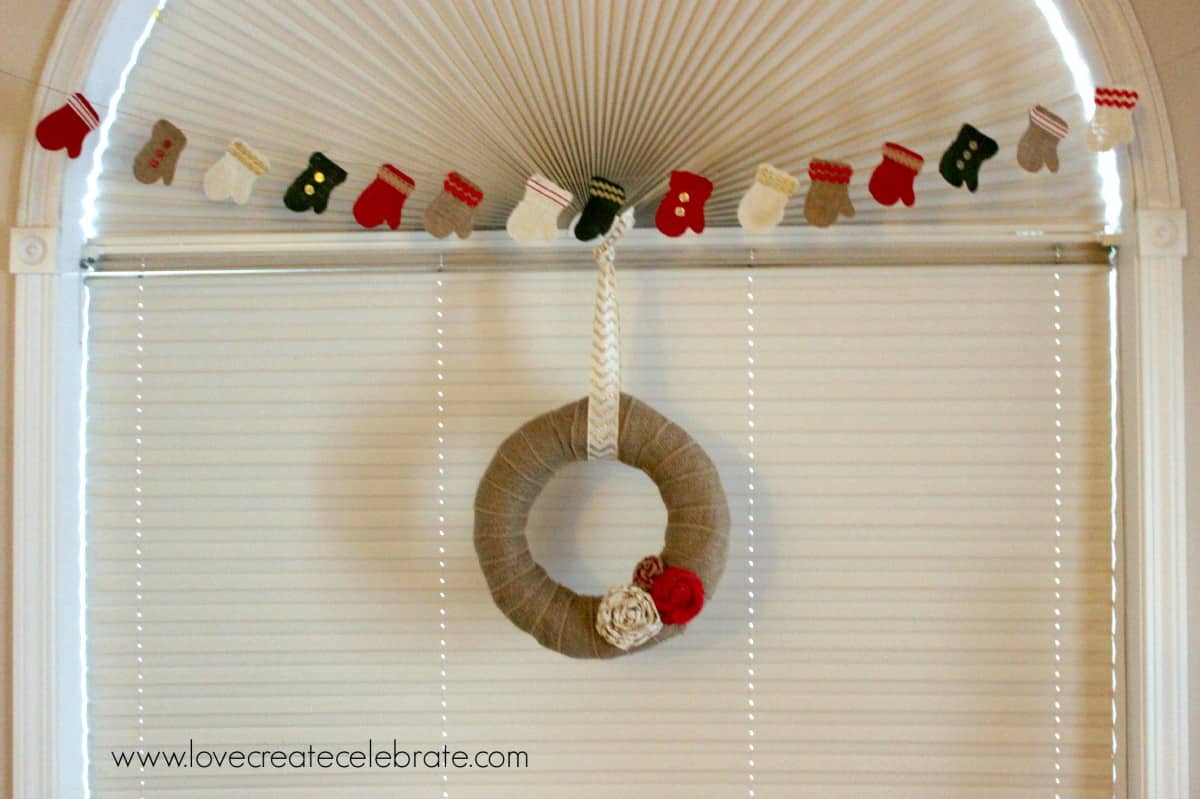
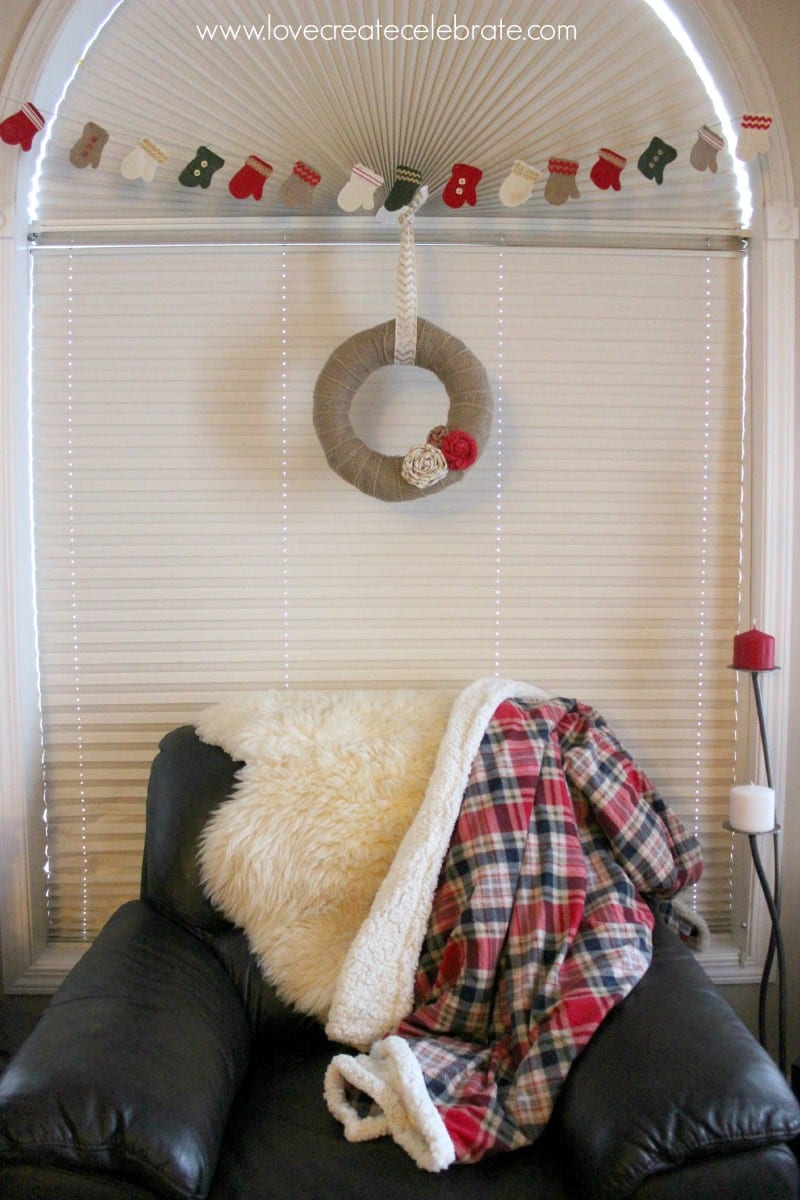
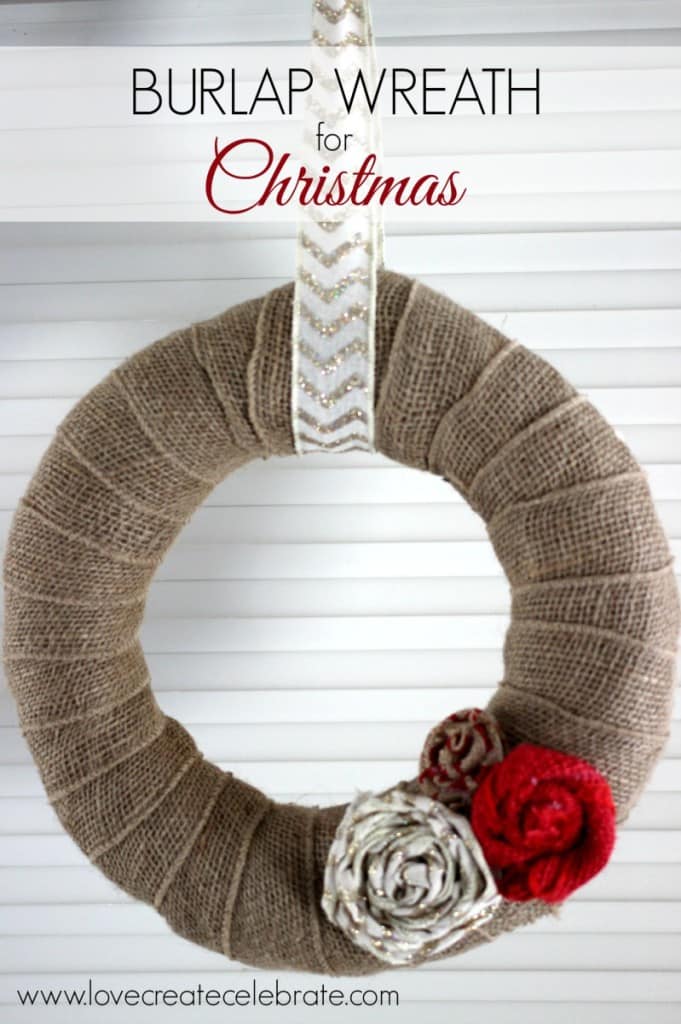
I just LOVE how this burlap mitten garland turned out. Don’t the mittens look cute hanging above the burlap wreath?!
More Christmas Burlap Projects
Don’t forget to subscribe to our YouTube channel for more great holiday season DIYs!
If you are looking for more burlap inspiration, check out these projects below!
Easy Burlap Wreath for Christmas
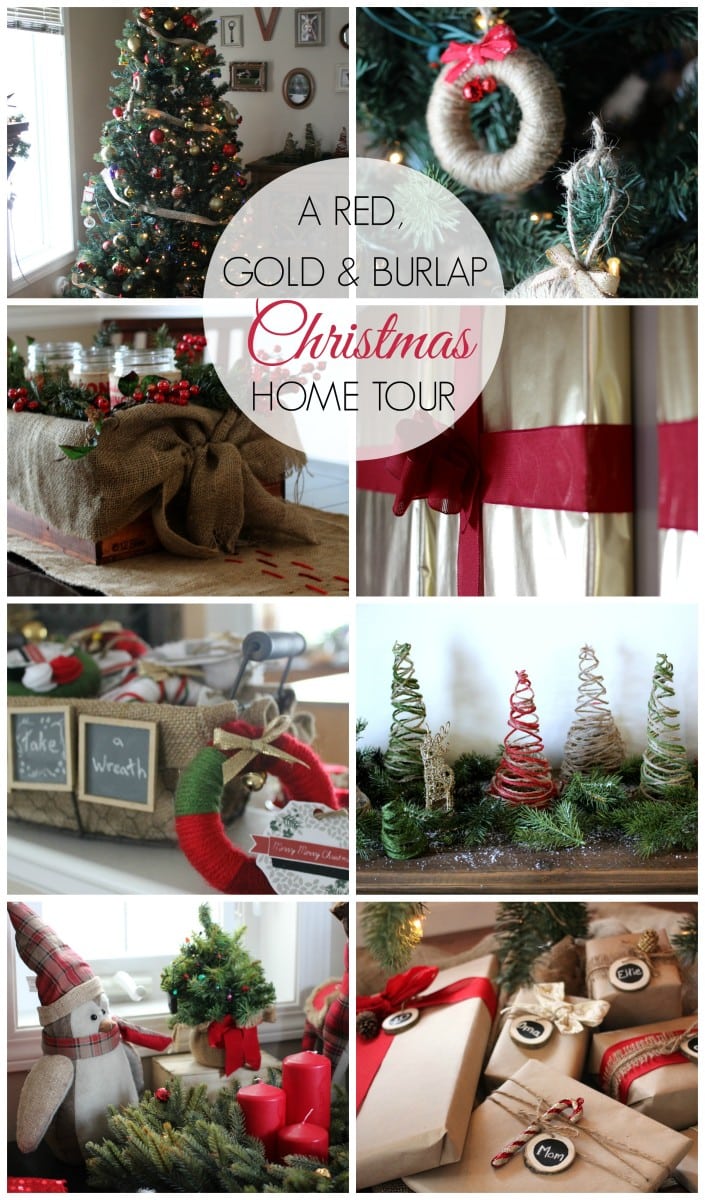
Check out how the I used and displayed all of these amazing Christmas crafts on my Christmas home tour!
Burlap Mitten Garland
Easy DIY Burlap Mitten Garland! Try this Christmas sewing craft to add that rustic farmhouse element to your holiday decor!
Materials
- Natural Burlap
- White Burlap
- Red Burlap Ribbon
- Green Burlap Ribbon
- (note: you want a tight weave burlap so that it doesn’t fray as easily)
- Coordinating, red, green, white, and brown thread
- Sewing machine
- Any ribbons, buttons, Red Ric Rac or Gold Ric Rac you want to decorate your mittens with!
- Glue gun
Instructions
- Cut your burlap into 3”x4.5” rectangles
- Copy and resize an outline of a mitten (search on Google for this). You want it to fit within the fabric rectangles when printed
- Pin the printed mitten print to the top two pieces of burlap, and sew around the mitten print, using a coordinating thread. This will sew the two pieces of burlap together.
- Cut just outside of the sewn thread line to reveal a perfect burlap mitten!
- Decorate those mittens however you like! I added gold and red buttons to some mittens, and gold and red ric rac to others.
- Finally, add strips of decorative burlap ribbon to the remaining ribbon.


On Display Thursday #25 | Eat It & Say Yum
Thursday 8th of January 2015
[…] This adorable Burlap Mitten Garland from Love Create Celebrate. […]
Leia @ Eat It & Say Yum
Wednesday 7th of January 2015
I absolutely love this! I will be making one of these for my house. So cute! Thanks for sharing at On Display Thursday. Pinning!
Lindivs
Wednesday 7th of January 2015
Thanks for sharing Leia! Glad you like it :)
Caffeinated Crafters Link Party #30 - illistyle
Monday 29th of December 2014
[…] Burlap Mitten Garland from love create celebrate will keep the fun in a cold and dark […]
#30 Caffeinated Crafters Link Party
Monday 29th of December 2014
[…] Burlap Mitten Garland from love create celebrate will keep the fun in a cold and dark […]
Sydney @Tastefully Frugal
Monday 29th of December 2014
This is so cute! I love that it is Christmas-ey but still neutral enough that you can leave it up all winter long. Thanks so much for sharing with us at Talented Tuesdays. I hope you had a Merry Christmas and we would love to have you join us again this week!
Lindivs
Monday 29th of December 2014
Absolutely! It's a winter decoration :) So glad you like it!