Beautiful 3D Paper Christmas Trees! Make your own DIY paper Christmas tree ornaments using dollar store supplies!
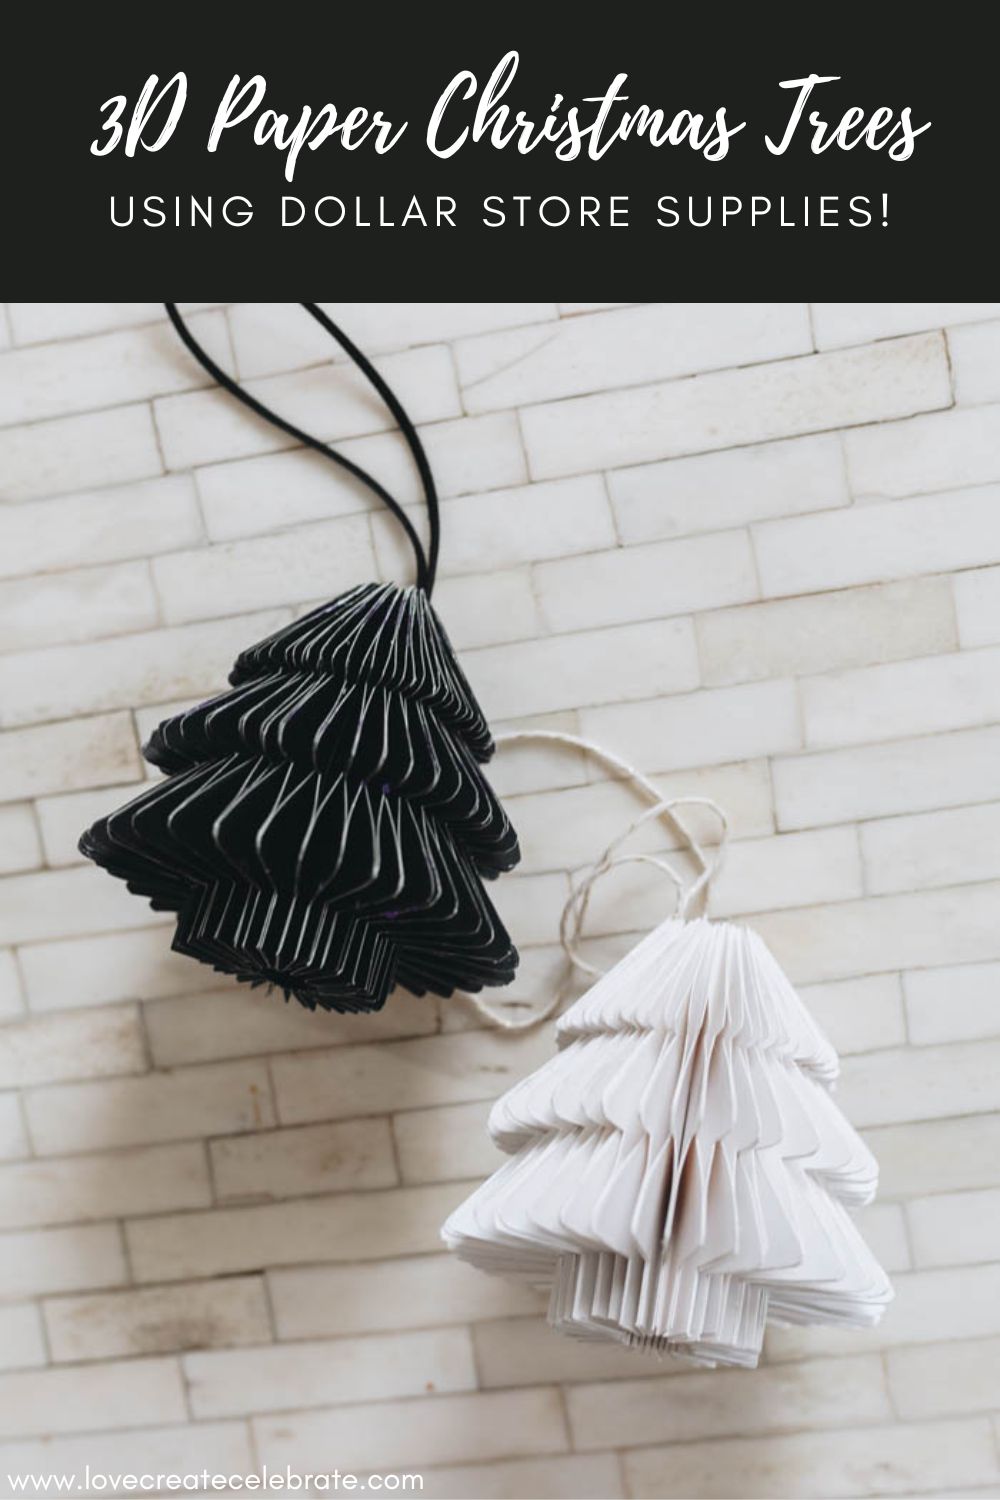
The Christmas season is upon us! I’ve made many DIY ornaments through the years, but these 3D paper Christmas trees have to be one of my absolute favourites! Today I’m sharing two versions of these ornaments, including one that is much easier that kids or teens could tackle for the Christmas tree too.
This project is one of six holiday decorations we made, and it’s an inexpensive DIY that we did along with other dollar store projects to get ready for the holiday season!
*This post may contain affiliate links. When you buy a product through one of our links, we get a commission at no cost to you! Thank you for supporting our blog so that we can continue to bring you posts like these. For more information, please see our disclosure page.*
How to Make your 3D Paper Christmas Trees
If you want to make your own paper tree ornaments, here’s exactly how to make them.
Materials Needed
All of these materials, aside from the amazing glue (which is always in my craft stash) are from the dollar store.
Step-by-step Tutorial for your 3D Paper Christmas Trees
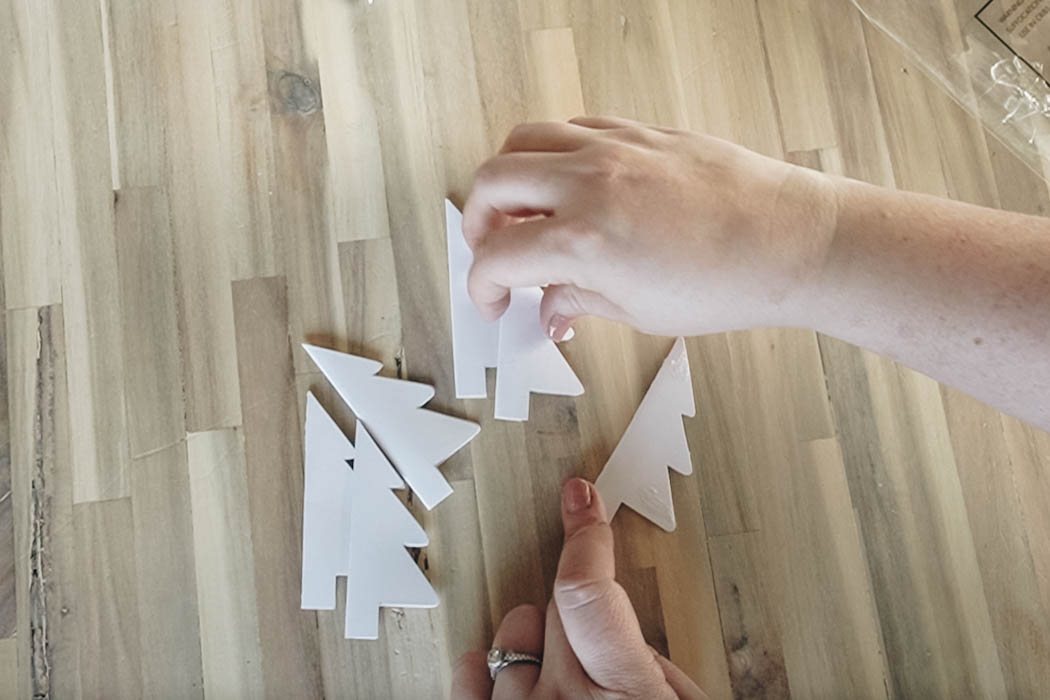
These 3D paper Christmas trees are a Scandinavian inspired 3D ornament. When I found a little wooden Christmas tree ornament from the dollar store I knew it was the perfect shape to trace into some 3D ornaments. Plus, when I was done, I could still give the wooden ornament to my kids for their tree.
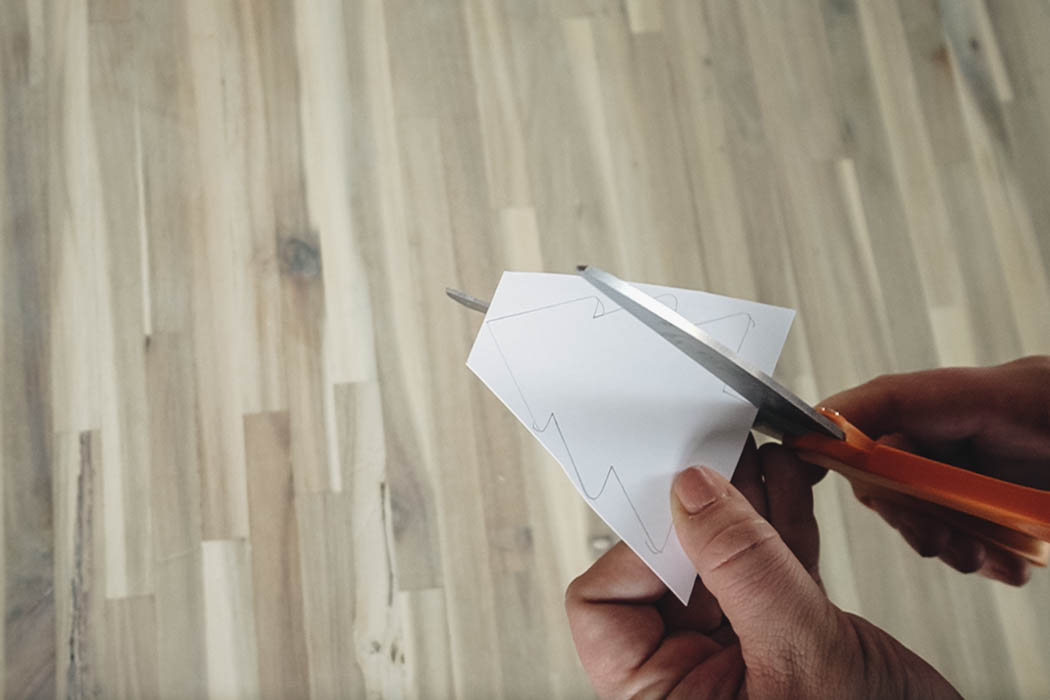
Grab a wooden tree ornament and some sheets of white and black bristol board from the dollar store. Start by tracing that little wooden ornament 30 times on each colour of bristol board. You’ll need 30 copies of one colour to make one ornament.


Cutting all these trees takes a lot of time so I definitely would recommend cutting these on a Cricut, if you have one, and that would make this process much faster.
If you don’t have one, put a movie on while you trace and cut… there are plenty of good Hallmark ones I could recommend at this time of year, lol.
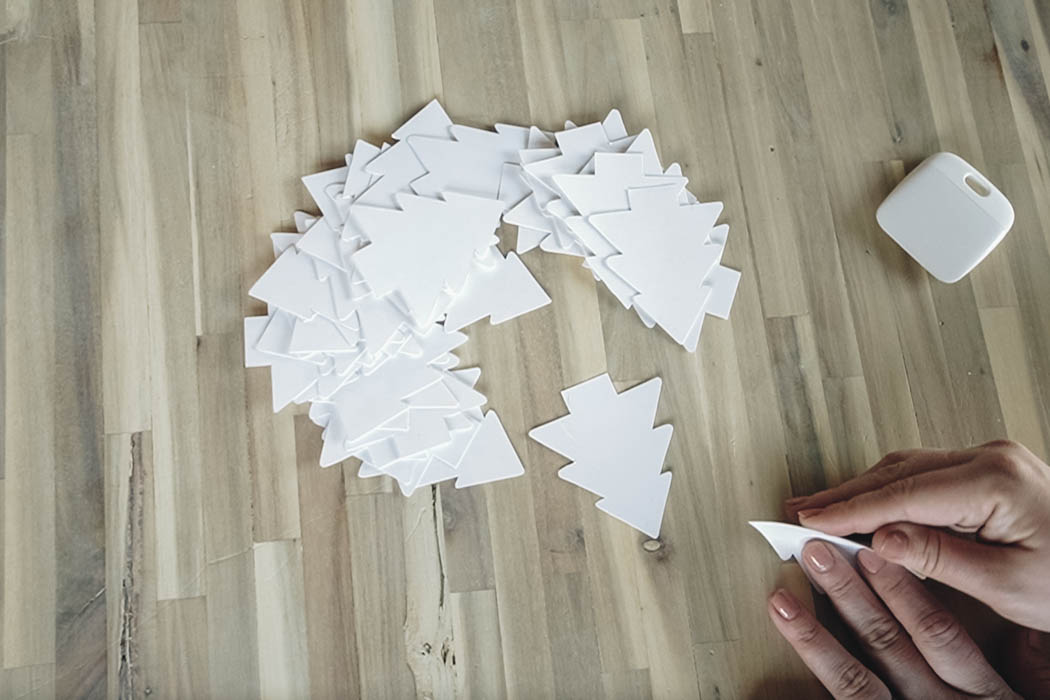
Once you have all the paper trees cut, take some time to fold them in half and crease the middle of each tree.

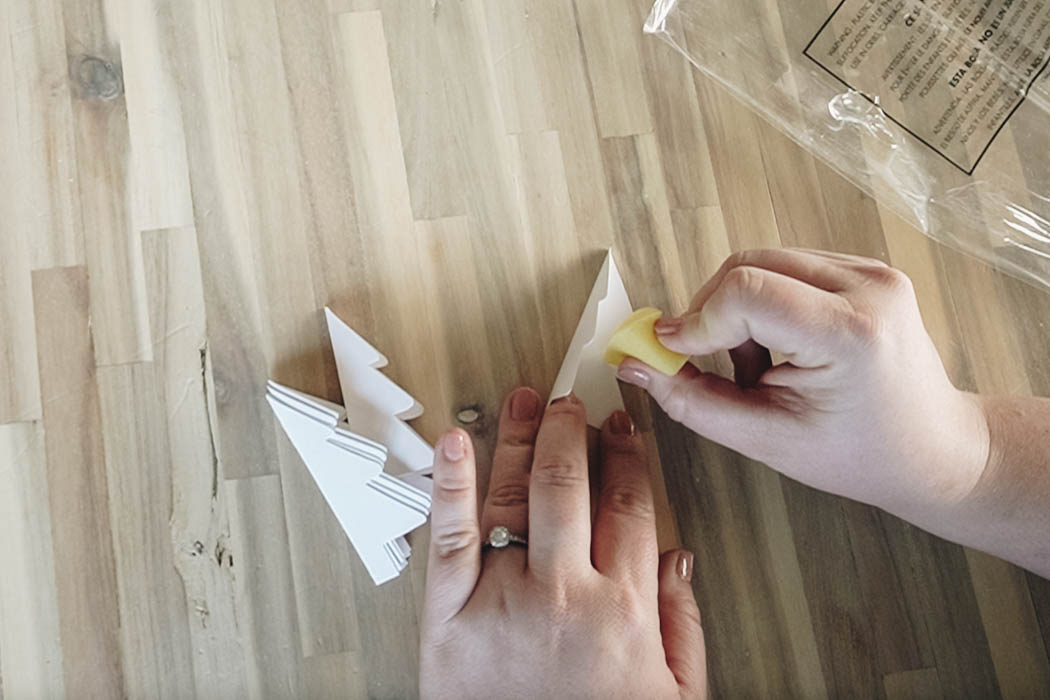
In order to get the 3D ornaments to open properly like an acordian, you’ll have to add glue at a couple of different points on the tree, which means doing a couple different rounds of gluing.
Use a sponge, or something with a tip, to control exactly where the glue goes. Start by putting a dab of glue on the center branch of every tree that has been folded.
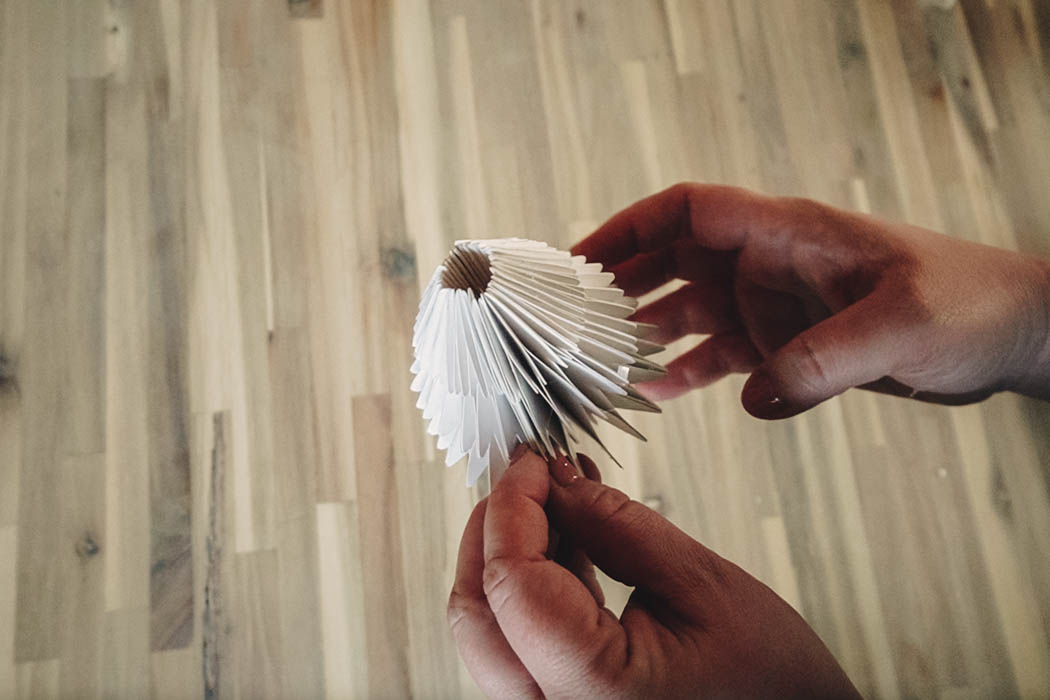
Once the glue has set, take a dab of glue and put it at the top and the bottom branch of one of your paper Christmas trees, and then attach two of the folded trees together. Continue to do this and build up a little bundle of six trees.
Notice how when you open up that bundle you can start to see how you’re gonna get that little accordion effect when you have a whole bunch of them glued together.
Watch this Christmas DIY video below to see exactly how I glued these pieces if you’re a visual learner too!

In order to make the 3d paper Christmas tree ornament, make five little bundles of six trees, and then attach all of those little bundles together.

It’s important to be cautious with the amount of glue you use because if glue seeps out then you won’t be able to open the tree properly, and you won’t get the same effect when you’re all done gluing them together.
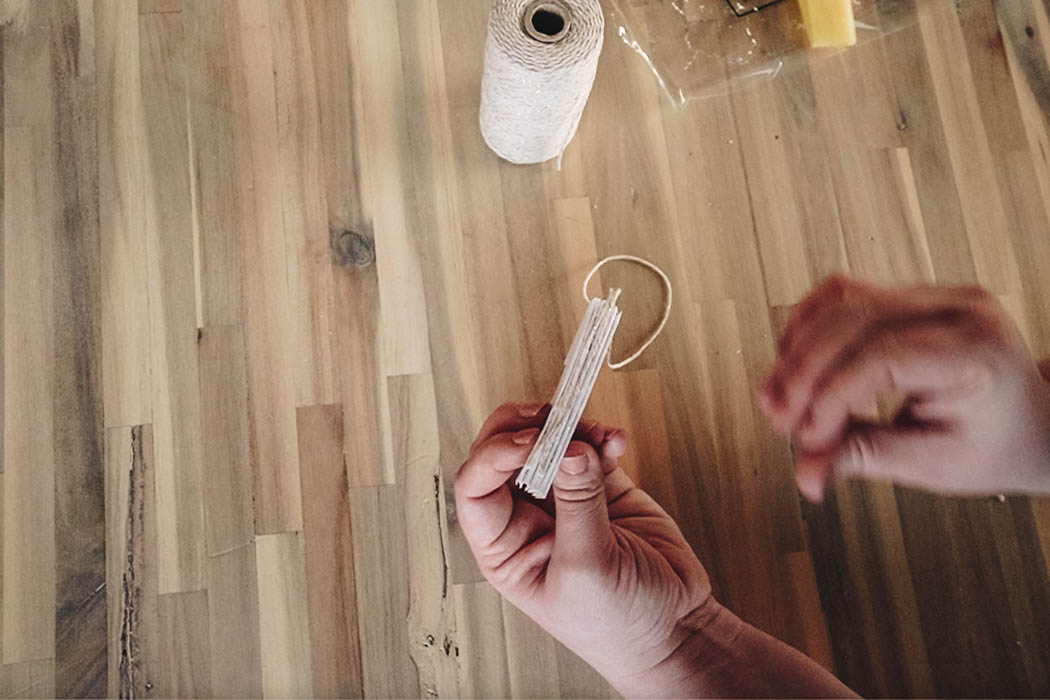
Add a little row of glue to the inside so in order to glue the string in place. Fold and loop the string so that you can use it to hang the ornament.

Instead of gluing the two sides of the ornament together, you can just attach them with a paper clip or two (preferably matching your paper colour so that it blends in). This way you can unwrap it and put it away when the holiday season is over too.

An Easier 3D Paper Christmas Tree Ornament
If you like this idea but you’re looking for a slightly simpler version, you can make one with just six of those folded trees (instead of 30). Put glue on all of the outside edges of your paper trees and glue together all six of your trees. Again, glue a piece of string along the inside edge so that you can hang it.
You can make 5 of these ornaments with the same amount of bristol board that you made one of the paper acordian trees out of. I honestly think they look adorable, and if you’re making ornaments with kids, these ones are MUCH easier to do.

Our Finished 3D Paper Christmas Trees
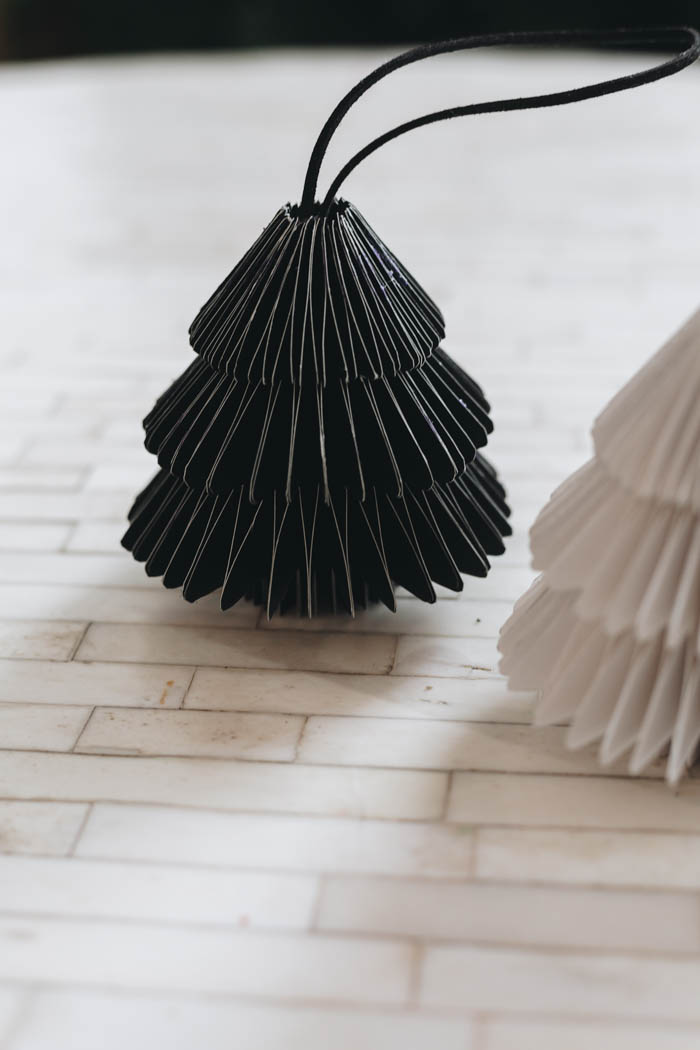
Here’s how my 3d paper Christmas trees turned out. I absolutely LOVE them. Even with just one ornament on the tree, it stands out as a beautiful piece. Although, I love having a couple so that I can see them from different directions.


I really love these ornaments! Both the black one and the white one look great!
I think they’re so so cute! They look amazing on the tree – even the simpler version!

I also love having some 3d elements on my Christmas tree. It brings a different texture and character to your tree. I’m really happy with how all these turned out!

More Dollar Store Holiday Season Projects
These 3D paper Christmas trees were one of 6 ornaments I did to get ready for the holiday season using dollar store supplies. Check out the video below to see how I made the other 5 quick and easy projects!
Don’t forget to subscribe to our YouTube channel for more great holiday season DIYs!
For more great easy holiday season DIY ideas, check out these beautiful Mini Wreath Ornaments!


3D Paper Christmas Trees
Beautiful 3D Paper Christmas Trees! Make your own DIY paper Christmas tree ornaments using dollar store supplies!
Materials
- Dollar Store wooden Christmas tree ornament
- Bristol board - white and black
- Pencil
- Scissors
- Craft glue
- Sponge
- Paper clip
- String
Tools
- none
Instructions
- Trace the dollar store tree ornament onto Bristol board 30 times
- Cut all the trees out from your Bristol board
- Fold each tree in half
- Use a sponge to put a dab of glue on the middle branch of each folded tree and wait for it to dry
- Glue two trees together by putting glue on the top and bottom branch
- Continue to glue trees together like this until you have a thick ornament
- Make 5 bundles of 6 trees and then attach those bundles together
- Add a little row of glue to the inside of the ornament and attach a string
- Wrap the ornament so both ends are connected, and keep the ornament attached using a paper clip